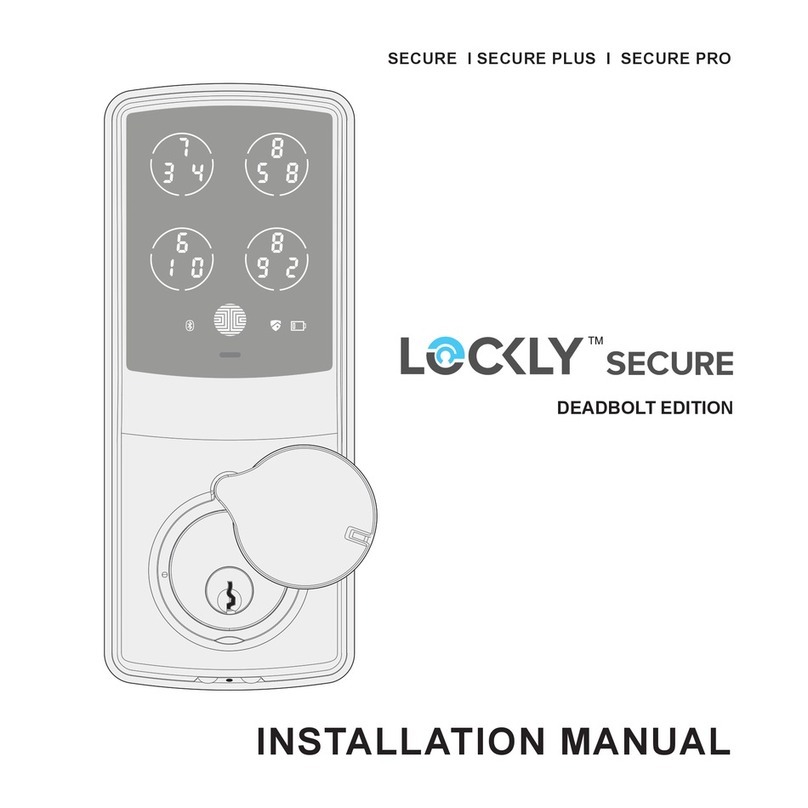
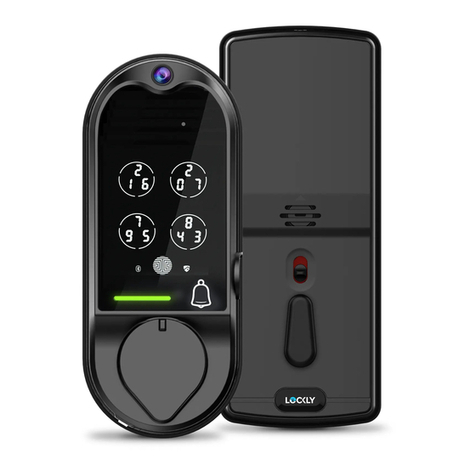
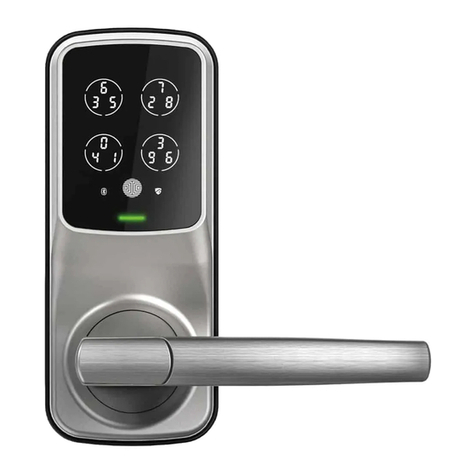
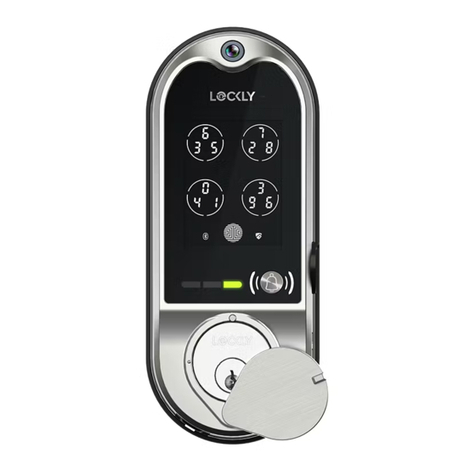
Lockly VISION ELITE User manual

DEADBOLT EDITION
INSTALLATION
GUIDE

Go to Lockly.com/installation to watch a video
version of this installation guide.

Reference installation parts overview foldout on back page
Welcome!
This guide will walk you through step-by-step how to
install and get your Lockly Vision™ Elite up and running.
Installation generally takes less than 30 minutes. If
you have any questions please reference our online
support at: Lockly.com/support or call (669) 500-8835
for help.

CAUTION: lock contains electrostatic-sensitive (ESD) parts. Best practices: ground yourself by
t
ouching a metal surface other than lock to discharge any ESD you might have; don't wear
clothes prone to static (ESD); avoid touching electronic internal pins and circuit board.
Prepare door: remove existing deadbolt or use provided template to bore new holes.
3
Phillips Screwdriver
To complete the installation you will need:
Flathead Screwdriver Tape measure or ruler Aligator Saw (Optional)*
Preparation
*There are some latch holes with smaller openings. Skip this procedure
if the deadbolt fits the latch hole and make sure the wire cable in not
jamming. Use a jab or alligator saw (common on most multi-tool
pocket knife) to file and adjust the latch hole. File the latch hole (red
marked area) according to the size of your backset. Make sure the
wire cable smoothly passes through the latch hole.
1-⅜" (35mm)
to 2" (50mm)
1" (25mm)
70mm
backset
60mm
backset
2-⅜" (60mm)
or
2-¾" (70mm)
Cross-bore
2-⅛" (54mm)
*Optional
* Use goggles to protect eyes if you need to drill door holes.

2-3/4" (70mm)
or 2-3/8” (60mm)
4
Deadbolt slot must align to the center of the door hole. Adjust as shown if needed.
The deadbolt comes set to 2-3/4" (70mm). Adjust length to 2-3/8” (60mm) if necessary.
(wear gloves to protect from possible pinching).
Hold the metal plate and
twist the deadbolt body
clockwise till it snaps to 2-3/8"
Deadbolt comes set at 2-3/4"
(70mm). To return to default,
while deadbolt is extended,
hold the metal plate and
twist the deadbolt body
counter-clockwise till it snaps to
2-3/4"
Push the crank to
extend the deadbolt
ADJUST DEADBOLT AND INSTALL
Step 1
B
B
B
B
A
CC
C
D
D
D
D
A

1
2
5
Extend the deadbolt by inserting a flat-head
screwdriver into the slot and turning clockwise.
Insert the deadbolt into the door edge,
make sure that the right side is up and
the slot is in the vertical position. Secure
with 2 screws.
Observe the correct position of the cable
to ensure it is according to your door
opening orientation (Left /Right Swing)
and Backset size (60mm/70mm).
During installation, DO NOT hammer the
deadbolt and/or its metal plate to avoid
damaging the built-in sensor.
K
ADJUST DEADBOLT AND INSTALL
Step 1
continued
Door edge side view (70mm)
Door edge side view (60mm)
Interior
Interior
LEFT SWING DOORRIGHT SWING DOOR
Interior
Interior
Interior
(2X)
K

INSTALLING EXTERIOR ASSEMBLY (B)
6
Check the exterior assembly (B) alignment
to door hole and deadbolt before peeling
off film on adhesive strips.
Peel film from adhesive strips and make sure torque blade is in the vertical position with the
deadbolt extended. Place assembly and torque blade through the deadbolt slot and
guide connection cables through the cross-bore hole under the deadbolt as shown. Complete
mounting by aligning and securing until flush to exterior door surface.
Step 2
EXTERIOR VIEW
Under
Vertical
Extended

INSTALLING INTERIOR ASSEMBLY (G)
7
1: Check interior mounting plate D
alignment to your door hole before
securing with adhesive strips.
3:
Insert and tighten by hand 2 screws
located on the left and right of the
blade. Check alignment and tighten
with screwdriver until mounting plate is
securely placed on door.
TIP: when installing screws by hand, turn screws clockwise several turns then
counterclockwise one turn to ensure smooth threading and no cross threading.
4: Use the key to ensure deadbolt locks and
unlocks smoothly (no binding or rubbing).
IMPORTANT: when finished, leave the dead-
bolt extended and remove the key before
proceeding to the next step.
2: Align and secure mounting plate with
adhesive strips. Guide connection cables
through the hole and secure to the lower
left notched hole.
F
Step 3
Remove key when finished
Leave deadbolt extended
F
2X

Call our Customer Care Hotline (669) 500-8835,
for help if the pins are not centered or bent.
Step 3
continued
IMPORTANT:
If you need to disconnect this cable, use a
screwdriver to hold down the tab (marked
red) before carefully unplugging. DO NOT
FORCE as this may result in damaging the
lock.
Plug the larger cable coming through mounting plate into the interior assembly as
shown, route to the right of interior assembly .
INSTALLING THE INTERIOR ASSEMBLY (G)
8
Connect to screw tightly by
hand as shown. Plug to to ,
to and to match red side
of plug with red on socket then insert
tightly.
to
Do not touch
pins inside*
NOTE: is not compatible to .
A1 A2
A1 A2
B1
B1
B2
B2
C1 D1 D2
C2
DG
G
D2C1
D2
D1
D2
D1
D
C1
C2
C2
C1
A1
A2
G
1
2
Install Cable Remove Cable

9
INSTALLING THE INTERIOR ASSEMBLY (G)
Step 3
continued
Insert and cables into the grooves on the side. Make sure the foam pads
attached to the cables are secured to prevent the cables from moving.
Tuck and cables behind the rectangu-
lar cable rail on the interior panel.
Hold the cable with your fingers to prevent it from moving
and to prepare mounting onto door.
C1+C2
C1+C2
D1+D2
C1+C2 D1+D2
D1+D2

Before placing the interior
assembly onto the mounting
plate, ensure the thumb turn
is vertical.
Place the interior assembly
against the mounting plate
and make sure the torque
blade is inserted to the thumb
turn shaft.
Secure the interior assembly
to
mounting plate with 2
screws.
Torque Blade Thumb turn shaft
H
2X
H
INSTALLING THE INTERIOR ASSEMBLY (G)
10
Step 3
continued
RESET PROGRAM
Align torque blade with thumb
turn shaft, make sure both are in
the vertical position.
RESET PROGRAM
RESET PROGRAM

11
INSTALLING BATTERY
Step 4
1. With door open and deadbolt fully extended, insert lithium battery. Make sure to securely hook
the battery on the provided slot of the interior panel. (Optional) Tighten the screw on the right
side. IMPORTANT: If you're using this battery for the first time, ensure that battery has been fully
charged. Use any standard 5V USB charger to full charge the lithium battery.
2. After the battery is secured, use the pin key in the accessory bag to HOLD the
program
button
for 10S. The lock will automatically start self-check (release program button once check
starts).
The self-check process determines right or left swinging door and is very important to ensure correct
installation. IMPORTANT: if lock is not properly installed it will open and close repeatedly.
3. Once self-check completes ensure the lock operates smoothly by manually locking and unlocking
the door using the thumb turn on the interior assembly. The deadbolt should operate smoothly
without
any interference or binding. If necessary, repeat step 2 and ensure that (a) the deadbolt
was extended and (b) the torque blade was inserted vertically while the deadbolt was extended.
4. Swipe your hand across touchscreen. The lock should close (lock). If the touchscreen is ON,
touch , the lock should lock as well. If deadbolt bounces back or unlocks automatically it
means something is not installed correctly. Go back and repeat step 2, same as above.
Hook for battery
(Optional)

If your door gap is larger than 5mm, it is
recommended to install Strike Spacer
to lessen the gap to ensure the normal
operation of the door sensor.
P
P
Use the supplied door strike plate (L) which has the built-in door sensor magnet.
IMPORTANT:Because doors and frames vary in design it may be necessary to
make slight adjustments to your strike plate and/or dust box in order to ensure
smooth deadbolt operation. This is very important. If the deadbolt is binding or
catching in any way, the lock will sound an alarm (rapid beeping) indicating it
cannot close due to misalignment and/or excessive rubbing or binding.
12
INSTALLING STRIKE PLATE
Step 5
side view (70mm) side view (60mm)
When installing the deadbolt
and door strike, make sure the
two red marks are aligned.
K(2X)
NL
L
K(2X)
N
P

13
To enable video doorbell, live monitoring and voice control with Hey Google and Alexa, you will
need to setup the included Vision Connect WI-Fi hub with the Lockly Vision
™
Elite deadbolt smart
lock + video doorbell.
IMPORTANT: Vision Connect stores recorded video on the included TF card. Although the TF
card is discrete, it is recommended to locate it in a discrete or secure area to protect your
privacy and video recordings. TF Card is already inserted on the hub when shipped.
SETUP THE HUB
LED status lights
Antenna
VISION CONNECT OVERVIEW
LAN cable
Power adapter
TF card
Reset
Step 6

LOCKLY.COM | HOTLINE: +1(669) 500-8835 | EMAIL: HELP@LOCKLY.COM
ACC20211201
KEEP THIS CARD!
ACTIVATION CARD
LOCKLY APP & UNIQUE ACTIVATION CODE
Before setting up Vision Connect Hub download the Lockly app on your smartphone. It’s
required to finish and setup the connection between hub and lock.
Scan, visit app store, or go to Lockly.com/app
IMPORTANT:
Without the QR code you will not be able to reset your lock
14
Step 7
Additionally, you'll need the Activation Card
with unique pre-paired QR code to your lock.
The card is located in the packaging that your
lock came in. This QR code can also be found at
the bottom of Vision Connect Hub. Please keep
it in a safe place—this QR code is required to
complete the setup and will be required if you
lose your smartphone or access code.

Set up an account by registering your Lockly Vision
™
Elite in the Lockly app. Registration is also
mandatory to activate your locks warranty.
After successful registration, select "add a new device" (you can also get to this from the
menu in
the top left), select Vision, and follow the step-by-step on screen instructions. You can also
reference these steps on following pages.
1 2 3
4 5 6
APP SET UP
Step 8
15

The Vision Connect Hub connects directly to your Wi-Fi router using the provided LAN
cable. Choose an appropriate location for the hub for optimum performance (see below).
For
optimum connectivity, it is recommended to set up the hub LESS than 100 feet (30 meters)
away from the lock, and elevated 3 feet (1 meter) off the ground.
During the setup process position yourself between the lock and the Vision Connect
hub—ideally no more than 100 feet (30 meters) apart. Ensure your iOS or Android
TM
device
has both Bluetooth®and Wi-Fi enabled,
TIP:
Sometimes distances between hub and lock can vary due to circumstances.
If you are having difficulty setting up optimal range of 100/ft or less, we’re here to
help. Call our customer care team: (669) 500 8835, or visit Lockly.com/help for
suggestions and troubleshooting tips.
LOCATION GUIDELINES
100 Feet
(30 meters) or less
Lockly Vision™Elite You Vision Connect Wi-Fi Router
3 feet (1 meters)
off the ground
16
Step 9

Ensure the TF card that comes with
Vision Connect is properly inserted.
TF card (included, inserted)
Connect LAN cable to closest Wi-Fi router
to the Lockly Vision
™
Elite lock (<100ft).
Always keep the Antenna
on UP position
Connect power cable and plug
USB power adapter into outlet.
VISION CONNECT HUB SETUP
Wait 2 minutes for hub to self calibrate.
Once LEDs turn RED and blink yellow.
Vision Connect is now ready to connect to your iOS or AndroidTM device.
See troubleshooting on next page if LEDs do not meet the described conditions.
17
Step 10
LAN cable (S) (included)

ACC20211201
KEEP THIS CARD!
ACTIVATION CARD
IMPORTANT: make sure your Lockly Vision™Elite has the latest firmware. Allow updates
and follow instructions if prompted. For more info, visit: http://www.support.Lockly.com/-
faq/firmware-update/
TIPS:
• Remember to register for warranty.
• Allow your mobile phone to receive push notifications.
• Send in-app feedback if you encounter any issues while using the App.
• If you are having difficulty scanning the QR code, we’re here to help. Call our
customer care team: (669) 500 8835, or visit Lockly.com/help for suggestions and
troubleshooting tips.
NOTE: Power interruption during firmware update may damage the Vision Connect hub.
Do not interrupt or turn the power off while firmware update is in progress.
Launch the Lockly
App and select "add a new device", then select Vision. You will be prompted
to scan the QR code from the Activation Card or Vision Connect Hub (located at the bottom).
PAIR VISION LOCK TO APP
18
Step 11
LOCKLY
App
OR

READY TO CONNECT
Solid red ON
During Setup
Power ON/
Successfully paired
Network connected
Pairing / Network
NOT yet connected
Pairing unsuccessful
Router or LAN cable issue
NO network connection
Resetting
Yellow slow blinking
Red slow blinking
Red fast blinking
Yellow OFF
Blinking red goes to blue,
then turns OFF
Blue slow blinking Update in progress*
Update Successful
Update has failed
Blue ON
Blinking from red to blue
After connecting LAN cable and
power adapter, wait for 2mins for
Vision Connect to self calibrate.
During Firmware Update
LED INDICATORS HUB STATUS
*Power interruption during firmware update may damage the Vision Connect hub.
Do not interrupt or turn the power off while firmware update is in progress.
19
VISION CONNECT STATUS & TROUBLESHOOTING
If you experience any of the following, power down and disconnect hub, repeat connection process
Other manuals for VISION ELITE
2
Table of contents
Other Lockly Lock manuals