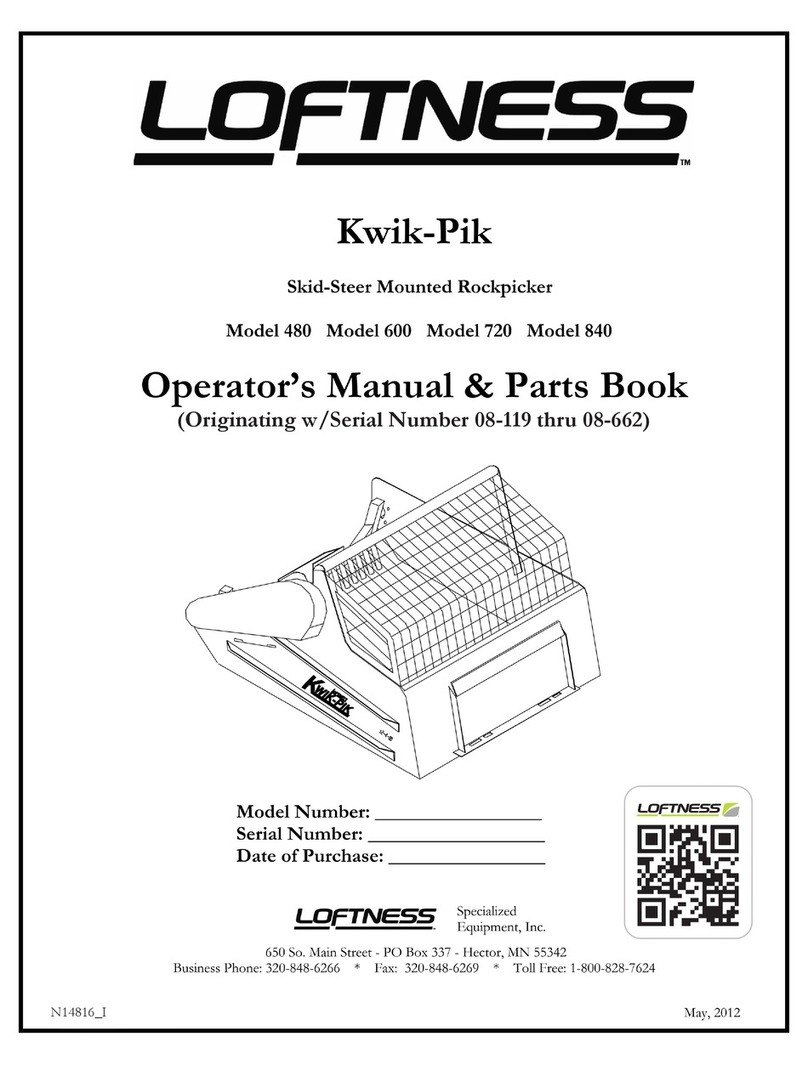
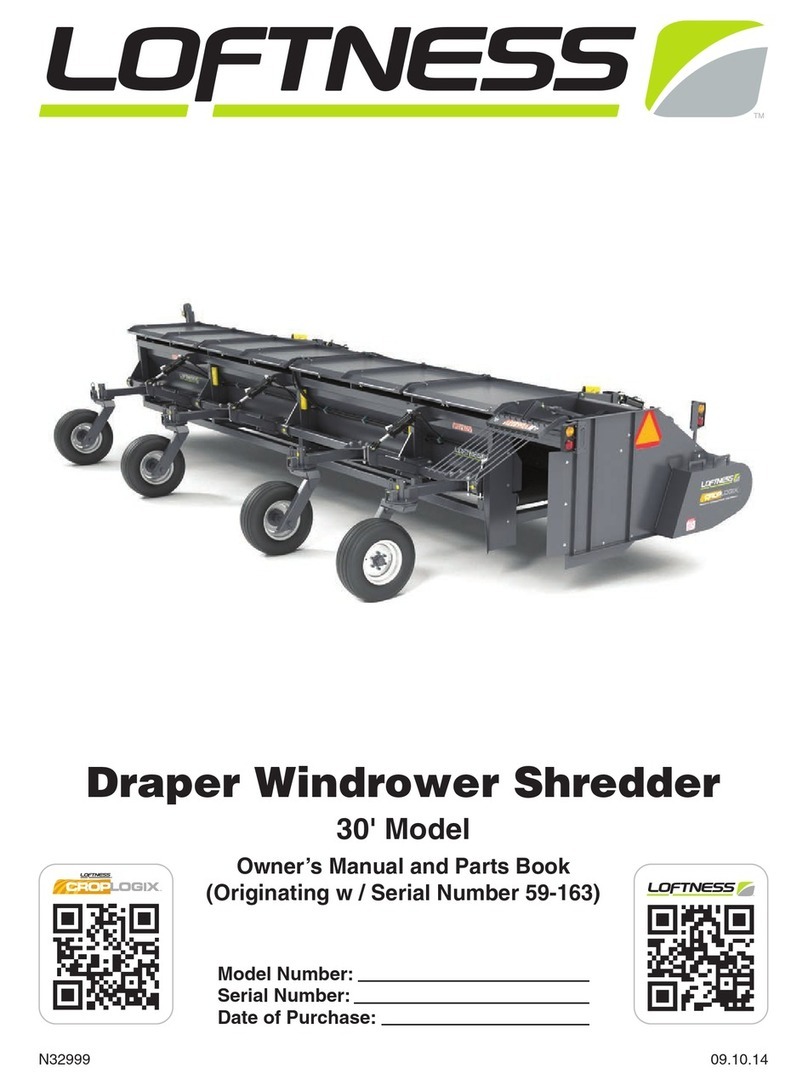
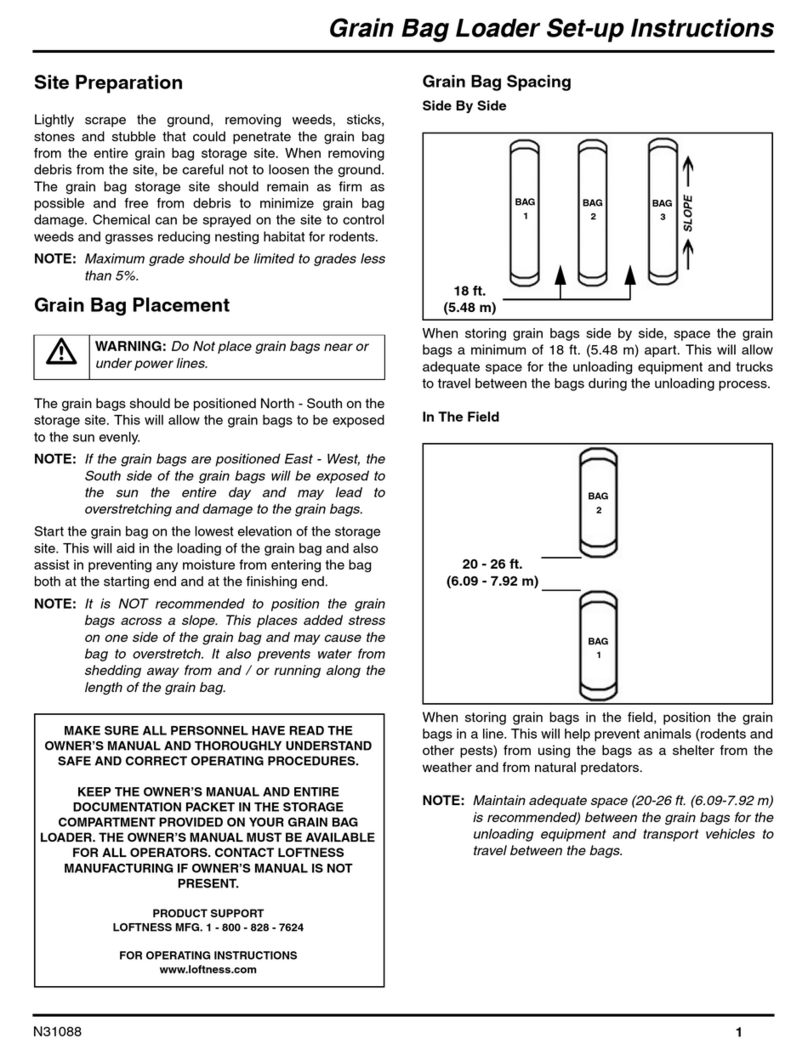
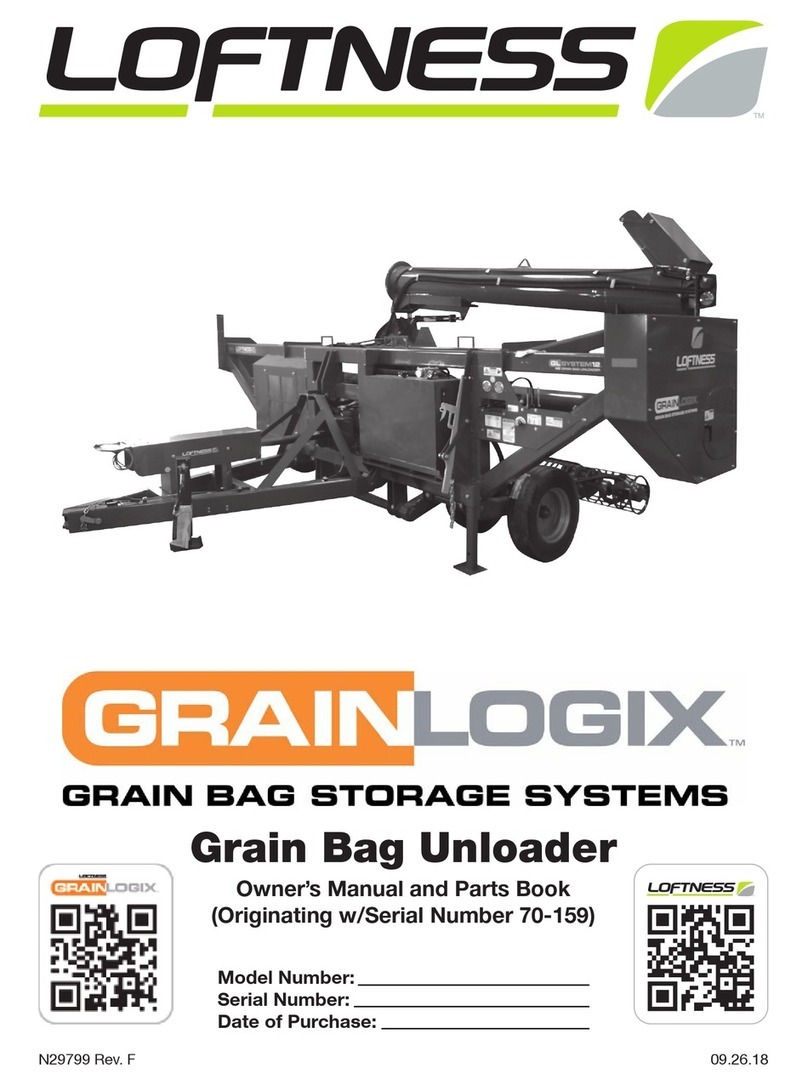
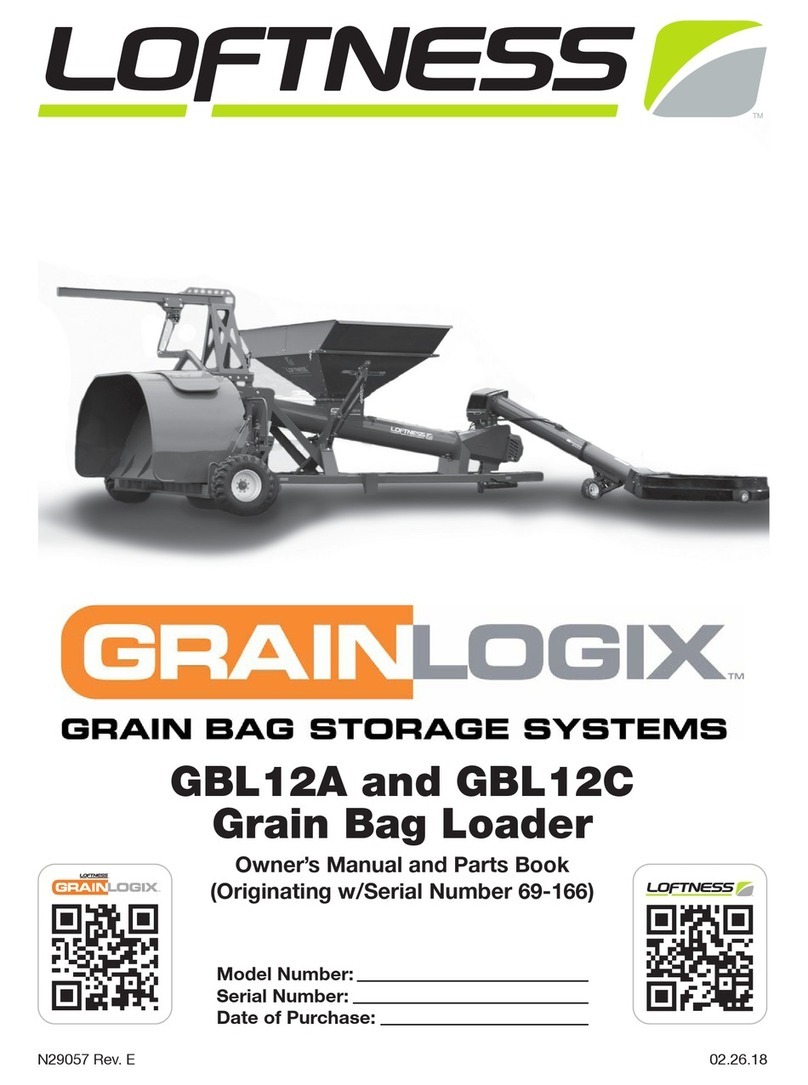
LOFTNESS GrainLogix XLB10 User manual

Model Number:
Serial Number:
Date of Purchase:
XLB10 Grain Bag Loader
Owner’s Manual and Parts Book
(Originating w/Serial Number 74-372)
N39043 Rev. H 04.26.19


LOFTNESS SPECIALIZED EQUIPMENT, INC.
LIMITED WARRANTY POLICY
The limited warranty policy begins upon delivery of the unit to the original customers.
All Loftness products have a one (1) year limited warranty. The XLB10 Grain Bag Loader has a two (2) year limited warranty.
If any Loftness product is used as rental equipment, or in a commercial application, the limited warranty period is for only 30 days
from the delivery date to the original customers.
Loftness Specialized Equipment, hereinafter referred to as LOFTNESS, a manufacturer of quality machinery since 1956, warrants
new LOFTNESS machinery and/or attachments at the time of delivery to the original purchaser, to be free from defects in material and
workmanship when properly set up and operated in accordance with the recommendations set forth in the LOFTNESS Operator’s
Manual.
LOFTNESS’ liability for any defect with respect to accepted goods shall be limited to repairing the goods at an authorized dealer or
other LOFTNESS designated location, or replacing them as LOFTNESS shall elect. The above shall be in accordance with
LOFTNESS warranty adjustment policies.
WARRANTY REQUIREMENTS
.smialcytnarrawllaetadilavottnempiuqEdezilaicepSssentfoLotdenruterdnatuodellifebtsummrofnoitartsigerytnarraW
To receive a warranty claim, a return authorization from LOFTNESS must be obtained. The failed part may then be returned in an
.gnicivresrofyrenihcamgninruternehwderrucnisegrahcyreviledrothgierfedulcnitonseodytnarrawsihT.sutatsderepmatnu
Dealer mileage, service calls and pick-up/delivery charges are the customer’s responsibility.
LIMITATIONS OF WARRANTY
LOFTNESS products are designed to provide years of dependable service when proper use and maintenance is adhered to. The
potential for misuse in many applications exists; therefore, a limited warranty is provided as follows.
This warranty shall not apply to any machine or attachment which shall have been repaired or altered outside the LOFTNESS factory
or authorized LOFTNESS dealership or in any way so as in LOFTNESS’ judgment, to affect its stability or reliability, nor which has
been subject to misuse, negligence or accident, nor to any machine or attachment which shall not have been operated in accordance
with LOFTNESS’ printed instructions or beyond the company recommended machine rated capacity. LOFTNESS may elect to have
an area representative evaluate the condition of the machine before warranty is considered.
In addition, this limited warranty provides no coverage for general wear or maintenance items, misuse, environmental conditions and/
or contamination for which they were not designed or not intended, including but not limited to the following items:
•Use of machine beyond its rated capacity;
•Improper knife replacement;
•Missing knives;
•Striking foreign objects
•Lack of lubrication
•Failures caused by running in an “out-of-balance” condition;
•Tires;
•Conveyors;
•Auger wear;
•Saw blades; and
•Brakes and brake pads.
EXCLUSIONS OF WARRANTY
Except as otherwise expressly stated herein, LOFTNESS makes no representation or warranty of any kind, expressed or implied. The
implied warranty of merchantability and fitness for a particular purpose are excluded from this limited warranty. The
remedies set forth in this warranty are the only remedies available to any person under this warranty. LOFTNESS shall have no
liability to any person for incidental, consequential or special damages of any description, whether arising out of express or implied
warranty or any other contract, negligence, or other tort or otherwise. This exclusion of consequential, incidental and special damages
is independent from and shall survive any finding that the exclusive remedy failed of its essential purpose. Upon purchase, the buyer
assumes all liability, all personal injury and property damage resulting from the handling, possession or use of the goods by the buyer.
No agent, employee or representative of LOFTNESS has any authority to bind LOFTNESS to any affirmation, representation or
warranty concerning its machinery and/or attachments except as specifically set forth herein.
April 2017


Grain Bag Loader OM
Table of Contents
Warranty
Table of Contents
Introduction
Owner Information............................................................... 1
Warranty Policy ................................................................. 1
Serial Number Location........................................................... 1
Manual Storage ................................................................. 1
Safety Instructions
Safety First .................................................................... 3
Owner’s Responsibility ........................................................... 3
Safety Rules ................................................................... 4
Operating Safety ............................................................. 4
Transporting Safety ........................................................... 4
Maintenance Safety........................................................... 4
Hydraulic Safety ............................................................. 5
PTO Safety ................................................................. 5
California Proposition 65 Warning................................................... 5
Safety Decal Locations ........................................................... 6
Machine Decals and Signs ........................................................ 8
Grain Bag Loader Identification.................................................... 10
Set-up Instructions
Initial Set-up .................................................................. 13
Removing Trolley Assembly.................................................... 13
Removing Hopper Components ................................................ 14
Cradle Removal ............................................................. 15
Main Hopper Assembly ....................................................... 15
Placing Hopper Assembly ..................................................... 19
Trolley and Cradle Assembly ................................................... 19
Cradle Connection........................................................... 21
Hitch Set-up ............................................................... 22
PTO Set-up ................................................................ 23
Connecting the Grain Bag Loader.................................................. 24
Site Preparation................................................................ 26
Grain Bag Placement ........................................................... 26
Grain Bag Spacing .......................................................... 26
Side By Side ............................................................... 26
In The Field ................................................................ 26
In Depots .................................................................. 27
Installing the Grain Bag .......................................................... 27
Remote Control Identification .................................................. 27
Procedure ................................................................. 28
Grain Bag Loader Positioning ..................................................... 33

Grain Bag Loader OM
Table of Contents
Operating Instructions
Getting Started ................................................................ 35
Sealing the Grain Bag ........................................................ 35
Filling the Grain Bag ......................................................... 36
Adjusting the Bag Pan Height .................................................. 36
Adjusting Brake Pressure ..................................................... 37
Releasing Brake Pressure ..................................................... 37
End of Bag Loading.......................................................... 38
Switching to Transport Position ................................................... 38
Unhitching the Grain Bag Loader .................................................. 40
Maintenance
General Maintenance ........................................................... 41
Maintenance Schedule .......................................................... 41
Fluids And Lubricants ........................................................... 41
Lubrication.................................................................... 42
Grease Points .............................................................. 42
Disc Brakes ................................................................... 45
Removing The Brake Pads And Calipers ......................................... 45
Installing The Calipers And Brake Shoes ......................................... 46
Bleeding The Brake System ................................................... 47
Brake Bleeding Procedure..................................................... 48
Steering Wheel Assembly .................................................. 49
Setting The Brake Pressure ................................................. 50
Brake Pressure Gauge Bleeding Procedure .................................... 51
Troubleshooting................................................................ 52
Parts Identification
Drive Assembly ................................................................ 56
Drive Assembly (Cont’d) ......................................................... 57
Gearbox (N37990) .............................................................. 58
PTO (N153392) ................................................................ 60
Hitch Assembly and Jack ........................................................ 61
Hydraulic Cylinder .............................................................. 62
Wheel Assembly ............................................................... 63
Brake Caliper (N22794) .......................................................... 64
Wheel Hubs and Spindles ........................................................ 65
6-Bolt Hub .................................................................... 66
Hub (N29054) ................................................................. 67
Spindle (N33528) ............................................................... 67
Brake Control Assembly ......................................................... 68
Brake Control Assembly ......................................................... 69
Brake Diagram (N47939) ......................................................... 70
Discharge Auger Assembly ....................................................... 71
Rear Flap and Lights ........................................................... 72
Pan Apron Drive ............................................................... 73

Grain Bag Loader OM
Table of Contents
Parts Identification (Cont’d)
Bag Pan Winch Assembly ........................................................ 74
Bolt-in Screens ................................................................ 76
XLB10 Base Assembly .......................................................... 77
Hopper Assembly (202114) ....................................................... 78
Boom, with Trolley (N68025) ...................................................... 80
Lift, Trolley (N37956) ............................................................ 81
Auger Bottom Shield and Valve, Stabilizer, Toolbox, and Axle Link ........................ 82
Electrical ..................................................................... 84
Appendix
Specifications ................................................................. 87
Dimensions (Operation) .......................................................... 88
Dimensions (Transport) .......................................................... 89
Torque Specifications ........................................................... 90
Inches Hardware and Lock Nuts ................................................ 90
Metric Hardware and Lock Nuts ................................................ 91

Grain Bag Loader OM

1Grain Bag Loader OM
Owner Information
Thank you for your decision to purchase a XLB10
Grain Bag Loader from Loftness. To ensure maximum
performance of your machine, it is mandatory that you
thoroughly study the owner’s manual and follow its
recommendations. Proper operation and maintenance
are essential to prevent injury or damage and to maximize
machine life.
Operate and maintain this machine in a safe manner and
in accordance with all applicable local, state, and federal
codes, regulations and/or laws, and in compliance with
on-product labeling and these instructions.
Make sure that all personnel have read this owner’s
manual and thoroughly understand safe and correct
operating, installation and maintenance procedures.
Continuous improvement and advancement of Loftness
products may result in changes to your equipment
that may not be reected in this publication. Loftness
reserves the right to make product improvements to the
machine at any time. Although great care has been taken
to ensure the accuracy of this publication, Loftness does
not assume any liability for errors or omissions.
Loftness Specialized Equipment, Inc. is not
responsible for the condition of the grain when it is
being stored in or removed from grain bags loaded or
unloaded with Loftness built equipment.
Warranty Policy
Be sure to read and understand the Warranty Policy at
the beginning of this manual. It is also important that you
ll out the Warranty Registration form(s) completely and
return to Loftness so as not to void the warranty.
Serial Number Location
1
2
Always use your serial number when requesting
information or when ordering parts. This information is
on the serial tag (1).
NOTE: The machine’s serial number is also stamped in
this area (2).
Manual Storage
Keep the owner’s manual and the entire documentation
packet in the storage compartment provided on your
grain bag loader. The owner’s manual must be available
for all operators.
Introduction

2Grain Bag Loader OM

3Grain Bag Loader OM
Safety First
Accidents can be prevented by recognizing the causes or
hazards before an accident occurs and doing something
about them. Regardless of the care used in the design
and construction of this machine, there are some areas
that cannot be safeguarded without interfering with
accessibility and ecient operation.
In the owner’s manual and on decals used on the
machine the words DANGER, WARNING, CAUTION,
IMPORTANT, and NOTE are used to indicate the
following:
DANGER: This word warns of immediate hazards which,
if not avoided, will result in severe personal injury or
death. The color associated with Danger is RED.
WARNING: This word refers to a potentially hazardous
situation which, if not avoided, could result in severe
personal injury or death. The color associated with
Warning is ORANGE.
CAUTION: This word refers to a potentially hazardous or
unsafe situation that, if not avoided, may result in minor
or moderate injury. It may also be used to alert against
unsafe practices. The color associated with Caution is
YELLOW.
IMPORTANT: Highlights information that must be
heeded.
NOTE: A reminder of other related information that needs
to be considered.
Safety Alert Symbol
This message alert symbol identifies
important safety messages on the machine
and in the owner’s manual. When you see this
symbol, be alert to the possibility of personal
injury and carefully read the message that
follows.
If Safety Decals on this machine are ISO two panel
pictorial, decals are dened as follows:
• The rst panel indicates the nature of the hazard.
• The second panel indicates the appropriate
avoidance of the hazard.
• Background color is YELLOW.
• Prohibition symbols such as and STOP if used,
are RED.
Be certain all machine operators are aware of the
dangers indicated by safety decals applied to the
machine, and be certain they follow all safety decal
instructions. Contact Loftness for safety decal
replacement.
Loftness cannot anticipate every possible
circumstance that may involve a potential hazard. The
warnings in this owner’s manual are not all inclusive.
Owner’s Responsibility
Operate and maintain this machine in a safe manner and
in accordance with all applicable local, state, and federal
codes, regulations and/or laws and in compliance with
on-product labeling and this owner’s manual instructions.
Make sure that all personnel have read this owner’s
manual, and thoroughly understand safe and correct
installation, operation and maintenance procedures.
Make sure the machine is installed correctly before
being placed in service. At regular intervals thereafter,
the machine should be serviced in accordance with
procedures outlined in this owner’s manual.
Fulll all warranty obligations so as not to void the
warranties. The warranty policy included in this manual
outlines the warranty policy of Loftness.
Safety Instructions

4Grain Bag Loader OM
Safety Rules
These are general safety considerations. Additional
precautions may be necessary to operate your
machine in a safe manner. Be certain you are operating
your machine in accordance with all safety codes,
OSHA rules and regulations, insurance requirements
and local, state, and federal laws.
Operating Safety
• Do not allow anyone to operate the machine until he
or she has read the owner’s manual and is completely
familiar with all safety precautions.
• Do not allow inexperienced persons unfamiliar with
the machine, or unfamiliar with safe operating and
maintenance procedures, to operate or maintain the
machine.
• Do not allow persons under the inuence of alcohol,
medications, or other drugs that can impair judgment
or cause drowsiness to operate or maintain the
machine.
• Keep children, bystanders and other workers away
from the machine while it is operating. No riders
allowed.
• The machine requires an operator at all times. Never
leave the machine running and unattended.
• Do not wear loose hanging clothes, neckties or
jewelry. Long hair is to be placed under a cap
or hat. These precautions will help prevent you
from becoming caught in any moving parts on the
machine.
• Do wear safety glasses, ear protection,
respirators,gloves, hard hats, safety shoes and other
protective clothing when required.
• The auger should not be used to handle materials
other than those which were specied as part of
its design. It is the operator’s responsibility to be
aware of the specications and operate the auger
accordingly.
• It is the operator’s responsibility to be aware of
machine operation and work area hazards at all
times.
• Operators are responsible to know the location and
function of all guards and shields including but not
limited to PTO drivelines, gearboxes, chain drives,
augers and are responsible to make certain that all
guards are in place when operating the machine.
• Operators are responsible to be aware of safety
hazard areas and follow instructions on warning,
caution, or danger decals applied to the machine.
• Know the area before operating the machine. Be
aware of power lines or other equipment. Watch for
adequate overhead clearance.
• Always have an operator in the tractor while the
machine is in operation.
• Remove from the area of operation all foreign objects
such as sticks, wire, rocks, etc., that might become
tangled in the augers. These articles can damage the
machine or might be thrown and strike other objects.
• Disengage PTO, clutch hydraulic valve and shift
tractor into neutral or park before starting engine.
• Never operate the machine with a 1000 RPM to 540
RPM adapter.
Transporting Safety
• Be sure the machine is in transport position with the
transport axle fully raised and cylinder stops in place
before transporting on a roadway.
• Make sure all lights are hooked up and working
before transporting on a roadway.
• Do not exceed speed rating (20 mph) on the factory
provided tires.
• Disengage PTO, clutch hydraulic valve and shift
tractor into neutral or park before starting engine.
Maintenance Safety
• Do not allow inexperienced persons unfamiliar with
the machine, or unfamiliar with safe operating and
maintenance procedures, to operate or maintain the
machine.
• Do not allow persons under the inuence of alcohol,
medications, or other drugs that can impair judgment
or cause drowsiness to operate or maintain the
machine.
Safety Instructions

5Grain Bag Loader OM
Maintenance Safety (Cont’d)
• Make sure the operator’s area is clear of any
distracting objects. Keep work areas clean and free
of grease and oil to avoid slipping or falling.
• Periodically check all guards, shields and structural
members. Replace or repair anything that could
cause a potential hazard.
• Do not replace components or parts with other than
factory-recommended service parts. To do so may
decrease the eectiveness of the machine.
• Do not lubricate parts while the machine is running.
• Do not smoke while servicing the machine.
• Never attempt to make any adjustments while the
tractor engine is running or the key is in the “ON”
position in the tractor. Before leaving the operator’s
position, disengage power to the machine and
remove ignition key.
Hydraulic Safety
• The hydraulic system is under high pressure. Make
sure all lines and ttings are tight and in good
condition. These uids escaping under high pressure
can have sucient force to penetrate skin and cause
serious injury.
• Never check for leaks by using any part of your body
to feel for escaping uid.
• Always use a piece of wood to check for leaks.
WARNING: Contact with high pressure
fluids may cause fluid penetration and burn
hazards. Fluid that is under pressure can
penetrate body tissue. Fluid penetration can
cause serious injury and possible death. If
fluid is injected into the skin, seek medical
attention immediately!
Safety Instructions
PTO Safety
• Keep all guards and shields in place when operating
the PTO. Replace any damaged or missing guards
and shields before operating the PTO.
• Keep children, bystanders and other workers away
from the machine while it is operating or while the
PTO is engaged. No riders allowed.
• Do not wear loose hanging clothes, neckties or
jewelry. Long hair is to be placed under a cap
or hat. These precautions will help prevent you
from becoming caught in any moving parts on the
machine.
• Read and understand the tractor operation and
maintenance manual regarding safe and proper
operation for PTO driven equipment.
• Never step over or crawl around the equipment while
the PTO is engaged; entanglement could occur.
• Do not exceed 540 RPM PTO speed.
• Disengage PTO driveline and place in the stored
position when the machine is transported.
• Never use a steel hammer when connecting or
disconnecting a PTO shaft.
• Engage and disengage the PTO slowly at idle speed
to prevent unnecessary stress to the driveline.
• DO NOT USE PTO ADAPTERS OF ANY KIND.
Use only recommended shearbolts.
California Proposition 65 Warning
WARNING: This product can expose you to
Mineral Oil, which is known to the State of
California to cause cancer. For more
information, go to www.p65warnings.ca.gov.
A decal with this warning statement is adhered to the
machine. If the decal should become worn or missing,
replace immediately.

6Grain Bag Loader OM
Safety Instructions
Safety Decal Locations
Check and replace any worn, torn, hard to read or
missing safety decals on your machine.
Part No. 4189
Part No. N22763
Part No. N23505
Part No. N23931
Part No. N23907
Part No. N23906
WARNING
Rotating parts hazard.
Can cause serious
injuries or death.
Do not operate machine
without shields attached.
PN 4189
WARNING
Read and understand
operator’s manual before
using this machine.
Failure to follow operating
instructions could result
in death or serious injury.
5
3
4
1
2
7
6
6
7
6
CAUTION
Do Not Exceed 20 MPH.
This machine uses implement
tires and hubs. Transporting this
machine at higher speeds is unsafe.
N23931
Part No. 203264

7Grain Bag Loader OM
Safety Instructions
Safety Decal Locations (Cont’d)
Part No. N23899
Part No. N68525
Part No. N22764
Skin Puncture
Hazard.
Hydraulic Lines.
Protect hands and
body from
pressure fluids.
N23899
8
10
9
8
10
9

8Grain Bag Loader OM
Safety Instructions
Machine Decals and Signs
NOTE: All safety related decals are also shown in the
Safety Instructions Section along with their
location on the machine. See “Safety Decal
Locations” starting on page 6.
Check and replace any worn, torn, hard to read or
missing decals on your machine.
Part No. 4136
Part No. N28010
Part No. N28012
Part No. N28011
Part No. 4132
Part No. 4138
Part No. N68583
8
50
25
S
E
A
L
O
F
Q
U
A
L
I
T
Y
FEMA
F
A
R
M
E
Q
U
I
P
M
E
N
T
M
A
N
U
F
A
C
T
U
R
E
R
S
A
S
S
O
C
I
A
T
I
O
N
Part No. N13517
Part No. N13721
Part No. N29769
LIFT
P
O
IN
T
N2
9
7
69
N68583

9Grain Bag Loader OM
Safety Instructions
Part No. N33102
Machine Decals and Signs (Cont’d)
Part No. N35225
Part No. N35231
Part No. N35226
Part No. N35230
Part No. N35227
Part No. N35228
Part No. N35229

10 Grain Bag Loader OM
Safety Instructions
Grain Bag Loader Identification

11Grain Bag Loader OM
Safety Instructions
Grain Bag Loader Identification (Cont’d)

12 Grain Bag Loader OM
Other manuals for GrainLogix XLB10
1
Table of contents
Other LOFTNESS Farm Equipment manuals

LOFTNESS
LOFTNESS GrainLogix XLB10 User manual

LOFTNESS
LOFTNESS Kwik-Pik 480 User manual

LOFTNESS
LOFTNESS Draper Windrower Shredder 30 User manual

LOFTNESS
LOFTNESS GrainLogix GBU 12 User manual

LOFTNESS
LOFTNESS 61G4 Series User manual

LOFTNESS
LOFTNESS Grain Bag Loader Manual

LOFTNESS
LOFTNESS Stump Ax 31 User manual

LOFTNESS
LOFTNESS Battle Ax 207460 User manual

LOFTNESS
LOFTNESS 61G4 Series User manual

LOFTNESS
LOFTNESS FertiLogix F1210 User manual