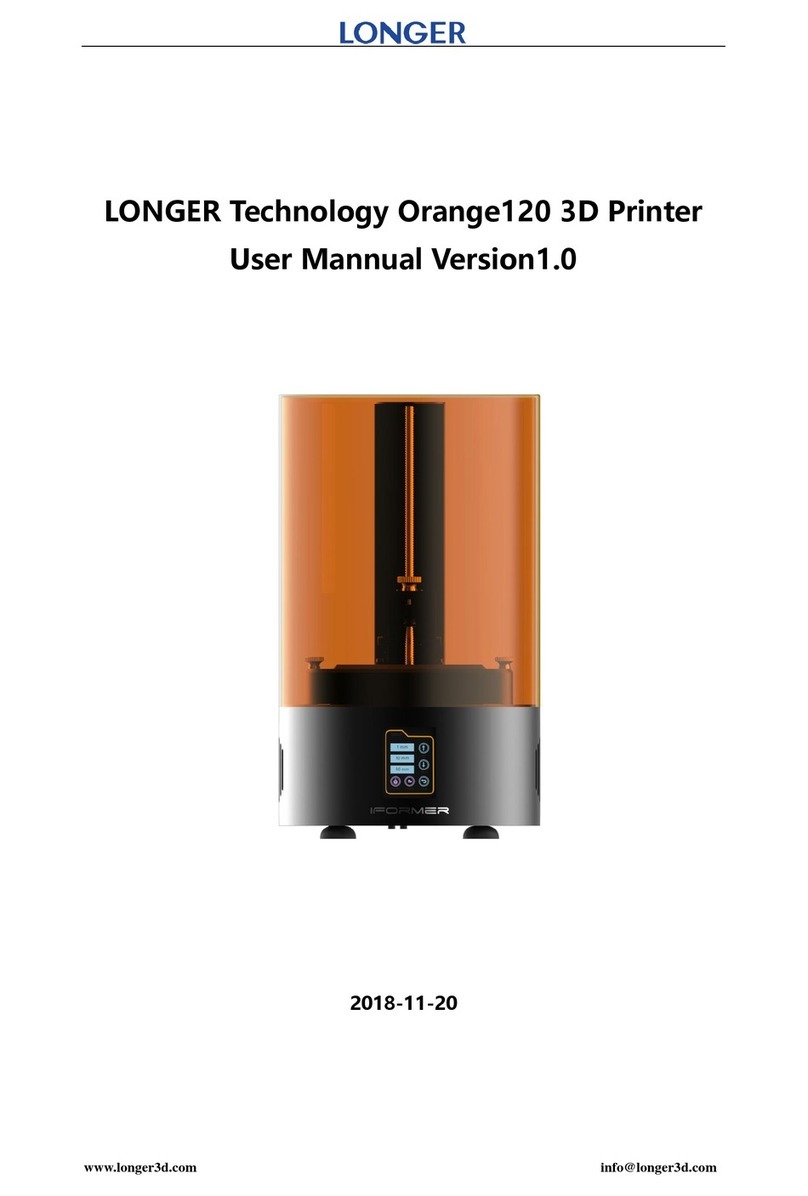
LONGER Orange10 User manual

www.longer3d.com [email protected]
Contents
1. Introduction............................................................................................................................ 1
2. Specifications......................................................................................................................... 2
3. Product Overview.................................................................................................................. 3
3.1 The 3D printer description............................................................................................... 3
3.2 The accessory box............................................................................................................4
4. Active Your 3D Printer........................................................................................................... 4
5 Touch Screen Description.......................................................................................................5
5.1 Main Menu........................................................................................................................ 5
5.2 File..................................................................................................................................... 5
5.3 Job.....................................................................................................................................7
5.4 Setting.............................................................................................................................. 8
5.5 More................................................................................................................................. 9
5.6 Leveling...........................................................................................................................10
6 Software User Manual.......................................................................................................... 12
6.1 PC Requirements.............................................................................................................12
6.2 software installation...................................................................................................... 12
6.4 Printing Procedure......................................................................................................... 14
6.5 main menu...................................................................................................................... 15
6.6 Open............................................................................................................................... 16
6.7 Edit...................................................................................................................................17
6.8 Fix....................................................................................................................................18
6.9 Support...........................................................................................................................19
6.10 Slice................................................................................................................................21
6.11 Generating Job File....................................................................................................... 22
6.12 Post-processing............................................................................................................ 24
7. FAQ....................................................................................................................................... 26
8. Attentions and Maintenance.............................................................................................. 27
9. Printing Cases.......................................................................................................................28
1
www.longer3d.com [email protected]
1. Introduction
This user manual is provided to the operator with necessary and
detailed instructions for safe and correct operation, software,
maintenance, troubleshooting of Orange10 LCD 3D printer. This
manual document must be read carefully before installation and
operation of the printer. The non-compliance with warnings and
instructions may result in printer damage or individual injury. And the
user should be solely responsible for the damage or failure caused by
failure to follow the instructions.
The content of this manual must be treated confidentially. No part of
this document may be given, copied, or transmitted to others without
the authorization.
All rights reserved.

2
www.longer3d.com [email protected]
2. Specifications
Equipment Model
Orange10
Printing Technology
LCD stereolithography
Build Size
9855140mm
Layer Thickness
0.02-0.10mm
LCD Resolution
854480 pixel, 115μm
Z axis Resolution
0.625μm
Build Speed
30mm/h ((100μm layer thickness))
Material
Photopolymer Resin
Light Source
UV LED 405nm
Software
LONGER
Operation System
Windows 7/8/10, 64-bit
Connectivity
TF card
Format
STL
Screen
2.8 inch touch screen
Dimension
6.7"6.7"14.2" (170170360mm)
Net Weight
5.4kg
Package Dimension
8.7"8.7"21.6" (220220550mm)
Gross Weight
7.0kg
Power Requirement
100-240V AC, 50/60Hz
Working Power
72W
Operation Environment
15-30℃, moisture 20%-70%

3
www.longer3d.com [email protected]
3. Product Overview
3.1 The 3D printer description
Z aix
Building platform fixed screw
Vat fixed screw
Touch screen
Thermal via
Building platform
Leveling fixed screw
Hood
TF card
Power port
Switch

4
www.longer3d.com [email protected]
3.2 The accessory box
TF Card1
Power Adapter1
Filtering Funnel2
Latex Gloves2
Scraper1
Photopolymer Resin
250mL1
Card5
Release Film1
●Screw Kits1
●Hexagon Wrench 1.5mm
●Hexagon Wrench 2mm
●Hexagon Wrench 2.5mm
●Hexagon Wrench 3mm
●Hexagon Wrench 4mm
4. Active Your 3D Printer
Put the printer on a flat platform. Make sure that the printer is stable.
Connect power cable and power adapter. Plug into the electronic
power and switch on the printer.

5
www.longer3d.com [email protected]
5 Touch Screen Description
5.1 Main Menu
Home: enter into tools interface which contains “File” and “Setting”.
File: the list of printing files, and selection of file to print.
Setting: move the Z axis; check LCD and LED; information of the
printer.
5.2 File
File: list all printing job files of TF card. The file’s suffix is lgs.
Previous page.
Next page.
Start to print the selected file.

6
www.longer3d.com [email protected]
Back to home page.
Confirm the start printing.
Cancel the printing operation.
Select the file to print from the list, the selected file will be
surrounded by red frame. Click the START, a pop-up window appears
to confirm the operation. Choose YES to start the printing, or select
NO to cancel the printing.

7
www.longer3d.com [email protected]
5.3 Job
Pausing
Paused
Printing process of current layer and total layers.
Remaining time to printing completion.
Elapsed time from start printing.
Real-time temperature of LED PCB.
Pause the printing job. The status will change to pausing when
start to pause, and switch to paused after the current layer is
printed over.
Cancel the printing job, the progress will be stopped at once,
the Z axis moves up about 40mm. And it will be back to home
page after cancelled.
Resume the printing job.

8
www.longer3d.com [email protected]
Real-time printing status.
Confirm the stop printing.
Cancel the stop operation.
5.4 Setting
1) Move: move the Z axis.
10
50
Move up the Z axis.
Move down the Z axis.
Move the Z axis by 1mm (change move distance by clicking the
button).
Move the Z axis by 10mm.
Move the Z axis by 50mm.

9
www.longer3d.com [email protected]
Move the Z axis to the home position.
Stop the motion immediately.
Back to home page.
2) LED
Turn on the LED light and a white picture will be showed to
confirm that the LCD and LED are ok (make sure there is no
resin in the vat, otherwise the resin will be cured).
Turn off the LED light.
Real-time temperature of LED PCB.
Back to home page.
5.5 More
About: the information of the printer

10
www.longer3d.com [email protected]
Printer Model: the model number of the printer.
Temperature: the temperature of LED.
Serial Number: the ID of the printer.
Firmware Version: the version of printer’s firmware.
5.6 Leveling
1) Turn on the printer, move up the Z axis, take out the building plate,
install it as the picture as shown below.
2) Loosen the four leveling fixed screws with hexagon wrench 4mm to
make the building plate can move along Z axis freely.

11
www.longer3d.com [email protected]
3) Loosen the “vat fixed screw”, take down the resin vat, and put a
pieces of A4 paper on the LCD screen. Move down the building
platform to home position, press and hold it, then fasten the leveling
fixed screws diagonally.
4) Drag the A4 paper and feel the force of dragging the paper. The
leveling is suitable when it needs some force to drag the paper.
However, the home position is high when it can drag the paper easily.
On the contrary, the home position is low when it needs large force to
drag the paper. Then it needs to level the platform again.

12
www.longer3d.com [email protected]
Pull
Pull
5) Move up the building platform when the adjustment of home
position is finished. Then, install the resin vat, tighten the vat fixed
screw, pour into the resin. It needs to add resin manually if the volume
of model is bigger than resin left in the vat during printing.
6 Software User Manual
6.1 PC Requirements
Windows 7/8/10, 64-bit; MAC
6.2 software installation
Double click the “LONGERWARESetup.exe”, the installation wizard
will appear as shown below, click “Next”.
Choose install location, click “Install” (the default location is

13
www.longer3d.com [email protected]
C:\Program File (86)\longerware), the installation will begin.
To complete the installation by clicking “Finish”, the slice software will
run and create a shortcut on the desktop.

14
www.longer3d.com [email protected]
6.4 Printing Procedure
1) Open the stl model.
2) Edit the model, such as translate, rotate, scale and clone.
3) Fix the error.
4) Generate support if necessary.
5) Slice the model.
6) Generate and save the printing job file to TF card.
7) Connect to the TF card to printer.
8) Select the printing file and start to print
9) Take down the model after completed, cleanout the model.

15
www.longer3d.com [email protected]
6.5 main menu
Menu Bar
●Open
●Delete
Tools Bar
●Open
●Edit
●Fix
●Support
●Slice
●Print
View Bar
Building Volume
Building Platform
Model
Menu
Bar
Open: load the stl model.
Delete: delete the selected model.
Tools
Bar
Open: load the stl model.
Edit: translate, rotate, scale the model.
Fix: check and fix the model error.

16
www.longer3d.com [email protected]
Support: generate and edit the support.
Slice: slice the model.
Print: set the printing parameter, generate and
save the printing job.
View
Bar
Top view
Bottom view
Left view
Right view
Isometric view
Printer Setting: select the kind of printer.
Minimize the window.
Maximize the window.
Close the window.
6.6 Open
translate
rotate
scale
①
②
③

17
www.longer3d.com [email protected]
Click Open icon to load stl model. It needs to open files separately to
load different models. Select the model, three submenus appear
under the open icon, such as translate, rotate, scale, and an edit dialog
shows in the left bottom (The model presents blue when selected,
otherwise presents grey).
A popup window “model is out of range, please scale it” will show if
the size of the model exceeds building volume in some dimensions. It
needs to scale model when the size is out of range.
6.7 Edit
There are three edit submenus: translate, rotate, scale. The frame of
submenu appears red if it is selected.
Translate: select the model and translate icon, one way to adjust the
position is to click up and down arrow or input the desired number
directly, the other way is holding down the left mouse and drag.
Rotate: select the model and rotate icon, input rotation angle in the
blank, or hold down the left mouse and drag it by 15° intervals.
Scale: select the model and scale icon, input scaling factor or size
number in the blank. Or hold down the mouse wheel and scroll up and
down. The size of model will change along XYZ axis by equal scale.
Clone: make a copy of the selected model.

18
www.longer3d.com [email protected]
Reset: recover to the original status.
Maximize: the model change to maximum size within building volume.
6.8 Fix
Fix: check out the error(s) of the selected model, such as holes,
non-manifold, inverted normal, and click Fix to auto-repair the error(s).
If there are some errors that cannot be repaired by software, it needs
to use other professional software to fix, such as Netfabb, Magics,
otherwise model cannot be printed
(https://www.autodesk.com/products/netfabb/free-trial,
https://www.materialise.com/en/software/magics).
Other manuals for Orange10
1
Table of contents
Other LONGER 3D Printer manuals

LONGER
LONGER LK2 User manual

LONGER
LONGER RAY5 User manual

LONGER
LONGER Orange30 User manual

LONGER
LONGER LK5Pro User manual

LONGER
LONGER LK1 User manual

LONGER
LONGER LK4 User manual

LONGER
LONGER LK4 User manual

LONGER
LONGER LK4 Pro User manual

LONGER
LONGER Orange120 User manual

LONGER
LONGER Cube2 User manual