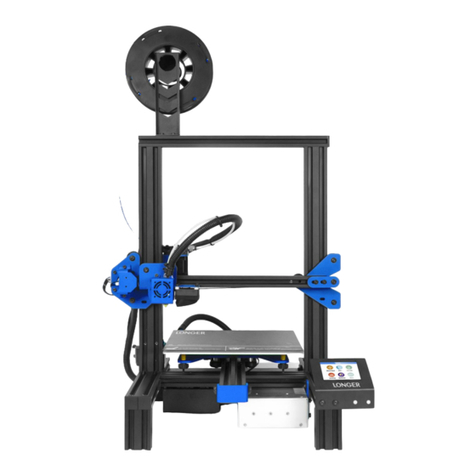
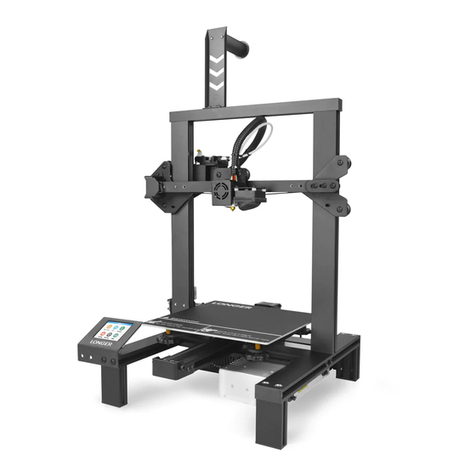
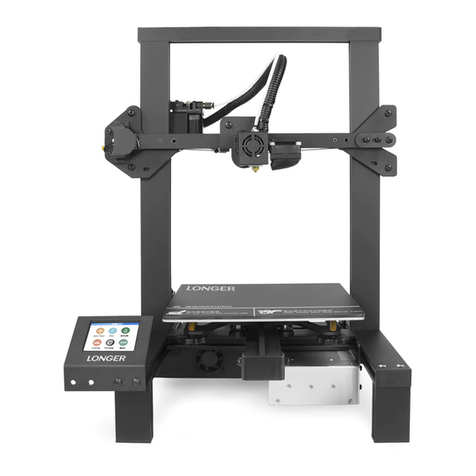
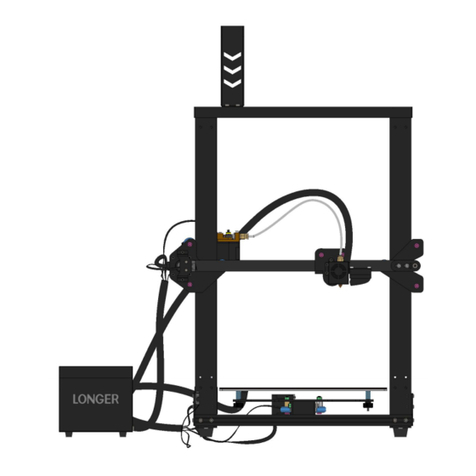
LONGER LK4 Pro User manual


www.longer3d.com info@longer3d.com
Catalog
A. Product information........................................................................................................................3
(1) Model parameter...................................................................................................................3
(2) Machine introduction............................................................................................................ 4
(3) Nozzle module exploded view...............................................................................................4
(4) Machine assembly................................................................................................................. 5
1. Gantry installation...........................................................................................................5
2. X-axis installation.............................................................................................................6
3. Mounting the x-axis beam.............................................................................................. 9
4. Install the gantry upper beam.........................................................................................9
5. Mounting screw...............................................................................................................9
6.Install Teflon tube...........................................................................................................10
7.Install the z-axis limit switch.......................................................................................... 11
8.Mounting aluminum substrate...................................................................................... 11
9.Wiring............................................................................................................................. 12
10. Screen wiring...............................................................................................................12
11.Mounting rack.............................................................................................................. 13
12 .Assembly completed...................................................................................................13
(5)Power regulation...........................................................................................................14
(6)leveling method...............................................................................................................15
B.Machine operation....................................................................................................................16
(1)Machine control interface description........................................................................... 16
(2)Home interface................................................................................................................18
(3)Move interface................................................................................................................ 19
(4)Tune interface..................................................................................................................20
(5)Utilities interface.............................................................................................................22
(6)Print interface..................................................................................................................25
C.Cura installation and operation software................................................................................. 26
(1)Slice software offline printing instructions.....................................................................29
(2)Software parameter setting............................................................................................ 32
D.Operation for online printing....................................................................................................35
E.Resume printing and filament run-out detection function......................................................38
(1)Power failure................................................................................................................... 38
(2)Broken material detection.............................................................................................. 39
F.FAQ manual............................................................................................................................... 40
Question1: How to update the firmware?...........................................................................40
Question 2:What if the filament does not discharge from the machine?.................... 41
Question 3:.............................................................................................................................. 42
Question 4: What should I do if I cannot resume printing after power shutdown?..... 43
Question 5:.............................................................................................................................. 43
Question 6:............................................................................................................................... 44
www.longer3d.com info@longer3d.com
1
Safety Precautions
1) The temperature of the nozzle parts can reach 250 °C during the
operation of the machine. To ensure your safety, it is forbidden to touch
the model and nozzle directly with your hand while the printer is
printing or cooling.
2) During the operation of the machine, it is forbidden to reach into the
machine to prevent pinching.
3) The working voltage is 110~220V AC voltage 50HZ AC. The three-pin
socket must be grounded. Do not use other power sources to avoid
damage to components or fire, electric shock and other accidents.
Note: Before powering on, please check whether the input voltage value
of the switching power supply meets the voltage standard of the country
or region.
4) When the machine is working continuously for ≥ 96 hours, it should
be stopped for 1-3 hours.
Consumables
The consumables are not used after unpacking or for a long period of
time after the print model is completed. The consumables should be
taken out of the printer and sealed to prevent the consumables from
being exposed to the air for a long time, causing moisture and affecting
the print quality. At the same time, when the consumables are removed

www.longer3d.com info@longer3d.com
2
The front end of the consumable should be fixed on the tray to avoid
consumables and affect the next print.
To use this printer, it is recommended to use the supplies provided by
the company. At present, the quality of consumables sold in the retail
market is uneven, and printing is prone to breakage.
Staggering and clogging the printer nozzle, etc., and irreversible damage
to the heating components of the nozzle, the extrusion motor and the
extrusion gear. The company will not guarantee the printer due to the
use of consumables other than our company.
Environmental requirements
Temperature requirement: 10°C~30°C, humidity requirement: 20%~50%,
this 3D printer can work normally within this range; beyond this range,
this 3D printer will unable to achieve the best print results.

www.longer3d.com info@longer3d.com
3
A.Product information
(1) Model parameter
model
LK4 Pro
Machine size
402*382*655 MM
frame
Classic aluminum
frame
Machine weight
7.8KG
Molding
FDM (hot melt
production)
Package
dimensions
467*412*187 MM
Number of nozzles
1
Consumable color
Multi-color
optional
Molding size
220*220*250mm
Power requirement
Output 24V
Layer thickness
0.1-0.4mm
operating system
Windows,Linux,MAC
Memory card offline
printing
Support TF card
Interface
language
English
Serial screen
YES
Environmental
requirements
Temperature 10-30 °
C
Humidity 20-50%
printing speed
Not more than
120mm/s
Nozzle
temperature
Room temperature to
250 ° C
Nozzle diameter
0.4mm
Hot bed
3mm thick integrated
heating aluminum
plate, forming
platform
Slicing software
Cura,repetier-host
Support
consumables
PLA, ABS, wood,
copper consumables
file format
STL,G-Code,OBJ
Consumable
diameter
1.75mm

www.longer3d.com info@longer3d.com
4
(2) Machine introduction
(3) Nozzle module exploded view
Gantry
Hot bed
Motherboard
Rack
Nozzle module
Extruder module
Foot
power supply
Quick pneumatic joint
Heat sink
Heating block
nozzle
Heater
Thermistor
Sheet metal protective case
3010 fan
4010 fan
Air guide

www.longer3d.com info@longer3d.com
5
(4) Machine assembly
1. Gantry installation
The screw used is M5*20
Two blue boxes in the picture, need
to be in one direction

www.longer3d.com info@longer3d.com
6
2. X-axis installation
Screws are all M4*16
If the nozzle block wheel cannot
enter, use a wrench to adjust the
eccentric nut.

www.longer3d.com info@longer3d.com
7

www.longer3d.com info@longer3d.com
8
The tension of the belt can be
adjusted by the two screws on the
box

www.longer3d.com info@longer3d.com
9
3. Mounting the x-axis beam
4. Install the gantry upper beam
5. Mounting screw
If the wheel does not fit in, you can adjust
the wheel with the eccentric nuts on both
sides. Let the X-axis beam enter
Use 4 M5*20
Use 2 M4*16

www.longer3d.com info@longer3d.com
10
6.Install Teflon tube
Let the lead screw snap into the
coupling and the motor shaft is also
aligned with the lead screw. Tighten
the top wire
Adjust the screw movement by adjusting
these two screws. The two screws cannot
be tightened too tightly. Turn the
coupling by hand to adjust the
movement of the lead screw.
note
Teflon
tube and
line
direction

www.longer3d.com info@longer3d.com
11
7.Install the z-axis limit switch
8.Mounting aluminum substrate
Z-axis limit opening
installation is about
12mm from the base
(this is adjustable)

www.longer3d.com info@longer3d.com
12
9.Wiring
1. X motor line 2. X limit switch line 3. E-axis motor line
4. E-axis break detection 5. Z-axis motor line 6.Z-axis limit switch
10. Screen wiring
1
2
3
4
5
6

www.longer3d.com info@longer3d.com
13
11.Mounting rack
12 .Assembly completed

www.longer3d.com info@longer3d.com
14
(5)Power regulation
If the access voltage is 220V, please
adjust the power supply in the
control box to 220V, please be sure
to confirm before powering on.
Otherwise it will burn the power
If the access voltage is
110V, please adjust the
power supply in the
control box to 110V, please
be sure to confirm before
powering on. Otherwise it
will burn the power

www.longer3d.com info@longer3d.com
15
(6)leveling method
You can manually click the XY zero
and Z zero in the Movement
interface, then unlock, manually
move the hot bed and the nozzle,
and then adjust the leveling nut so
that the distance from the nozzle
to the hot bed is about one A4
paper thickness.。
Turn on the machine, click the levelling button,
click the four buttons in turn, the nozzle will
move to the corresponding position
correspondingly. After waiting to move to the
corresponding position, you can manually
adjust the hand nut to adjust the distance
between the nozzle and the hot bed to
approximately one A4. Thicken the paper,
tighten the screw [tighten counterclockwise],
and increase the distance between the heating
plate and the nozzle. Loosen the screw [screw
in the clockwise direction] and the heating plate
will be close to the nozzle. Adjust the other
three points in turn to complete the leveling.

www.longer3d.com info@longer3d.com
16
B.Machine operation
(1)Machine control interface description
Primary
interface
Secondary
interface
Explain
HOME
Nozzle temp
Display nozzle temperature
Heatbed temp
Display the temperature of the hot bed
File
The name of the file
Time
Print time
Progress
Print process
Height
Print height
Pause
time out
Cancel
End
Move
X,Y
X, Y left and right movement and zeroing
Z
Z axis movement
E
In and out of consumables
Distance
Moving distance
Disable
Unlock the motor
Enable
Locking motor
Tune
Nozzle
temperature
Increase\lower
Nozzle temperature
control
Cool
Temperature back to 0 °
C
step(℃)
Temperature control step
size
Heatbed
temperature
Increase\lower
Hot bed temperature
control
Cool
Temperature back to 0 °
C
step(℃)
Temperature control step
size
Fan speed
Increase\lower
Fan speed control
stop fan
The fan stops rotating
step
Step speed of the fan
speed
Feed rate
Increase\lower
Print speed

www.longer3d.com info@longer3d.com
17
magnification
Restore
Restore default (100%)
step
Print speed step size
Nozzle flow rate
Increase\lower
Nozzle flow control
Restore
Restore default (100%)
step
Nozzle flow step size
LEDs
Open \close
LEDs light control
Utilities
Filament
Nozzle temp
Nozzle temperature
display
Heatbed temp
Hot bed temperature
display
Filament type
PLA\ABS
Cool
Nozzle\ Heatbed
Filament change
Feeding/returning
length control
Load\Unload
Feeding/returning
control
Leveling
/
/
/
Print
TF card
Select print file
open
Start printing

www.longer3d.com info@longer3d.com
1818
(2)Home interface
Print file
parameter
information
Pause
Cancel
Other manuals for LK4 Pro
1
Table of contents
Other LONGER 3D Printer manuals

LONGER
LONGER LK4 Pro User manual

LONGER
LONGER LK4 User manual

LONGER
LONGER LK1 User manual

LONGER
LONGER LK5Pro User manual

LONGER
LONGER LK2 User manual

LONGER
LONGER Orange120 User manual

LONGER
LONGER LK4 X User manual

LONGER
LONGER LK4 User manual

LONGER
LONGER Orange30 User manual

LONGER
LONGER RAY5 User manual