manuals.online logo
Brands
  1. Home
  2. •
  3. Brands
  4. •
  5. Lorex
  6. •
  7. Security System
  8. •
  9. Lorex VANTAGE LH110 ECO SERIES User manual

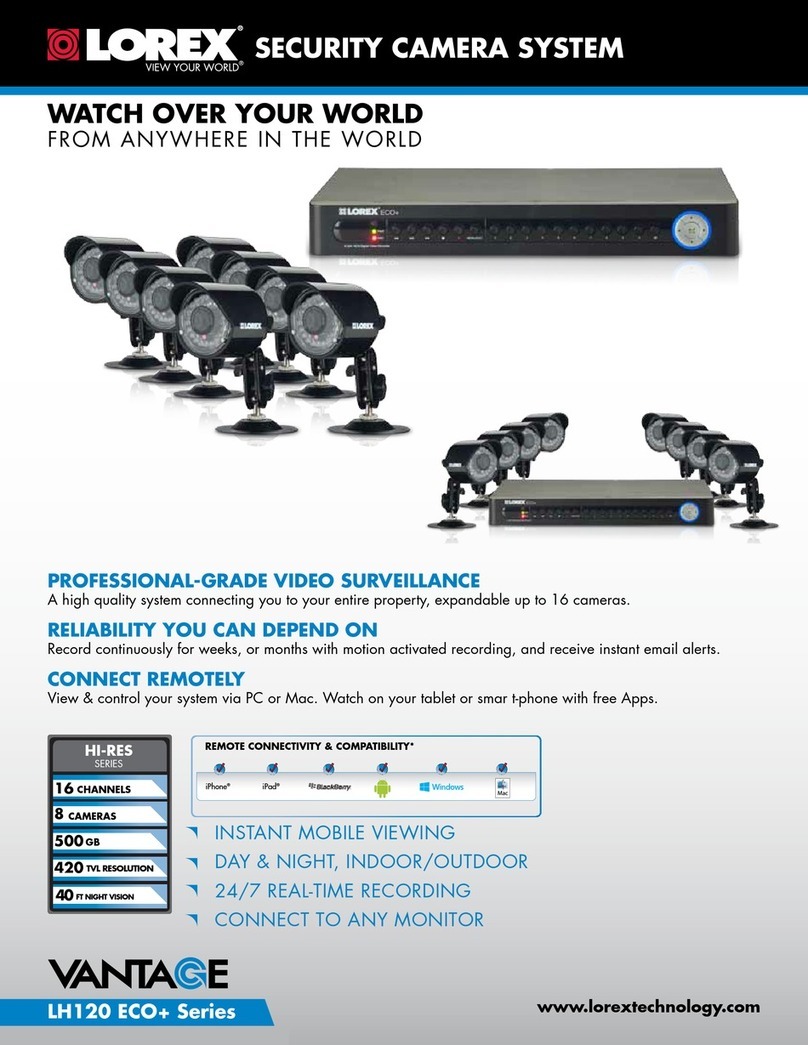
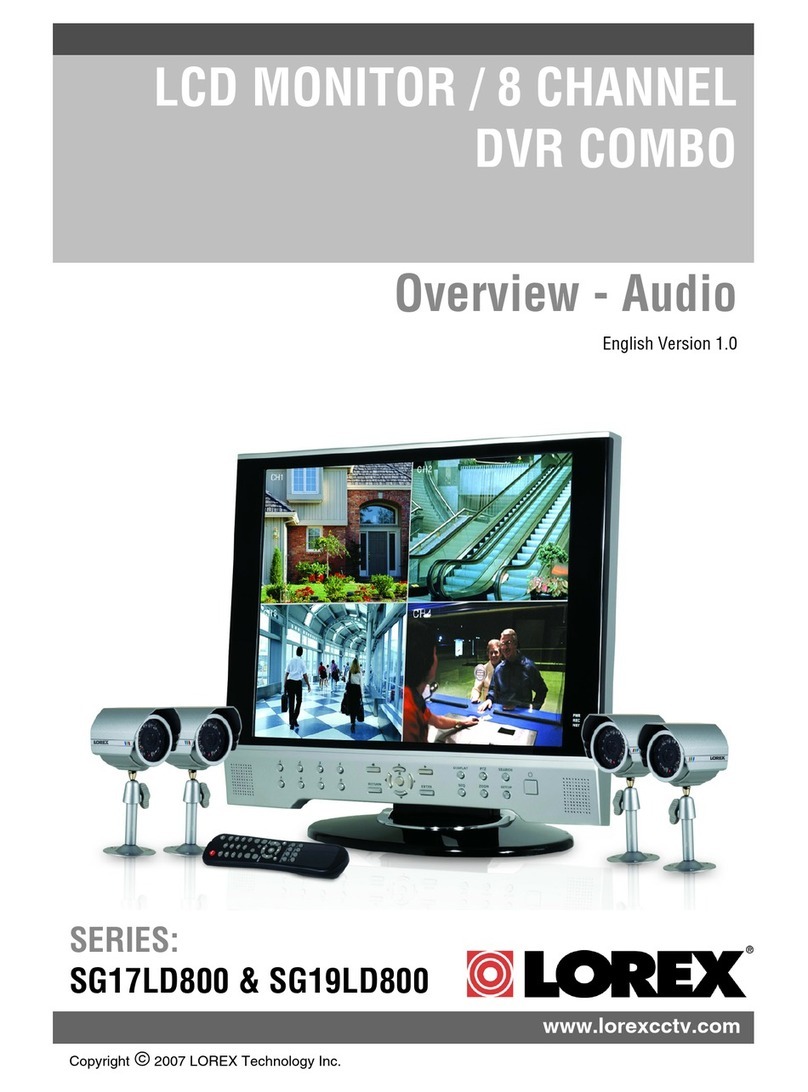
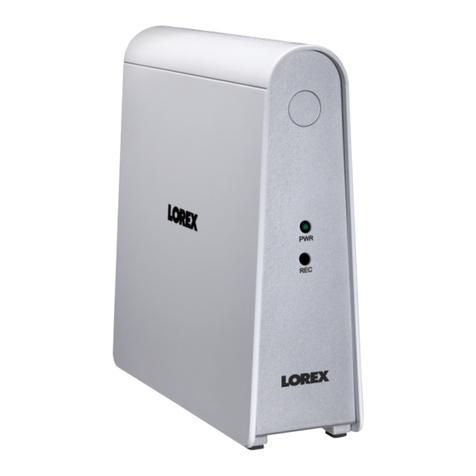
Lorex VANTAGE LH110 ECO SERIES User manual

Skill Level
Intermediate
easy advanced
Time
under 30 minutesunder 15 minutes under 60 minutes
Hand Tools Hardware
Router
Hi Speed
over 60 minutes
Skill Level
Intermediate
easy advanced
Time
under 30 minutesunder 15 minutes under 60 minutes
Hand Tools Hardware
Router
Hi Speed
over 60 minutes
Time: 20 Minutes Time: 20 Minutes Time: 20 Minutes
Hand Tools Hand ToolsSkills - Easy Skills - Easy Skills - Easy
BASIC INSTALLATION GUIDE BASIC INSTALLATION GUIDE BASIC INSTALLATION GUIDE BASIC INSTALLATION GUIDE
Skill Level
Intermediate
easy advanced
Time
under 30 minutesunder 15 minutes under 60 minutes
Hand Tools Hardware
Router
Hi Speed
over 60 minutes
Skill Level
Intermediate
easy advanced
Time
under 30 minutesunder 15 minutes under 60 minutes
Hand Tools Hardware
Router
Hi Speed
over 60 minutes
Skill Level
Intermediate
easy advanced
Time
under 30 minutesunder 15 minutes under 60 minutes
Hand Tools Hardware
Router
Hi Speed
over 60 minutes
Digital Video Surveillance Recorder
ECO LH110 Series
Quick Setup Guide
ATTENTION:
• ThisguiderefersonlytotheDVRset-up.
• DVRmodel,numberofchannels/portconfigurationandHDD(harddiskdrive)
capacitymayvarybymodel.Checkyourpackageforspecificcontentinformation.
• Monitorandcamerasarenotincluded.
• Broadbandrouterandcomputerarerequiredforlocalandremotemonitoring(not
included).
Fordetailedsetupinformation,pleasereferto
yourincludedUser’sManual.Foradditional
information,pleasevisitourwebsite
www.lorextechnology.com
Informationinthisdocumentissubjecttochangewithoutnotice.As
ourproductsaresubjecttocontinuousimprovement,LorexTechnology
Inc.andoursubsidiariesreservetherighttomodifyproductdesign,
specificationsandprices,withoutnoticeandwithoutincurringany
obligation.E&OE©2012LOREX.Allrightsreserved.
* For setup of Instant Mobile Viewing
refer to your User Manual.
It’sallontheWeb
Instant
Mobile
Viewing
Time: 30 Minutes Skills - Intermediate
Hardware:
PC/Router
Skill Level
Intermediate
easy advanced
Time
under 30 minutesunder 15 minutes under 60 minutes
Hand Tools Hardware
Router
Hi Speed
over 60 minutes
Skill Level
Intermediate
easy advanced
Time
under 30 minutesunder 15 minutes under 60 minutes
Hand Tools Hardware
Router
Hi Speed
over 60 minutes
Congratulations!Youcannowview&playbackvideoonyourviayourLAN.
1XEcoDigitalVideoRecorderWithPre-InstalledHDD*
1XUSBMouse
1XPowerAdapter
1XRemoteControl
1XEthernetCable
1XInstructionManual
1XQuickStartGuide
1XCD
PACKAGE CONTENTS:
2
Connecting the USB Mouse
ConnecttheUSBmouse
tothetopUSBportonthe
backpaneloftheDVR.
4
Connecting the Ethernet Cable
Connectoneendofthe
Ethernetcabletoanavailable
LANportofyourrouter(not
included)andtheotherendto
theDVR’sNetworkPort.
5
Powering ON the DVR
Connectthepowercableto
theDC12Vportontherear
panelandthepowercordinto
anelectricaloutlet.Thesystem
turnsonautomaticallyoncethe
powercordispluggedin.
Atstartup,thesystemperforms
abasicsystemcheckandruns
aninitialloadingsequence.
Afterafewmoments,thesystem
loadsalivedisplayview.
NOTE:Makesureallcameras
andcablesareproperly
connectedpriortopowering
onthesystem.
NOTE:Ifyourmonitorisnotautomaticallydetected,theDVRfront
panelbuttons,mouseandremotecontrolmaynotrespond.Tofixthis,
simplypress“0”threetimesontheremotecontrolorpressandhold
the (rewind)buttonontheDVRfrontpaneluntilyouhearabeep.
Formoreinformation,pleaserefertotheUser’sManual.
3a
Connecting a Monitor (not included)
ConnecttheVGAcable(not
included)fromyourLCD
monitortotheVGAporton
therearpaneloftheDVR.
3b FromoneoftheVIDEO
OUTPUTportsconnectaBNC
terminatedcable(notincluded)
toaTVorCCTVmonitor.
OR
2
Using a Mouse (Recommended)
1:Left-Button:Clicktoselectamenu
option;duringliveviewinginsplit-
screen,double-clickonachannel
toviewtheselectedchannelin
full-screen.;double-clickthechannel
againtoreturntosplit-screenview.
2:Right-Button:Clicktoopenthe
Sub-Menuortoexitfromamenu.
3:Scroll-Wheel:Nofunction.
1 2
3
YouhavecompletedSTEPS1&2successfully.YourDVR
isnowreadytouse.Refertotheowner’smanualtolearn
howtorecord,playback,searchandforallotherfeatures
availablewiththisDVR.
Managing Passwords
Bydefault,passwordsaredisabledonthesystem.
Youdonotneedtoenterapasswordwhenaccessingany
systemmenus.
7
NOTE: For security purposes, it is highly recommended to
enable passwords on the system using the Password Menu.
Please refer to the owner’s manual for more information.
NOTE: By default, the DVR username and password are
left blank
Using the Main Menu
Right-clickanywhereon-screen
toopentheSub-Menuandselect
MAIN MENU(mouseonly),or
presstheMENU buttononthe
remotecontrolortheMENUbutton
onthesystemfrontpaneloftheDVR.
1
NOTE:Ifpasswordsareenabled
onthesystem,youneedtoselect
yourDeviceIDandenterthe
6-digitnumericalpasswordto
opentheMainMenu.
1 2 3
4 5 6
1.Display
2.Record
3.Network
4.Search
5.Device
6.Advance
Connecting Cameras (not included)
1ConnectBNCcamerastothe
BNCports(VIDEO INPUT)
ontherearpanel.
NOTE:Testthecameraspriorto
selectingapermanentmounting
locationbytemporarily
connectingthecamerasand
cablestoyourDVR. NOTE:thefourchannel
modelisshown
21.LaunchInternet Explorer.
2.Intheaddressbar,entertheIP address of your DVR (recorded
inthepreviousstep)
NOTE: Enterhttp://followedbytheIPaddressofyourDVR(recorded
instep3-1),thenacolonfollowedbytheWebPortnumber
i.e. http://192.168.X.XXX:80
Logging into Lorex Web Client (LOCALLY)
4.YoumustinstalltheActiveX®plug-inforDVRNetviewertofunction.
Clicktheattentionbaratthetopofthemainpageandselect
Install ActiveX Control.LorexWebClientwillreset.
5.LoginwithyourLANusernameandpassword.Fromthesecurity
window,clickInstall.
3.Enteryouruser name and
password,thenclickLOGIN.
Yourdefaultlogin:
Usernameis“admin”
Password is left blank
Itisimportanttosetthecorrecttimetoassureaccuratetime
stampsonvideorecordings.
Setting the Date & Time
1.Right-clickanywhereonthescreentoopentheSub-
MenuandselectMAIN MENU.
2.ClickAdvance > DATE/TIME.
3.ConfigurethedateandpressUPDATE NOW to save
yoursettings.PressAPPLYandthenEXIT.
6
TheDVRcanalsobecontrolledusingthefrontpanel
buttonsandtheincludedremotecontrol.
PleaserefertotheUser’sManualformoreinformationon
thesemethods.
Other Control Options
3
RemoteControl
FrontPanelButtons
Retrieve the DVR Information
TorecordyourIPAddress,MacAddress
andWebPortright-clickintheviewing
window,andthenclick
Main Menu>Advance>Information
1Thisstepwillteachyouhowtolocally
viewyoursystemovertheLAN(local
areanetwork)usingyourPC.
NOTE:Thismethodonlyworks
ifyourcomputerisonthesame
networkastheDVR.
3
Live Viewing Using the Web Client (LOCALLY)
Forafull
explanationofall
thebuttonsand
features,please
refertotheUser’s
Manual.
Uponlogin,theWebClientmainscreenappearsinyourbrowser.
BASICSETUPBASICSETUP NAVIGATIONANDCONTROLS SET-UPLOCALVIEWINGONYOURPC
Continued
STEP1 STEP2 STEP3
STEP1
LH110SeriesQuickSetupGuide-English-R4
Recordtheinformationinthesectionbelow:
IPADDRESS: _______._______ ._______._______
MACADDRESS: _____:_____:_____:_____:_____:____
WEBPORT: _________
(RequiredforDDNSregistration)
INTERNETREMOTEMONITORING
INTERNETREMOTEMONITORING INTERNETREMOTEMONITORING INTERNETREMOTEMONITORING INTERNETREMOTEMONITORING
Congratulations!YouhavecompletedStep4successfully.You
cannowconnectovertheinternettoviewandplaybackvideo.
Continued
Continued
Continued Continued
5
Openyourwebbrowser(InternetExplorerbydefault)and
enter http://www.lorexddns.netintheaddressbar.
DDNS (Dynamic Domain Name System) Set-up
http://www.lorexddns.net
1: Populate the Router Database
3TheAutoPortForwardingWizard
automaticallypopulatesalistof
currentrouters,anddetectsthe
numberofconnectedrouters.
1.ClicktheNextbuttonafterthe
softwaredetectsyourrouter
configuration.
2.UnderRouter IP,clicktheDetect Router IP button.
Therouter’sIPpopulatesintheblankfield.
3.UnderUsername and Password,entertherouter’s
usernameandpassword.
4.UnderIP,entertheIPaddressofyourLorexdeviceas
recordedinStep3-1.
5.UnderPort,entertheportnumber(s)thatrequireforwarding
(80,9000,1025).
6.ClickNexttocontinue.
NOTE:ClicktheAuto Detectbuttonifyouhavea
LinksysorNetgearrouter(thisworkswithmostmodels).
2: Enter your Router Settings
80
9000
1025
1.UndertheRouterdrop-downlist,
selectthemodelofyourrouterOR
clicktheSearchbuttontoenter
thenameofyourroutermodel.
NOTE:Ensureyouselectthe
propermodelandfirmware
numberoftherouter(asitappears
onthebackoftherouter)
IMPORTANT:Defaultportsthatmustbeportforwarded
forremoteaccess:
Port80(WebPort)
Port9000(NetClient/MediaPort)
Port1025(MobileConnectivityPort)
4: Test your Connection
1.ClicktheTest Your Connection button.Yoursystem’s
defaultbrowseropensandconnectstoyourLorexdevice.
NOTE:EnsurethatInternetExplorerisyoursystem’s
defaultinternetbrowser.
3: Update the Router Settings
1.ClicktheUpdate Router
button.Theprogrambegins
updatingtheroutersettings.
Thismaytake20-30seconds.
2.Closetheupdatewindow
whentheupdatefinishes.
NOTE: Youmayhaveto
manuallysaveyourroutersettings
afterthesoftwaremakesthe
requiredchangestoyourrouter.
ForInstantMobileConnectivityusinga
SmartPhonerefertotheinstructionmanual.
MakesuretocompleteStep4entirely.
ToconnectusingMac,pleaseseethe
instructionmanual.
ForafullexplanationofalltheWebClientbuttonsand
features,pleaserefertotheUser’sManual.
Uponlogin,theWebClientmainscreenappearsinyourbrowser.
Navigation
Tabs
Active
Channel
List
PlayControl
Options
PTZControls
Main
Screen
Lorex Web Client Screen
To install ActiveX®plug-ins on Internet Explorer:
1. LogintoyoursystemusingInternetExplorer.
2. ClicktheActiveXbannernearthetopofthebrowser,and
thenclickRun Add-on.
Whenconnectingtoyoursystemthefirsttime,youwillhaveto
installanActiveXplug-inforInternetExplorer.
Installing ActiveX Plug-ins
RunAdd-on
Auto Port Forward Wizard
1
TheLorexAutoPortForwardingWizardisasoftwarethat
automatesrouterportforwarding.
NOTE: YoumustbeonthesamenetworkastheDVRwhen
settinguptheDDNS.
Youmusthavethefollowingbeforeyouconfigurethesoftware:
1.Yourrouter’smodel and versionnumbers
2.Yourrouter’suser name and password
3.YourLorexdevice’sIP address (recorded in Step 3-1)
4.YourLorexdevice’sportnumbersthatrequireportforwarding
(80,9000,1025) 1.Right-clickinthemain
viewingwindow,
andthenclickMain
Menu>Network.
2. ClickDDNS Setup.
3. IntheDDNSdrop-down
menu,selectEnable.
Enable DDNS on the DVR
9
Optional: Manual Port Forward
4
If you were unable to port-forward your router
automatically using the wizard, you will need to
manually forward ports 80, 9000 and 1025 to
your DVR’s IP address.
Allroutersaredifferent.Toportforwardyourrouter,pleaserefer
toyourrouter’susermanual.
Anexampleofaportforwardingscreenisshownfor
illustrationpurposes.
80 80
Web
EXAMPLE
9000 12
12
Media 9000
1025 12
Mobile 1025
STEP4 STEP4 STEP4 STEP4 STEP4
REMOTE INSTALLATION GUIDE
Time: 20 Minutes Skills - Intermediate
Hardware:
PC
Skill Level
Intermediate
easy advanced
Time
under 30 minutesunder 15 minutes under 60 minutes
Hand Tools Hardware
Router
Hi Speed
over 60 minutes
Logging into DVR Web Client (REMOTELY)
ToaccessyourDVRremotely,entertheDDNSaddressthatyou
createdearlierintoInternetExplorer.TheDDNSAddressmust
include http://,yourURLrequest,followedby.lorexddns.
net,a colon,thentheWeb port number of your DVR.
http://tomsmith.lorexddns.net:80
ExampleofaDDNSaddress:
URLRequest Colon
WebPortNumber
Click Applytosaveyoursettings.
EnterthefollowingintotheDDNS Setupmenu:
•Host Name:EntertheDomainName/URLRequestthat
wasemailedtoyouafterDDNSregistration.
•User Name:EnteryourDDNSUserNamethatwas
emailedtoyouafterDDNSregistration.
•Password:EnteryourDDNSDevicePasswordthatwas
emailedtoyouafterDDNSregistration.
Enter the DDNS Information into the DVR
10
11
8
AnautomatedREGISTRATION CONFIRMATION E-MAIL
willbesenttoyouremail.PrintandSavethisconfirmation.You
willneedtoenteritintoyoursystemtoenableremoteaccess.
Registration E-mail
1.Click Step 1
2.CreateanewMyLorexaccountor
signinusinganexistingaccount.
6Create Account
6.ClickSavetoregisteryourproductforDDNS.ADDNS
registrationconfirmationemailwillbesenttotheemail
addressusedtoregisterforMyLorex.
NOTE:URLRequestshouldnotbemorethan15characters.
6.FillouttheMy
DDNSform:
• Product Warranty:
Selecttheproduct
warrantyyoucreated
intheprevioussteps.
• Device Name:Enteranameforyourdevice.Youcan
enteryourname,businessname,oranythingofyourchoice.
• MAC Address:EntertheMACaddressofyourLorex
systemrecordedinStep3-1.
• URL Request:Enterthewebsiteaddressthatwillbe
usedtoconnecttoyourLorexsystem.
Complete New Account Information
7
4.Fillinthewarrantyregistration
formwithyourproductand
purchasedetailsandclickSave
Warranty.Checkthesticker
underneathyourDVRforthe
ProductModelNumberand
SerialNumber.
5.ClickSet Up a New DDNS.
Insertthesystem’ssoftwareCD,andfollowtheinstructionsto
launchtheLorex Auto Port Forwarding Wizardsoftware.
Installation
2
NOTE: TheWizardisPCcompatibleonly.
 Macusers,pleasegotoStep4-4.
DomainName/URLRequest:tomsmith
DDNSUserName:tomsmith
DDNSDevicePassword:(yourpassword)
EXAMPLE
LH110SeriesQuickSetupGuide-English-R4
4-06062012
Logging into the System
NOTE:CertainISP(InternetServiceProviders)blockport
80.Ifyouareunabletoconnect,checkwithyourISPand
consultwiththeusermanualforinstructionsonchangingthe
webport.Makesuretoportforwardyourrevisedwebport.
1.Entertheuser name and password,asshownbelow.
3. SelecttheOpenAllChannels
Previewcheckbox.
4. ClickLogintoconnecttothesystem.
Defaultlogin:
Usernameis“admin”
Password is left blank
NOTE:Pleaseallow10~15minutesfortheDDNSserverstoupdate
withyournewDDNSaddress.ThisisnormalfortheDDNSsystem.
3.UnderYourAddress,
select an address or click
Enter a New Address
tocreateanewaddress.
Fillinyouraddress
informationandclick
Create Address.
1.ClickWarranties.
2. ClickActivate Warranty.
NOTE:WarrantyRegistrationisrequiredforDDNS.
Instant
Mobile
Viewing
Select Enable
Host Name: Enter
DomainName/URLRequest
User Name:EnterDDNS
UserName
Password:EnterDDNS
DevicePassword

Other manuals for VANTAGE LH110 ECO SERIES

6

Other Lorex Security System manuals

Lorex LHB926 Series User manual

Lorex

Lorex LHB926 Series User manual

Lorex LW2002BAC1 User manual

Lorex

Lorex LW2002BAC1 User manual

Lorex LW2300 SERIES User manual

Lorex

Lorex LW2300 SERIES User manual

Lorex LW1741 User manual

Lorex

Lorex LW1741 User manual

Lorex L20WD800 Series User manual

Lorex

Lorex L20WD800 Series User manual

Lorex SHS-4QM Series User manual

Lorex

Lorex SHS-4QM Series User manual

Lorex LWB3800 Series Instruction Manual

Lorex

Lorex LWB3800 Series Instruction Manual

Lorex SG14S1022P User manual

Lorex

Lorex SG14S1022P User manual

Lorex LHA4100 series Operator's manual

Lorex

Lorex LHA4100 series Operator's manual

Lorex L23WD SERIES User manual

Lorex

Lorex L23WD SERIES User manual

Lorex LW2602 User manual

Lorex

Lorex LW2602 User manual

Lorex LW292 SERIES User manual

Lorex

Lorex LW292 SERIES User manual

Lorex LW2201 Series User manual

Lorex

Lorex LW2201 Series User manual

Lorex SG19LD804-161 Installation guide

Lorex

Lorex SG19LD804-161 Installation guide

Lorex SG17L7584 User manual

Lorex

Lorex SG17L7584 User manual

Lorex L19LD1600 Series User manual

Lorex

Lorex L19LD1600 Series User manual

Lorex SHS-2S7LD Series User manual

Lorex

Lorex SHS-2S7LD Series User manual

Lorex LW1200 Series User manual

Lorex

Lorex LW1200 Series User manual

Lorex SHS-2S6183W User manual

Lorex

Lorex SHS-2S6183W User manual

Lorex L14Q684C User manual

Lorex

Lorex L14Q684C User manual

Lorex H32A Series User manual

Lorex

Lorex H32A Series User manual

Lorex SHS-4QM2 User manual

Lorex

Lorex SHS-4QM2 User manual

Lorex SHS-4SM User manual

Lorex

Lorex SHS-4SM User manual

Lorex SHS-2SA series User manual

Lorex

Lorex SHS-2SA series User manual

Popular Security System manuals by other brands

Trust 200AF manual

Trust

Trust 200AF manual

EDS EDA-T Series installation manual

EDS

EDS EDA-T Series installation manual

DELTA DORE Pack TYXAL+ Access Quick installation guide

DELTA DORE

DELTA DORE Pack TYXAL+ Access Quick installation guide

Hive Siren user guide

Hive

Hive Siren user guide

Black cat 6802002 Operation manual

Black cat

Black cat 6802002 Operation manual

Bradley S19-320 Installation

Bradley

Bradley S19-320 Installation

Pfannenberg PY L-S quick guide

Pfannenberg

Pfannenberg PY L-S quick guide

Technoalarm SIRTEC Guide

Technoalarm

Technoalarm SIRTEC Guide

ADEMCO 4180 user manual

ADEMCO

ADEMCO 4180 user manual

Serene SEREONICALERT CA-360Q user manual

Serene

Serene SEREONICALERT CA-360Q user manual

ITI Simon 2 quick guide

ITI

ITI Simon 2 quick guide

Politec MANA MW INSTALLATION AND MOUNTING MANUAL

Politec

Politec MANA MW INSTALLATION AND MOUNTING MANUAL

Essence Care@Home C7000 Series Getting started

Essence

Essence Care@Home C7000 Series Getting started

Honeywell XC70 Operating and installation instructions

Honeywell

Honeywell XC70 Operating and installation instructions

Speaks z wave WWA-01 instruction manual

Speaks z wave

Speaks z wave WWA-01 instruction manual

teko Astra-322 User instructions

teko

teko Astra-322 User instructions

DSC Power 832 PC5921 Mounting instructions

DSC

DSC Power 832 PC5921 Mounting instructions

Baldwin Boxall Microdrive Setup instructions

Baldwin Boxall

Baldwin Boxall Microdrive Setup instructions

manuals.online logo
manuals.online logoBrands
  • About & Mission
  • Contact us
  • Privacy Policy
  • Terms and Conditions

Copyright 2025 Manuals.Online. All Rights Reserved.