3
IMPORTANT NOTICE
IMPORTANT NOTICE: Indicates that equipment or property
damage can result if instructions are not followed.
Read and Understand the Manual
It is the responsibility of any individual who installs or
maintains this product to fully understand and follow
proper installation and maintenance procedures. Be aware of
the inherent dangers in the use of power tools when installing
this product. Read and understand all Warnings, Cautions,
and Important Notices in this manual.
Work Safely
DO NOT proceed if any doubt arises about the correct
or safe method of performing anything found in this or
other MAAX manuals. The installation of this product can
require using power tools. Do not use power tools without
adequate training. If necessary, hire or consult a trained
professional for expert assistance before continuing.
Use Proper Tools
Always use proper tools which are in good, working
condition during the installation of MAAX products.
Using tools other than those listed could adversely affect the
integrity of floors, pipes, walls, or this product and could result
in water damage or other damage to floors, pipes, walls, or
other portions of your building or home.
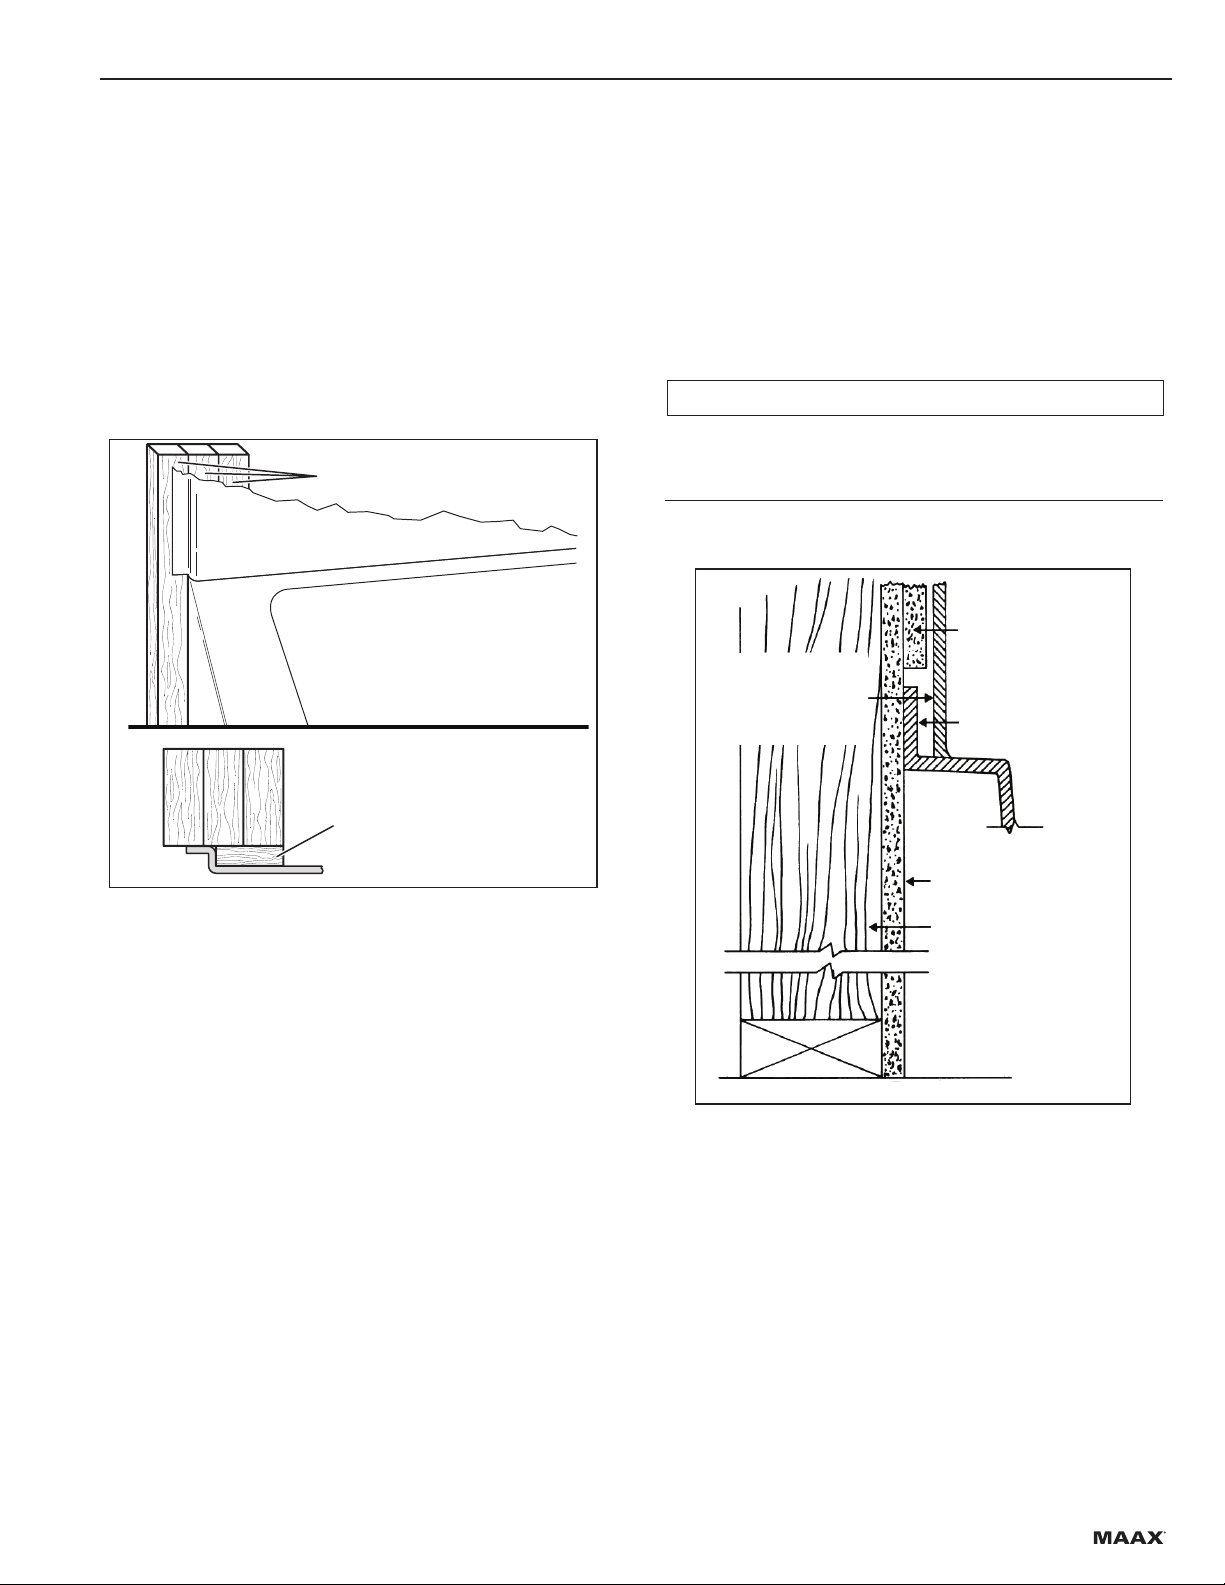
Do Not Use Nails
To prevent damage to the bathtub and possible water
or other damage to floors, pipes, walls, or other
portions of your building or home, do not nail or screw through
the bathtub flange to secure it to the stud wall. Bathtub clips
(included) must be used to secure the bathtub in place.
Refer to the specific instructions in this manual for the proper
installation of the bathtub clips.
Inspect Before Cutting
Make sure no electrical wiring or plumbing is present
before cutting into a wall to install any accessories.
CAUTION: Indicates a potentially hazardous situation
which, if not avoided, may result in minor or moderate
injury. It may also be used to alert against unsafe practices.
Lifting Hazard
According to the National Institute for Occupational
Safety and Health, the recommended maximum safe
lifting weight is 51 pounds, with all lifting conditions perfect—
minimal forward reach, steady load close to the body, straight
back, load between knees and shoulders, and good grips. To
avoid personal injury, always use these proper lifting
techniques and use two people to move heavy cartons. Use
the appropriate lifting devices to move the load. Always use
two people when lifting heavy or bulky cartons. DO NOT
attempt to lift objects that are too heavy.
WHEN CARRYING A HEAVY LOAD—GET HELP!
Slipping Hazard
Do not install this product in the presence of water.
Installing this product without drying all surfaces, or in the
presence of water, could cause you to slip and fall due to wet
floors or spilled fluids. Personal injury can result from slips or
falls. Before installation, dry all surfaces, including the floor, with
a cloth or paper towel. Clean up all water or spilled fluids
immediately.
Tripping Hazard
Personal injury can result from tripping over power
cords, tools, or other items. DO NOT leave items
laying around the work area.
Personal Protection
Be sure to use all personal protective
equipment, such as sturdy work boots
(preferably with steel toes), gloves, and hard hat, if necessary,
to ensure your own safety. To prevent possible damage to
your hearing, always wear ear protection, such as earmuffs or
earplugs, when working around power tools.
Cutting Hazard
The installation of the MAAX product may require using
power tools. Keep hands away from the cutting edge
of any tool used in the installation of our product. Placing
fingers in or around the cutting blades could result in serious
personal injury.
Safety Guidelines