manuals.online logo
Brands
  1. Home
  2. •
  3. Brands
  4. •
  5. MadgeTech
  6. •
  7. Other
  8. •
  9. MadgeTech TempRetrieverRH Specification sheet

MadgeTech TempRetrieverRH Specification sheet

TempRetrieverRH
Red 485
Dark Blue Pantone 289
Light Blue 58% of Pantone 289
To view the full MadgeTech product line,
visit our website at www.madgetech.com.
Red 485
Dark Blue Pantone 289
Light Blue 58% of Pantone 289
Battery Warning
WARNING: FIRE, EXPLOSION, AND SEVERE BURN HAZARD. DO NOT SHORT CIRCUIT, CHARGE,
FORCE OVER DISCHARGE, DISASSEMBLE, CRUSH, PENETRATE OR INCINERATE. BATTERY MAY
LEAK OR EXPLODE IF HEATED ABOVE 80 °C (176 °F).
Specifications subject to change.
See MadgeTech’s terms and conditions at www.madgetech.com
MadgeTech, Inc.
6 Warner Road lWarner, NH 03278
Phone 603.456.2011 lFax 603.456.2012
www.madgetech.com l[email protected]
DOC-1106035-00 REV 6 2014.11.26
TempRetrieverRH
Temperature and Humidity Data Logger with Pushbutton Start/Stop
Description TempRetrieverRH
Temperature Sensor Internal semiconductor
Temperature Range -40 °C to +80 °C (-40 °F to +176 °F)
Temperature Resolution 0.1 °C (0.18 °F)
Calibrated Accuracy +0.5 °C (+0.9 °F)
Humidity Sensor Semiconductor
Humidity Range 0 %RH to 95 %RH
Humidity Resolution 0.1 %RH
Calibrated Accuracy +3.0 %RH
Memory 16,383/channel
Reading Rate 1 reading every 5 seconds up to 1 reading
every 30 minutes
RH Units %RH, dew pt., water vapor concentration (mg/ml)
Alarm Temperature
Required Interface Package IFC110 or IFC200
Baud Rate 38,400
Typical Battery Life 1 year
Operating Environment -40 °C to +80 °C (-40 °F to +176 °F),
0 %RH to 95 %RH non-condesing
Material ABS Plastic
Dimensions 1.4 in x 2.2 in x 0.6 in (36 mm x 56 mm x 16 mm)
Weight 0.9 oz (24 g)
Product User Guide
Product Notes
LEDs
Once started, the LED will flash at the selected reading rate to indicate that the device is
running. The LED will flash in one second intervals if there is an alarm condition.
Alarm
To change settings for the temperature alarm:
- Select Alarm Settings from the device menu in the MadgeTech software. A window will
open to set the high and low temperature alarms.
- Press Change to edit the values.
- Check Enable Alarm Settings. The values can be entered in the field manually or by
using the scroll bars.
- Click Save to save the changes. To clear an active alarm, press Clear Alarm.
Installation Guide
Installing the Interface cable
- IFC110
Plug the serial cable into the port and verify it is secure.
- IFC200
Insert the device into a USB port. The drivers will install automatically.
Installing the software
Software can also be downloaded from the MadgeTech website at the following link: www.
madgetech.com/software-download. Double click the zipped download file and follow the
steps to finsh downloading
Device Operation
Connecting and Starting the data logger
- Once the software is installed and running, plug the interface cable into the data logger.
- Connect the USB end of the interface cable into an open USB port on the computer.
- The device will appear in the Connected Devices list, highlight the desired data logger.
- For most applications, select “Custom Start” from the menu bar and choose the desired
start method, reading rate and other parameters appropriate for the data logging
application and click “Start”. (“Quick Start” applies the most recent custom start options,
“Batch Start” is used for managing multiple loggers at once, “Real Time Start” stores the
dataset as it records while connected to the logger.)
- The status of the device will change to “Running”, “Waiting to Start” or “Waiting to
Manual Start”, depending upon your start method.
- Disconnect the data logger from the interface cable and place it in the environment to
measure.
Note: The device will stop recording data when the end of memory is reached or the device is stopped. At this point the
device cannot be restarted until it has been re-armed by the computer.
Product User Guide
TempRetrieverRH
Downloading data from a data logger
- Connect the logger to the interface cable.
- Highlight the data logger in the Connected Devices list. Click “Stop” on the menu bar.
- Once the data logger is stopped, with the logger highlighted, click “Download”. You will
be prompted to name your report.
- Downloading will offload and save all the recorded data to the PC.
Device Maintenance
Battery Replacement
Materials:
Small Phillips Head Screwdriver
LTC-7PN Battery
- Puncture the center of the back label with the screw driver and unscrew the enclosure.
- Remove the battery by pulling it perpendicular to the board.
- Insert the new battery into the terminals and verify it is secure.
- Screw the enclosure back together securely.
Recalibration
The TempRetrieverRH standard calibration is one point at 25 °C and two points at 25 %RH
and 75 %RH.
Additional Services:
Custom calibration and verification point options available, please call for pricing.
Call for custom calibration options to accommodate specific application needs.
Prices and specifications subject to change. See MadgeTech’s terms and conditions at www.madgetech.com
To send devices to MadgeTech for calibration, service or repair, please use the MadgeTech RMA Process by visiting
www.madgetech.com, then under the services tab, select RMA Process.
Other MadgeTech Other manuals

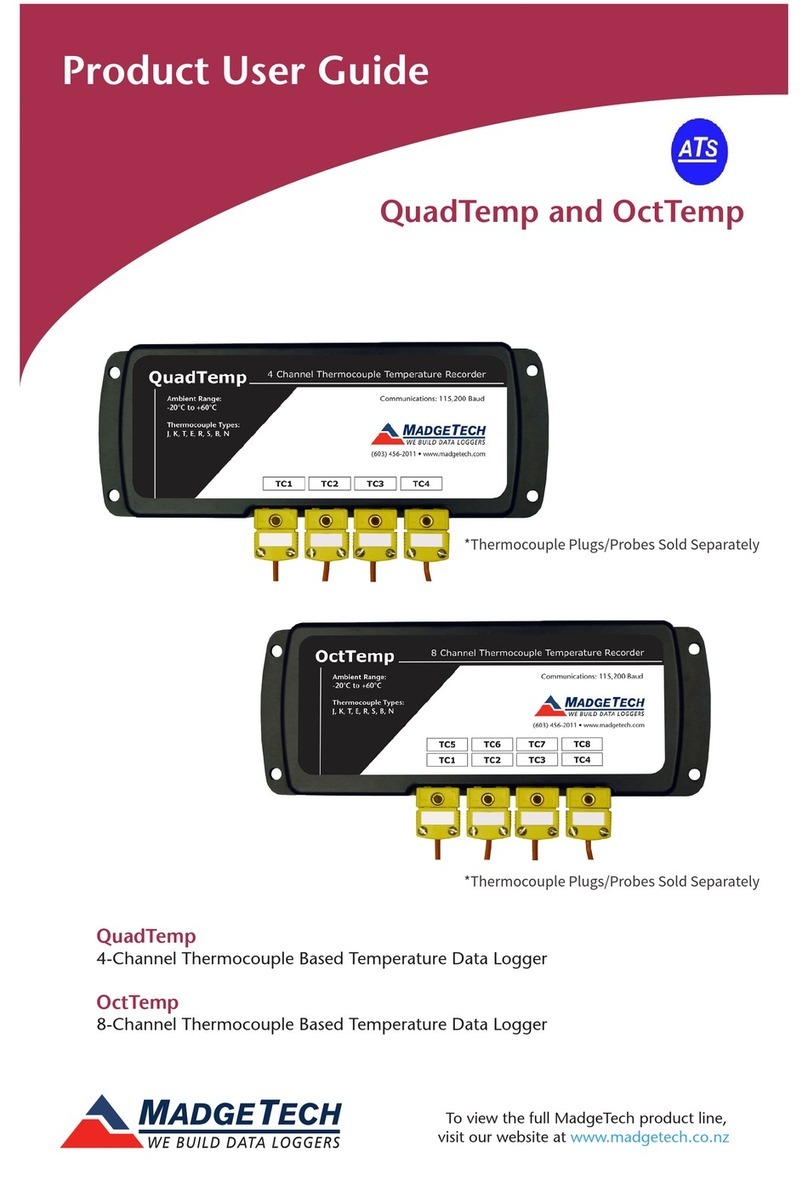
MadgeTech QuadTemp Specification sheet

MadgeTech

MadgeTech QuadTemp Specification sheet

MadgeTech Element CO2 Specification sheet

MadgeTech

MadgeTech Element CO2 Specification sheet

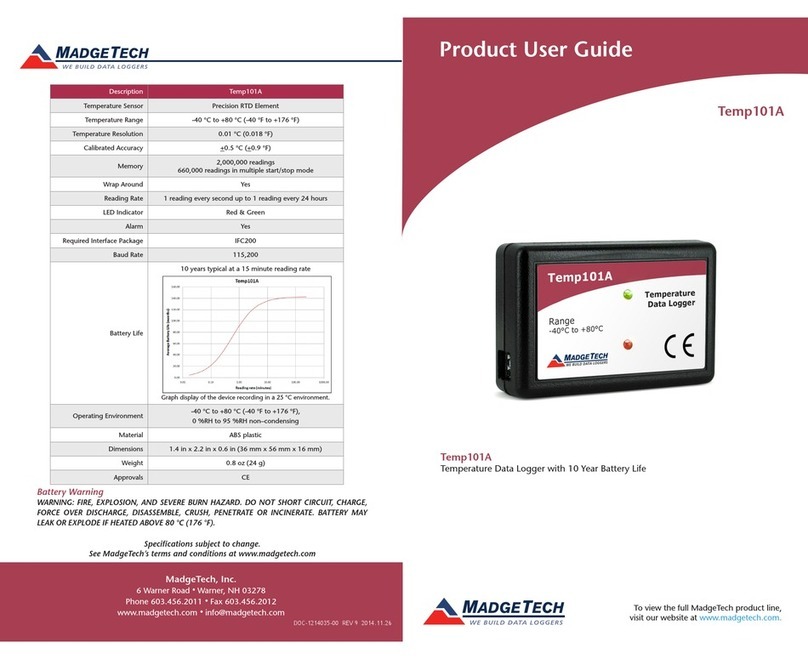
MadgeTech Temp101A User manual

MadgeTech

MadgeTech Temp101A User manual

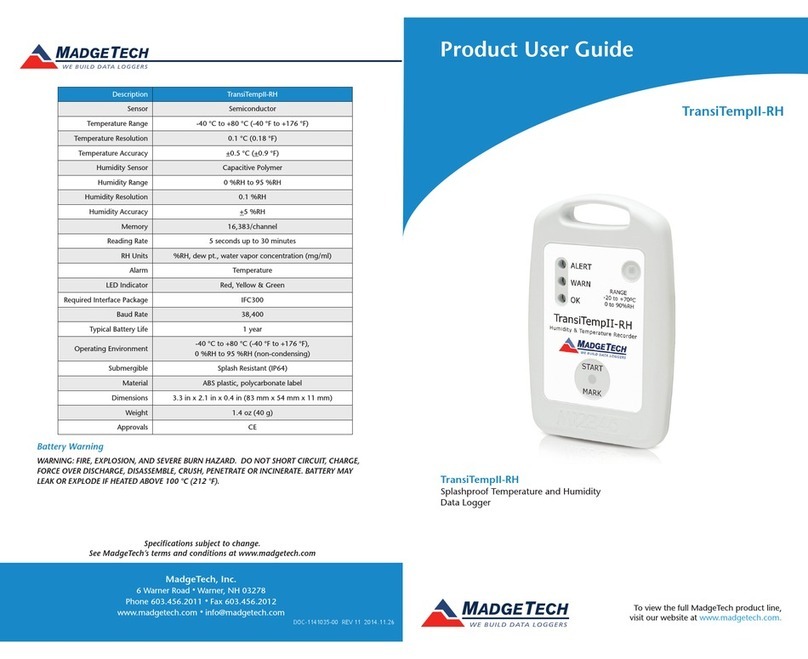
MadgeTech TransiTempII-RH User manual

MadgeTech

MadgeTech TransiTempII-RH User manual

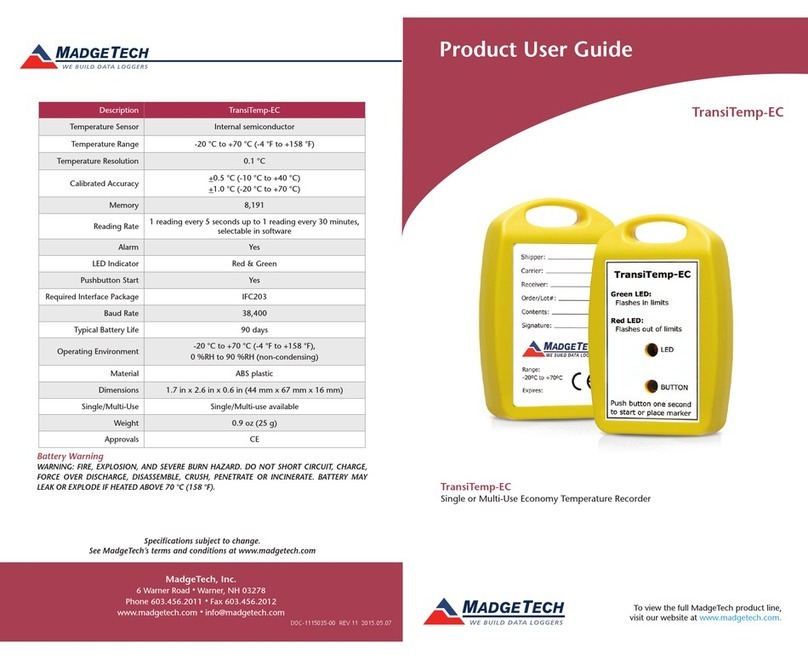
MadgeTech TransiTemp-EC User manual

MadgeTech

MadgeTech TransiTemp-EC User manual

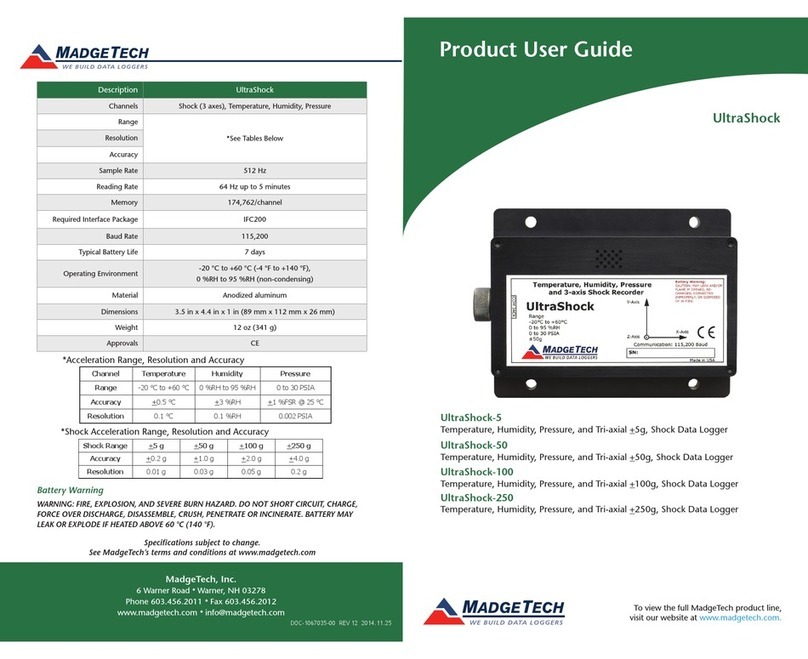
MadgeTech UltraShock-5 Specification sheet

MadgeTech

MadgeTech UltraShock-5 Specification sheet

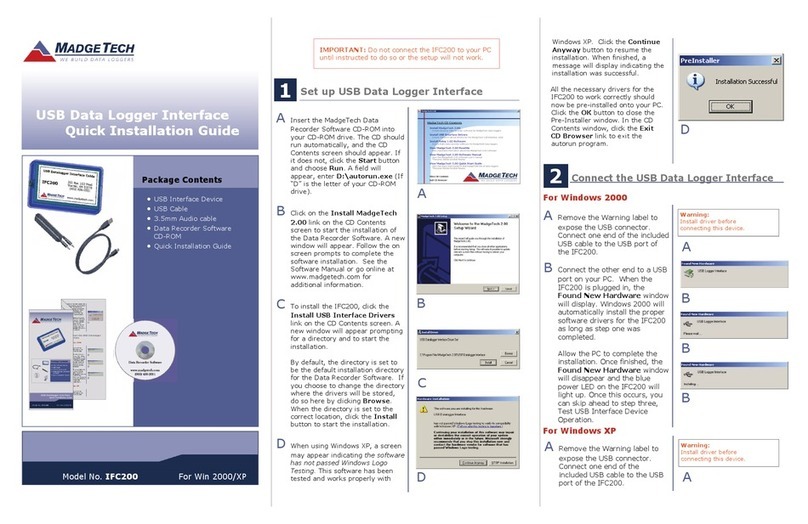
MadgeTech IFC200 User manual

MadgeTech

MadgeTech IFC200 User manual

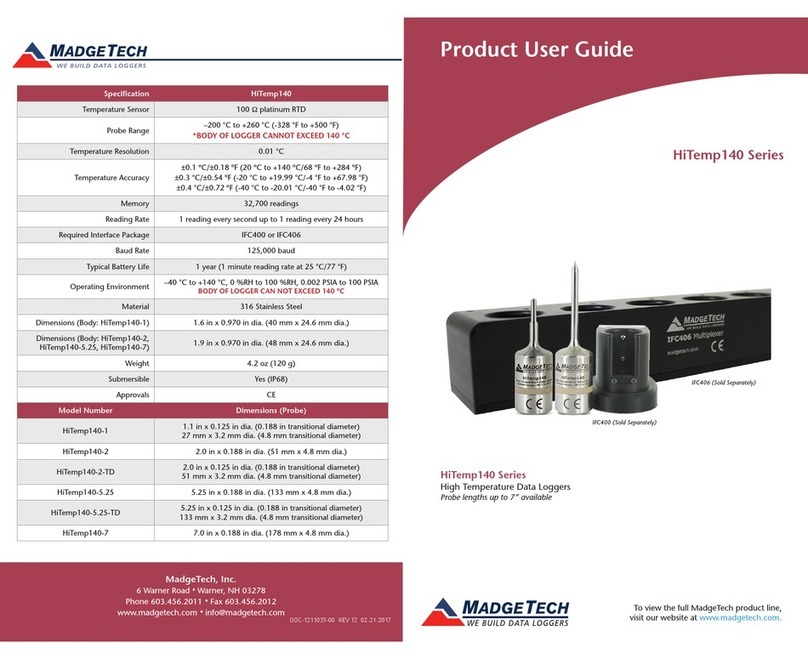
MadgeTech HiTemp140-M12 User manual

MadgeTech

MadgeTech HiTemp140-M12 User manual

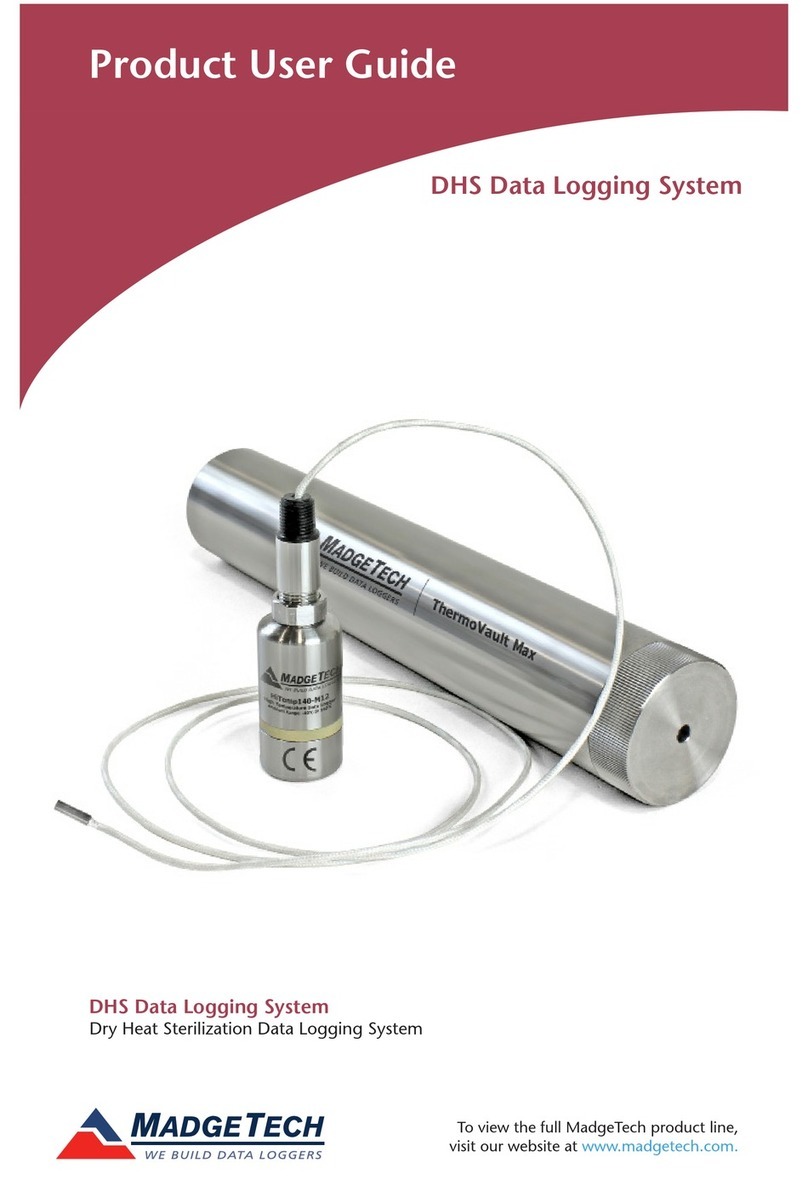
MadgeTech DHS User manual

MadgeTech

MadgeTech DHS User manual

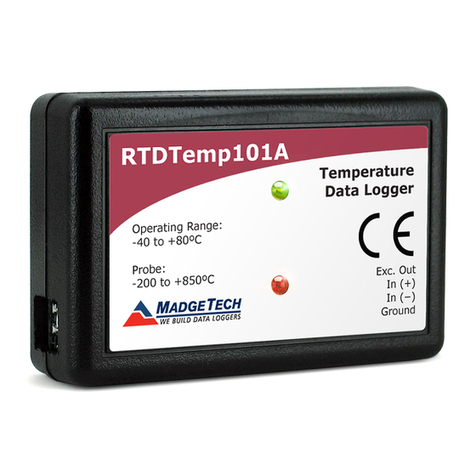
MadgeTech RTDTemp101A User manual

MadgeTech

MadgeTech RTDTemp101A User manual

MadgeTech PRHTemp101A User manual

MadgeTech

MadgeTech PRHTemp101A User manual

MadgeTech QuadRT User manual

MadgeTech

MadgeTech QuadRT User manual

MadgeTech HiTemp140-2 Specification sheet

MadgeTech

MadgeTech HiTemp140-2 Specification sheet

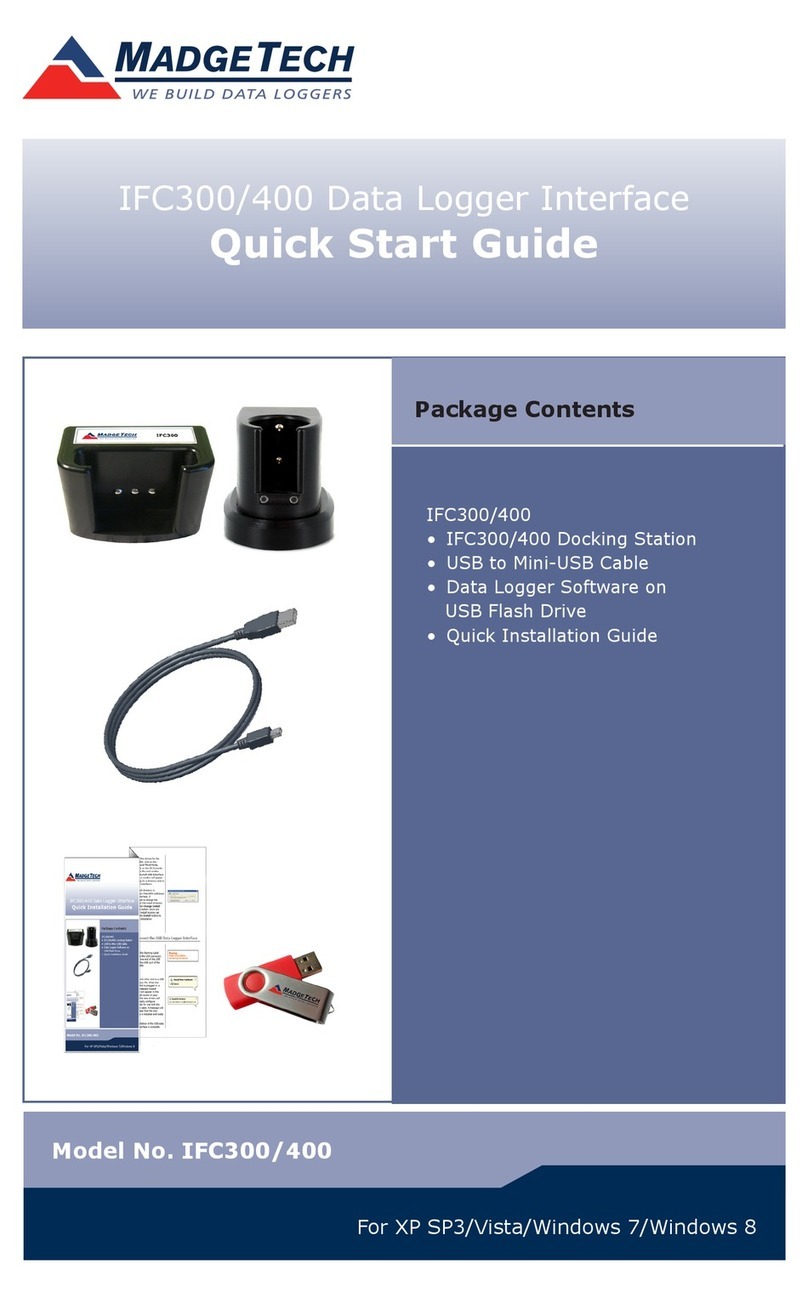
MadgeTech IFC300 User manual

MadgeTech

MadgeTech IFC300 User manual

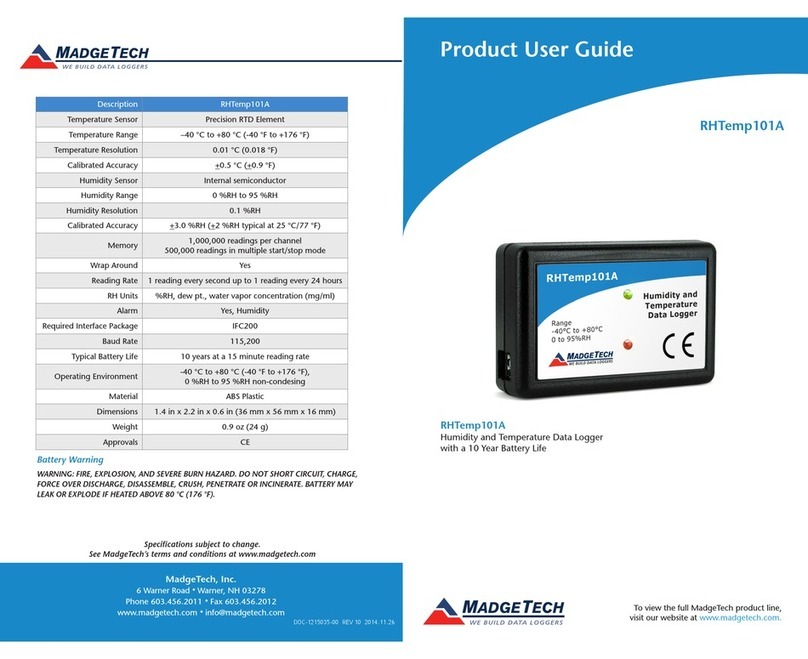
MadgeTech RHTemp101A User manual

MadgeTech

MadgeTech RHTemp101A User manual

Popular Other manuals by other brands

Paradyne 3165 quick reference

Paradyne

Paradyne 3165 quick reference

Sander XT2000 instruction manual

Sander

Sander XT2000 instruction manual

EcoEthic MullToa 65 installation guide

EcoEthic

EcoEthic MullToa 65 installation guide

Aprilaire 1820 Installation instructions and owner's manual

Aprilaire

Aprilaire 1820 Installation instructions and owner's manual

Glacier bay N2316 Use and care guide

Glacier bay

Glacier bay N2316 Use and care guide

Bosch TR2000 Series Installation and operating instructions

Bosch

Bosch TR2000 Series Installation and operating instructions

Intelligent Home VIDI-MVDP-7 operation instruction

Intelligent Home

Intelligent Home VIDI-MVDP-7 operation instruction

Echo NovoPen quick guide

Echo

Echo NovoPen quick guide

Hudora HuXX Series INSTRUCTIONS ON ASSEMBLY AND USE

Hudora

Hudora HuXX Series INSTRUCTIONS ON ASSEMBLY AND USE

PROF DC 16E instruction manual

PROF

PROF DC 16E instruction manual

MINOURA M60-D - SCHEMA manual

MINOURA

MINOURA M60-D - SCHEMA manual

Marcato Pastadrive Instructions for use and maintenance

Marcato

Marcato Pastadrive Instructions for use and maintenance

Draytek Vigor3200 Series quick start guide

Draytek

Draytek Vigor3200 Series quick start guide

SEVERIN AKKU-BODYSHAVER HS 7821 datasheet

SEVERIN

SEVERIN AKKU-BODYSHAVER HS 7821 datasheet

Paradyne 9261 installation instructions

Paradyne

Paradyne 9261 installation instructions

Nice Maestro300 Instructions and warnings for installation and use

Nice

Nice Maestro300 Instructions and warnings for installation and use

Team Play Fun Stop Photos Gen II Quick installation guide

Team Play

Team Play Fun Stop Photos Gen II Quick installation guide

Bosch ACS 751 Repair instructions

Bosch

Bosch ACS 751 Repair instructions

manuals.online logo
manuals.online logoBrands
  • About & Mission
  • Contact us
  • Privacy Policy
  • Terms and Conditions

Copyright 2025 Manuals.Online. All Rights Reserved.