Magewell Director Mini User manual

Firmware: 2.1.549Firmware: 2.1.549 Date: 09.25.2023Date: 09.25.2023

03 Introduction
06 Owners Guide
13
Main Screen
15
Control Center
16
Tutorials
22 Produce Your Show
22
Create and Manage Shows
24
Create and Manage Scenes
30
Edit Scenes
63
Background Music
64 Present Your Show
64
Switch Scenes
65
FTB
67
Freeze Scene
68
Volume Control
72
Use GFX
94
Use Pen
95
PTZ Control
97
Control BGM
98 Start Streaming and Recording
98
Live Streaming
113
Record and Screenshot
117
Album
98 Start Streaming and Recording
98
Live Streaming
113
Record and Screenshot
117
Album
119 Settings
119
Network
122
Bluetooth
123
Display
124
Audio
126
Storage
127
Encode
128
Scene Switch
129
System
135 Battery
139 FAQs
152 Support
154 Glossary and Abbreviations
157 Notice
TABLE OF CONTENTS
2

IntroductionIntroduction
Director Mini – Your All-in-One Video CompanionDirector Mini – Your All-in-One Video Companion
Meet the Director Mini: your compact solution for all things video. Whether you're directing, editing, or streaming, the Director Mini has got you covered. With its
intuitive interface, capturing from various video sources becomes a breeze. And the best part? You can craft and share captivating content in real time, be it live
streaming or recording.
Benefits
Diverse Video Inputs: From HDMI and webcams to NDI HX2/NDI HX3streams,
RTMP
/
SRT
streams, phone cameras, and even video clips, you can effortlessly bring
multiple perspectives into your content.
Always Catch the Action: With the ability to use multiple cameras, you're guaranteed not to miss a moment. The result? A richer and more engaging viewing
experience.
Enhance Your Streaming: Show off your brand, keep score, or add any overlay you like with
GFX
support. Real-time control ensures your content stays fresh and
professional-looking.
Portability and Versatility: Its compact design, dual hot-swappable battery support, and multi-network compatibility mean you can take Director Mini to diverse
events. From sports games and weddings to outdoor live broadcasts, you’re set to record and stream whenever inspiration strikes.
Director Utility App: Gain remote control over the Director Mini and even use your mobile device as an additional camera. Your multi-camera setup just got more
dynamic.
Embrace the freedom and flexibility of the Director Mini, and let your creativity shine anywhere, anytime.
® ®
3

4

Key Features of Director MiniKey Features of Director Mini
Supports multiple input sources, including 2x HDMI input, 2x USB 3.0 input, Phone Camera,
SRT
stream,
RTMP
stream, NDI HX2/NDI HX3 stream, video clips,
and pictures
■® ®
Produces shows consisting of scenes with compositions of various sources, which can be edited with diverse powerful tools, such as keyer, flip and crop
■
Natively supports streaming to YouTube, Twitch and Facebook Live, supports streaming via
SRT
and
RTMP
, and supports two NDI HX3 outputs
■®
Supports streaming to two destinations simultaneously, up to 1080p60 30Mbps
■
Supports showing live comments when streaming to social media platforms
■
Supports
GFX
function with rich templates, and supports real-time control of scoreboard, timer and stopwatch
■
Supports the ability to switch scenes directly, or preview first and then program, and supports setting switch effect
■
Supports more interactive functions such as background music, annotation and
FTB
■
Supports PTZ control for HDMI, WEBCAM (UVC Camera),
SRT
,
RTMP
and NDI PTZ cameras
■
Supports landscape and portrait modes of device screen and external screen
■
Device has one USB-C output to connect the external screen for monitor, or connect to a computer to import and export files
■
Records and takes screenshots to local storage or SD card, and exports to USB flash diver, SD card and computer
■
Supports wired and wireless networks as well as Bluetooth 5.0
■
Supports two hot-swappable NP-F battery packs
■
Supports Web UI for more settings and registering to Magewell Control Hub for centralized management. For details, please refer to the Director Mini Web UI User
Manual.
■
5

Getting StartedGetting Started
Make sure Director Mini is mounted safely before using it.
Owners GuideOwners Guide
Place the device on a flat and stable surface. Director Mini provides two
detachable foldable stands for better heat dissipation and convenient operation.
You can use the stands as needed.
■
Install: press the lock button first and put the stand into the slots until it is
locked in the correct position.
■
Remove: press the lock button first and remove the stand.
■
Mount the device with a tripod or camera through the 1/4" mount hole.
The screw should be less than 5.5 mm (7/32 inches) long. Otherwise, you cannot
firmly secure the device, and damage may occur.
■
When using outdoors, you can use the sunhood to prevent glare on the screen
by blocking out ambient light.
1. Slide down the sunhood till the mounting holes line up with the mounting
holds on the back of the device.
2. Tighten the two thumb screws.
■
6

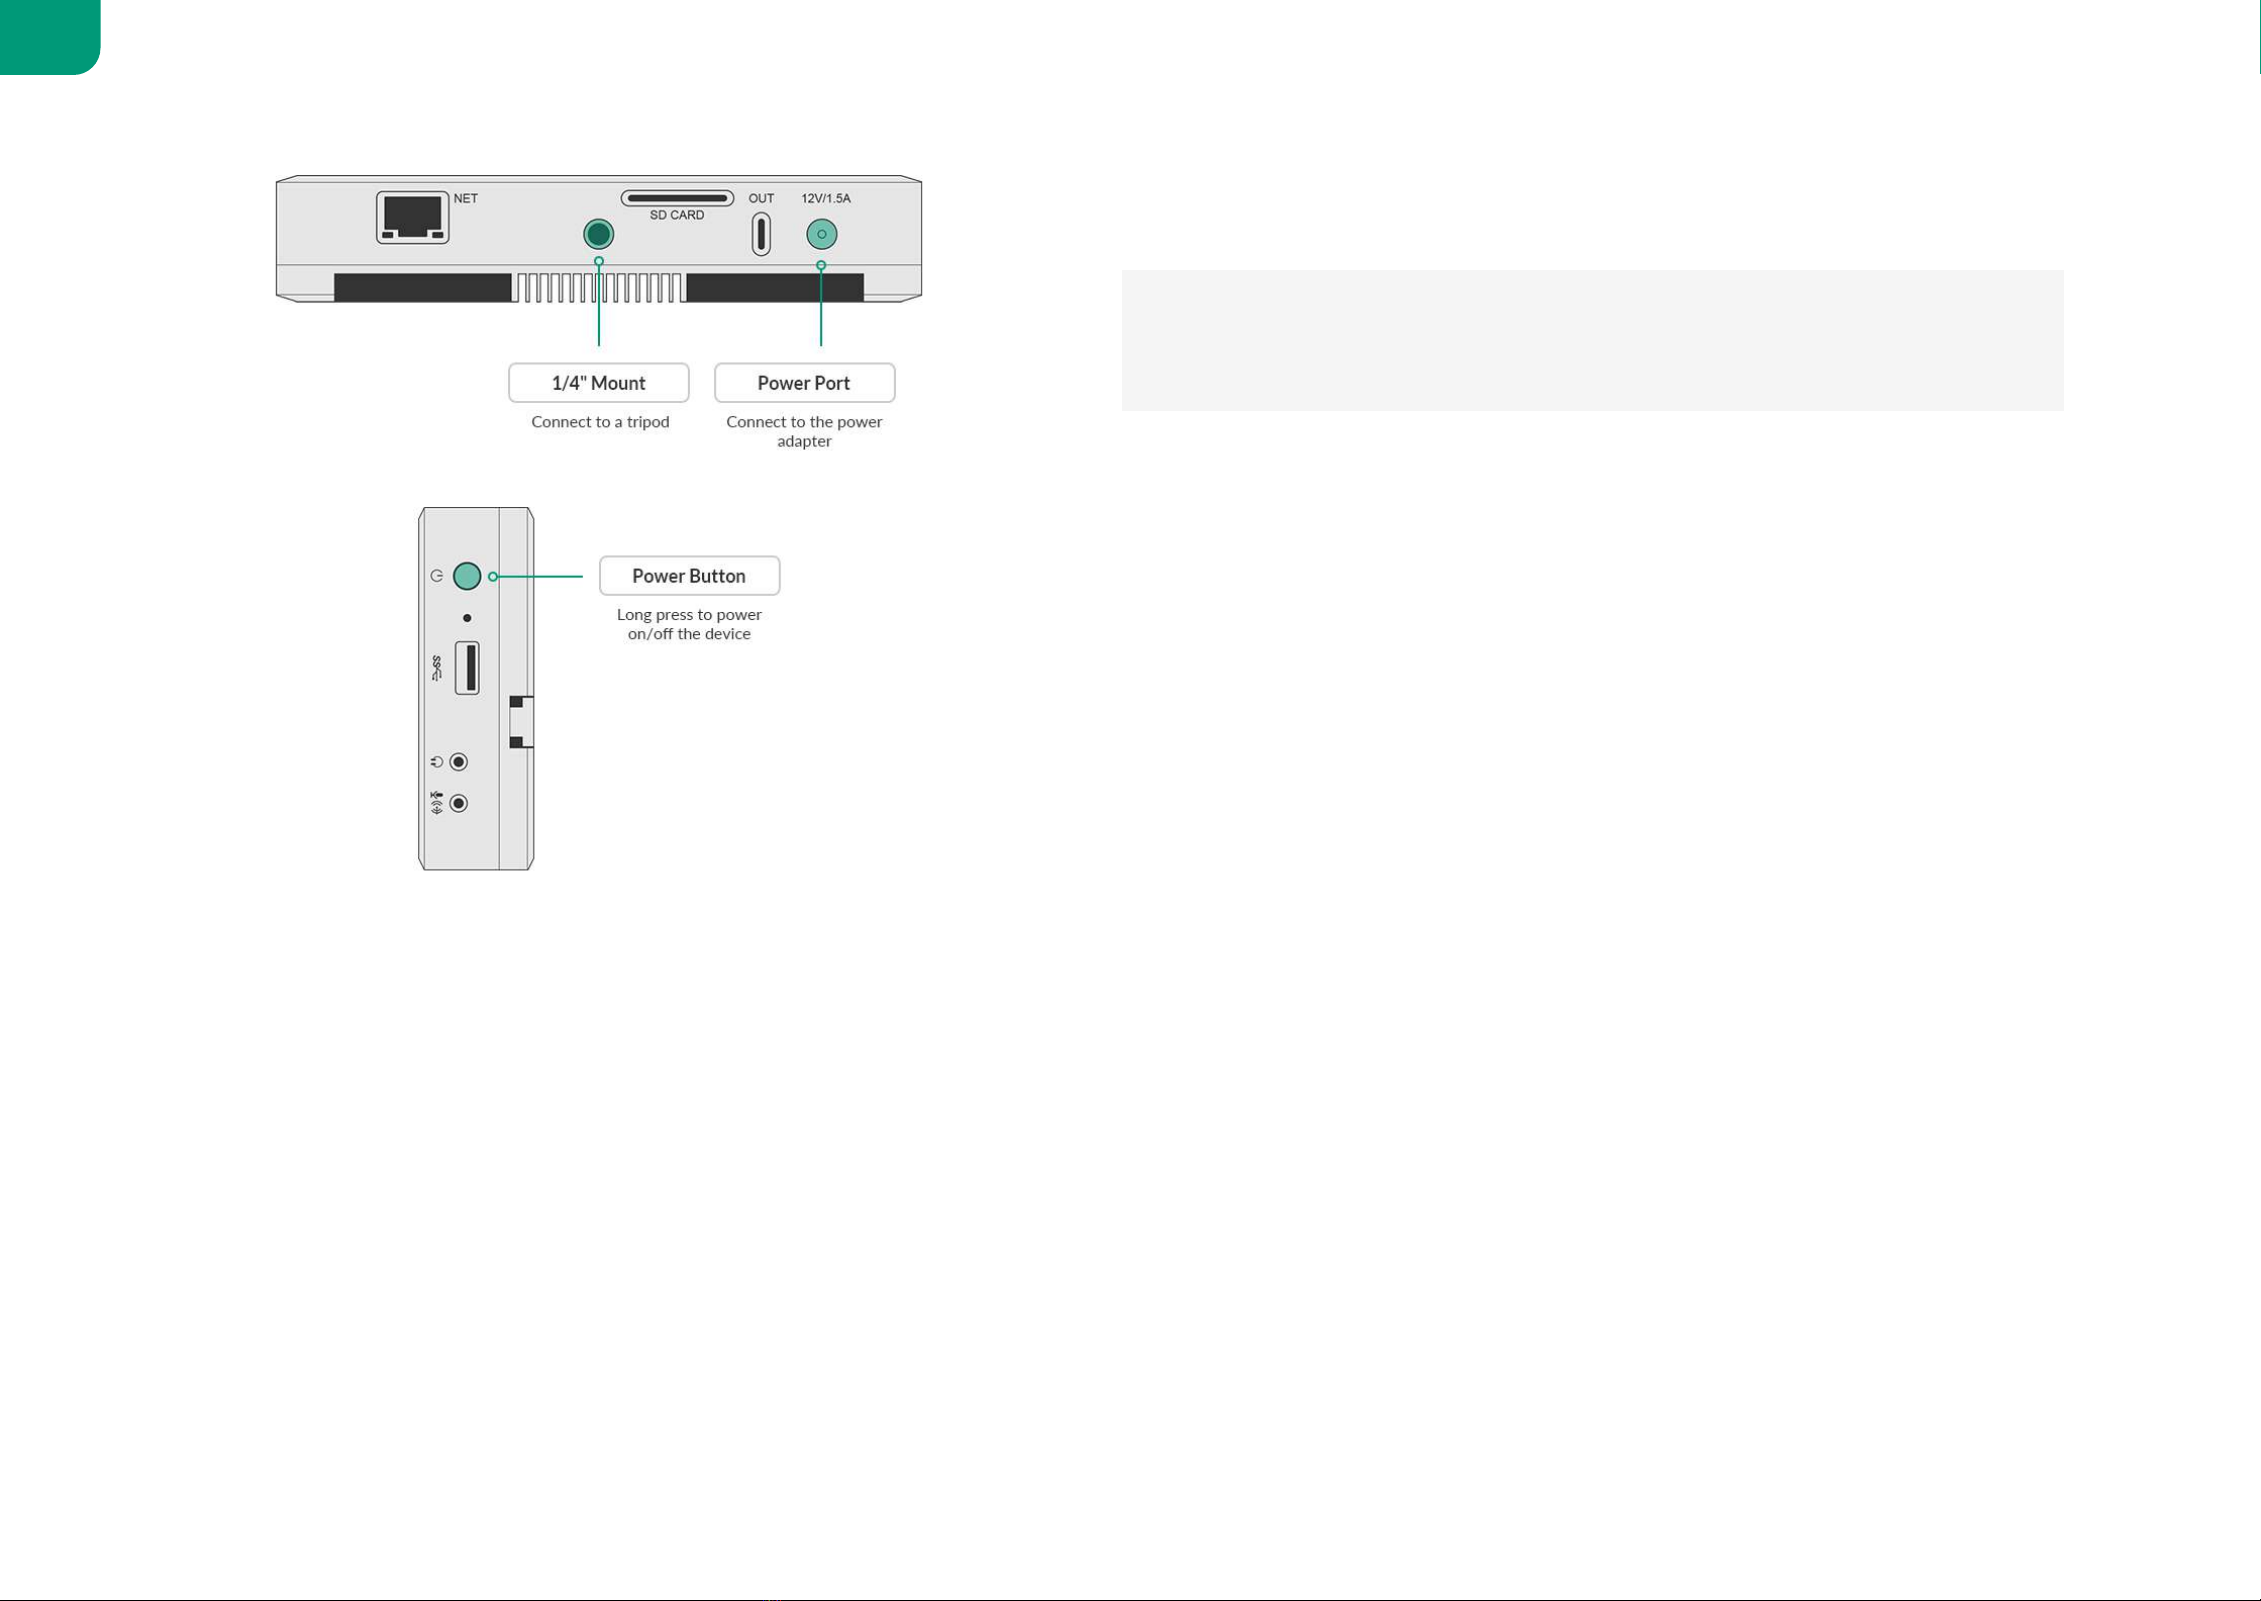
Connect to Power and Turn on the DeviceConnect to Power and Turn on the Device
Use the supplied power adapter to connect the power port.
Power Button ActionsPower Button Actions
Power on
Long-press the power button for 3 seconds to power on.
Power off
Long-press the power button till a menu bar pops up, and tap Power off.
Restart
Long-press the power button till a menu bar pops up, and tap Restart.
Screenshot
Long-press the power button till a menu bar pops up, and tap Screenshot, so that
you take a screenshot which saves all the information on the screen and is stored in
"\Director Mini\Internal shared storage\Pictures\Screenshots".
Turn off the screen
Short-press the power button to turn off the screen, and press it again to turn on
the screen.
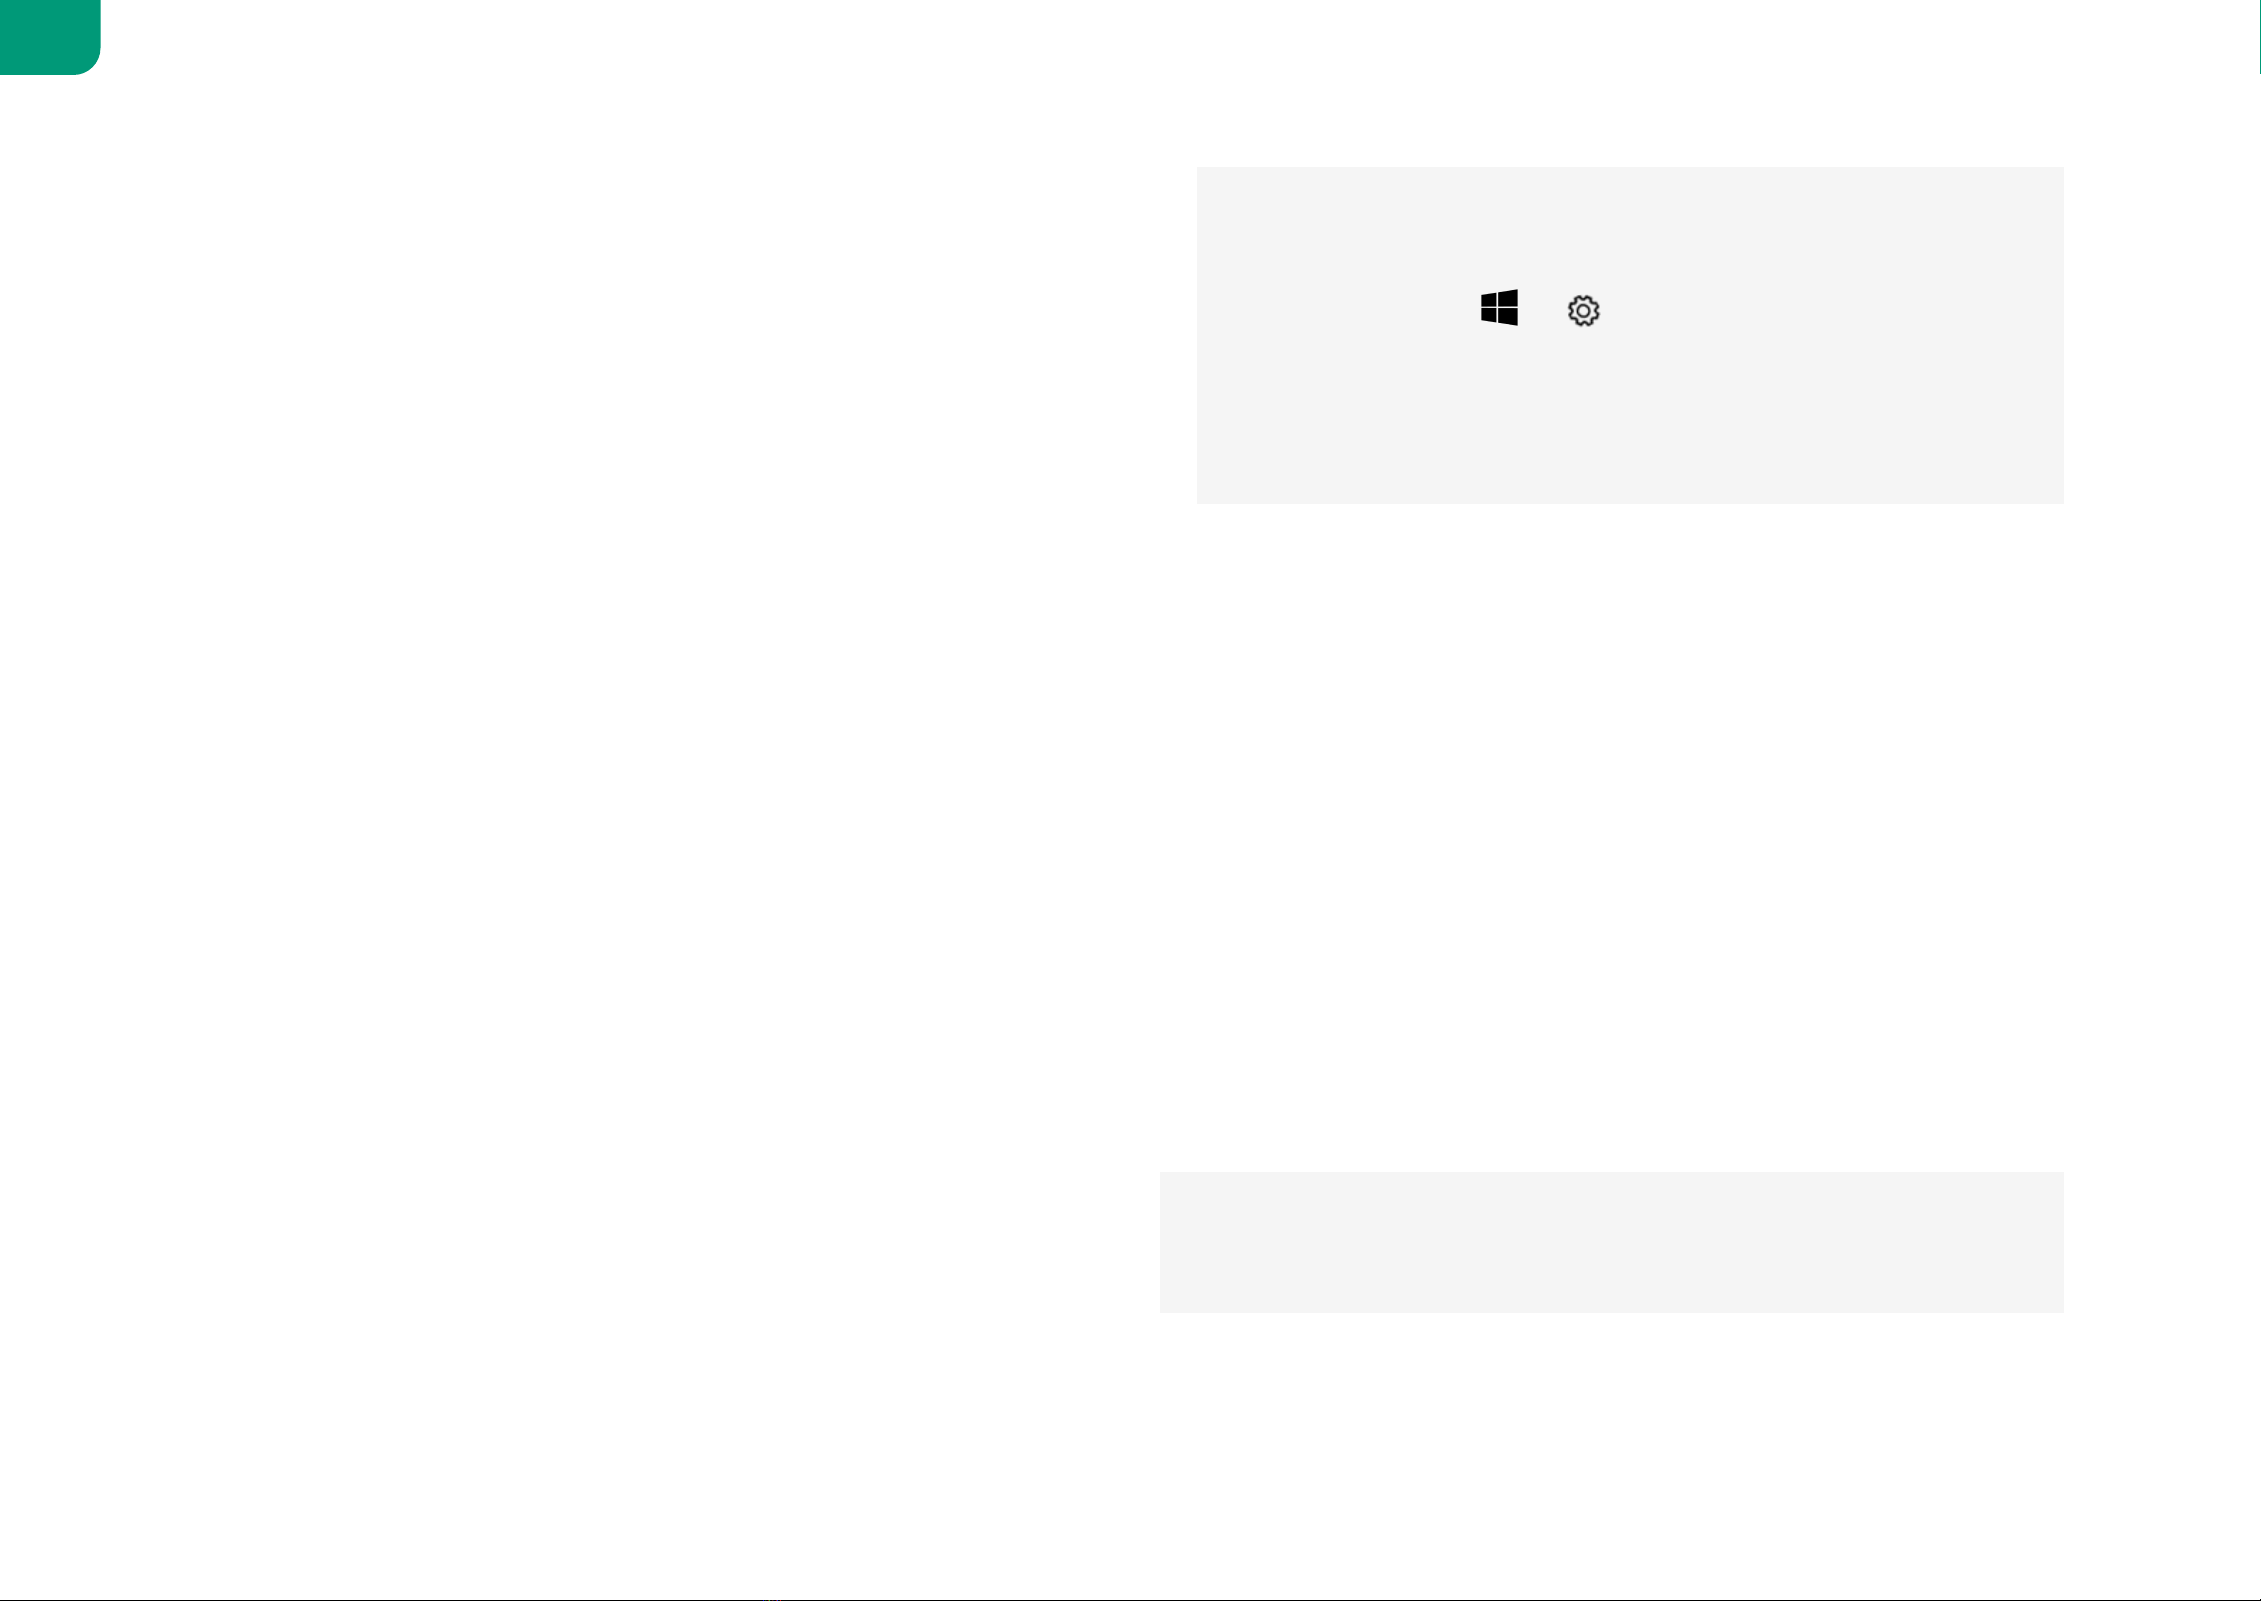
Complete Initial SettingsComplete Initial Settings
The first time you power on your Director Mini device or after you reset the device,
you will be prompted to select your language, set your device name and read End
User License Agreement (EULA). Please follow the guide step by step to complete
the initial settings.
Next, you can select to load a show in landscape or portrait mode.
Director Mini also supports optional two hot-swappable NP-F battery packs.
For more information, refer to
Battery
.
7

Then, you can follow the on-screen guide to know the functions of buttons on the
screen. After that, you enters the the default show, which consists of 5 scenes, a
default picture, HDMI 1, HDMI 2, webcam, and phone camera.
Then, you can connect HDMI and webcam sources.
Meanwhile, you can use your phone to download the Director Utility App, and then
try to connect Phone Camera. For details, please refer to Director Utility App User
Manual.
Connect to NetworkConnect to Network
Director Mini supports wired and Wi-Fi networks. These networks can be connected
at the same time. The priority order for the device selecting network connection is
Ethernet > Wi-Fi.
Connect to Ethernet
Use an Ethernet cable to connect the Ethernet port.
■
Connect to Wi-Fi
Tap > Settings > Network to connect Wi-Fi. For details, please refer to
Network
.
■
8

Connect to Input DevicesConnect to Input Devices
Director Mini supports various sources, including HDMI sources, webcam, stream,
Phone Camera, video clips and pictures. You can connect one or more sources to
Director Mini according to the following introductions.
For how to connect to stream and Phone Camera source, please refer to:
Add RTMP Stream
■
Add SRT Stream
■
Add NDI Stream
■
Add Phone Camera
■
Connect to HDMI source
Connect one or two HDMI devices, such as HD camera, computer and game
console, to the HDMI ports of Director Mini. It supports to capture signals from
the two HDMI ports at the same time. The thumbnail of the corresponding input
signal appears in the scene list of default show.
Supported typical HDMI inputs include:
■
4096x2160p/3840x2160p 23.98/24/25/29.97/30/59.94/60
■
1920x1080p 23.98/24/25/29.97/30/50/59.94/60
■
1920x1080i 25/29.97/30
■
1280x720p 23.98/24/25/29.97/30/50/59.94/60
■
720x576p 50/100
■
720x576i 25/50
■
720x480p 59.94/60
■
720x480i 29.97/30
■
9

When you connect a PC as the HDMI source, you need to select
Director Mini as the audio output device on the PC. For example, on
Windows 10, click > > System > Sound. In the Output
section, choose Director Mini (********) from the drop-down list box
of Choose your output device, such as Director Mini (Intel(R)
Display Audio).
Connect to WEBCAM
Connect one or two webcams to the USB ports of Director Mini.
Supported webcam specifications include:
■
Formats: YUYV, MJPG, NV12
■
Resolution: up to 1920x1080
■
Frame rate: up to 60fps
■
Connect to media source
Insert a SD card or USB flash drive to import picture, video and audio files.
The supported file system types include: FAT32 (The maximum file size is 4GB.),
exFAT, and NTFS.
Director Mini also supports transferring files through the computer. For more
details, refer to
How to import/export files
.
■
As there are only two USB ports, a
USB Hub
may help you to add more
USB devices.
10

Connect to Audio DevicesConnect to Audio Devices
Connect microphone or line in device
Connect an active microphone or line in device to the Mic/Line In jack on
Director Mini, and select the device type according to the prompt.
For MIC device, the system will automatically provide 20dB gain.
It also supports HDMI microphone or USB microphone.
■
Connect headphones
Connect your headphones to the Headphone jack on Director Mini to monitor
the audio.
It also supports USB audio playback device.
You can also use a Bluetooth device for audio monitoring, and please refer to
Bluetooth
.
■
11

(Optional) Connect to External Screen(Optional) Connect to External Screen
Director Mini can be connected to an external screen through the USB-C OUT port.
1. Use a Type-C to HDMI / VGA / DP adapter to connect a monitor, HDTV or
other devices to the USB-C OUT port of Director Mini. The external screen
setting page will pop up on the device.
2. Select the content to be displayed on the external screen.
3. Select the rotation angle to fit for the external screen: rotate 90° to left, or
rotate 90° to right.
4. Tap the device screen to go back.
5. To change the settings of the external screen, swipe down from the top of the
device screen, and then tap on the Control Center to open the external
screen setting window.
Clean Program: output a clean program signal.
■
Duplicate Screen: duplicate all the elements on the device screen of
Director Mini.
■
Loop HDMI 1: loop out the signal from HDMI 1.
■
Loop HDMI 2: loop out the signal from HDMI 2.
■
12

Main ScreenMain Screen
Director Mini provides lots of easy-to-use buttons on the main screen, and supports landscape mode and portrait mode. You can produce and stream your show
very easily.
13

Status BarStatus Bar
The status bar helps you know the working status of the device.
14

Control CenterControl Center
The control center provides more information of the device and enables quick settings.
Swipe down the status bar to open the control center. To close the control center, swipe up on the screen.
The control center provides the following functions and information.
15

Create ShowCreate Show
1. Tap > Create a show.
2. Specify the Show Name, and select the Orientation (16:9 or 9:16).
3. Tap Create.
You will enter the new show.
Create ScenesCreate Scenes
1. Tap on the screen.
2. In the Create New Scene window, select a source that you want to put into
the new scene, and follow the popup to go on operating.
3. Edit the scene in the Scene Editor.
4. Save the changes you have made, and then the thumbnail of the new scene
will be added to the end of the scene list.
5. Tap to create more scenes.
TutorialsTutorials
The following tutorials will enable you to produce your first show and start to stream and record quickly.
16

Switch ScenesSwitch Scenes
Swipe the scene list to left or right to browse scenes, and tap thumbnails to
switch scenes.
■
Tap any empty area of the screen to view the scene in full-screen mode, and
tap any empty area again to exit the full-screen mode.
■
If a scene contains a video clip source, you can tap the the play and pause
buttons to control the video.
■
Swipe the scene list down to the bottom hide it, and then you can tap or
swipe up from bottom to expand it.
■
17

Adjust VolumeAdjust Volume
Tap to open the audio mixer.
Swipe left and right to view the connected audio sources and external audio
sources. When the current scene contains video or BGM, they will also be
displayed.
■
Move the fader to adjust the audio level.
■
Set audio mixing mode by clicking the icons.
■
: Audio-follow-video. The audio will only be sent to the program output
when the input is on air.
■
: Always ON. An audio input will be permanently mixed into the
program output.
■
: Always OFF. An audio input will be permanently not mixed into the
program output.
■
Tap to only monitor this audio, and tap to cancel.
■
Tap MONITOR to select a monitor device, and set whether to monitor
microphone input.
■
Tap MIC to select a microphone device.
■
18

GFXGFX
1. Tap and then tap to open the Create New
GFX
window.
2. Select a
GFX
type to create a
GFX
.
3. Tap to create more GFXs.
4. Select one or more GFXs in the
GFX
list to display in the show.
5. If scoreboard, timer or stopwatch is applied, you can tap the
icon or long-press the
GFX
thumbnail and select Control to open the control
panel for controlling. (For portrait mode, you may need to tap and then
tap the icon.)
6. Tap to go back to the scene list.
Annotate on ScreenAnnotate on Screen
1. Tap , and then draw or write on the current scene to annotate.
2. Long press to set pen properties, including color, thickness and hang-
time.
3. Clear the annotations.
4. Tap the button to exit.
This will also clear annotations.
The annotations will disappear automatically after your specified hang-
time.
■
Switch to another scene to clear the annotations.
■
Manually clear all the annotations: Tap the screen, long press , and
tap .
■
19

Background MusicBackground Music
Add BGMAdd BGM
1. Long-press a scene thumbnail, and tap Edit.
2. In the Scene Editor, tap to select a song from a storage path.
3. On the Background Music page, add more music and set start and playback
policy.
Control BGMControl BGM
1. On the main screen, tap to reveal the BGM playback bar.
2. Tap the buttons on the playback bar to control the BGM playback. You can:
: Automatically start (default policy)
: Manually start
: Repeat the playlist. (default policy)
: Repeat the selected song.
: Shuffle the playlist.
Start or stop BGM playback.
■
Play the previous or next song.
■
Drag the playhead to a desired time point.
■
Change the playback policies.
■
: Repeat the playlist. (default policy)
■
: Repeat the selected song.
■
: Shuffle the playlist.
■
20
Table of contents
Other Magewell Media Converter manuals

Magewell
Magewell Ultra Encode User manual

Magewell
Magewell Ultra Encode User manual

Magewell
Magewell Ultra Stream HDMI User manual

Magewell
Magewell Pro Convert for NDI to HDMI 4K User manual

Magewell
Magewell XI006AUSB User manual

Magewell
Magewell Ultra Encode AIO User manual

Magewell
Magewell Ultra Stream SDI User manual

Magewell
Magewell ULTRA STREAM User manual

Magewell
Magewell Pro Convert AES67 User manual

Magewell
Magewell ULTRA STREAM User manual