10 ENGLISH
ThetypicalA-weightednoiseleveldeterminedaccord-
ingtoEN60745-2-15:
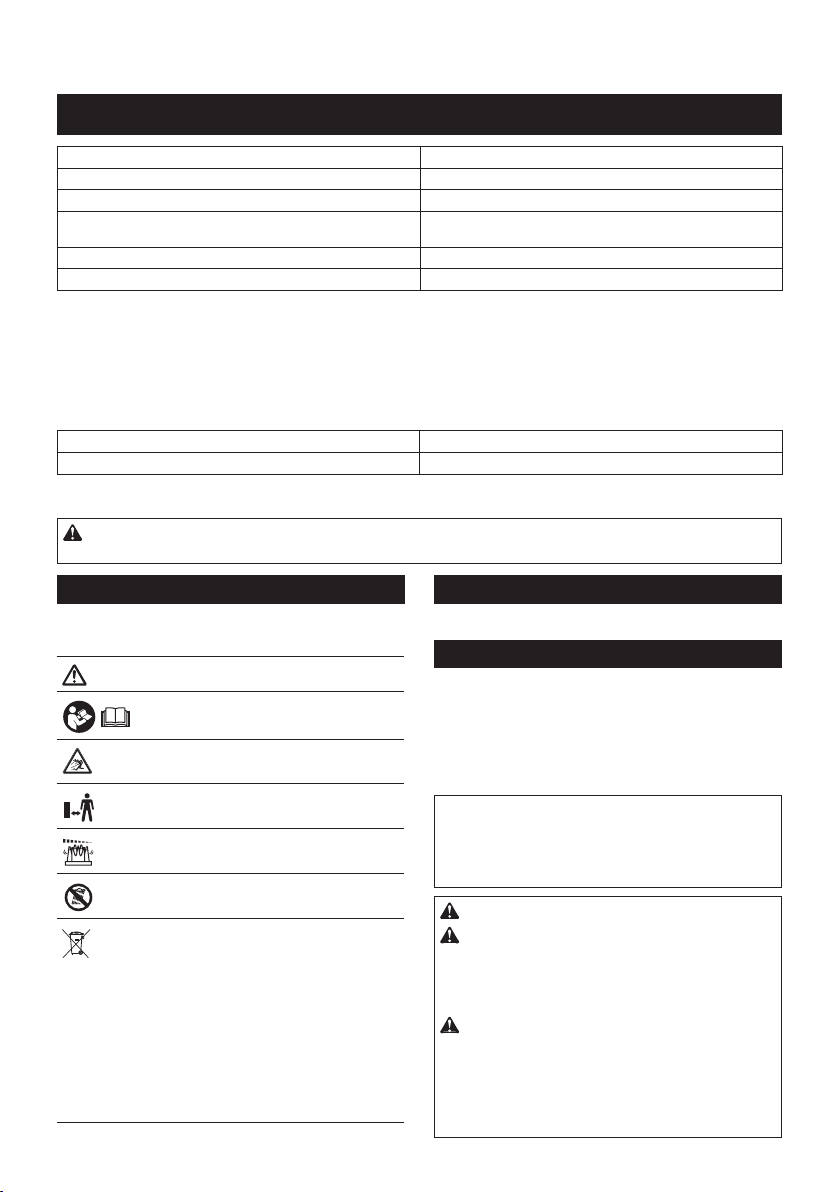
UM603D with shear blade for hedge trimmer
installed
Sound pressure level (LpA):74dB(A)
Uncertainty(K):3dB(A)
Thenoiselevelunderworkingmayexceed80dB(A).
NOTE: The declared noise emission value(s) has
beenmeasuredinaccordancewithastandardtest
methodandmaybeusedforcomparingonetoolwith
another.
NOTE: The declared noise emission value(s)
mayalsobeusedinapreliminaryassessmentof
exposure.
WARNING: Wear ear protection.
WARNING: The noise emission during actual
use of the power tool can differ from the declared
value(s) depending on the ways in which the
tool is used especially what kind of workpiece is
processed.
WARNING: Be sure to identify safety mea-
sures to protect the operator that are based on an
estimation of exposure in the actual conditions of
use (taking account of all parts of the operating
cycle such as the times when the tool is switched
off and when it is running idle in addition to the
trigger time).
Vibration
Thevibrationtotalvalue(tri-axialvectorsum)deter-
minedaccordingtoEN50636-2-94:
UM603D with shear blade for grass shear installed
Vibrationemission(ah):2.5m/s2or less
Uncertainty(K):1.5m/s2
Thevibrationtotalvalue(tri-axialvectorsum)deter-
minedaccordingtoEN60745-2-15:
UM603D with shear blade for hedge trimmer
installed
Vibrationemission(ah):2.5m/s2or less
Uncertainty(K):1.5m/s2
NOTE:Thedeclaredvibrationtotalvalue(s)hasbeen
measured in accordance with a standard test method
andmaybeusedforcomparingonetoolwithanother.
NOTE:Thedeclaredvibrationtotalvalue(s)mayalso
beusedinapreliminaryassessmentofexposure.
WARNING: The vibration emission during
actual use of the power tool can differ from the
declared value(s) depending on the ways in which
the tool is used especially what kind of workpiece
is processed.
WARNING: Be sure to identify safety mea-
sures to protect the operator that are based on an
estimation of exposure in the actual conditions of
use (taking account of all parts of the operating
cycle such as the times when the tool is switched
off and when it is running idle in addition to the
trigger time).
EC Declaration of Conformity
For European countries only
TheECdeclarationofconformityisincludedasAnnexA
to this instruction manual.
SAFETY WARNINGS
General power tool safety warnings
WARNING: Read all safety warnings, instruc-
tions, illustrations and specications provided
with this power tool. Failure to follow all instructions
listedbelowmayresultinelectricshock,reand/or
seriousinjury.
Save all warnings and instruc-
tions for future reference.
Theterm"powertool"inthewarningsreferstoyour
mains-operated(corded)powertoolorbattery-operated
(cordless) power tool.
Cordless Grass Shear Safety
Warnings
General instructions
1. To ensure correct operation, user has to read
this instruction manual to make himself famil-
iar with the handling of the equipment. Users
insufcientlyinformedwillriskdangertothem-
selves as well as others due to improper handling.
2. Never allow children, persons with reduced
physical, sensory or mental capabilities or
lack of experience and knowledge or people
unfamiliar with these instructions to use the
machine, local regulations may restrict the age
of the operator.
3. Use the equipment with the utmost care and
attention.
4. Operate the equipment only if you are in good
physical condition. Perform all work calmly
and carefully. Use common sense and keep in
mind that the operator or user is responsible
for accidents or hazards occurring to other
people or their property.
5. Never operate the machine while people, espe-
cially children, or pets are nearby.
6. The motor is to be switched off immediately in
case that the equipment shows any problem or
abnormal sign.
7. Switch off and remove the battery cartridge
when resting and when leaving the equipment
unattended, and place it in a safe location to
prevent danger to others or damage to the
equipment.
8. Avoid using the machine in bad weather
conditions especially when there is a risk of
lightning.