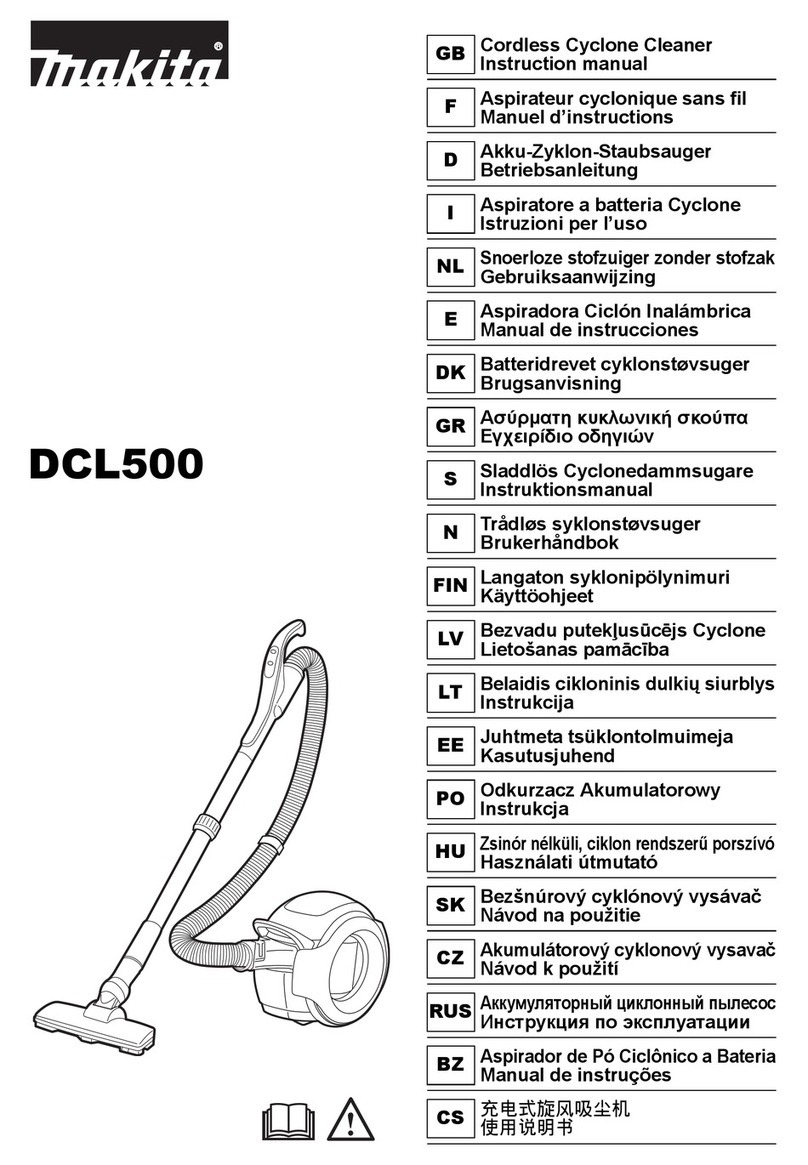
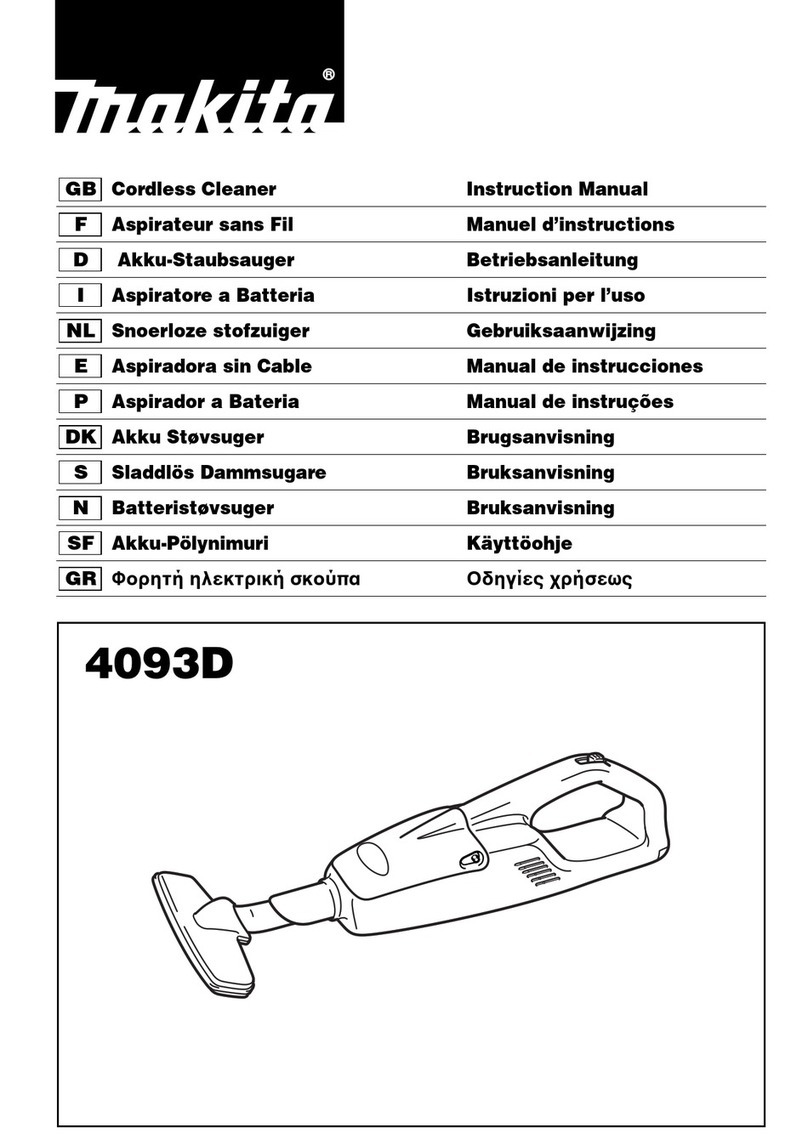
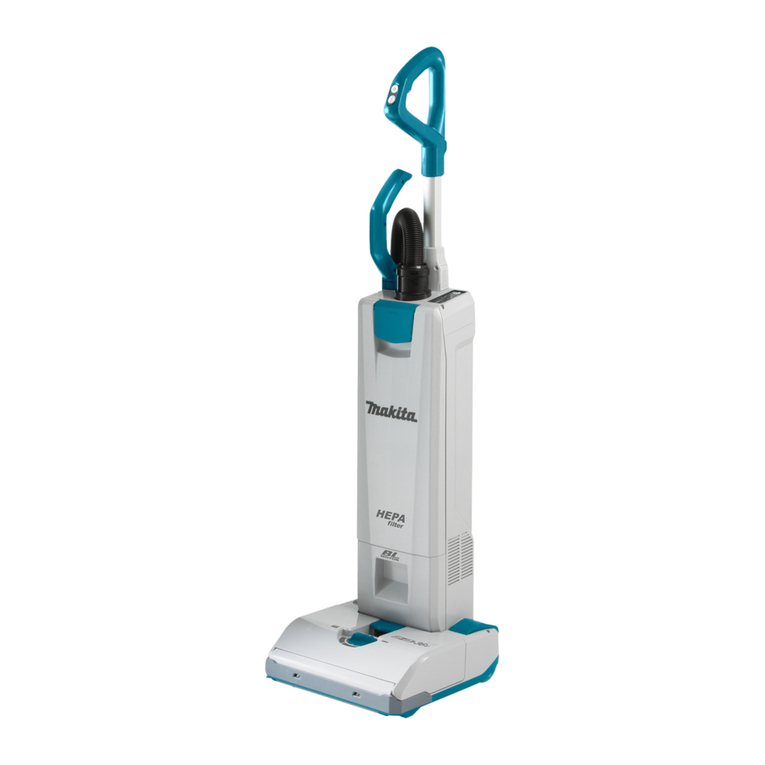
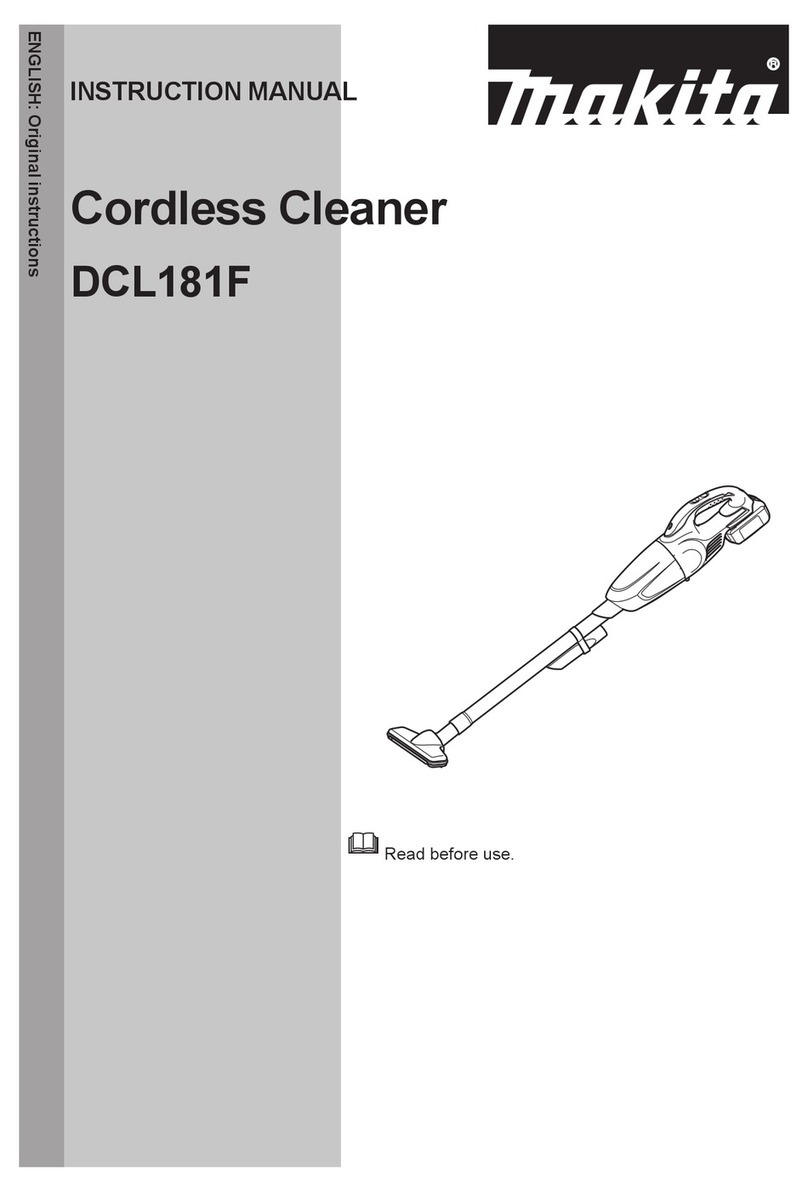
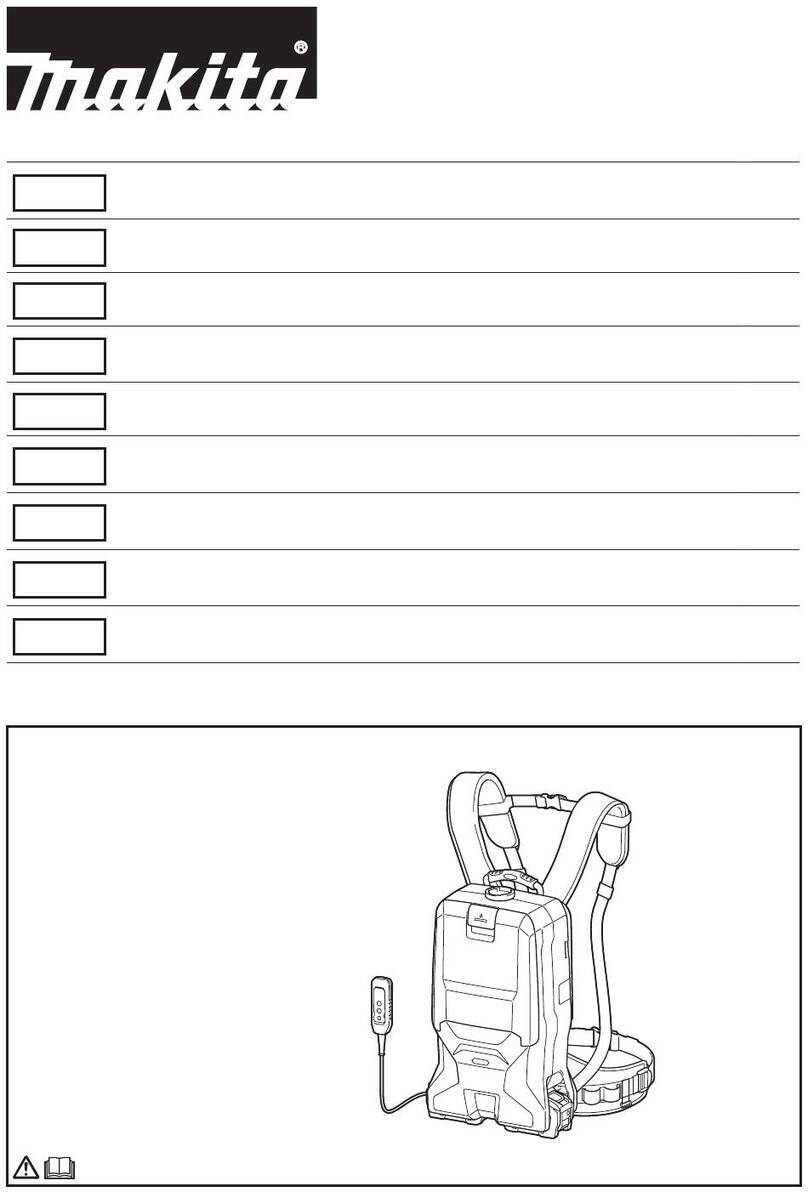
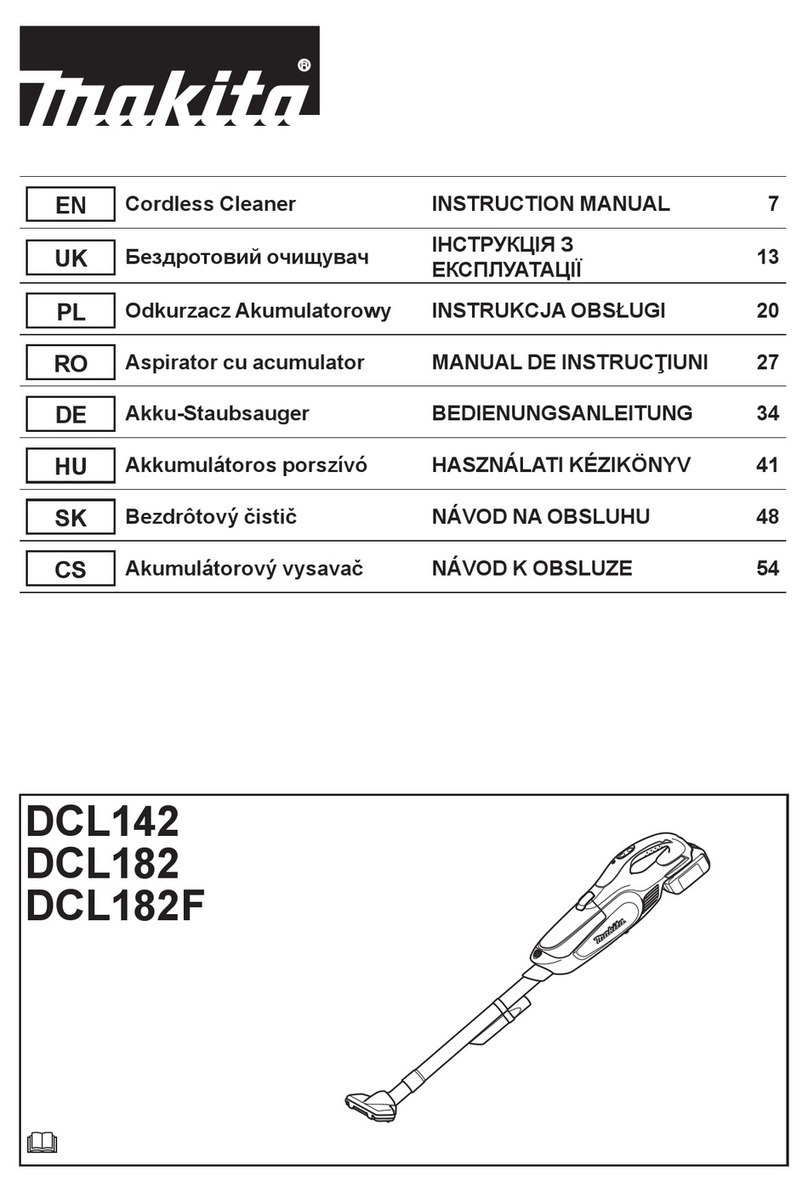
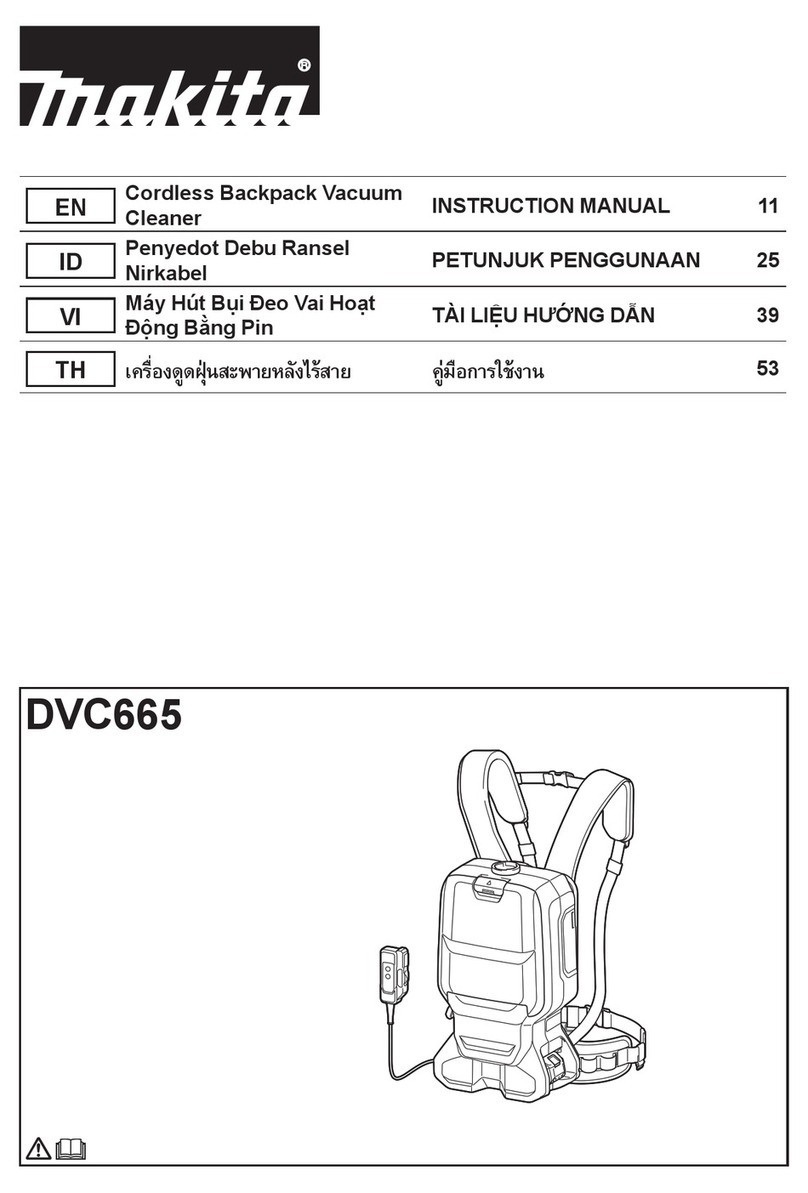
Makita DVC660 User manual

DVC660
EN Cordless Backpack Vacuum
Cleaner INSTRUCTION MANUAL 10
ID Penyedot Debu Ransel
Nirkabel PETUNJUK PENGGUNAAN 19
VI Máy Hút Bụi Đeo Vai Hoạt
Động Bằng Pin TÀI LIỆU HƯỚNG DẪN 29
TH 38

2
1
3
3
Fig.1
1
Fig.2
1
2
Fig.3
2
1 2
1
Fig.4
1
2
Fig.5
1
2
Fig.6
2

2
1
Fig.7
1
Fig.8
Fig.9
Fig.10
1
2
3
Fig.11
1
2
Fig.12
Fig.13
3

1
2
3
Fig.14
1
2
Fig.15
1
234
Fig.16
1
3
2
4
Fig.17
1
Fig.18
1
2
3
Fig.19
4

1
Fig.20
1
2
3
4
4
Fig.21
1
2 3
Fig.22
1
2
Fig.23
1
2
3
Fig.24
4
1
3
2
Fig.25
5

1
2
3
Fig.26
Fig.27
1
2
Fig.28
1
2
Fig.29
2
1
3
Fig.30
1
11
1
4
3
2
Fig.31
6

Fig.32
Fig.33
2
1
Fig.34
1
Fig.35
1
Fig.36
1
Fig.37
7

2
3
1
Fig.38
Fig.39
4
1
3
2
Fig.40
1
2
3
Fig.41
1
Fig.42
1
Fig.43
8

1
23
Fig.44
3
2
1
Fig.45
9

10 ENGLISH
ENGLISH (Original instructions)
SPECIFICATIONS
Model: DVC660
Capacity Filter bag 6.0 L
Dust bag 5.5 L
Maximum air
volume
With hose ø28 mm x 1.0 m 2.0 m3/min
With hose ø32 mm x 1.0 m 2.2 m3/min
Vacuum 110 hPa
Dimensions (L x W x H)
(excluding the harness)
297 mm x 174 mm x 523 mm
Rated voltage D.C. 36 V
Net weight 6.1 - 6.7 kg
• Duetoourcontinuingprogramofresearchanddevelopment,thespecicationshereinaresubjecttochange
without notice.
• Specicationsmaydierfromcountrytocountry.
• Theweightdoesnotincludeaccessoriesbutbatterycartridge(s).Thelightestandheaviestcombinationweight
oftheapplianceandbatterycartridge(s)areshowninthetable.
• Thelengthofsuppliedhosevariesdependingonthecountries.
Applicable battery cartridge and charger
Battery cartridge BL1815N / BL1820 / BL1820B / BL1830 / BL1830B / BL1840 /
BL1840B / BL1850 / BL1850B / BL1860B
Charger DC18RC/DC18RD/DC18RE/DC18SD/DC18SE/DC18SF/
DC18SH
• Someofthebatterycartridgesandchargerslistedabovemaynotbeavailabledependingonyourregionof
residence.
WARNING: Only use the battery cartridges and chargers listed above.Useofanyotherbatterycartridges
andchargersmaycauseinjuryand/orre.
Symbols
Thefollowingsshowthesymbolsusedfortheequip-
ment.Besurethatyouunderstandtheirmeaningbefore
use.
Read instruction manual.
Ni-MH
Li-ion
OnlyforEUcountries
Donotdisposeofelectricequipmentor
battery pack together with household
wastematerial!Inobservanceofthe
EuropeanDirectives,onWasteElectric
andElectronicEquipmentandBatteries
and Accumulators and Waste Batteries and
Accumulators and their implementation
inaccordancewithnationallaws,electric
equipmentandbatteriesandbattery
pack(s)thathavereachedtheendof
theirlifemustbecollectedseparatelyand
returned to an environmentally compatible
recyclingfacility.
Intended use
Theapplianceisintendedforcollectingdrydust.The
applianceissuitableforcommercialuse,forexamplein
hotels,schools,hospitals,factories,shops,ocesand
rental businesses.
SAFETY WARNINGS
Cordless vacuum cleaner safety
warnings
WARNING: IMPORTANT! READ CAREFULLY
all safety warnings and all instructions BEFORE
USE .Failuretofollowthewarningsandinstructions
mayresultinelectricshock,reand/orseriousinjury.
1. Before use, make sure that this cleaner must
be used by people who have been adequately
instructed on the use of this cleaner.
2. Do not use the cleaner without the lter.
Replace a damaged lter immediately.
11 ENGLISH
3. Do not attempt to pick up ammable materials,
re works, lighted cigarettes, hot ashes, hot
metal chips, sharp materials such as razors,
needles, broken glass or the like.
4. NEVER USE THE CLEANER IN THE VICINITY
OF GASOLINE, GAS, PAINT, ADHESIVES OR
OTHER HIGHLY EXPLOSIVE SUBSTANCES.
TheswitchemitssparkswhenturnedONand
OFF. And so does the motor commutator during
operation. A dangerous explosion may result.
5. Never vacuum up toxic, carcinogenic, com-
bustible or other hazardous materials such
as asbestos, arsenic, barium, beryllium,
lead, pesticides, or other health endangering
materials.
6. Never use the cleaner outdoors in the rain.
7. Do not use close to heat sources (stoves, etc.).
8. Do not block cooling vents. These vents per-
mit cooling of the motor. Blockage should be
carefully avoided otherwise the motor will burn
out from lack of ventilation.
9. Keep proper footing and balance at all times.
10. Do not fold, tug or step on the hose.
11. Stop the cleaner immediately if you notice
poor performance or anything abnormal
during operation.
12. DISCONNECT THE BATTERIES. When not in
use, before servicing, and when changing
accessories.
13. Clean and service the cleaner immediately
after each use to keep it in tiptop operating
condition.
14. MAINTAIN THE CLEANER WITH CARE. Keep
the cleaner clean for better and safer per-
formance. Follow instructions for changing
accessories. Keep handles dry, clean, and free
from oil and grease.
15. CHECK DAMAGED PARTS. Before further use
of the cleaner, a guard or other part that is
damaged should be carefully checked to deter-
mine that it will operate properly and perform
its intended function. Check for alignment of
moving parts, binding of moving parts, break-
age of parts, mounting, and any other condi-
tions that may aect its operation. A guard or
other part that is damaged should be properly
repaired or replaced by an authorized service
center unless otherwise indicated elsewhere
in this instruction manual. Have defective
switches replaced by authorized service cen-
ter. Don’t use the cleaner if switch does not
turn it on and o.
16. REPLACEMENT PARTS. When servicing, use
only identical replacement parts.
17. STORE IDLE CLEANER. When not in use, store
the cleaner indoors.
18. Be kind to your cleaner. Rough handling can
cause breakage of even the most sturdily built
cleaner.
19. Do not attempt to clean the exterior or interior
with benzine, thinner or cleaning chemicals.
Cracks and discoloration may be caused.
20. Do not use cleaner in an enclosed space where
ammable, explosive or toxic vapors are given
o by oil-base paint, paint-thinner, gasoline,
some mothproong substances, etc., or in
areas where ammable dust is present.
21. Do not operate the cleaner while under the
inuence of drugs or alcohol.
22. As a basic rule of safety, use safety goggles or
safety glasses with side shields.
23. Use a dust mask in dusty work conditions.
24. This machine is not intended for use by per-
sons including children with reduced physical,
sensory or mental capabilities, or lack of expe-
rience and knowledge.
25. Children should be supervised to ensure that
they do not play with the cleaner.
26. Never handle batteries and cleaner with wet
hands.
27. Use extreme caution when cleaning on stairs.
28. Do not use the cleaner as a stool or work
bench. The machine may fall down and may
result in personal injury.
Battery tool use and care
1. Recharge only with the charger specied by
the manufacturer.Achargerthatissuitablefor
onetypeofbatterypackmaycreateariskofre
when used with another battery pack.
2. Use power tools only with specically desig-
nated battery packs.Useofanyotherbattery
packsmaycreateariskofinjuryandre.
3. When battery pack is not in use, keep it away
from other metal objects, like paper clips,
coins, keys, nails, screws or other small metal
objects, that can make a connection from one
terminal to another.Shortingthebatterytermi-
nalstogethermaycauseburnsorare.
4. Under abusive conditions, liquid may be
ejected from the battery; avoid contact. If con-
tact accidentally occurs, ush with water. If
liquid contacts eyes, additionally seek medical
help.Liquidejectedfromthebatterymaycause
irritation or burns.
5. Do not use a battery pack or tool that is dam-
aged or modied.Damagedormodiedbatteries
may exhibit unpredictable behaviour resulting in
re,explosionorriskofinjury.
6. Do not expose a battery pack or tool to re or
excessive temperature.Exposuretoreortem-
perature above 130 °C may cause explosion.
7. Follow all charging instructions and do not
charge the battery pack or tool outside the
temperature range specied in the instruc-
tions. Charging improperly or at temperatures
outsidethespeciedrangemaydamagethe
batteryandincreasetheriskofre.
Service
1. Have your power tool serviced by a qualied
repair person using only identical replacement
parts.Thiswillensurethatthesafetyofthepower
tool is maintained.
2. Follow instruction for lubricating and chang-
ing accessories.

12 ENGLISH
3. Keep handles dry, clean and free from oil and
grease.
Important safety instructions for
battery cartridge
1. Before using battery cartridge, read all instruc-
tions and cautionary markings on (1) battery
charger, (2) battery, and (3) product using
battery.
2. Do not disassemble battery cartridge.
3. If operating time has become excessively
shorter, stop operating immediately. It may
result in a risk of overheating, possible burns
and even an explosion.
4. If electrolyte gets into your eyes, rinse them
out with clear water and seek medical atten-
tion right away. It may result in loss of your
eyesight.
5. Do not short the battery cartridge:
(1) Do not touch the terminals with any con-
ductive material.
(2) Avoid storing battery cartridge in a con-
tainer with other metal objects such as
nails, coins, etc.
(3) Do not expose battery cartridge to water
or rain.
A battery short can cause a large current
ow, overheating, possible burns and even a
breakdown.
6. Do not store the tool and battery cartridge in
locations where the temperature may reach or
exceed 50 °C (122 °F).
7. Do not incinerate the battery cartridge even if
it is severely damaged or is completely worn
out. The battery cartridge can explode in a re.
8. Be careful not to drop or strike battery.
9. Do not use a damaged battery.
10. The contained lithium-ion batteries are subject
to the Dangerous Goods Legislation require-
ments.
Forcommercialtransportse.g.bythirdparties,
forwardingagents,specialrequirementonpack-
aging and labeling must be observed.
Forpreparationoftheitembeingshipped,consult-
inganexpertforhazardousmaterialisrequired.
Please also observe possibly more detailed
national regulations.
Tapeormaskoopencontactsandpackupthe
battery in such a manner that it cannot move
around in the packaging.
11. When disposing the battery cartridge, remove
it from the tool and dispose of it in a safe
place. Follow your local regulations relating to
disposal of battery.
12. Use the batteries only with the products
specied by Makita. Installing the batteries to
non-compliantproductsmayresultinare,exces-
siveheat,explosion,orleakofelectrolyte.
13. If the tool is not used for a long period of time,
the battery must be removed from the tool.
SAVE THESE INSTRUCTIONS.
CAUTION: Only use genuine Makita batteries.
Useofnon-genuineMakitabatteries,orbatteriesthat
havebeenaltered,mayresultinthebatterybursting
causingres,personalinjuryanddamage.Itwill
alsovoidtheMakitawarrantyfortheMakitatooland
charger.
Tips for maintaining maximum
battery life
1. Charge the battery cartridge before completely
discharged. Always stop tool operation and
charge the battery cartridge when you notice
less tool power.
2. Never recharge a fully charged battery car-
tridge. Overcharging shortens the battery
service life.
3. Charge the battery cartridge with room tem-
perature at 10 °C - 40 °C (50 °F - 104 °F). Let
a hot battery cartridge cool down before
charging it.
4. Charge the battery cartridge if you do not use
it for a long period (more than six months).
FUNCTIONAL
DESCRIPTION
CAUTION: Always be sure that the appli-
ance is switched o and the battery cartridge is
removed before adjusting or checking function on
the appliance.
Installing or removing battery
cartridge
CAUTION: Always switch o the appliance
before installing or removing of the battery
cartridge.
CAUTION: Hold the appliance and the bat-
tery cartridge rmly when installing or removing
battery cartridge. Failure to hold the appliance and
thebatterycartridgermlymaycausethemtoslipo
your hands and result in damage to the appliance and
batterycartridgeandapersonalinjury.
►Fig.1: 1. Red indicator 2. Button 3. Battery cartridge
Toremovethebatterycartridge,slideitfromthe
appliancewhileslidingthebuttononthefrontofthe
cartridge.
Toinstallthebatterycartridge,alignthetongueonthe
battery cartridge with the groove in the housing and slip
it into place. Insert it all the way until it locks in place
withalittleclick.Ifyoucanseetheredindicatoronthe
uppersideofthebutton,itisnotlockedcompletely.

13 ENGLISH
CAUTION: Always install the battery cartridge
fully until the red indicator cannot be seen.Ifnot,
itmayaccidentallyfalloutoftheappliance,causing
injurytoyouorsomeonearoundyou.
CAUTION: Do not install the battery cartridge
forcibly.Ifthecartridgedoesnotslideineasily,itis
not being inserted correctly.
Appliance / battery protection
system
Theapplianceisequippedwithaappliance/battery
protectionsystem.Thissystemautomaticallycutso
powertothemotortoextendapplianceandbatterylife.
Theappliancewillautomaticallystopduringoperation
iftheapplianceorbatteryisplacedunderoneofthe
followingconditions:
Overload protection
When the appliance is operated in a manner that
causesittodrawanabnormallyhighcurrent,theappli-
ance automatically stops without any indication. In this
situation,turntheapplianceoandstoptheapplication
thatcausedtheappliancetobecomeoverloaded.Then
turn the appliance on to restart.
Overheat protection
Whentheapplianceisoverheated,theappliance
stopsautomatically,andtheLEDlightblinksabout60
seconds.Inthissituation,lettheappliancecooldown
beforeturningtheapplianceonagain.
WhiletheLEDlightisblinking,youcanturnotheLED
light by pressing button.
►Fig.2: 1. LED light
Overdischarge protection
Whenthebatterycapacitybecomeslow,theappliance
stopsautomatically.Iftheproductdoesnotoperate
evenwhentheswitchesareoperated,removethebat-
teriesfromtheapplianceandchargethebatteries.
Indicating the remaining battery
capacity
Only for battery cartridges with the indicator
►Fig.3: 1. Indicator lamps 2. Check button
Press the check button on the battery cartridge to indi-
catetheremainingbatterycapacity.Theindicatorlamps
lightupforafewseconds.
Indicator lamps Remaining
capacity
Lighted O Blinking
75% to 100%
50% to 75%
25% to 50%
0% to 25%
Charge the
battery.
Thebattery
may have
malfunctioned.
NOTE:Dependingontheconditionsofuseandthe
ambienttemperature,theindicationmaydierslightly
fromtheactualcapacity.
Switch box position
Theswitchboxcanbehookedoneithersideofthe
lower belt. Arrange the cord so that the switch box
comestoyourdesiredside.Topreventthecordfrom
beingdamaged,passthecordthroughthegrooveas
illustrated.
►Fig.4: 1. Groove 2. Cord
Adjusting belts
Thetightnessoftheshoulderbelts,upperandlower
beltscanbeadjusted.Putyourarmsthroughtheshoul-
derbeltsrstthenfastenthelowerandupperbelts.
Totighten,pulltheendofthestrapasillustrated.To
loosen,pulluptheendofthefastener.
Lower belt
►Fig.5: 1.Strap2. Fastener
Shoulder belts
►Fig.6: 1.Strap2. Fastener
Upper belt
►Fig.7: 1.Strap2. Fastener
Carrying hook
Always grab the carrying hook when handling the vac-
uum cleaner body.
►Fig.8: 1. Carrying hook

14 ENGLISH
Switch action
Youcanchangethesuctionpowerinthreesteps:nor-
mal(1),high(2),andmax(3).
Tostartvacuuming,press button once. When you
changethesuctionpower,pressthebuttonwhilethe
vacuumcleanerisrunning.Thesuctionpowerswitches
inordernormal(1),high(2),andmax(3).
Toturnothevacuumcleaner,press button.
►Fig.9
NOTE:Whenyoustartthevacuumcleaneragain,it
will start in the same suction power as the previous
setting.
LED light
LEDlightisinstalledintheheadoftheswitchboxto
ease the operations in dark places. Press button to
turnthelighton.Toturno,press button again.
►Fig.10
CAUTION: Do not look in the light or see the
source of light directly. Never aim the light to
other people's eyes.
NOTE:TheLEDlightisautomaticallyturnedowhen
thevacuumcleanerisnotoperatedformorethan
10 minutes.
NOTE:Thevacuumcleanerwillautomatically
switchesoandtheLEDlightasheswhenthevac-
uum cleaner is overheated due to the reduced air-
owintothemachinecausedbycloggedhose,pipe,
lterorotherreasons.Inthiscase,removethecause
oftheproblemandcoolthevacuumcleanerbefore
restarting.
Hose band
Hosebandcanbeusedforholdingthehoseorfree
nozzle.
Tosecurethehosetothevacuumcleanerbody,pass
the hose band through the slot on the body. You can
attach the hose band on either side.
►Fig.11: 1. Hose band 2.Slot3. Hose
Thelooponthelowerbeltcanbeusedforcarrying
nozzlesasillustrated.
►Fig.12: 1. Loop 2.Nozzles
Hose hook
Whenyoususpendtheoperation,thehookonthebent
pipeassemblycanbeusedforhangingthewandonthe
lower belt.
►Fig.13
Dust beating system
Dust goes down when you pull the lever or walk with
wearingthecleaner.Thissystemhelpsthecleaner
maintaining the suction power.
►Fig.14: 1. Lever 2. Filter bag/dust bag 3. Board
NOTE:Thisfunctionworkswhenthecleaneris
switchedoandthelterbag/dustbagcontainsa
certainamountofdusttotouchtheboard.
ASSEMBLY
CAUTION: Always be sure that the appli-
ance is switched o and the battery cartridge
is removed before carrying out any work on the
appliance.
Assembling hose
Insertthehosecuintothevacuumcleanerbodyand
turn it clockwise.
►Fig.15: 1.Hosecu2. Vacuum cleaner body
Assembling nozzle and wand
Optional accessory
NOTE:Thetypeofthenozzleandwandincludedin
the product varies depending on countries. In some
countries,thenozzleandwandarenotincluded.
1. Twistandinsertthenozzletotheextensionwand.
►Fig.16: 1. Extension wand 2.Freenozzle
3.T-shapenozzle4.T-shapenozzle(slim)
NOTE:Bytwistingthenozzlewhileinserting,thenoz-
zlecanbeattachedtotheextensionwandsecurely.
NOTE:Forthemodelwithø38mmhoseandfront
cu38,attachthesuppliednozzletothealuminum
bending pipe / aluminum straight pipe.
2. Followtheproceduresbelow,dependingonthe
typeoftheextensionwand:
NOTE:Theslide-typeextensionwandandthering-
type extension wand are not compatible with each
other.Ifyouwanttochangetheslide-typeextension
wandtothering-typeextensionwandorviceversa,
change the bent pipe assembly also.
NOTE:Thefreenozzlecanbeattachedtothebent
pipe assembly directly.
For the slide-type extension wand
Shoulderthevacuumcleanerbodytheninsertthe
extension wand into the bent pipe assembly until it
clicks.Todisconnect,extracttheextensionwandwith
pressing the button.
►Fig.17: 1. Bent pipe assembly 2. Button 3.Slide-
type extension wand 4.Freenozzle
Thelengthofthewandcanbeadjusted.
Withpressingtheslidebutton,adjustthewandlength.
Thelengthislockedwhenreleasingtheslidebutton.
►Fig.18: 1.Slidebutton
For the ring-type extension wand
Shoulderthevacuumcleanerbodythentwistandinsert
theextensionwandintothebentpipeassembly.To
disconnect,twistandextractit.
►Fig.19: 1. Bent pipe assembly 2. Ring-type exten-
sion wand 3.Freenozzle

15 ENGLISH
Thelengthofthewandcanbeadjusted.
Loosentheringonthewandandadjustthewand
length.Tightentheringatyourdesiredlength.
►Fig.20: 1. Ring
For the aluminum bending pipe / aluminum straight
pipe
(Onlyforthemodelwithø38mmhoseandfrontcu38)
Shoulderthevacuumcleanerbodythentwistandinsert
thepipeintothefrontcu.Todisconnect,twistand
extract it.
►Fig.21: 1.Frontcu382. Aluminum bending pipe
3. Aluminum straight pipe 4.Nozzle
For the two aluminum straight pipes
Shoulderthevacuumcleanerbodythentwistandinsert
thepipes.Todisconnect,twistandextractit.
►Fig.22: 1. Bent pipe assembly 2. Aluminum straight
pipe 1 3. Aluminum straight pipe 2
Connecting the tool
NOTE: If the bent pipe assembly is attached to the
hose, remove it beforehand.
Toconnectatooltothecleaner,thededicatedhose
and/oradditionalpartsarerequired.Dependingonyour
cleanermodel,youneedtoreplacethehoseand/or
prepare additional parts.
Refertothefollowingtablefordetails.
Supplied
hose
diameter
Hose end type Action
ø28 mm
without part
Attachthefrontcu.
with snap-on part
Replace the hose end
(snap-onpart)withthefront
cu.
Thehoseendcanberemoved
by turning it counterclockwise.
ø32 mm
with snap-on part
Replace the hose with the one
fordustextraction(ø28mm,
withfrontcu).
Supplied
hose
diameter
Hose end type Action
ø38 mm
with snap-on part
Replace the hose with the one
fordustextraction(ø28mm,
withfrontcu).
withfrontcu38
Attachthejoint22-38orthe
frontcu24.
NOTE:Alwaysuseasuitablefrontcu.Whenusing
thefrontcu24,attachittothefrontcu22thatis
connected to the hose.
►Fig.23: 1.Frontcu222.Frontcu24
When using ø28 mm dust extraction
hose
1. Attachthefrontcutothehosefordustextraction.
Whenconnectingthefrontcu,makesurethatitis
securely screwed on the hose.
2. Connectthefrontcutothetool'sextraction
outlet.
►Fig.24: 1.Frontcu2. Extraction outlet 3. Hose
Thefrontcucanbedetachedbyturningitcounter-
clockwise while holding the hose.
When using ø38 mm hose with front
cu 38
1. Twistandinsertthejointorthefrontcutothe
inletpartonthehose,dependingonthetoolthatyou
are going to connect.
2. Connectthefrontcutothetool'sextraction
outlet.
►Fig.25: 1. Joint 2.Frontcu3. Extraction outlet
4. Hose
Toremovethejointandthefrontcu,followtheinstalla-
tion procedures in reverse.
Attaching bent pipe assembly
Optional accessory
NOTE:Youdon'tneedtoperformthisprocedure
ifyourmodelcomeswiththebentpipeassembly
attached to the hose.
NOTE:Therearetwotypesofbentpipeassembly;
theoneforslide-typeextensionwandandtheonefor
ring-typeextensionwand.Ifyoupreparethebentpipe
assembly,choosetheoneforyourdesiredextension
wand type.

16 ENGLISH
Thebentpipeassemblyisusedforconnectingthe
extensionwandornozzleforvacuumcleaningtothis
product.
Ifyouwanttousethisproductasthevacuumcleaner,
attach the bent pipe assembly to the hose.
Toattach,unscrewthefrontcufromthehoseand
fastenthesleeveofbentpipeassemblyontothehose.
Toremove,loosenthesleeveofbentpipeassembly
fromthehose.
►Fig.26: 1. Hose 2. Bent pipe assembly 3.Sleeve
Installing lter bag / dust bag
Optional accessory
CAUTION: Do not use a damaged lter bag.
Always use the vacuum cleaner with the lter bag
properly installed. Otherwise the vacuumed dust
or particles may be exhausted from the cleaner
and they may cause respiratory disease to the
operator.
Installeitherdustbagorlterbagbeforeusingcleaner.
— Dust bag are usable many times repeatedly by
cleaning it out.
— Filterbagisathrow-awaytype.Throwawaythe
entirelterbagwithoutemptyingwhenithas
becomefull.
NOTICE: When the lter bag is already full,
replace with new one. When the dust bag is
already full, empty it.Continuoususewiththelter
bag/dustbagfullresultsinreducedsuctionpower.
NOTICE: To prevent dust from getting into the
motor:
— Make sure that the lter bag/dust bag is
installed before use.
— Do not use a broken or ripped bag.
Otherwise the motor may be broken.
NOTICE: Do not fold the cardboard at its open-
ing when installing the lter bag/dust bag.
NOTICE: The lter bag/dust bag for the cleaner
is an important component for maintaining the
appliance performance. Using non-genuine lter
bag/dust bag may cause smoke or ignition.
NOTE:Whenthelterbag/dustbagisnotinstalledin
thecleaner,thefrontcoverdoesnotclosecompletely.
►Fig.27
1. Unlockthelatchbyliftingthebottomside.Push
thegroovedareatoliftthefrontlatchingside.Pullthe
latch to open the lid.
►Fig.28: 1. Hook 2. Lid
2. Insertthelterbagintotheslitontheuppersideof
the room as illustrated.
►Fig.29: 1.Slit2. Filter bag
Whenusingthedustbag,insertthebrimofthedustbag
into the slit.
►Fig.30: 1.Slit2. Brim 3. Dust bag
3. Aligntheholeofthelterbagwiththehosecu
and push the cardboard portion to the end. Make sure
thattherubberringonthelterbaggoesovertherim
onthehosecu.
►Fig.31: 1.Rubberringonthelterbag2. Rim on
thehosecu3.Cardboardportionofthe
lterbag4.Hosecu
OPERATION
WARNING: Operators shall be adequately
instructed on the use of the vacuum cleaner.
WARNING: This vacuum cleaner is not suit-
able for picking up hazardous dust.
CAUTION: This cleaner is for dry use only.
CAUTION: This cleaner is for indoor use only.
CAUTION: Always insert the battery cartridge
all the way until it locks in place.Ifyoucanseethe
redindicatorontheuppersideofthebutton,itisnot
lockedcompletely.Insertitfullyuntiltheredindicator
cannotbeseen.Ifnot,itmayaccidentallyfallout
oftheappliance,causinginjurytoyouorsomeone
around you.
CAUTION: During operation, be conscious
of the vacuum cleaner on your back. You may
loseyourbalanceifthevacuumcleanerbodybumps
against a wall or the hose is hooked by an obstacles.
1. Shoulderthevacuumcleanerbodyandfas-
tenupperandlowerbelts.Adjustthetightnessas
necessary.
►Fig.32
2. Press
buttontostartvacuuming.Ifyouwant
tochangethesuctionpower,press button until the
desired suction power is selected. Press button to
stop.
►Fig.33
Duringtheoperation,hooktheswitchboxonthering
orthelowerbelt.Thehookcanbeslantedforlighting
forwardwhenhookedonthelowerbelt.
►Fig.34: 1. Ring 2. Lower belt
3. Replacethelterbagwhenitbecomesfull.Open
thelidandtakeoutthelterbag.Pullthestriponthe
sideoftheopeningtoshutthelterbaganddisposeof
thelterbaginwhole.
►Fig.35: 1.Strip
Whenusingadustbag,takeoutthedustbaganddis-
poseofthedustbyreleasingthelatch.
►Fig.36: 1. Latch

17 ENGLISH
NOTICE: Do not put lter bag/dust bag or other
heavy objects on the lid.Theappliancemayfall
down.
NOTICE: Periodically check the lter bag if it is
full.Continuoususewiththelterbagfullresultsin
reduced suction power.
NOTICE: Do not use an used lter bag.Thelter
bagisdesignedforsingleuse.Usinglterbagrepeat-
edlymaycausecloggingofthelterandresultsin
damagetothecleaner.Ifyouwanttousethebag
repeatedly,useadustbag.
MAINTENANCE
CAUTION: Always be sure that the appli-
ance is switched o and the battery cartridge is
removed before attempting to perform inspection
or maintenance.
NOTICE: Never use gasoline, benzine, thinner,
alcohol or the like. Discoloration, deformation or
cracks may result.
TomaintainproductSAFETYandRELIABILITY,
repairs,anyothermaintenanceoradjustmentshould
beperformedbyMakitaAuthorizedorFactoryService
Centers,alwaysusingMakitareplacementparts.
Cleaning the HEPA lter
CAUTION: Do not use the vacuum cleaner
without a lter or continue to use dirty or dam-
aged lter. Vacuumed dust or particles may be
exhausted from the cleaner and they may cause
respiratory disease to the operator.
NOTICE: To keep optimum suction power and
clean exhaust, clean the lter periodically. If
enough suction power is not obtained even after
the cleaning, replace the lter with new one.
NOTICE: To prevent the lter from being dam-
aged, do not use following tools and similar items
for cleaning :
— Air duster
— High pressure washer
— Tools made of hard materials such as a
metallic brush
1. Openthelidandtakeoutthelterbag/dustbag.
Releasethehookonthelterandremoveitfromthe
vacuum cleaner body.
►Fig.37: 1. Hook
2. Beatthedustofromthelter.Theltercanbe
washed with water. Rinse away the dust and particles
onthelterevery1or2month.Afterthat,drythelter
completely in a shaded and well-ventilated place to
preventunpleasantodorormalfunctions.
3. Toinstallthelter,insertthesidewithoutthe
hooksintothegroovethenpushinthelteruntilthe
hooks are secured with a click.
►Fig.38: 1. Groove 2.HEPAlter3. Hook
Cleaning the dust bag
Regularlycleanthedustbagwithsoapandwater.Turn
the dust bag inside out and remove the sticky dust.
Wash lightly by hand and rinse well with water. Dry
completelybeforeinstallingtothevacuumcleaner.
►Fig.39
NOTICE: Wet dust bag lowers the vacuuming per-
formanceaswellasthelifeofthemotor.
Cleaning the clog
Whencleaningtheclog,removethehoseortheexten-
sionwand,orthebentpipeassemblytocheckinside.
Removing/attaching the snap-on type bent pipe
assembly
Toremove,pullthebentpipeassemblywhilepressing
bothofthetabonthehoseend.
Toattach,insertthehoseendintothebentpipeassem-
bly. Make sure that the tabs on the hose end snap into
the holes on the bent pipe assembly.
►Fig.40: 1. Hose end 2.Tab3. Hole 4. Bent pipe
assembly
Removing/attaching the screw-in type bent pipe
assembly
Toremove,loosenthesleeveofbentpipeassembly
fromthehose.
Toattach,fastenthesleeveofbentpipeassemblyonto
the hose.
►Fig.41: 1. Hose 2. Bent pipe assembly 3.Sleeve
Cleaning the room for lter bag/
dust bag
Whencleaningtheroomforlterbag/dustbag,remove
and wipe the board inside.
►Fig.42: 1. Board
Removing the board
1. RemovetheHEPAlter.Refertothesectionfor
cleaningtheHEPAlterforhowtoremove.
2. Pushdowntheboard,andslideittoleftuntilthe
board touches the wall.
3. Lifttherightsideoftheboardupandtakeitout.
►Fig.43: 1. Board
Theboardissupportedbythreesprings.
Ifthespringscameofromtheboardorthelever,
reattach them as illustrated.
►Fig.44: 1.Springforboard2.Springforlever
3.Projection
NOTE: Attach the springs securely so that the springs
touchtherootoftheprojections.
Attaching the board
1. Insertthestraightsideoftheboardintothe
catchesinthelowerleftsideoftheroom.
2. Puttherightsideoftheboardinplace.
►Fig.45: 1. Board 2.Straightside3. Catch

18 ENGLISH
OPTIONAL
ACCESSORIES
CAUTION: These accessories or attachments
are recommended for use with your Makita prod-
uct specied in this manual.Theuseofanyother
accessoriesorattachmentsmightpresentariskof
injurytopersons.Onlyuseaccessoryorattachment
foritsstatedpurpose.
Ifyouneedanyassistanceformoredetailsregard-
ingtheseaccessories,askyourlocalMakitaService
Center.
• Hose(forvacuumcleanertype)
• Hose(fordustextractiontype)
• Extensionwand
• Freenozzle
• T-shapenozzle
• Seatnozzle
• Cornernozzle
• Shelfbrush
• Roundbrush
• Bentpipeassembly
• Filterbag
• Dustbag
• Frontcu
• HEPAlter
• Pipe
• Makitagenuinebatteryandcharger
NOTE:Someitemsinthelistmaybeincludedinthe
toolpackageasstandardaccessories.Theymay
dierfromcountrytocountry.

19 BAHASA INDONESIA
BAHASA INDONESIA (Petunjuk Asli)
SPESIFIKASI
Model: DVC660
Kapasitas Kantong saringan 6,0L
Kantong debu 5,5L
Volume udara
maksimum
Dengan selang ø28 mm
x1,0m
2,0m3/min
Dengan selang ø32 mm
x1,0m
2,2m3/min
Isapan 110 hPa
Dimensi(PxLxT)
(tidak termasuk tali pundak)
297 mm x 174 mm x 523 mm
Teganganterukur D.C. 36 V
Berat bersih 6,1-6,7kg
• Karenakesinambunganprogrampenelitiandanpengembangankami,spesikasiyangdisebutkandisinidapat
berubah tanpa pemberitahuan.
• Spesikasidapatberbedadarisatunegarakenegaralainnya.
• Berattidaktermasukaksesoriselainkartridbaterai.Beratgabunganpalingringandanpalingberatdari
peralatan dan kartrid baterai ditampilkan dalam tabel.
• Panjangselangyangdisertakanbervariasitergantungpadanegaramasing-masing.
Kartrid dan pengisi daya baterai yang dapat digunakan
Kartrid baterai BL1815N / BL1820 / BL1820B / BL1830 / BL1830B / BL1840 /
BL1840B / BL1850 / BL1850B / BL1860B
Pengisi daya DC18RC/DC18RD/DC18RE/DC18SD/DC18SE/DC18SF/
DC18SH
• Beberapakartridbateraidanpengisidayayangtercantumdiatasmungkintidaktersedia,tergantungwilayah
tempat tinggal Anda.
PERINGATAN: Hanya gunakan kartrid dan pengisi daya baterai yang tercantum di atas. Penggunaan
kartrid dan pengisi daya baterai lain dapat menimbulkan risiko cedera dan/atau kebakaran.
Simbol
Berikut ini adalah simbol-simbol yang digunakan pada
peralatan ini. Pastikan Anda mengerti makna masing-
masing simbol sebelum menggunakan alat.
Bacapetunjukpenggunaan.
Ni-MH
Li-ion
Hanya untuk negara-negara Uni Eropa
Jangan membuang peralatan listrik
atau baterai bersama-sama dengan
bahan limbah rumah tangga! Dengan
memerhatikanPetunjukEropa,tentang
Limbah Peralatan Listrik dan Elektronik
serta Baterai dan Akumulator serta
Limbah Baterai dan Akumulator dan
pelaksanaannya sesuai dengan ketentuan
hukumnasional,peralatanlistrikdan
baterai dan paket baterai yang telah habis
umur pakainya harus dikumpulkan secara
terpisahdandikembalikankefasilitasdaur
ulang yang kompatibel secara lingkungan.
Penggunaan
Peralatan ini digunakan untuk membersihkan debu
kering. Peralatan ini cocok untuk penggunaan
komersial,misalnyadihotel,sekolah,rumahsakit,
pabrik,toko,kantordanbisnispenyewaan.
PERINGATAN
KESELAMATAN
Peringatan keselamatan penyedot
debu nirkabel
PERINGATAN: PENTING BACALAH semua
peringatan keselamatan dan semua petunjuk
SEBELUM MENGGUNAKAN DENGAN SAKSAMA.
Kelalaianmematuhiperingatandanpetunjukdapat
menyebabkansengatanlistrik,kebakaran,dan/atau
cedera serius.

20 BAHASA INDONESIA
1. Sebelum menggunakan, pastikan bahwa
penyedot debu ini digunakan oleh orang yang
cukup terlatih menggunakan mesin ini.
2. Jangan menggunakan mesin tanpa penyaring.
Segera ganti penyaring yang rusak.
3. Jangan mencoba untuk mengambil materi
yang mudah terbakar, petasan, puntung rokok
yang masih menyala, abu panas, kepingan
baja panas, benda-benda tajam seperti pisau
cukur, jarum, pecahan kaca, atau sejenisnya.
4. JANGAN PERNAH MENGGUNAKAN
PENYEDOT DEBU DI SEKITAR BENSIN,
GAS, CAT, BAHAN PEREKAT, ATAU BAHAN
PELEDAK LAIN. Sakelarmemercikkanbunga
api saat ON atau OFF. Dan begitu pula komutator
mesin saat digunakan. Ledakan berbahaya
mungkinterjadi.
5. Jangan pernah menyedot racun, segala
sesuatu yang dapat menyebabkan kanker,
bahan yang mudah terbakar atau benda-benda
beracun lain seperti asbes, arsenik, barium,
berilium, timah, pestisida, atau benda-benda
yang membahayakan kesehatan.
6. Jangan gunakan penyedot debu di luar
ruangan saat hujan.
7. Jangan gunakan dekat dengan sumber panas
(kompor, dll.).
8. Jangan menutupi ventilasi pendingin. Ventilasi
ini mendinginkan mesin. Penutupan harus
dihindari bila tidak mesin akan terbakar karena
kurangnya ventilasi.
9. Jagalah pijakan dan keseimbangan sepanjang
waktu.
10. Jangan menekuk, menarik, atau menginjak
selang penyedot debu.
11. Hentikan penyedot debu sesegera mungkin
jika Anda merasa terdapat penurunan
kinerja atau terjadi ketidaknormalan saat
pengoperasian.
12. LEPASKAN BATERAI. Saat tidak digunakan,
sebelum diperbaiki, dan saat mengganti
aksesori.
13. Bersihkan dan rawat penyedot debu segera
setelah setiap penggunaan untuk menjaganya
tetap pada kondisi penggunaan terbaik.
14. RAWAT PENYEDOT DEBU DENGAN HATI-
HATI. Jaga agar mesin penyedot debu tetap
bersih untuk mendapatkan kinerja yang lebih
baik dan aman. Patuhi petunjuk penggantian
aksesori. Jagalah agar gagang tetap kering,
bersih, dan bebas dari minyak dan gemuk.
15. PERIKSA BAGIAN YANG RUSAK. Sebelum
terus menggunakan penyedot debu, pelindung
dan bagian lainnya yang rusak harus
diperiksa secara cermat untuk menentukan
apakah mesin akan bekerja dengan baik dan
berfungsi sesuai yang diharapkan. Periksa
kesejajaran bagian yang berputar, kerapatan
bagian yang berputar, kerusakan komponen,
kondisi pemasangan, dan lainnya yang bisa
memengaruhi kerja mesin. Pelindung atau
bagian lain yang rusak harus diperbaiki
dengan tepat atau diganti oleh pusat layanan
resmi kecuali jika ditunjukkan pada bagian lain
dalam petunjuk penggunaan ini. Ganti sakelar-
sakelar yang rusak oleh pusat layanan resmi.
Jangan gunakan penyedot debu jika sakelar
tidak dapat menyalakan dan mematikan mesin.
16. PENGGANTIAN SUKU CADANG. Saat
perbaikan, gunakan suku cadang pengganti
yang sama.
17. SIMPAN PENYEDOT DEBU SAAT TIDAK
DIGUNAKAN. Saat tidak digunakan, penyedot
debu harus disimpan di dalam ruangan.
18. Jaga baik-baik penyedot debu Anda.
Penanganan yang kasar dapat menyebabkan
kerusakan bahkan pada penyedot debu yang
dibuat dengan sangat kuat.
19. Jangan mencoba untuk membersihkan bagian
luar maupun dalam mesin penyedot debu
dengan bensin, tiner, atau pembersih kimia.
Retakan dan perubahan warna mungkin dapat
terjadi.
20. Jangan gunakan penyedot debu di dekat
benda-benda mudah terbakar, meledak atau
beracun yang diberi cat berbasis minyak, cat
tiner, bensin, zat-zat anti rayap, dll. atau pada
area di mana terdapat debu mudah terbakar.
21. Jangan gunakan penyedot debu di bawah
pengaruh obat-obatan atau alkohol.
22. Sebagai aturan dasar keselamatan, gunakan
kacamata pengaman atau kacamata dengan
pelindung sisi.
23. Gunakan masker pada kondisi pekerjaan
berdebu.
24. Mesin ini tidak ditujukan untuk digunakan
oleh orang-orang termasuk anak-anak
dengan kemampuan sik, sensor, atau mental
yang kurang, orang-orang yang kurang
berpengalaman menggunakan atau kurang
memiliki pengetahuan mengenai alat ini.
25. Awasi anak-anak untuk memastikan mereka
tidak bermain-main dengan pembersih ini.
26. Jangan pernah menyentuh baterai dan
penyedot debu dengan tangan basah.
27. Berhati-hatilah saat membersihkan tangga.
28. Jangan gunakan penyedot debu sebagai
tempat duduk atau meja kerja. Mesin dapat
jatuh dan menyebabkan cedera.
Other manuals for DVC660
6
Table of contents
Languages:
Other Makita Vacuum Cleaner manuals

Makita
Makita VC2000L User manual

Makita
Makita VC008G User manual

Makita
Makita BVC340 User manual

Makita
Makita DVC867L User manual

Makita
Makita CL107FD User manual

Makita
Makita VC2211M User manual

Makita
Makita XLC08 User manual

Makita
Makita VC008G User manual

Makita
Makita VC4210M User manual

Makita
Makita DCL281FZW User manual

Makita
Makita VC3211M User manual

Makita
Makita BCL140 User manual

Makita
Makita DVC750L User manual

Makita
Makita VC005GL User manual

Makita
Makita CL104D User manual

Makita
Makita VC004GL User manual

Makita
Makita DVC867L User manual

Makita
Makita LC02 User manual

Makita
Makita DVC560 User manual

Makita
Makita 4013D User manual