QUI-1124
WARNING Before using hazardous substances, know the physical and chemical properties of
the solvents you use, and read the hazard indications and information reported in
the Material Safety Data Sheet (MSDS) supplied by the manufacturer referring to
the relevant CAS (Chemical Abstract Service) number. Any safety requirements
must be followed at all times.
WARNING In laboratories where samples with potential biological hazards are handled, it is
the user’s responsibility to label any equipment (or parts thereof) that may
become contaminated with biohazardous material, and to fulfil the mandatory
requirements as determined by the hazard.
NOTES If the agitator comes in contact with hazardous materials, whether they are biological or
chemical, do not return it to Markes or any of Markes’ distributors without a valid returns
number.
3.4. Pressure
NOTES Only sample vials manufactured from high-quality glass should be used with the agitator.
CAUTION Depending on the application conditions, high pressure can build up in the vial. Whenever a
temperature greater than 60°C is applied, consider the vapour pressure of the solvent
used, and ensure that no excessive pressure builds up. Be aware that solid materials can
also contain volatile compounds such as water (humidity) which could cause build-up of
pressure.
CAUTION Do not reuse headspace vials. During the washing process, micro-cracks can form, which
will weaken the glass and increase the chances of breakage.
3.5. Spillage prevention
CAUTION Vials should never be prepared in the agitator.
CAUTION Do not overfill sampling vials, and consider the sampling device that is to be used.
CAUTION If sampling is to take place from vials positioned on the agitator, care must be taken when
adding/removing the sampling device.
3.6. Spillage cleaning
CAUTION If liquid does spill onto the agitator cover or heater plate, immediately turn off the power
(even if the agitator appears to be functioning properly), and contact technical support.
NOTES If spillage occurs inside the vial sampling block (e.g. from a damaged vial), turn off the
power to the instrument and disconnect the power lead before removing the liquid.
NOTES If spillage occurs onto the user interface, turn off the power to the instrument and
disconnect the power lead before removing the liquid.
NOTES All users should be trained on how to react in a spill situation including how to
disconnect power from the agitator.
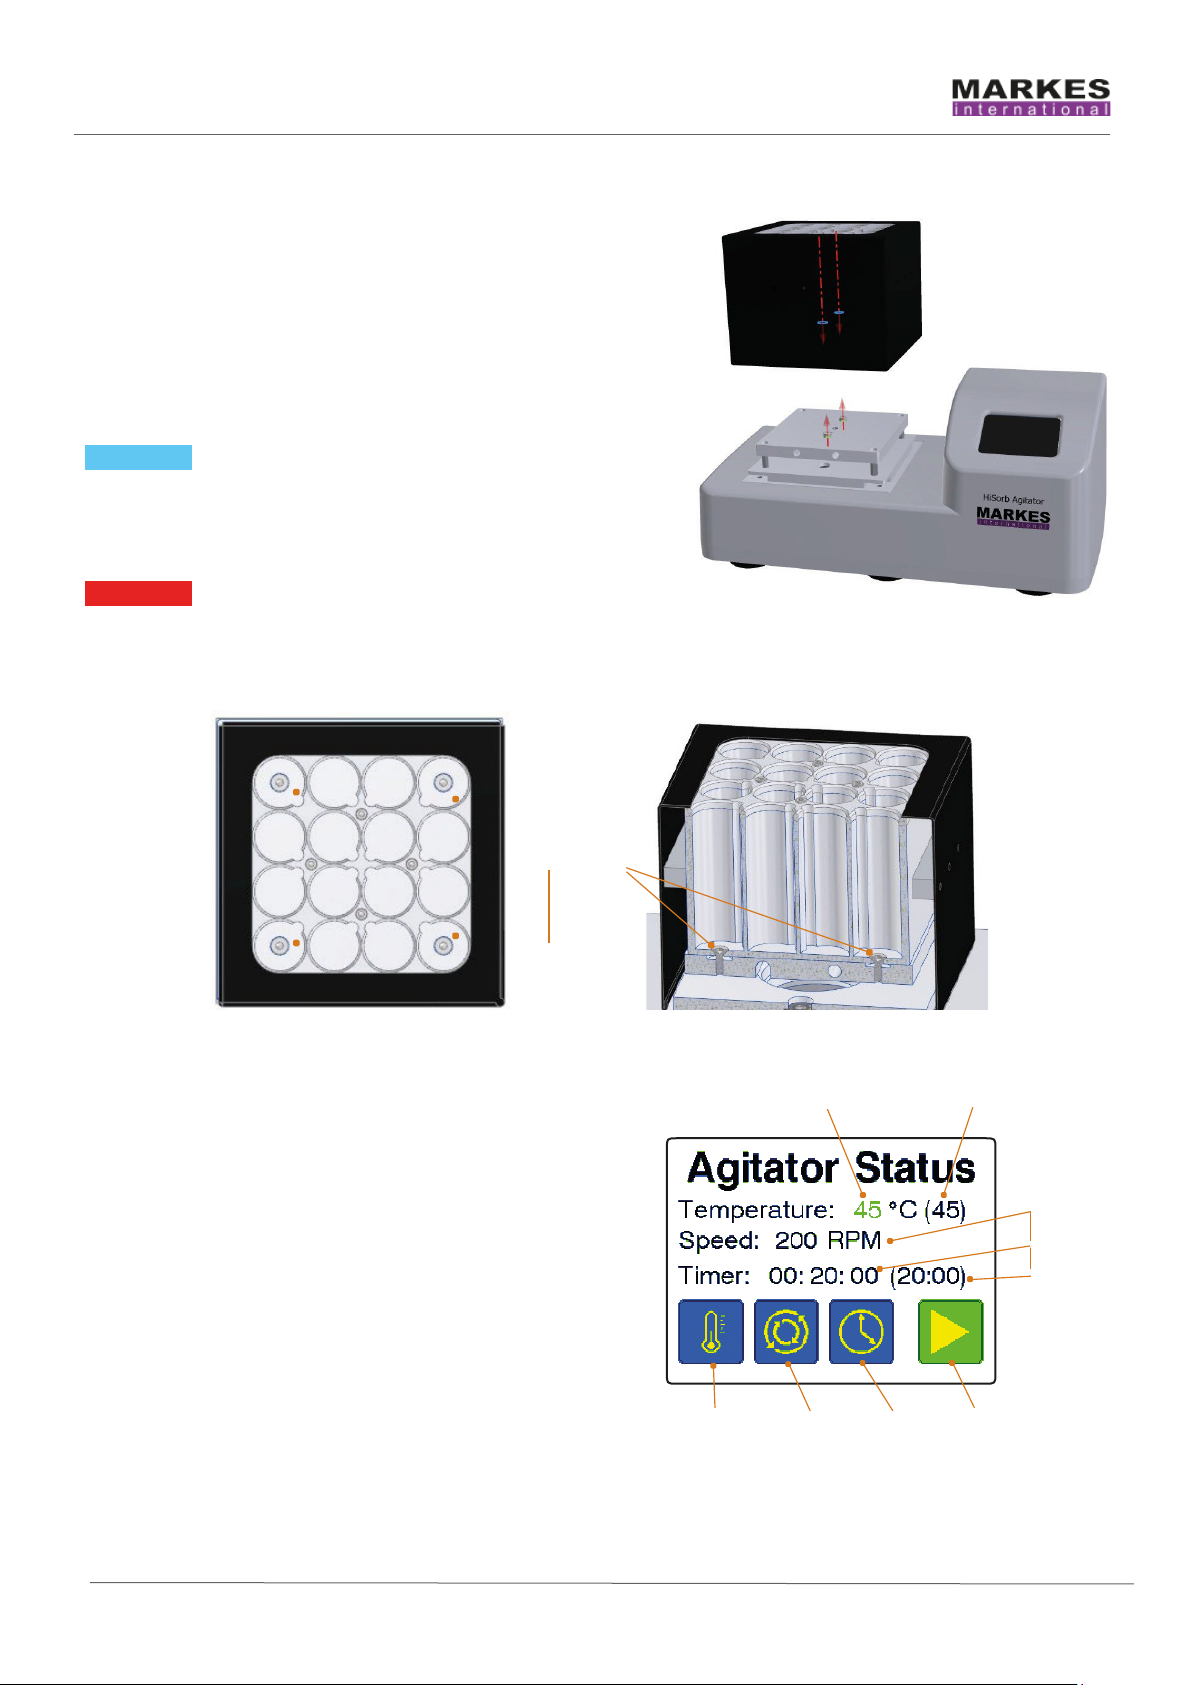
3.7. High temperatures
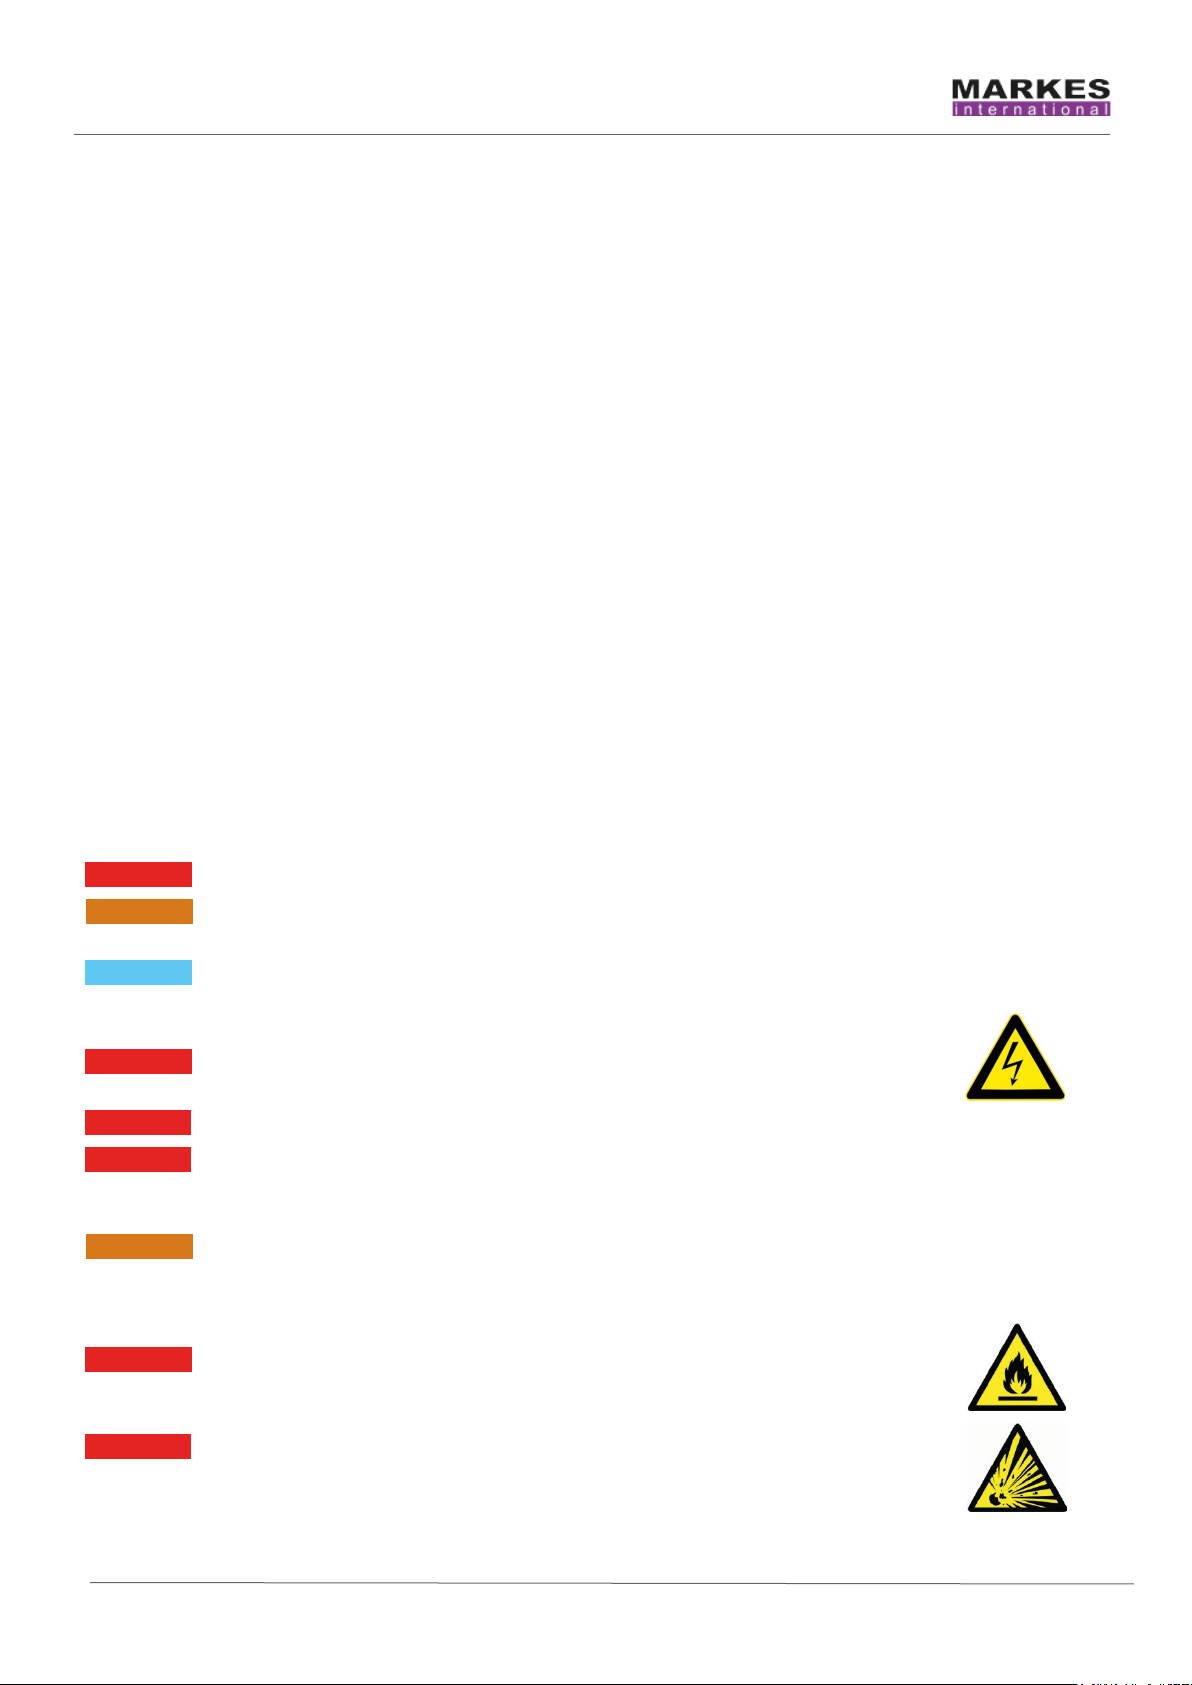
WARNING Several parts of the agitator can be operated at high temperatures, and
consequently represent a burn hazard. These zones include:
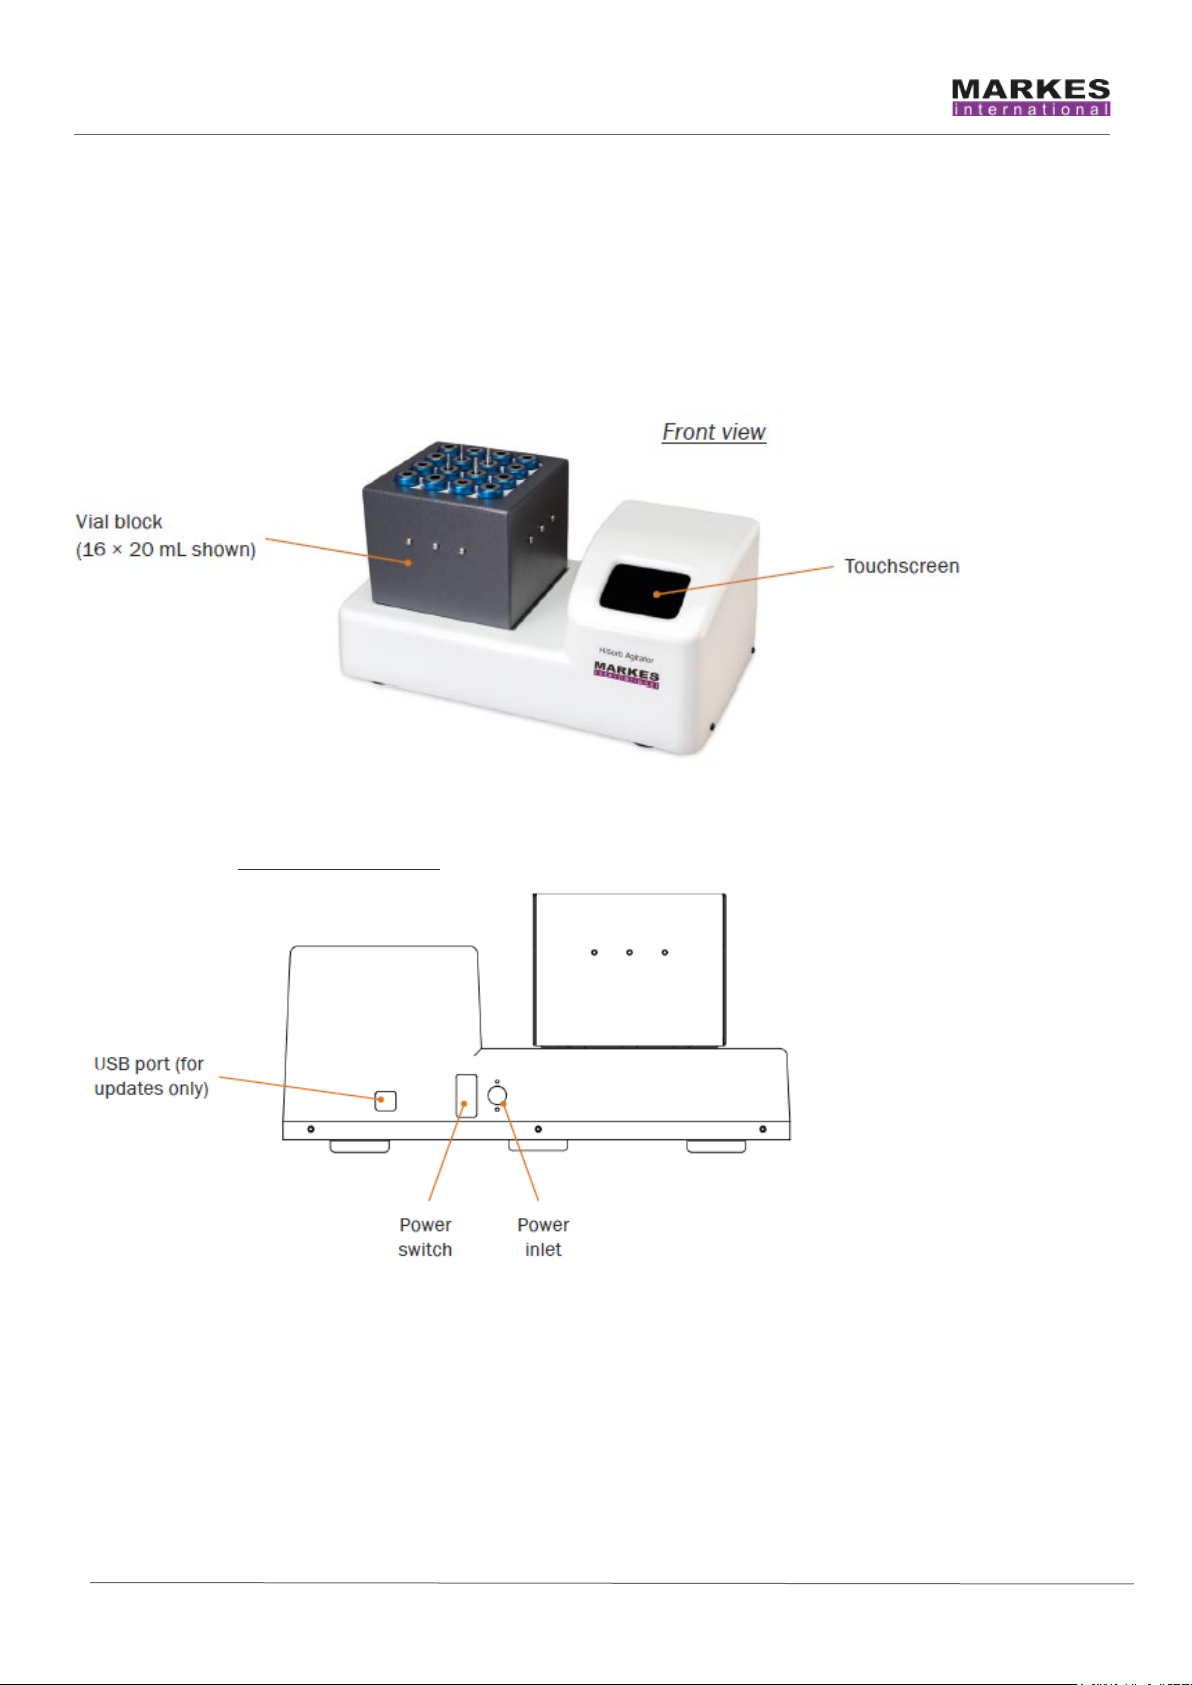
■The vial block
■The vial block heat plate (exposed when the vial block is removed).
These zones are labelled with ‘burn hazard’ labels similar to the one shown.