Markforged Desktop Series User manual

1
DESKTOP PRINTER QUICK START GUIDE
DESKTOP PRINTER
QUICK START GUIDE

Markforged
480 Pleasant St
Watertown MA 02472
USA
https://support.markforged.com
suppor[email protected]
For the latest PDF version of this document, visit our
support website.
Copyright © 2019 Markforged, Inc. All rights reserved.
Changes are periodically made to the information herein
which will be incorporated in revised editions of this
publication.
Markforged may make changes or improvements to
the product(s) described in this publication at any time
and without notice.
Version 1.3 / April 2020

3
DESKTOP PRINTER QUICK START GUIDE
TABLE OF CONTENTS
USER NOTES 4
UNBOXING AND ASSEMBLY 5
QUICK START GUIDE 7
NETWORK REQUIREMENTS 17

DESKTOP PRINTER QUICK START GUIDE
4
USER NOTES
MATERIAL NOMENCLATURE
In this guide, “Onyx” refers to Onyx and Onyx FR; “Nylon” refers to Tough Nylon and Nylon White.
TABLETOP USE ONLY
Markforged Desktop Series printers are approved for tabletop use only. Set up your printer on a sturdy level
POWER DISCONNECT ACCESS
Take care to set up your Desktop Series printer so that the disconnecting device (power switch on the rear face
of the printer) is accessible at all times. Note that the power cord can be disconnected as a backup if the power
switch becomes inoperable or inaccessible.
fog or scratch the surface. Please follow instructions below (Reducing Burn Risks) when cleaning your printer.
REDUCING BURN RISKS
●Do not touch the nozzles and print head when hot, unless explicitly instructed to do so by Markforged
documentation or personnel
●During a print run, leave all doors closed
ALWAYS FOLLOW SAFETY INSTRUCTIONS
operating conditions. Follow all safety instructions posted on the unit and in the written documentation.
Note: Consult the included Safety Sheet for an explanation of the safety icons used in this manual.
NOTE ON FIBER CAPABILITY
This Quick Start Guide covers all models of Markforged Desktop Series printers. If your printer model is not
Quick Start Guide may not apply. Such sections are indicated by the
Markforged logo icon at left.

5
DESKTOP PRINTER QUICK START GUIDE
UNBOXING AND ASSEMBLY
WHAT’S IN THE BOX
Your Desktop Series printer ships with a number of accessories, listed below. With the exception of the last four
items, everything on the list below can be found in the accessory kit shipped inside your printer.
Note: To make full use of your Desktop Series printer, you will need these additional items: wire
cutters; masking tape, painter’s tape, or similar; a scale accurate to 1 gram.
●Drybox adapter plug
●2mm hex key
●2.5mm hex key
●3mm hex key
●Plastic shim (in envelope)
●Fiber shim (in envelope)
●
●
●Fiber nozzle torque bit (10mm)
●Plastic nozzle torque bit (7mm)
●Torque wrench
●Plastic feed tube
●
●Tweezers
●Glue stick (applied to print bed before each print)
●
●3 plastic nozzles
●
●Scraper
●TrueBed
●
●
●50cc Kevlar (for Mark Two only)
●
●Drybox — shipped separately
●
●Spindle and spindle cap — in drybox
●Power cord — on top of printer

DESKTOP PRINTER QUICK START GUIDE
6
UNBOX AND ASSEMBLE YOUR PRINTER
Supplies
●3mm hex key
●Wire cutters or similar tool
Please take care when unboxing and assembling your Desktop Series printer. The printer is heavy and may
require two people to move or set up. Never lift the printer by its plastic visor.
printer, retain the box and protective foam for future shipping.
1. Review the Safety Sheet that came with your printer.
2.
and set it up in its operating location, on a table or stand rated to support its weight. Position the printer
such that its visor opens from the front and the back face remains accessible.
3. Remove the Getting Started card from the visor and set it aside, then remove and discard the plastic
wrap and any tape.
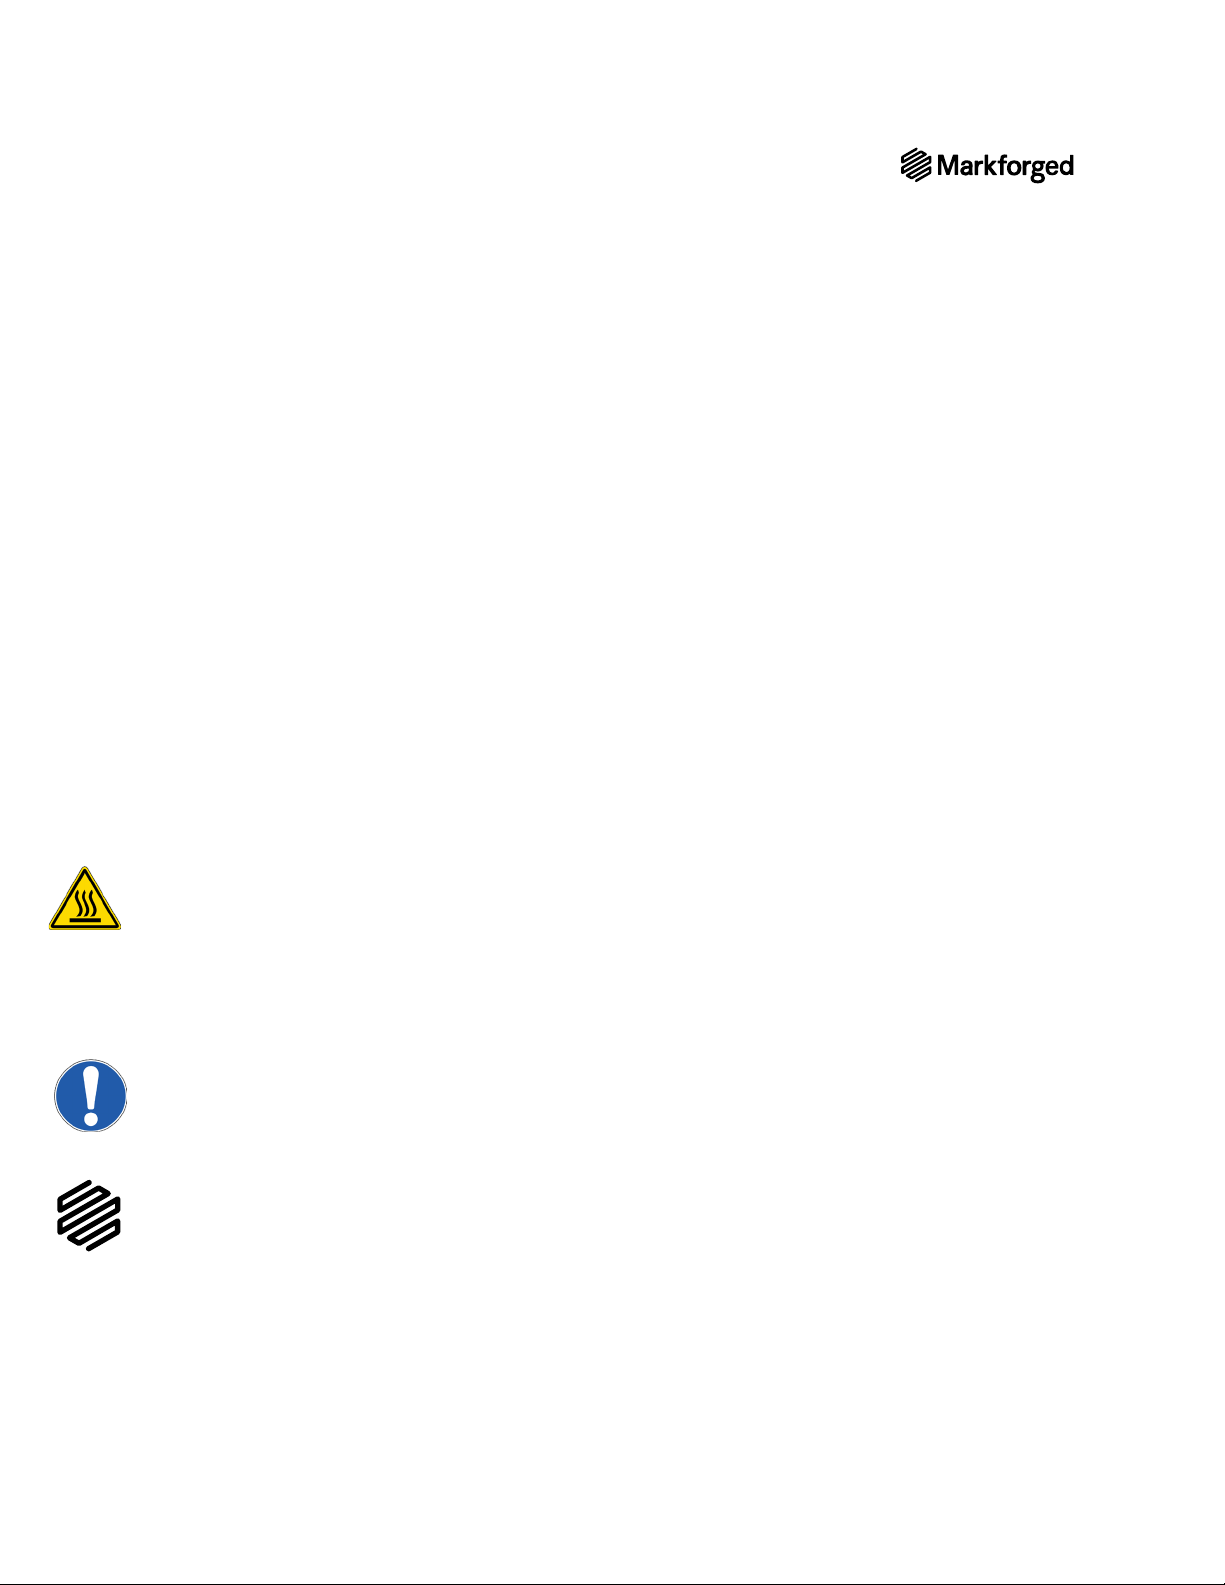
4. Remove the accessory kit from the printer. Remove and discard the plastic wrap.
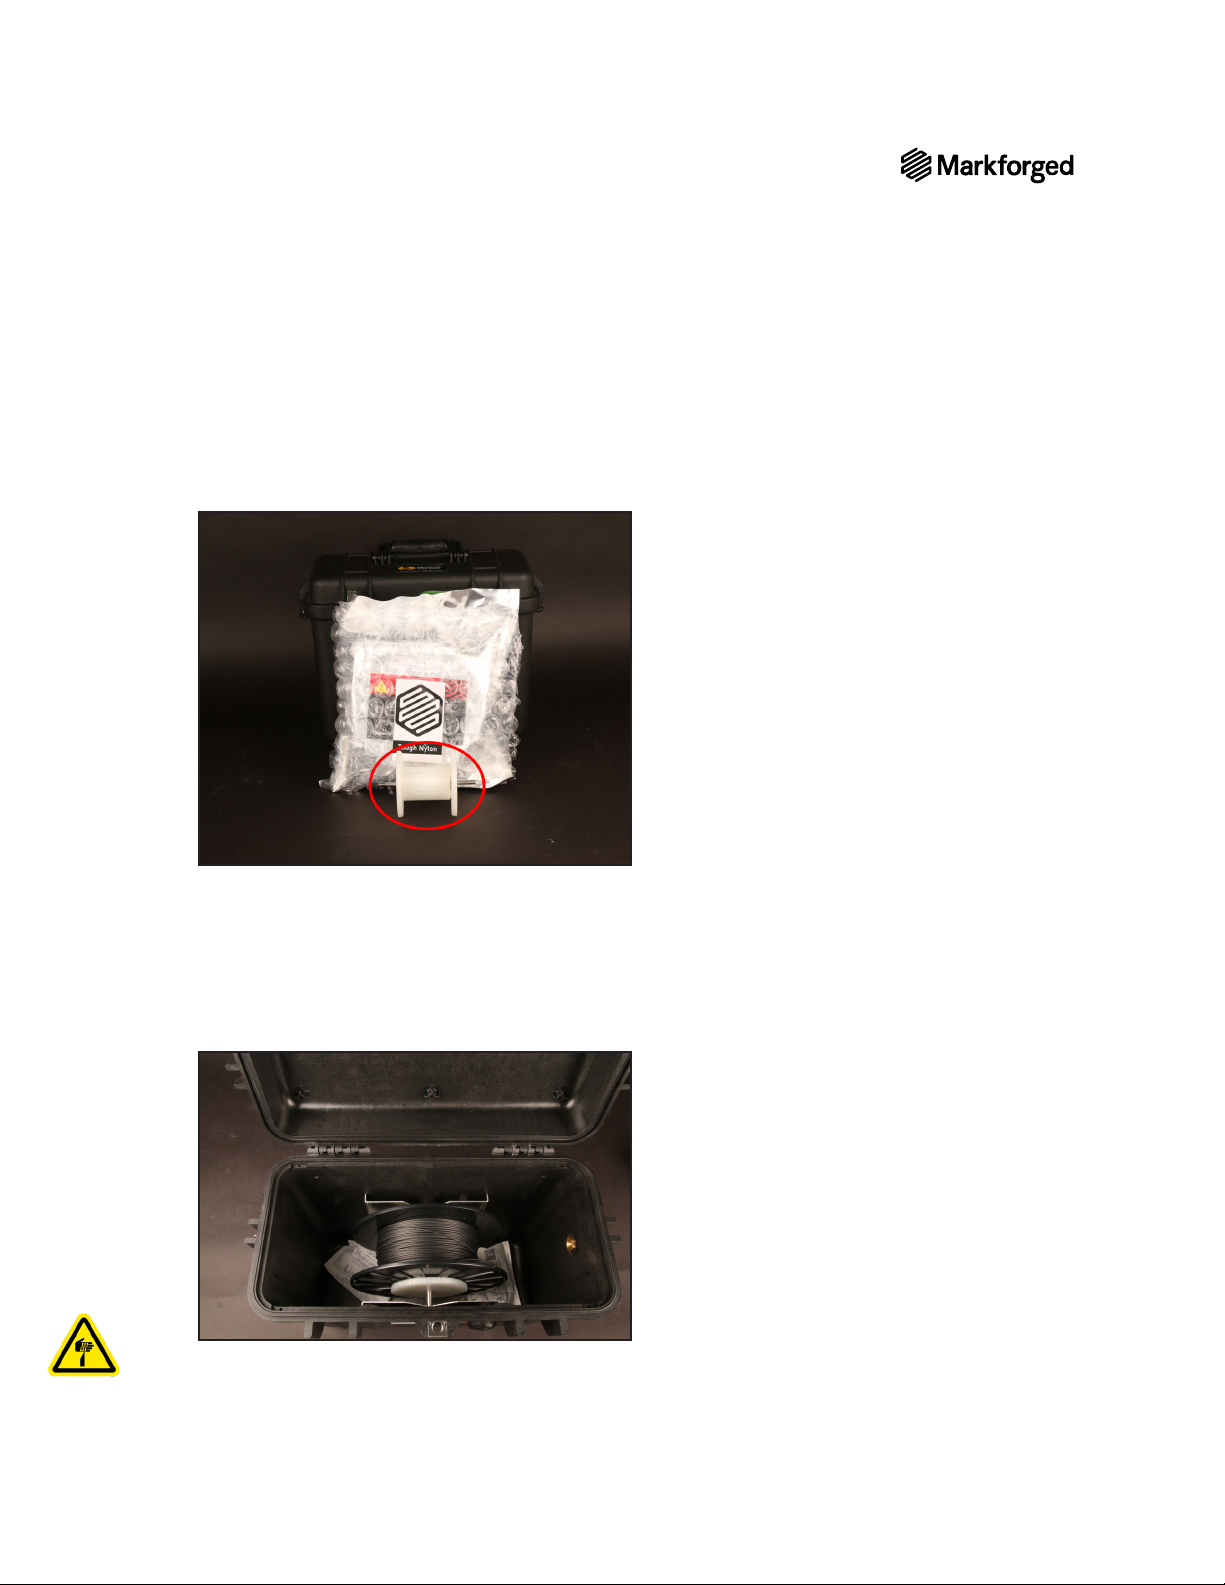
5. Using wire cutters or a similar tool, carefully remove the two zip ties from the print chamber.
6.
Ethernet port.
7. Adjust belt tension: Manually move the print head to the back left corner of the print chamber.
Download a tuning app on your mobile device (see note). Place your phone’s microphone close to, but
not touching, the back belt and pluck the front stretch of the back belt like a guitar string. Use a 3mm hex
49Hz. Repeat this process with the
back stretch of the frontfront belt tensioner until the app reads a frequency of 62Hz.
Note: We recommend the free version of either the Fine Tuner app (for iOS) or the Fine
Chromatic Tuner app (for Android).
8. Plug the power cord into the printer and wall outlet.
9. Turn your printer on and wait for it to power up; initial startup will take several minutes.
10. Connect your printer to the Internet via:
●Ethernet: Select the Ethernet icon from the dashboard and navigate to Ethernet > Done.
●Wi-Fi:Wi-Fi > Configure. Use the arrow
button to select a network from the Network Name
necessary. Then, press Save.
Note: If there are no networks listed in the drop-down menu, power cycle your printer and repeat
these steps.
11. Settings > Update
Manager > Cloud UpdateUpdating Firmware in the Desktop
Printer User Guide.

7
DESKTOP PRINTER QUICK START GUIDE
QUICK START GUIDE
GUIDE INTRODUCTION
Before diving into the printing process, please ensure that you have completed the following steps as described
in this Quick Start Guide:
●Unbox or unpack your printer, drybox, and all other components that were shipped with your printer.
●Review the safety instructions that came with your printer
Note: Please consult the Safety Sheet for explanations of the icons used in this document
●Review the Network Requirements section at the end of this Quick Start Guide
●
necessary for online printing. If you experience network issues or cannot print online at any point, a version of
Supplies
●Drybox
●Plastic feed tube
●
●
●Tweezers
●Glue stick
●Leveling shims (in envelope)
●Scraper
●2.5mm hex key
●Wire cutters or similar tool (not included in accessory kit)
●Masking tape, painter’s tape, or similar (not included in accessory kit)
LOAD PLASTIC
Note: The print head will become hot during the plastic loading process. Exercise caution when
working near the nozzles.
Only use materials that have been approved by Markforged for use with this printer.
Series is designed to work only with proprietary materials and consumables from Markforged.
Always follow proper procedures when storing plastic materials.
much moisture from the air will often cause underextrusion, which can cause print failures. Please take special

DESKTOP PRINTER QUICK START GUIDE
8
never always
drybox.
1.
apart.
2.
Place the provided desiccant packs in the corners of the drybox.
3.
the magnets connect.
4. top of the spool.
Note: The plastic spool is wound under tension. Always hold the plastic against the spool to
prevent unwinding during the loading routine.
5. Coangle.
6. Insert one end of the plastic feed tube into the adapter on the side of the drybox, then feed the plastic

9
DESKTOP PRINTER QUICK START GUIDE
7. Close the drybox cover and press the latches closed until they click twice each.
Note: Ensure that the drybox remains closed and fully latched at all times, except when quickly
loading or replacing filament.
8. Feed the plastic feed tube through the opening in the back of your printer and let it hang freely.
9. Menu>Materials>Load Plastic > Meter Load
printer’s touchscreen. Input the type of plastic that you are loading and select Full Spool. Follow the
A.
B.
Note: The plastic extruder will start to click as material is extruded from the nozzle. This is
normal and expected behavior for the material loading process.
10.
LOAD FIBER
1.

DESKTOP PRINTER QUICK START GUIDE
10
2.
3.
the material from unspooling.
Note: To avoid bending the material, tape it to the inside of the spool wall.
4.
5.
6. Menu>Materials>Load Fiber > Meter Load
50cc Full or 150cc Full,
7.

11
DESKTOP PRINTER QUICK START GUIDE
8.
later use. We recommend taping it to the front face of the spool.
9.
S
Before printing a part, you will need to level your print bed and apply glue to the region of the bed where the
parts will print. Leveling the print bed provides the best chance of print success and minimizes warping.

DESKTOP PRINTER QUICK START GUIDE
12
1. Install the print bed on the printer.
2. Menu >Bed Level >Shim Bed Levelon your printer’s
touchscreen and following the onscreen instructions.
Note: The print head will move autonomously during this utility.
3. Apply a thin layer of glue from the provided glue stick to the print bed, as shown in purple in the image
below.
4. Menu > Utilities >Test Prints >Bed Level Test
Print

13
DESKTOP PRINTER QUICK START GUIDE
5.
the example disks below.
Uniform and solid:
Stringy material or the lines don’t connect
completely to the outer circle: Bed low
Flattened or overly pressed down: Bed high
Inconsistently or not entirely laid down: Bed
very high

DESKTOP PRINTER QUICK START GUIDE
14
6.
●
●
●Reapply glue to the print bed in the same spots as before
●
7. Apply glue to the print bed as shown below.
8.
Note: We recommend that users use the online version of Eiger and print via Wi-Fi or Ethernet, but if
you are unable to connect your printer to Eiger, please see thesection titled in the User
Guide.
Each user has an Eiger account belonging to a single Eiger organization. You can only use printers registered
to your organization; printers can only belong to only a single Eiger organization.
●If you have an Eiger account in the appropriate organization, proceed to step 1.
●If you do not yet have an Eiger account and wish to create a new Eiger organization, navigate to eiger.io in
your Google Chrome browser and create a new Eiger account and organization. Proceed to step 2.
●If you do not yet have an Eiger account and wish to register your printer to an existing Eiger organization,
request that the organization owner add you to the organization. Once you receive your Welcome to Eiger
email, proceed to step 1.
●In the unusual event that you need to switch organizations before registering your printer, you must
Settings > Account Settings > Delete Account), then follow the
appropriate instructions above.
Note: If you are the only user in the organization, log in to Eiger and delete the organization
(Settings > Organization Settings > Delete Organization), then follow the appropriate
instructions above.
1. Log in to your Eiger account: navigate to eiger.io in your Google Chrome browser and enter your login
credentials.

15
DESKTOP PRINTER QUICK START GUIDE
2. In Eiger, select Devices or Printers from the sidebar, then click the Register Device button in the top
be found on the sticker on your Getting Started card, as well as by selecting the menu icon from the
dashboard and navigating to Settings > System Info.
Note: You do not need to include any hyphens in the Device ID field.
3. Logo Keychain Onyx
4. Desktop SeriesPrinter TypePart Settings
5. Select the material types that you will use for this print from the Material and Reinforcement Material
Note: This part can be printed with any combination of fiber and plastic. If you have loaded
materials other than the defaults for this part, please update the materials field in Eiger to
reflect your materials. If you print this part in nylon, consider changing the name of the part in
the top left corner of the page to reflect the material change.
6. Save.
7. Print

DESKTOP PRINTER QUICK START GUIDE
16
8.
9. Build Settings
10. Click the Print button in the bottom right corner of the page.
11.
12. Select Print Now.
13.
14. Remove the print bed from the printer and use the provided scraper to remove the part from the print bed.
Warning: The scraper provided with Markforged printers is sharp and can cause injury if used
incorrectly.
Tip: Always scrape away from your body. When removing a part, brace the bed in a vertical position
against a sturdy level surface. Slide the scraper under the corner of the part. Always keep fingers or
other body parts out of the path of the scraper when removing a part from the print bed. Maintain an
acute angle between the scraper and the print bed while you are removing your part.
15.
Note: Do not use soaps or other cleaners, as these may damage or leave residue on the bed.

17
DESKTOP PRINTER QUICK START GUIDE
NETWORK REQUIREMENTS
WIRED CONNECTIONS
Ethernet connections must utilize cables less than 30 meters in length.
FIREWALL SETTINGS
Markforged products support DHCP only; there is no support for static IP addresses. If a static IP is needed, the
Connecting Your Printer, above.
For proper operation, printers must be able to make outbound connections to services at the following
hostnames on the given ports (no inbound connections are needed):
HOSTNAME PORT PROTOCOL REQUIRED REASON
s3.amazonaws.com
mfeiger-production.
s3.amazonaws.com
443 TCP yes Downloading .MFP part files
produced by Eiger and consumed
by printers
cdn.eiger.io 443 TCP yes Device operation
www.eiger.io 443 TCP yes Connecting to Eiger (required for
viewing printer status, queuing print
jobs, keeping printer software up to
date, etc.)
*.pool.ntp.org 123 UDP yes Time synchronization via NTP is
required for printers to connect
securely to Eiger; see Printer Time
Synchronization, below
ipv4.connman.net 80 TCP no Network connection status check
(primarily used for troubleshooting)
data.logentries.com 443 TCP no Remote logging of printer events
and errors
data.logentries.com 10000 TCP no Legacy setting for remote logging,
only required if software version is
older than 09/14/2018

DESKTOP PRINTER QUICK START GUIDE
18
based applications you already use and trust.
PRINTER TIME SYNCHRONIZATION
Markforged products require accurate system time for securing HTTPS connections to Eiger and other
the printer’s time must fall within this window.
Currently, NTP — Network Time Protocol, on UDP port 123 — is the only supported mechanism for time
NTP server pool, determined by querying hostnames ending in “.pool.ntp.org”.
addresses via DHCP (using DHCP option 042), these addresses will also be used for time synchronization
(connecting to UDP port 123).
BROWSER
Markforged products require the Google Chrome browser. WebSockets must be enabled.
This manual suits for next models
2
Other Markforged 3D Printer manuals