Markforged WASH-1 User manual

1
WASH-1 USER GUIDE

Markforged
480 Pleasant St
Watertown MA 02472
USA
https://support.markforged.com
suppor[email protected]
For the latest PDF version of this document, visit our
support website.
Copyright © 2019 Markforged, Inc. All rights reserved.
Changes are periodically made to the information herein
which will be incorporated in revised editions of this
publication.
Markforged may make changes or improvements to
the product(s) described in this publication at any time
and without notice.

3
WASH-1 USER GUIDE
INTRODUCTION 4
SAFETY NOTES 5
LOADING SOLVENT 6
WASH OVERVIEW 9
LOADING GREEN PARTS 18
UNLOADING PARTS 20
SOLVENT MAINTENANCE 23
DRAIN PROCEDURE 25
ADJUSTING WASH-1 TEMPERATURE 26

WASH-1 USER GUIDE
4
INTRODUCTION
The Wash-1 is a solvent debinding station, used to remove wax binder from parts printed on the Markforged
Metal X 3D printer.
Printed “green” parts are placed in a basket which is lowered into an immersion chamber. Solvent is heated in
the boil chamber and cooled by condensing coils for recapture in a water separator. The solvent is returned
to the immersion chamber.
After a prescribed length of time, the chemically debound part is removed, air-dried, and weighed to determine
is ready to sinter in the Sinter-1 furnace. If not, additional wash/dry cycles are necessary.
The Wash-1 is the simplest of the three Metal X System components to install, operate, and maintain. The user
must periodically replenish the boil chamber with fresh solvent, drain the water separator, and occasionally fully
This User Guide includes instructions for all common user procedures; rare service procedures are covered in
the Metal X System Service Guide.

5
WASH-1 USER GUIDE
SAFETY NOTES
Note: Consult the Safety Sheet included with your device for an explanation of the safety icons used in
this manual. .
HEATED SOLVENT WASH
The Wash-1 debinding station uses solvent heated to a maximum of 130OF. Consult the Opteon SF79 SDS and
follow all handling and safety precautions within.
POWER DISCONNECT ACCESS
accessible at all times.
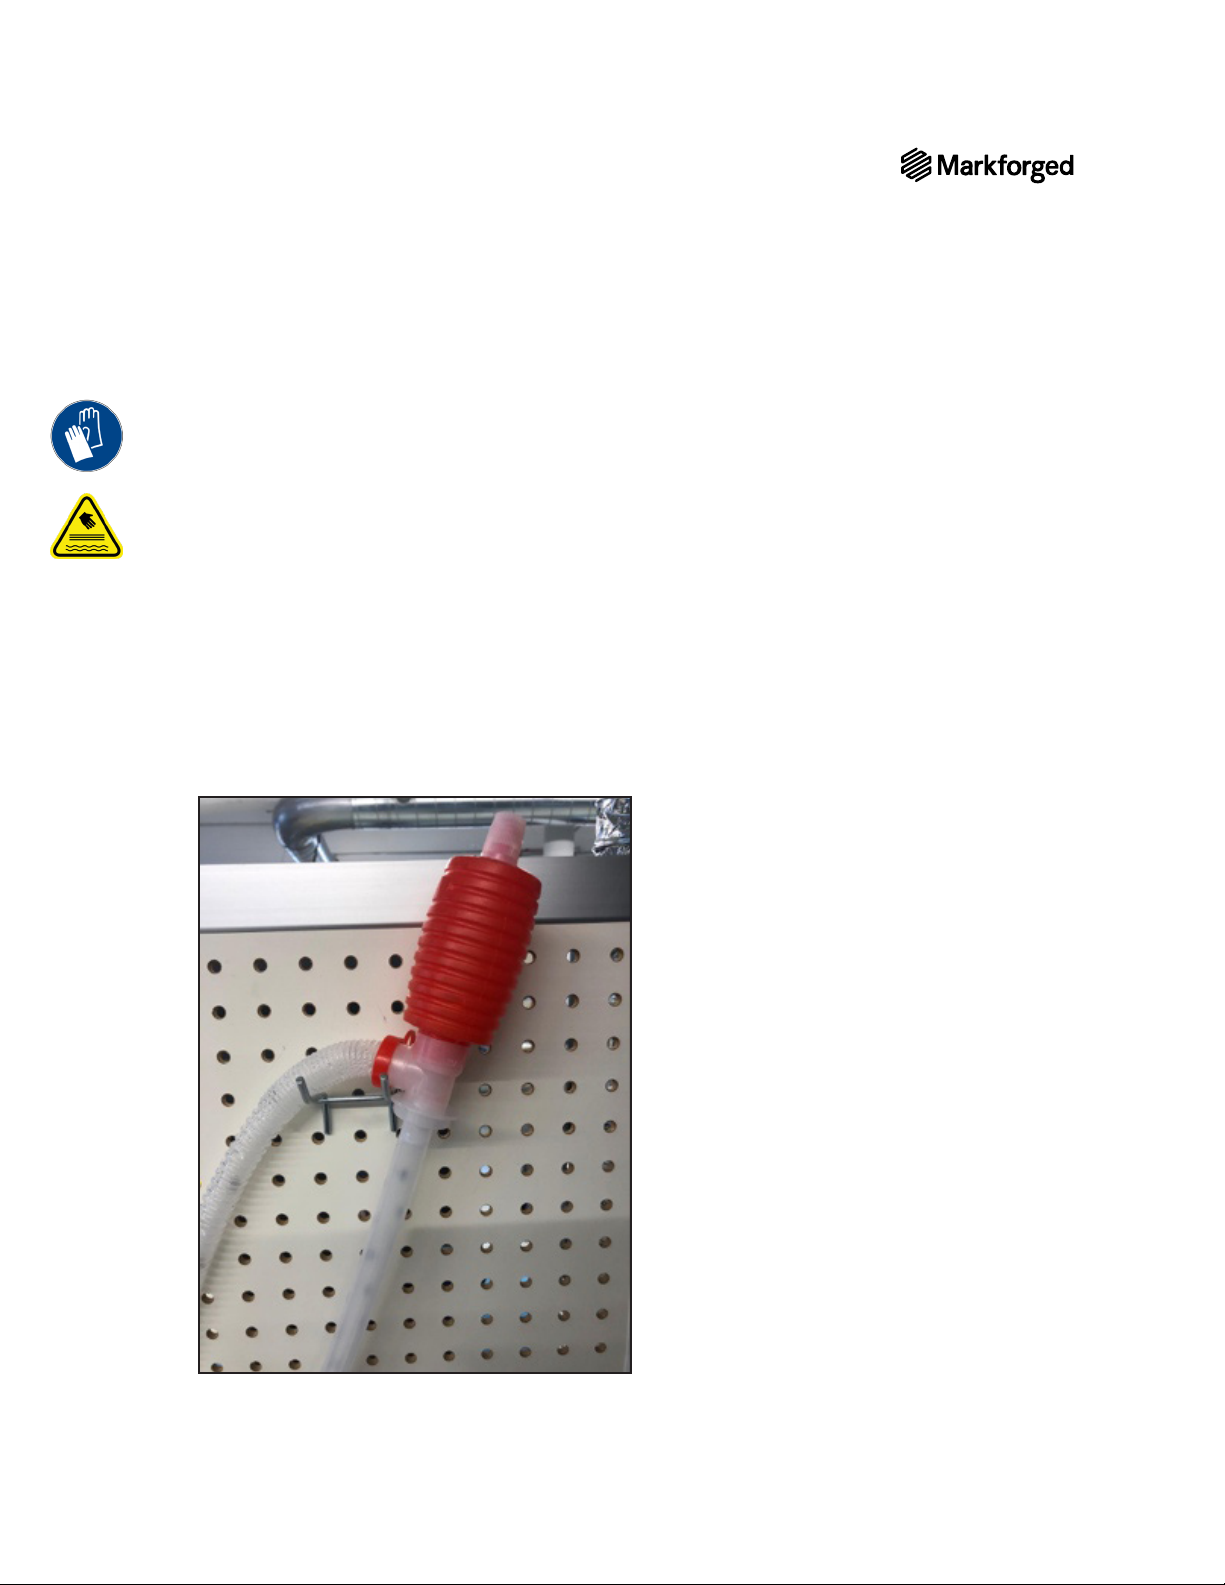
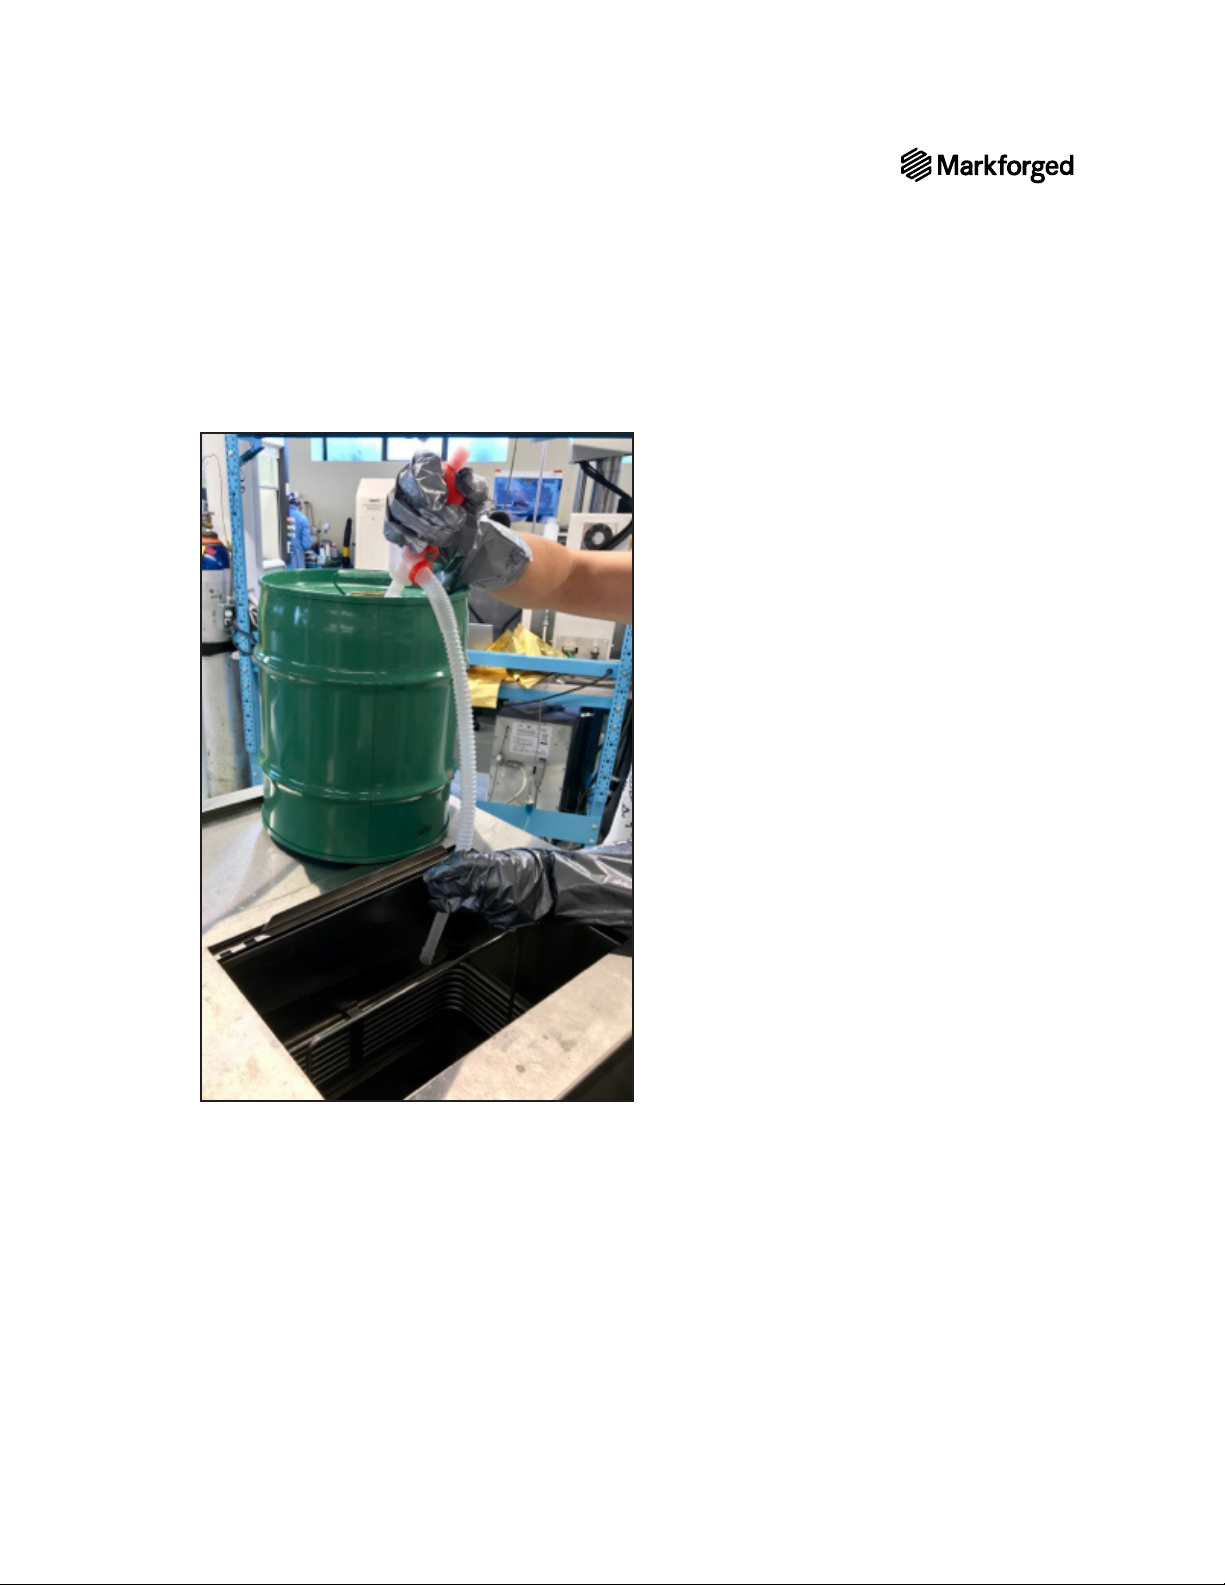
REDUCING RISK OF INJURY
Never touch heated solvent. To avoid contact with solvent vapor, never reach below the condensing coils inside
the Wash-1.
REDUCING RISK OF FIRE
Do not power on the Wash-1 without solvent loaded into the tank.
USE SAFE LIFTING TECHNIQUE
Follow safe lifting procedures. Never attempt to lift the Wash-1 unit alone. See Pre-Install Guide for details.
HAZARDOUS VAPORS
Immediately clean up and dispose of any spilled solvent, observing any local regulations for disposal of
chemical waste. Avoid breathing in vapors. Wear protective equipment when cleaning up spills. Never operate
Wash-1 or handle solvent without adequate ventilation. Do not leave immersion chamber door open when
REFRIGERANT LEAK
In case of refrigerant leak, immediately contact your Reseller.
ALWAYS FOLLOW SAFETY INSTRUCTIONS
Follow all safety instructions posted on the unit and in the written documentation.

WASH-1 USER GUIDE
6
LOADING SOLVENT
WARNING: The solvent in the Wash-1 has a defatting effect on skin. Use chemical-resistant gloves,
included in the accessory kit, when in contact with this solvent. Do not place hands below coils.
Supplies
●
●Siphon from Wash-1 accessory kit
●Chemical-resistant gloves
1. Heater switch on the dashboard to the
position, but do not unplug the unit.
2. Carefully open the Opteon SF79 near the Wash-1 station and place container on top of the Wash-1, on
the right-hand side.
3.

7
WASH-1 USER GUIDE
4.

WASH-1 USER GUIDE
8
5.
to the MAX FILL line. If the Wash-1 station is empty to start, this will take about 8 gallons of solvent.
6. Turn on the Wash-1 heater.

9
WASH-1 USER GUIDE
WASH OVERVIEW
The Wash Overview feature in Eiger allows you to track your parts through the Wash-1 debinding process. The
Wash Overview also allows you to record the initial and end masses of parts to help you determine when a part
WASH TIMES AND BATCHES
The Eiger software only recommends minimum Wash-1 chemical debinding times. The Opteon SF79 solvent
will not damage the part, and It is important to fully debind each
part in the Wash-1 to avoid potentially damaging wax buildup in the Sinter-1 unit.
However, a part that remains in the immersion chamber for an extended period may be jostled and damaged by
contact with other parts or by the Wash-1 operator. We recommend carefully tracking wash times and batching
wash cycles to avoid physical damage.
moving them to the Sinter-1 only

WASH-1 USER GUIDE
10
Note:To calculate % mass loss, subtract the mass of the washed (brown) part from the mass of the
unwashed (green) part, then divide by the mass of the green part.

11
WASH-1 USER GUIDE
SEND PARTS TO THE WASH OVERVIEW PAGE
When an online Metal X printer completes a print, the parts are immediately listed on the Wash Overview page.
printing parts on the Metal X machine, please see Printing a Metal Part in the Metal X Printer User Guide.
LOCATE THE WASH OVERVIEW PAGE
The Wash Overview tool can be accessed from within the Eiger software.
1. Log in to eiger.io in a Google Chrome browser window.
2. Click the Wash-1 icon in the upper banner of the Eiger page.
3. Select the button from the Wash-1 icon drop-down menu.
4. This will take you to the Wash Overview page.
(cont'd)

WASH-1 USER GUIDE
12
TRACK PARTS THROUGH THE WASH PROCESS
manually move printed parts through the washing, drying, and wash history processes.
The main Wash Overview page displays a list of printed parts that are ready to be washed. The Wash Time
column indicates how long each part should remain in the Wash-1 station to be completely debound.
1.
in the upper right corner of the screen.
2. The Eiger software will then prompt you to place your selected parts into your Wash-1 station. Before
doing so, weigh your printed parts on a 0.01g-resolution scale and enter their initial masses.

13
WASH-1 USER GUIDE
3. Once all parts have been loaded in the Wash-1 station, press .
Note: For more detailed information on how to properly load parts into the Wash-1 station,
please see the section entitled Loading Green Parts.

WASH-1 USER GUIDE
14
4. When you click , each part will be moved to the tab with a timer indicating its wash
duration. Click to return to the Wash Overview main screen.
5. on the Wash Overview main screen.

15
WASH-1 USER GUIDE
6. The tab displays how long parts have been washing and drying in the Wash-1 station.
Click to indicate that the drying process has begun. The parts will immediately be
removed from the Washing list and added to the Drying list below.
7. The section is also timed and will show you how much time the part needs to remain in the drying
state. When your parts have completed the drying stage, select the parts in the Drying section.
8. Scroll to the top of the page and select on the top right corner of the page to
immediately send the selected parts to the tab.
9. To access the Wash History page and see all washed parts, select on the top of the Wash
Overview page.
10.
select from the Actions drop-down menu for that part,
enter the current brown mass, and begin the wash process again. Otherwise, continue on to the next
step.

WASH-1 USER GUIDE
16
11. column of the Wash
has not been washed properly.
OTHER FEATURES OF WASH OVERVIEW
● You are able to search for parts in all tabs of the Wash Overview. You can
search by part name or by the name of the person who completed the washing/printing.
●You are able to delete parts from all tabs of the Wash Overview. To do so, select
from the Actions drop-down menu for the part in question.

17
WASH-1 USER GUIDE
●You can manually move a part from the Ready to Wash list to
the Wash History by selecting from the Actions drop-down menu.
●If you have a printed but unwashed part, you can add it
directly to the Washing list by clicking and selecting it from the drop-down menu.
Selecting a part multiple times will add multiple copies to the Washing list; click the Xat right to cancel
.

WASH-1 USER GUIDE
18
LOADING GREEN PARTS
To prevent contact with solvent vapor, never reach below the coils of the Wash-1.
eyes when loading or unloading parts. Always add and remove parts slowly to avoid splashing.
Note: Do not power on the Wash-1 without solvent loaded into the tank.
1.
part onto its raft.
2. Allow the Wash-1 to heat until the
3. Place the printed parts in the Wash-1 basket. For more details on the correct placement of parts in the
Wash-1 basket, see below.

19
WASH-1 USER GUIDE
4. Open the left-hand lid of the Wash-1 and slowly place the basket into the immersion chamber.
5. Follow the directions in the Wash Overview section to begin tracking wash time. Allow the green parts to
6.
Unloading Parts section.
It is important to maintain the vertical orientation of your part throughout the printing and sintering processes,
and drip-dry. For instance, bowl-shaped parts should be washed upside-down if possible, to drain any recessed
areas where solvent might accumulate. This will aid in solvent recovery; it will also let you avoid pouring large
quantities of solvent back into the immersion chamber, which could cause splashing. Additionally, the solvent
will permeate upward into the part more quickly, reducing wash time.

WASH-1 USER GUIDE
20
UNLOADING PARTS
WARNING
●Use chemical-resistant, forearm-covering gloves when handling solvent-covered parts
●Always take extra care when working near the coils of the Wash-1
●Never reach past the coils in the immersion chamber where solvent vapor condensate accumulates
●Close the immersion chamber lid after loading and unloading parts in the Wash-1
●Solvent can potentially splash onto clothing, skin, or eyes when loading or unloading parts.
1. Check the Wash Overview to ensure that the parts have been in the debinding solvent long enough.
Note: Completing the debinding process is a critical step. You must never sinter a part that has
not yet been washed.
2. Open the immersion chamber lid.
Table of contents
Other Markforged 3D Printer manuals