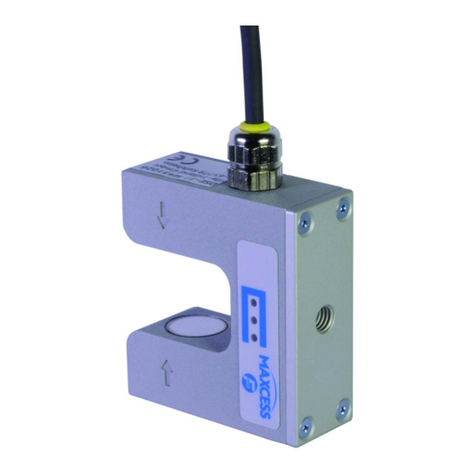
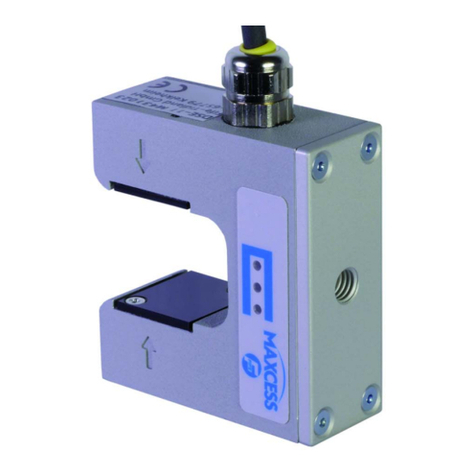
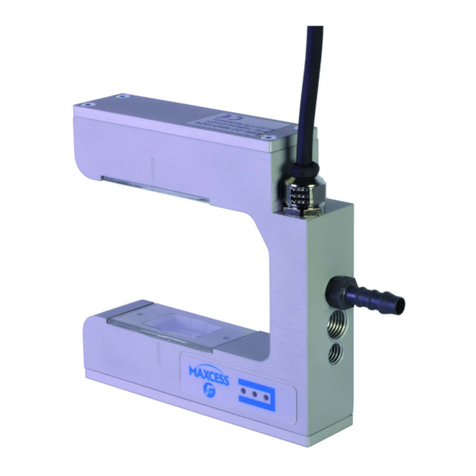
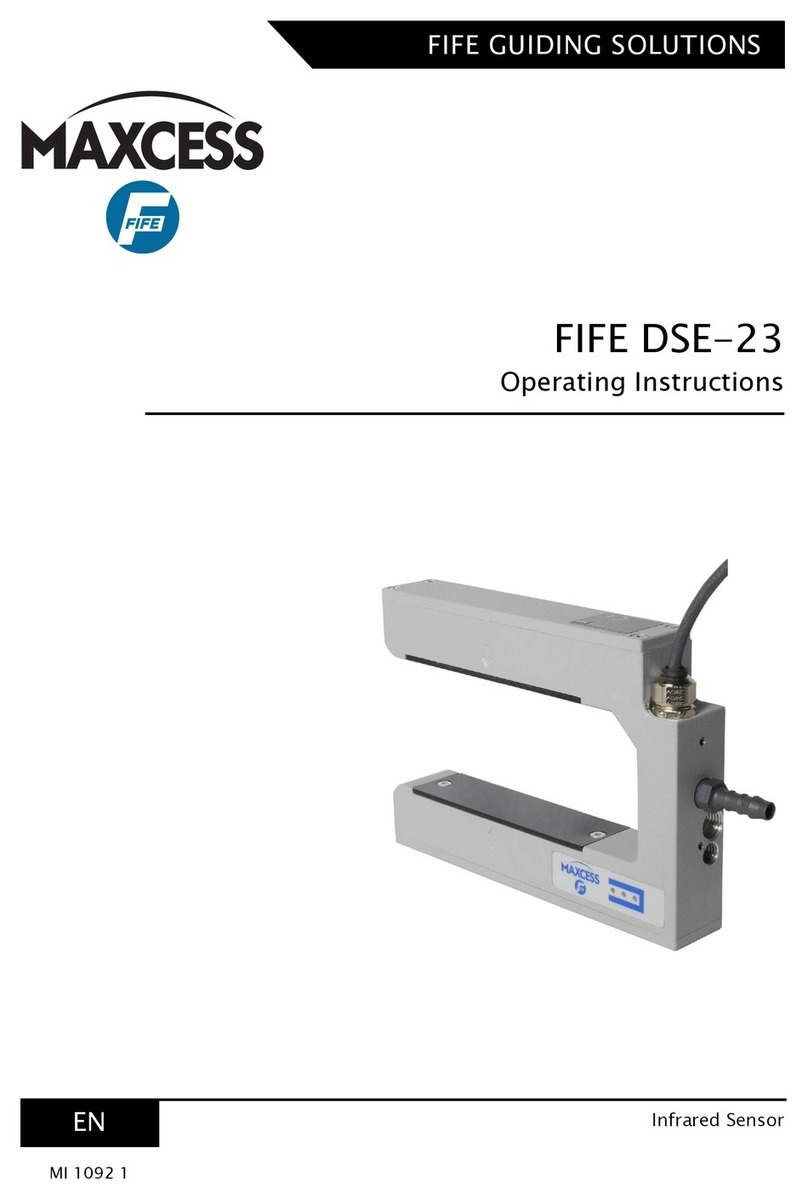
Maxcess FIFE DSE-17 User manual

FIFE GUIDING SOLUTIONS
FIFE DSE-17
Operating Instructions
Infrared Sensor
MI 1064 1 C
EN

ICONTENTS
DSE-17 www.maxcess.euMI 1064 1 C
INTRODUCTION 1-1
About these operating instructions . . . . . . . . . . . . . . . . . . . . . . . . . . . . . . . . . . . . . . . . 1-1
Target groups . . . . . . . . . . . . . . . . . . . . . . . . . . . . . . . . . . . . . . . . . . . . . . . . . . . . 1-1
Proper use . . . . . . . . . . . . . . . . . . . . . . . . . . . . . . . . . . . . . . . . . . . . . . . . . . . . . . . . . . 1-1
Air supply (optional) . . . . . . . . . . . . . . . . . . . . . . . . . . . . . . . . . . . . . . . . . . . . . . . . 1-2
Improper use . . . . . . . . . . . . . . . . . . . . . . . . . . . . . . . . . . . . . . . . . . . . . . . . . . . . . . . . 1-2
Mode of functioning . . . . . . . . . . . . . . . . . . . . . . . . . . . . . . . . . . . . . . . . . . . . . . . . . . . 1-2
One Web Mode . . . . . . . . . . . . . . . . . . . . . . . . . . . . . . . . . . . . . . . . . . . . . . . . . . . . 1-4
SAFETY INSTRUCTIONS 2-1
Important information . . . . . . . . . . . . . . . . . . . . . . . . . . . . . . . . . . . . . . . . . . . . . . . . . . 2-1
Information about safety instructions . . . . . . . . . . . . . . . . . . . . . . . . . . . . . . . . . . . . . . 2-1
Signal words . . . . . . . . . . . . . . . . . . . . . . . . . . . . . . . . . . . . . . . . . . . . . . . . . . . . . . 2-1
Symbols . . . . . . . . . . . . . . . . . . . . . . . . . . . . . . . . . . . . . . . . . . . . . . . . . . . . . . . . . 2-2
Additional markings . . . . . . . . . . . . . . . . . . . . . . . . . . . . . . . . . . . . . . . . . . . . . . . . 2-2
Personnel requirements . . . . . . . . . . . . . . . . . . . . . . . . . . . . . . . . . . . . . . . . . . . . . . . . 2-3
Preventing hazards . . . . . . . . . . . . . . . . . . . . . . . . . . . . . . . . . . . . . . . . . . . . . . . . . . . . 2-3
Residual risks . . . . . . . . . . . . . . . . . . . . . . . . . . . . . . . . . . . . . . . . . . . . . . . . . . . . . . . . 2-3
INSTALLATION 3-1
Transport and storage . . . . . . . . . . . . . . . . . . . . . . . . . . . . . . . . . . . . . . . . . . . . . . . . . . 3-1
Included with delivery . . . . . . . . . . . . . . . . . . . . . . . . . . . . . . . . . . . . . . . . . . . . . . . . . . 3-1
Mounting . . . . . . . . . . . . . . . . . . . . . . . . . . . . . . . . . . . . . . . . . . . . . . . . . . . . . . . . . . . 3-1
Mounting location . . . . . . . . . . . . . . . . . . . . . . . . . . . . . . . . . . . . . . . . . . . . . . . . . 3-1
Dimensions . . . . . . . . . . . . . . . . . . . . . . . . . . . . . . . . . . . . . . . . . . . . . . . . . . . . . . 3-2
Mechanical fastening . . . . . . . . . . . . . . . . . . . . . . . . . . . . . . . . . . . . . . . . . . . . . . . 3-3
Electrical connection . . . . . . . . . . . . . . . . . . . . . . . . . . . . . . . . . . . . . . . . . . . . . . . . . . . 3-5
CONTROL ELEMENTS 4-1
Control elements . . . . . . . . . . . . . . . . . . . . . . . . . . . . . . . . . . . . . . . . . . . . . . . . . . . . . 4-1
Examples . . . . . . . . . . . . . . . . . . . . . . . . . . . . . . . . . . . . . . . . . . . . . . . . . . . . . . . . 4-2
COMMISSIONING 5-1
Calibrating the sensor inputs of the web guide controller . . . . . . . . . . . . . . . . . . . . . . . 5-1
Calibrating sensor DSE-17 . . . . . . . . . . . . . . . . . . . . . . . . . . . . . . . . . . . . . . . . . . . . . . 5-2
OPERATION 6-1
Operation . . . . . . . . . . . . . . . . . . . . . . . . . . . . . . . . . . . . . . . . . . . . . . . . . . . . . . . . . . . 6-1
MAINTENANCE 7-1
Maintenance . . . . . . . . . . . . . . . . . . . . . . . . . . . . . . . . . . . . . . . . . . . . . . . . . . . . . . . . . 7-1
Cleaning . . . . . . . . . . . . . . . . . . . . . . . . . . . . . . . . . . . . . . . . . . . . . . . . . . . . . . . . . 7-1
Recalibration of the sensor . . . . . . . . . . . . . . . . . . . . . . . . . . . . . . . . . . . . . . . . . . . 7-1
Decommissioning . . . . . . . . . . . . . . . . . . . . . . . . . . . . . . . . . . . . . . . . . . . . . . . . . . . . . 7-1
TROUBLESHOOTING 8-1
Error display . . . . . . . . . . . . . . . . . . . . . . . . . . . . . . . . . . . . . . . . . . . . . . . . . . . . . . . . . 8-1
TECHNICAL DATA 9-1
General information . . . . . . . . . . . . . . . . . . . . . . . . . . . . . . . . . . . . . . . . . . . . . . . . . . . 9-1
Optical properties . . . . . . . . . . . . . . . . . . . . . . . . . . . . . . . . . . . . . . . . . . . . . . . . . . . . . 9-1
Characteristic values . . . . . . . . . . . . . . . . . . . . . . . . . . . . . . . . . . . . . . . . . . . . . . . . . . . 9-3
Electrical connection . . . . . . . . . . . . . . . . . . . . . . . . . . . . . . . . . . . . . . . . . . . . . . . . . . . 9-4
X1 plug connector . . . . . . . . . . . . . . . . . . . . . . . . . . . . . . . . . . . . . . . . . . . . . . . . . 9-4
Air supply (optional) . . . . . . . . . . . . . . . . . . . . . . . . . . . . . . . . . . . . . . . . . . . . . . . . . . . 9-5

IICONTENTS
DSE-17www.maxcess.eu MI 1064 1 C
MI10641CIVZ.fm
Standards . . . . . . . . . . . . . . . . . . . . . . . . . . . . . . . . . . . . . . . . . . . . . . . . . . . . . . . . . . . 9-5
SERVICE 10-1
Requests for Service . . . . . . . . . . . . . . . . . . . . . . . . . . . . . . . . . . . . . . . . . . . . . . . . . . 10-1
Addresses . . . . . . . . . . . . . . . . . . . . . . . . . . . . . . . . . . . . . . . . . . . . . . . . . . . . . . . . . . 10-1

INTRODUCTION1 - 1
DSE-17 www.maxcess.euMI 1064 1 C
1 INTRODUCTION
About these operating
instructions These Operating Instructions describe the installation,
commissioning, operation, and maintenance of the DSE-17
digital infrared sensor and provide important instructions for
proper use.
The operating instructions must be carefully stored and must
always be available at or near the customer's system during the
service life of the sensor.
Translation of the original Operating Instructions:
These Operating Instructions are a translation. The original
Operating Instructions were composed in German.
Target groups These Operating Instructions are directed to both the s
ystem
construction master
as well as the
operator
who uses the sensor
in production line.
Read operating instructions
The Operating Instructions must be read and used by
all persons
who have the responsibility of installing, commissioning,
operating and maintaining the sensor.
Proper use The DSE-17 digital infrared sensor is used for no-contact
measurements of the lateral offset of a material web that is
being guided. The sensor is suitable for
– web edge guiding and
– web center guiding
The sensor can be used to control both opaque and transparent
materials.
The sensor must only be used in accordance with its intended
purpose and in a technically flawless conditions.
The sensor must not be changed or opened. The protection
panes are fastened with a special adhesive.

INTRODUCTION 1 - 2
DSE-17www.maxcess.eu MI 1064 1 C
Einführung.fm
Air supply (optional) The sensor is also available with air supply. Depending on the
type of dirt contamination, this makes it possible to keep the
protection panes, which cover transmitter and receiver, free of
large pieces of dirt with a continuous or pulsing flow of air.
Depending on the degree of dirt contamination and the
installation location, it may be necessary to vary the air
pressure. The air must be clean and oil-free.
Air supply (optional), page 9-5
Improper use – Operation outside of the technical specifications is not
permitted.
– Operation in areas where there is a danger of explosions is
prohibited.
– The sensor may not be used as a support, handle or step.
– Any use other than the designated use is not permitted.
Mode of functioning The DSE-17 sensor works with infrared light. Because of this the
sensor is relatively insensitive to visible light.
Several measuring cells measure the difference in transparency
between the material web and the open field of view. This makes
the sensor relatively tolerant to dirt contamination on the sensor
and fluctuations in the transparency of the web material.
Depending on how far the material web covers the sensor field
of view, a part of the infrared light strikes the receiver. The
output signals are generated from this information.
The following rules are used for this purpose:
– The sensor searches for the two largest positive and negative
contrast values in the sensor field of view.
– To prevent improper functionality due for example to slight
amounts of contamination on the sensor protection panes,
only contrast values greater than the set minimum contrast
are used for further signal processing.
– This minimum contrast is set to 32% by default.
– The position of the positive contrast with the smallest
distance from the closed end of the sensor is assigned to the
output function "Edge 1."

INTRODUCTION1 - 3
DSE-17 www.maxcess.euMI 1064 1 C
– The nearest negative contrast is assigned to the output
function "Edge 2."
– The remaining contrasts are assigned in the same manner to
output functions "Edge 3" and "Edge 4."
Important information:
– The distance between two material webs must be greater
than 40mm.
– If a material web less than 40mm in width is within the
sensor field of view, a configuration designed especially for
narrow webs must be used. Otherwise invalid values will be
generated.
The configuration number (item 5 in
Figure 1.1
) identifies the
user-specific assignment of the signals. For further information
refer to the configuration drawing in the system documentation.
1 Sensor field of view
2 Control elements
3Displays
4 Part, serial and firmware numbers
5 Configuration number
6Protectionpane
7 Upper side of the sensor fork
8Forkopening
9 Field of view restriction - 6.8mm on each side
Figure 1.1: DSE-17 digital infrared sensor
1
2
3
4
6
7
5
8
99

INTRODUCTION 1 - 4
DSE-17www.maxcess.eu MI 1064 1 C
Einführung.fm
One Web Mode The way the sensor works can also be changed with the
One
Web Mode
parameter. It can be turned on or off.
One Web Mode:
OFF Parameter
One Web Mode
is turned off.
– If there is no suitable contrast value, it is assumed that the
corresponding material edge is outside the sensor field of
view.
See
Figure 1.2
for 8 different cases a to h
– The corresponding extreme value of its signal range xi or xo
is assigned to the relevant output functions.
xi= 0 or 4mA and xo= 10 or 20mA with normal output
functions and vice versa for the inverted output functions.
One Web Mode:
ON Parameter
One Web Mode
is turned on.
This parameter setting is intended for materials with unevenly
distributed material thickness (cloudy) in which edges may
incorrectly be detected in the middle of the material web.
The position of the positive contrast with the smallest distance
from the closed end of the sensor is assigned to the output
function "Edge 1." Of the two negative contrasts, the position of
the contrast with the greatest distance from "Edge1" is assigned
to output function "Edge 2." The two remaining contrasts are
not used for any further purposes.
Edges 1 to 4 are identified by E1 to E4.
Figure 1.2: Schematic diagram of the different web positions

INTRODUCTION1 - 5
DSE-17 www.maxcess.euMI 1064 1 C
If there is no suitable contrast for an outer edge, it is assumed
that the edge is outside the field of view. The corresponding
extreme value of its signal range is assigned to the relevant out-
put functions.
Note:
When materials with unevenly distributed material thickness
(cloudy) are being scanned, this sensor behavior for blocking
web guiding (ASC job) by a corresponding setting or special
programming of the web guide controller should always be used
to prevented incorrect web guiding (for example for D-MAX
M404074).
table
page 9-2
Note:
The sensor is automatically calibrated to the transparency of the
material. If the density of the material is not distributed evenly
(cloudy), it is therefore possible that the output signal will be
subject to greater fluctuations than is the case without these
properties.

SAFETY INSTRUCTIONS 2 - 1
DSE-17www.maxcess.eu MI 1064 1 C
Sicherheit.fm
2 SAFETY INSTRUCTIONS
Important information To ensure safe and problem-free operation of the DSE-17
sensor it must be
– properly shipped and stored,
– properly mounted and placed in operation,
– properly used and carefully maintained.
Proper operation and careful maintenance will ensure a long
service life for the sensor.
Please note the following:
– The content of these operating instructions
– Any safety instructions that are printed on the unit
– The requirements of the machine manufacturer
– Applicable national, state and local requirements for accident
prevention and environmental protection
Information about
safety instructions The safety instructions and symbols described in this section
are used in these Operating instructions. They are used to avoid
possible dangers for users and to prevent material damage.
SIGNAL WORD
Source of danger and its results.
Avoiding dangers
Signal words The signal word DANGER indicates an immediate danger of
serious injury or death.
The signal word WARNING indicates a possible danger which
could lead to serious injury or death.
The signal word CAUTION refers to a possible danger which
could lead to slight to moderate injury.
The signal word ATTENTION refers to a possible danger which
could lead to material damage.

SAFETY INSTRUCTIONS2 - 2
DSE-17 www.maxcess.euMI 1064 1 C
Symbols
Reference to general hazards that may result in bodily injuries
Refers to danger of injury caused by crushing
Refers to danger of injury caused by cutting
Refers to general hazards that will result in damage to the
device or system
Read operating instructions
Follow these operating instructions for proper and safe use.
Keep for future use.
Additional markings – Bulleted list
∙Instructions
1. Instructions which must be processed in the specified order
2. End of the instructions
Reference or cross-reference
Note:
Reference to important information.

SAFETY INSTRUCTIONS 2 - 3
DSE-17www.maxcess.eu MI 1064 1 C
Sicherheit.fm
Personnel requirements The tasks listed in these operating instructions may only be
carried out by appropriately qualified personnel commissioned
by the operator. The responsibilities of the personnel for the
work on the system must be clearly defined by the operator.
Transport, assembly, Electrical connection or disconnection,
maintenance, troubleshooting, disassembly:
– Specialized staff
Mechatronics engineer, industrial mechanic, etc.
Control during operation:
– Specialized staff
Machine and system operators, etc.
– Personnel or trainees trained and supervised by the system
operator
Repair:
– Specialized staff
Service technician of Fife-Tidland GmbH
Preventing hazards – No changes may be made to the sensor.
– The parameters specified in Section
Technical data
must be
observed.
– Only accessory and replacement parts that have been
approved by Fife-Tidland GmbH may be used.
– The sensor may not be used as a support, handle or step.
There is a danger that the sensor will become damaged
(breaking off/snapping), resulting in personal injury.
Residual risks Installing the product in a machine/system makes it possible to
form clamping, squeezing and cutting points.
Despite a safe design and supplementary protective measures,
residual risks may remain for the machine/system in which the
product is installed. These risks must be recorded in a risk
assessment by the machine/system builder and taken into
consideration in the operating instructions.

INSTALLATION3 - 1
DSE-17 www.maxcess.euMI 1064 1 C
3 INSTALLATION
Transport and storage – The sensor and/or the unit on which the sensor is mounted
must be secured against slipping during transport.
– The sensor must be stored in a cool, dry place.
– The sensor must not be stored in the vicinity of powerful
magnetic fields. The electronic components of the sensor
may be damaged.
Included with delivery – Sensor DSE-17
The model designation, part number, and the firmware and
configuration numbers are on the nameplates on the
housing.
– Operating instructions
Mounting
WARNING
If a sensor is damaged, it must not be installed or placed in
operation.
All assembly tasks on the sensor must be performed when
there is no electrical power in the system.
Assembly tasks and mechanical settings must only be
performed when the machine has been stopped and has been
secured from being turned on again.
Mounting location –ProtectionClass:IP65
– Operating temperature: 10°C ... 50°C
– Relative humidity: up to 90% non-condensing
– Operating altitude: max. 3000m
–Protectfromvibrations
– Not in the vicinity of strong magnetic fields
The electronic components may be damaged.
– Not in places where there is a risk of explosions.

INSTALLATION 3 - 2
DSE-17www.maxcess.eu MI 1064 1 C
Montage.fm
Dimensions
P
P
P
P
1 Thread for fastening 2 Length of connection cable about 140mm
Figure 3.1: Dimensions of DSE-17-160 and DSE-17-300
1
2
1
DSE-17-160 sensor
DSE-17-300 sensor 2

INSTALLATION3 - 3
DSE-17 www.maxcess.euMI 1064 1 C
Mechanical fastening Holes with M5 threads are available on the housing for
mounting the DSE-17 sensor.
Figure 3.1
and
Figure 3.2
– A sensor bracket is required for the DSE-17-160 sensor.
– Two sensor brackets are required for the DSE-17-300 and
DSE-17-420 sensor.
1 Thread for fastening 2 Length of connection cable about 140mm
Figure 3.2: Dimensions of DSE-17-420
24.1
45
38 203 38 103
40
30
120
460
485
P6
P6
420
M5x5 (4x)
44.9
DSE-17-420 sensor 2
1

INSTALLATION 3 - 4
DSE-17www.maxcess.eu MI 1064 1 C
Montage.fm
1 Square bar
Figure 3.3: DSE-17-300/-420 with sensor bracket of type MB
X
C B
A
1
X
BC
A
1
1 Square bar
Figure 3.4: DSE-17-160 with sensor bracket of type MB
Mechanical
fastening
Square bar
ABC
X
Max. length
DSE-17-160 DSE-17-300 DSE-17-420
MB-20 20 1450 1400 1350 70,5 ca. 43 15
MB-25 25 1800 1750 1700 73,5 ca. 47 19
MB-32 32 2350 2300 2250 78,5 ca. 52 24

INSTALLATION3 - 5
DSE-17 www.maxcess.euMI 1064 1 C
Electrical connection
ATTENTION:
The sensor could be damaged.
The safe function of the sensor and the system is only
guaranteed if it is properly installed.
Electrical connections should always be made or disconnected
on the sensor while there is no electrical power in the system.
When attaching the connector with the jack on the sensor,
pay close attention to the guide and groove! The connector and
jack must not be connected with incorrect orientation or by
force, as this will destroy the sensor.
Electrical lines must not be subjected to any mechanical
loads.
∙The sensor must be connected to the web guide controller
according to the system diagram in the system
documentation.
Note:
Normally the sensor must be connected to the web guide
controller with a cable on the corresponding sensor input. In
some cases the sensor can be connected via a Y-cable or an
external distributor box to two sensor inputs on the web guide
controller.

CONTROL ELEMENTS 4 - 1
DSE-17www.maxcess.eu MI 1064 1 C
Bedienelemente.fm
4 CONTROL ELEMENTS
Control elements
The DSE-17 sensor has the following control and display
elements.
LEDs and :
– The LEDs identify the position of the material that is being
tracked in terms of the upper and lower sensor sides.
Note:
When the material web is in the center of the sensor fork,
LEDs and are not lit.
LEDs A and B:
– Not assigned in its regular operation state
LED bar graph:
– Shows the tracked edges of the material web when the sensor
is working in the regular operation state.
S1 key:
– Generate auxiliary signals for calibrating the connected web
guide controller
S2 key:
– Perform calibration of the sensor
LED H1:
– LED H1 is continuously lit when the sensor is turned on and
working in its regular operation state.
– LED H1 flashes while it is generating auxiliary signals for
calibrating the connected web guide controller.
LED H2:
– LED H2 is turned off in its regular operation state.
– LED H2 flashes while the sensor is being calibrated.
– LED H2 flashes in a certain pattern. The sensor is indicating
an error.
table, page 8-1

CONTROL ELEMENTS4 - 2
DSE-17 www.maxcess.euMI 1064 1 C
Examples
Example 1:
– The sensor detects two material web edges.
– The material web is located in the center of the sensor field
of view.
– The material web is located closer to the upper sensor side
.
Example 2:
– The sensor detects one material web edge.
– The material web covers the outer part (3/8) of the sensor
field of view.
– The material web is located closer to the lower sensor side .
Example 1 Example 2

COMMISSIONING 5 - 1
DSE-17www.maxcess.eu MI 1064 1 C
Inbetriebnahme.fm
5 COMMISSIONING
WARNING
Unexpected movements of the machine may lead to injuries
or death.
Commissioning must only be performed while the machine is
stopped and protected against being turned on again.
Make certain there is no one in the hazardous area of the
drives.
Calibrating the sensor
inputs of the web guide
controller
When the DSE-17 sensor is connected to the web guide controller
for the first time, the selected sensor input of the web guide
controller must be calibrated to the output signals of the DSE-17.
This ensures that the web guide controller and sensor use the
same standard of evaluation.
This process must be performed for each of the up to four
signals of the sensor (for example the edge signal or dirt
contamination signal).
For the assignment of sensor signals to inputs of the web guide
controllers, see the configuration drawing for the DSE-17 in the
system documentation.
Note:
If no key is pressed for more than 2minutes the sensor returns
to its regular operation state.
Calibration
∙Press S1 and hold it for 3seconds
LED H1 flashes (short on - long off)
Depending on the configuration, all analog outputs of the
sensor return 0mA or 4mA.
This assigned value is used to determine the reference value
for the uncovered sensor on the web guide controller (no
material in the field of view).

COMMISSIONING5 - 2
DSE-17 www.maxcess.euMI 1064 1 C
∙Calibrate the web guide controller to the lower reference
value
Note:
For further information see the Operating Instructions for the
web guide controller in the system documentation.
DP-20, DP-30: Menu 3x.1.4 Calibration for edge sensors
D-MAX: Menu 1y.5.1.1.1 Calibration
FIFE 500: Sensor setup menu
∙Press key S1 and hold 0.5s to continue with the calibration of
the upper reference value.
LED H1 flashes (long on - short off)
Depending on the configuration, all analog outputs of the
sensor return 10mA or 20mA.
This assigned value is used to determine the reference value
for the covered sensor on the web guide controller (field of
view completely covered by material).
∙Calibrate the web guide controller to the upper reference
value
∙Press key S1 and hold 0.5s to return to calibration of the
lower reference value.
The web guide controller can be calibrated to the next sensor
signal.
or
Press the S1 key and hold it for 3seconds to return to the
regular operation state
Calibrating sensor
DSE-17 After final installation, the sensor must be recalibrated to
achieve the best accuracy.
Due to certain circumstances such as changes in environmental
conditions (major changes in temperature, etc.) or wear tracks
on the safety panes of the sensor, it may become necessary to
recalibrate the sensor. Especially when transparent material is
being scanned, regular calibration may be required to maintain
measurement accuracy.
Note:
If no key is pressed for more than 2minutes the sensor returns
to its regular operation state. No calibration data will be saved.
Table of contents
Other Maxcess Accessories manuals

Maxcess
Maxcess CL Series User manual

Maxcess
Maxcess SE-22 User manual

Maxcess
Maxcess FIFE DSE-23 User manual

Maxcess
Maxcess FIFE DSE-41 User manual

Maxcess
Maxcess FIFE DSE-22 User manual

Maxcess
Maxcess SE-26B User manual

Maxcess
Maxcess FIFE SE-44R User manual

Maxcess
Maxcess FIFE DSE-15 User manual

Maxcess
Maxcess Fife TruWide SE-45 Series User manual

Maxcess
Maxcess Fife-Tidland SE-46 User manual