|1 6
Measurement
There are four distinct measurement pro-
cedures, A, B, C, D. The four procedures are
very similar and differ only in the first steps.
Each measurement procedure is test-spe-
cific. The procedure cannot be selected by
the user, but instead is transferred to the
instrument via the bar code. All steps
involved to obtain the result are displayed
on the screen by different symbols. Please
also refer to the respective Reflectoquant®
package insert.
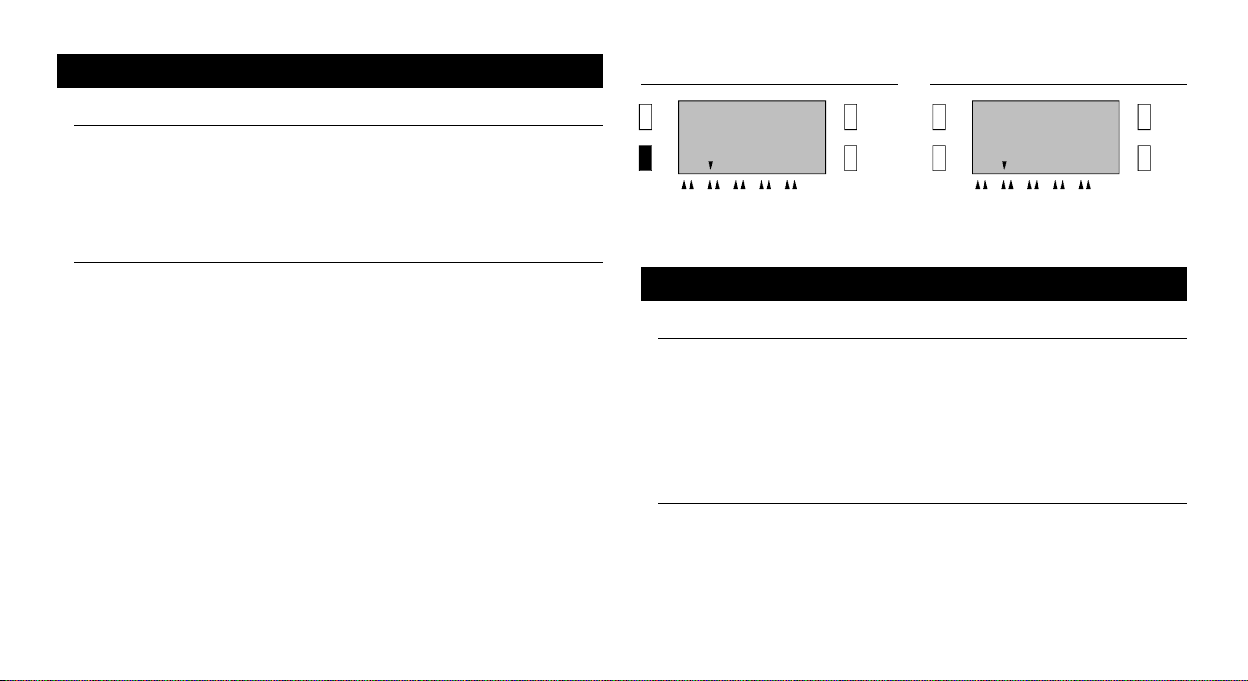
Procedure A
In this procedure, only the reaction time of the Reflectoquant® strip has to be
considered.
How?
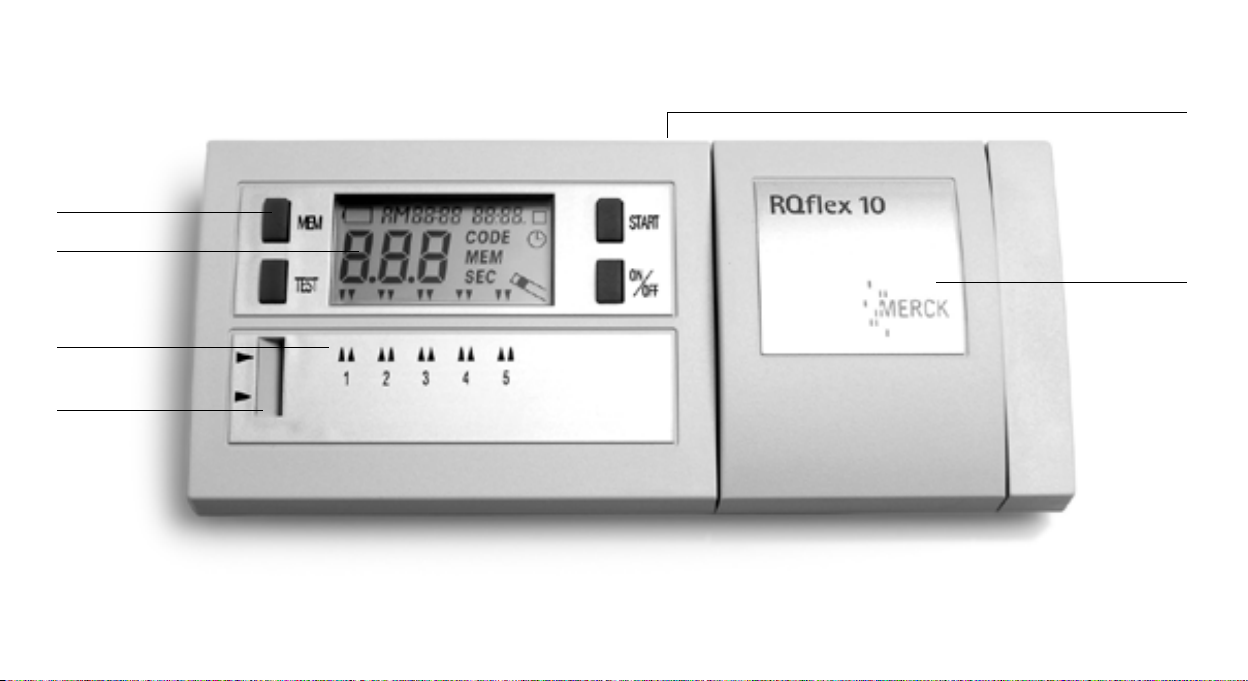
1 . Switch on the instrument by pressing the ON/OFF button.
2 . Press the TEST button until the pointer indicates the desired method.
3 . Compare the first three digits of the batch
number of the Reflectoquant® pack. This
reference number must be the same as the
one displayed (if not, see Coding).
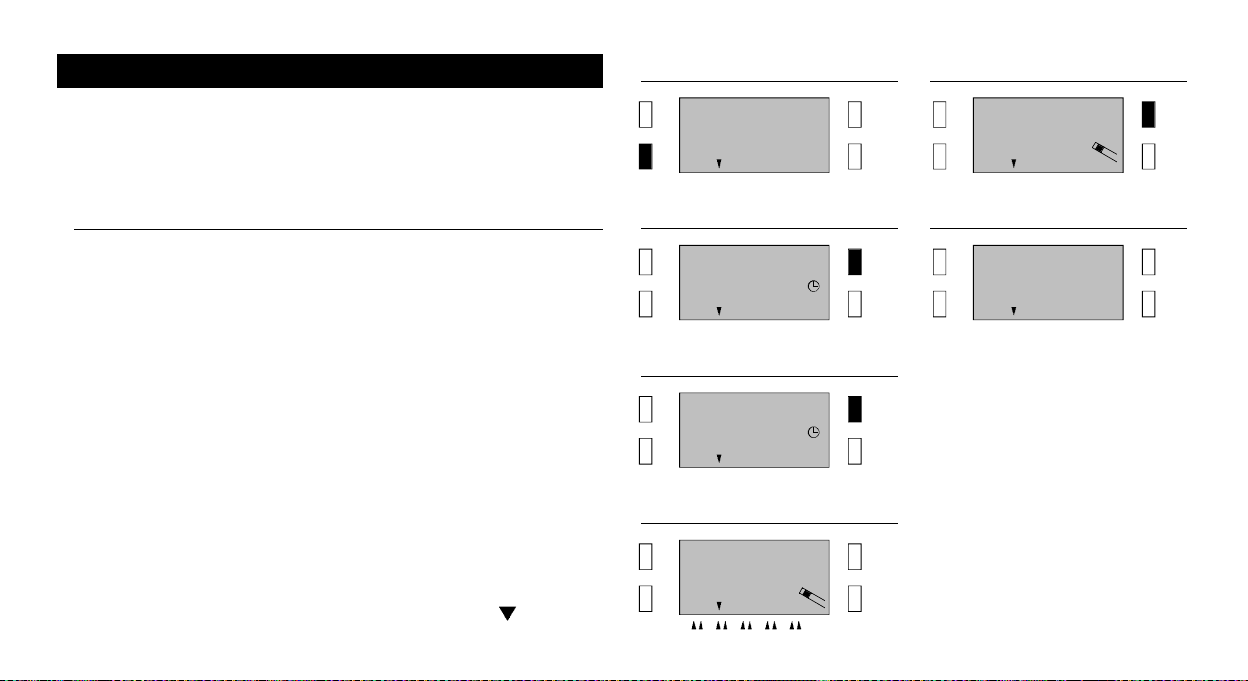
4 . Press the START button. The test-specific
reaction time is shown (seconds).
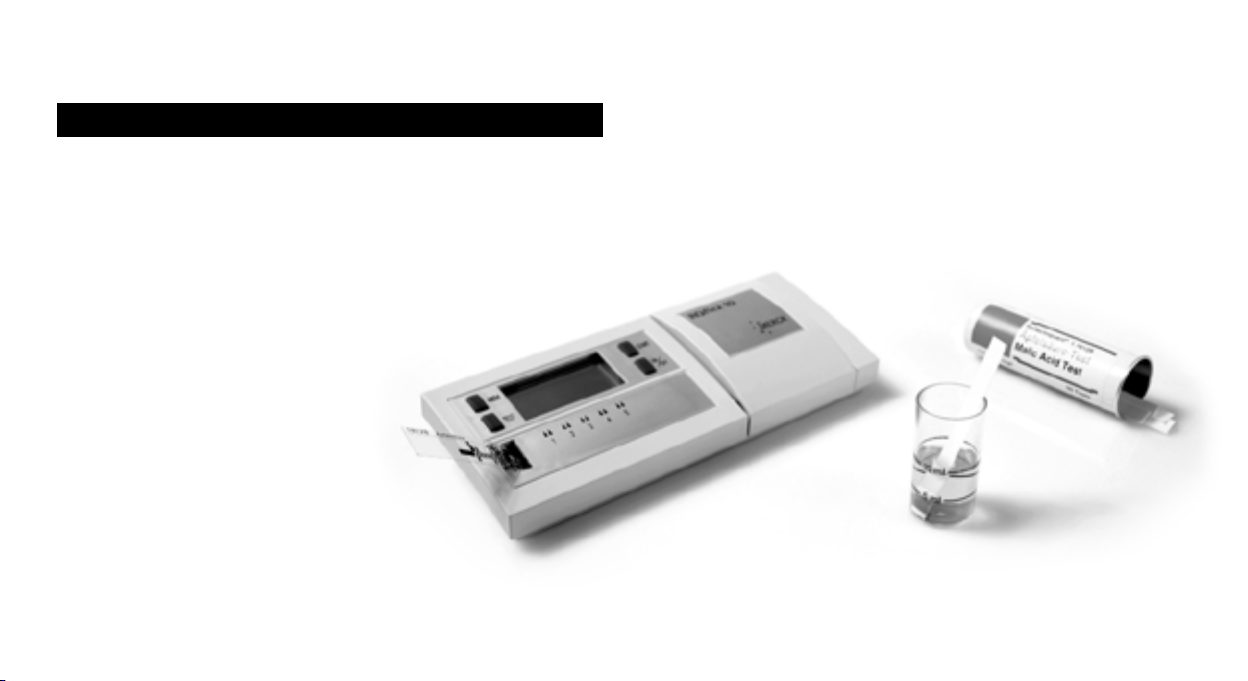
5 . Immerse the strip into your sample as
described in the Reflectoquant® instruction
leaflet and at the same time press the
S TART button (A). Allow excess liquid to run
off via the long edge of the strip onto an
absorbent paper towel. The stopwatch
function of the instrument is now activa-
ted. The remaining reaction time is shown
as it counts down (B).
6 . Five seconds before the end of the reaction
time the beeper sounds and the blinking strip
symbol is displayed. Now insert the strip
all the way into the measurement chamber.
7 . The measurement result is shown in the
display in the units for the respective test,
e.g. (mg/l), and is automatically stored in
s e q u e n c e .
F:50
352 C O DE
S T A R TM E M
O N / O F FT E S T
12:55 12.07
60 S E C
S T A R TM E M
O N / O F FT E S T
12:55 12.07
60 S E C
S T A R TM E M
O N / O F FT E S T
12:55 12.07
43 S E C
S T A R TM E M
O N / O F FT E S T
12:55 12.07
5S T A R TM E M
O N / O F FT E S T
12:55 12.07
123 S T A R TM E M
O N / O F FT E S T
2
4
5A
5B
6
7
S E C