28 29
2. LINE IN MUSIC RECORDING
1) Start LINE IN recording
Select “LINE IN” as record source and select a desired encoder type. Connect
the MP3 player with external audio device by the LINE IN cable provided. Press
and hold the “M” button to enter the main menu, press the “ ” or “ ” button to
select “Record” category, press the “M” button to start recording. Or starting
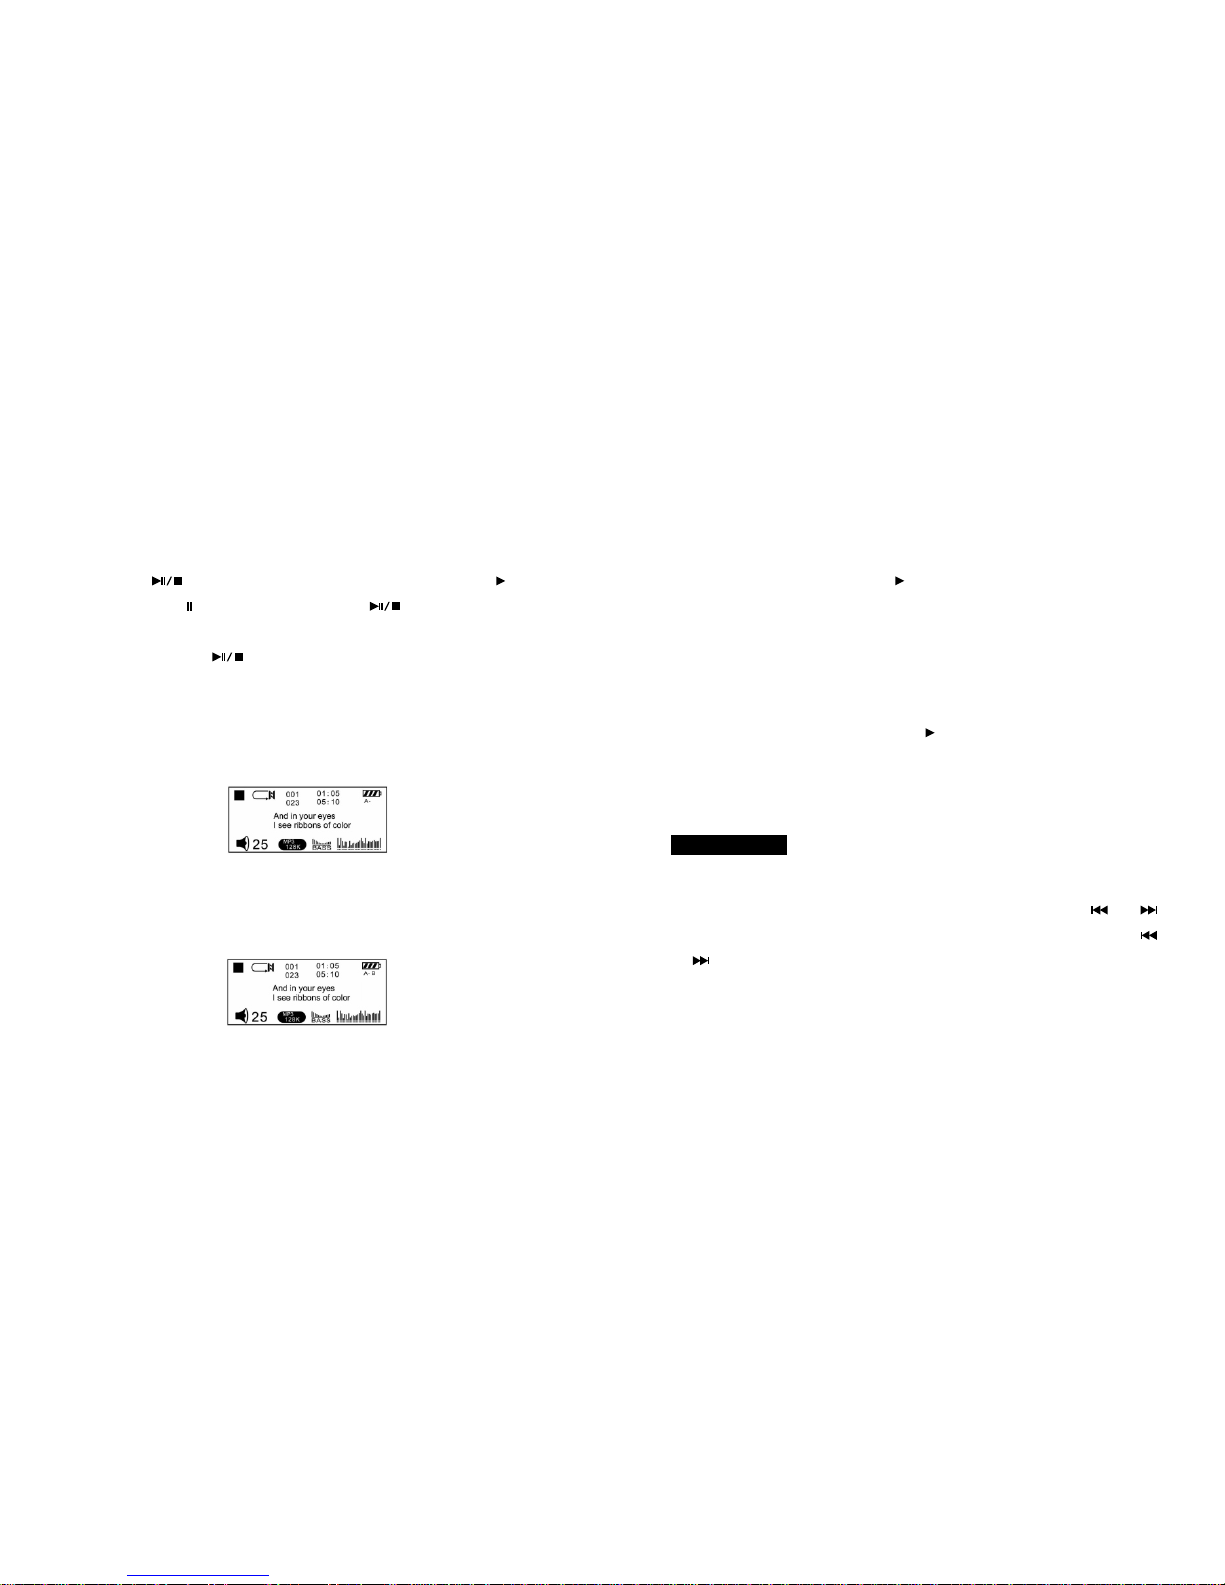
recording directly by pressing “REC” button. Press the button to pause
recording, press button again to resume recording.
Remarks: If screensaver is activated during recording, user needs to press any
key first to deactivate the screensaver before recording can be stopped.
2) Save a recorded LINE IN file
Press the “REC” button for 3 seconds and release to terminate recording and
create a recorded file.
The recorded file will be saved under the “VOICE” category as a “wav” file, eg.
L001.wav.
3) Play a recorded LINE IN file
Press the “M” button to return to the main menu, press the “ ” or “ ”
button to select “VOICE”, press button to play the recorded file.
Press and hold the “Menu” button to enter the main menu, dial the “MENU” button
to select “FM Radio” category, press the “MENU” button to enter FM tuner mode.
Select FM Radio/Scan/ Store/ Exit by pressing the “Menu” button under FM
mode.
1. FM receiving:
When a “Radio” sign appears on the SCREEN, the built-in FM tuner is receiving
program from pre-stored radio station: Dial the “Menu” button to scroll through all
pre-stored radio channels.
2. FM scan and Store: Press the “Menu” button to switch to FM scan status, a
“Scan” sign appears on the SCREEN.
1) Automatic scan and Store: Dial and hold the ”Menu” button to start
automatic scanning. Auto scanning will stop when a radio frequency is searched
clearly, then press the “Menu” button to switch to FM store status, a “Store” sign
will appear on the screen. Dial the “Menu” button to select a channel you want to
save the frequency searched and press the button to confirm saving. A
“YES” sign will appear on the screen after successfully stored.
2) Inching scan and Store: Dial the “Menu” button briefly to start the inching
scan to search the desired frequency, every time you dial the “Menu” button, the
FM Radio