manuals.online logo
Brands
  1. Home
  2. •
  3. Brands
  4. •
  5. MERLYN
  6. •
  7. Bathroom Fixture
  8. •
  9. MERLYN Arysto Ten GMW100 User manual

MERLYN Arysto Ten GMW100 User manual

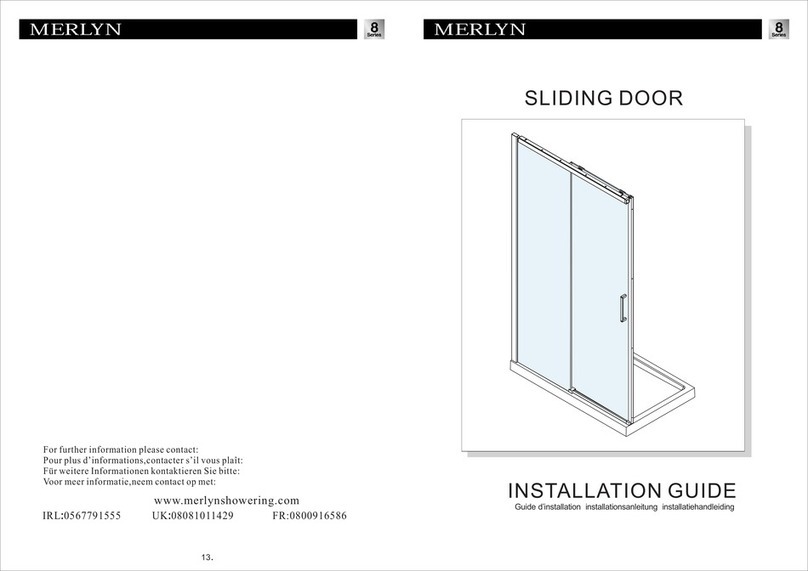
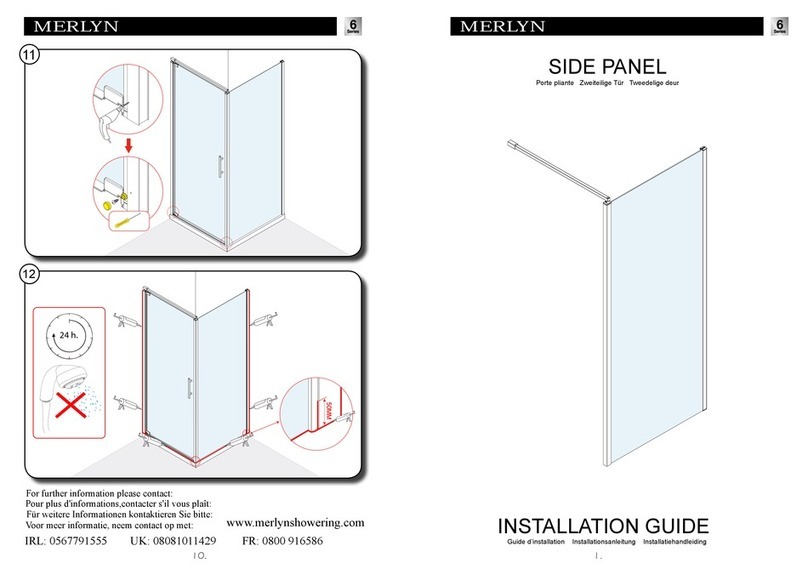
INSTALLATION GUIDE
Shower Panel-Single Entry
M088-00
1
4mm
12.5mm
1
MGVC45
Installation tool
1
MGST5 65
4MGST4 30BH
x1 MG8x51PLUG
x4 MG6x30PLUG
x1
x1
S8RAWBRx1
S8GRBSCx1
S8TRSET
IRF6003-1
x2 MGCOVPLT
x2 MGCAP
x2
A06S0046 8S1300511 M8 6GNLT
No. QTY Descriptions Part No. No. QTY Descriptions Part No.
1
2
3
4
5
7
8
1
4
2
4
1
1
1
2
9
10
1
1
11 1
61
Wall profile
Wall plug 8x51
Wall bracket
Screw5 65
Bottomprofile
Step1
IMPORTANT!
Whetherfitting ona trayor onatiled
Wetroomthetray or floormustbe
100%level
100% level
①
⑦
⑨
⑩
⑧
②
③
④
⑤
⑥
MG8x51PLUG
IRF6003-1
MGVC35
Wall plug 6x30
Wall bracket
Screw4 30
Supportrail
Grubscrew
MG6x30PLUG
S8RAWBR
MGST4 30BH
S8GRBSC
S8TRSET
Showerwall panel
MGST5X65
12 1 M8 6GNLT
Grubscrew
GMGW
MGVCWPSET
3
If fitting in a wet roomdetermine the position of the outside edge of glasspanel
and measure in 40mm and mark.
Note the positionof the labels on the wall profile.Make sureLabel'T'is to the top
and 'B'isto the bottom.Line up the outside edge of the profilewith the mark and
plumb vertical.Mark the wallthroughthe pre-drilled holes. Maxdistance fromthe
wall to the outside of the glass is 1020mm.
OptionA.Fittinginwetroom
Step2
40mm
Important* The glass panel mustbe installed on a levelsurface.Besure to
position the panelbeyond the gradient ofyour wet room.
INSIDE
BB
T
B
T
Donot fixthe
profiletothe wall!
Step2OptionB.Fittingon tray
Mark60 mminfromthe edge of the tray.
Note the positionof the labels on the wall profile.Make sureLabel'T'is to the top
and 'B'isto the bottom.Line up the outside edge of the profilewith the mark and
plumb vertical.Mark the wallthroughthe pre-drilled holes. Maxdistance fromthe
wall to the outside of the glass is 1020mm.
60mm
B
T
B
T
4
Donot fixthe
profiletothe wall!
Max 1020mm
Step4
Placebottomchanneltight towalloffsetin15mm fromfront edge
of the tray
Insertwallplugs
Drill holesforhinge
8mm
Remove profile and drill holes for wall brackets with diameter8mm masonerybit and
insert wall plugs.Ensurewallplugsareflushwithtile.
Placebottom track ontray
15mm
MG8x51PLUG
5
Step3
Push on wall profilecompletley ensuring end is flushwith the top of the
glass panel
Step6
6
Note which side is labeled OUTSIDE. The side of the panel with the holes is
the side fitted againest the wall.
Step5
7
Step7
Fix both wall brackets,donotovertighten.
Step8
Placeassembled panel into bottom profileandplace tightagainstwall
INSIDE
INSIDE
IRF6003-1
8
Fixwallbrackets to the wall.
Step9
INSIDE
INSIDE
ST5x65
Step10
Use timber toolprovided andgently tap thewall profile tap thewall profile top to
bottomontheinside and outside untilitistight to the wall.
MGVC45
MGVC45
9
Step11
Step12
11A. MeasuredistanceA fromwall
to outside edgeof glass panel.
Distance A
Outsideedge ofglass panel
11B. Remove entire paneland bracket assembly
and cut bottomprofileto distance A.
Repositionbottomprofileand fitfixed panel.Repeat8-10 ensuring all fixings
are securely tightened.Adjust fixings A&Bto plumbpanel.
INSIDE
B
OUTSIDE
DistanceA
10
Step13
Step14
14A If fitting right angle bracing bar (supplied on sizes above 1000mm )measure
distance B frominside face of the glass to the back wall.
14B Fromthe inside edge of the clampmeasuredistance B and cut rail to length.
14CFit the rail to the glassapprox 50mm fromthe side of the glass.
Fitting covercaps. Peeloff protectivestriptoadhesivetape to backofcap and
firmlypressin position.
Tip:We recommendthatyouplacea dabofsiliconeto thebackofthe cover
capsateachendofthetape.
INSIDE
B90°
INSIDE
14A
B
14B
B
INSIDE
14C
B
Step15
Levelthe rail and mark the positionof the bracketon the wall,then mark the fixing point.
Step16
15A
15B
2.5mm ALKEY
15C
16A
16C
Drill holesforthe rail
16B
16D
2.5mm ALKEY
16E
INSIDE
16F
4mm ALKEY
MG6x30PLUG
MS8RAWBR
S8GRBSC
S8TRSET
MGST4 30BH
11
6mm
Step17
Sealentire unitfrom theoutside.
Use quality silicone sealant and applicatorgun to finish the door.
OUTSIDE
Sealtop tobottombetween the wall profile and the wall.
Sealalong the bottombetween the profileand the tray/tiled floor.
Sealthe joint between the wall profileand the bottomprofileand the bottomprofile.
Donot usethe enclosurefor24 hours.
24h.
12
Make sureall surfaces are thoroughlycleanedanddrybeforeapplying sealant.
MerlynShowering
Unit8,PurcellsinchIndustrialPark,
DublinRoad,Kilkenny,Ireland.
Tel:00353567791555
Fax:0035356779 1576
www.merlynshowering.com
MERLYN

Other MERLYN Bathroom Fixture manuals

MERLYN NEXA VWBSVL300 User manual

MERLYN

MERLYN NEXA VWBSVL300 User manual

MERLYN IONIC EXPRESS User manual

MERLYN

MERLYN IONIC EXPRESS User manual

MERLYN 6 Series User manual

MERLYN

MERLYN 6 Series User manual

MERLYN 6 Series User manual

MERLYN

MERLYN 6 Series User manual

MERLYN 6 Series User manual

MERLYN

MERLYN 6 Series User manual

MERLYN EASY CORNER DOOR User manual

MERLYN

MERLYN EASY CORNER DOOR User manual

MERLYN IQ Nexa User manual

MERLYN

MERLYN IQ Nexa User manual

MERLYN 6 Series User manual

MERLYN

MERLYN 6 Series User manual

MERLYN 6 Series User manual

MERLYN

MERLYN 6 Series User manual

MERLYN NEXA VWBSVL300 User manual

MERLYN

MERLYN NEXA VWBSVL300 User manual

MERLYN Arysto GHH900HL User manual

MERLYN

MERLYN Arysto GHH900HL User manual

MERLYN MB3B User manual

MERLYN

MERLYN MB3B User manual

MERLYN MB11 User manual

MERLYN

MERLYN MB11 User manual

MERLYN SIDE PANEL User manual

MERLYN

MERLYN SIDE PANEL User manual

MERLYN MB2 User manual

MERLYN

MERLYN MB2 User manual

MERLYN MB7 User manual

MERLYN

MERLYN MB7 User manual
MERLYN 8 Series User manual

MERLYN

MERLYN 8 Series User manual

MERLYN 6 Series User manual

MERLYN

MERLYN 6 Series User manual

MERLYN 8 Series User manual

MERLYN

MERLYN 8 Series User manual

MERLYN ARYSTO User manual

MERLYN

MERLYN ARYSTO User manual

MERLYN ARYSTO User manual

MERLYN

MERLYN ARYSTO User manual

MERLYN MB12 User manual

MERLYN

MERLYN MB12 User manual

MERLYN 8 Series User manual

MERLYN

MERLYN 8 Series User manual

Popular Bathroom Fixture manuals by other brands

Triton ASPIRANTE THERMOSTATIC POWER SHOWER Installation and operating instructions

Triton

Triton ASPIRANTE THERMOSTATIC POWER SHOWER Installation and operating instructions

Bradley S19-120HFP Installation

Bradley

Bradley S19-120HFP Installation

Gessi 26912 Installation

Gessi

Gessi 26912 Installation

American Standard Elevate AM00837400 owner's manual

American Standard

American Standard Elevate AM00837400 owner's manual

abi VAADA 10745 quick start guide

abi

abi VAADA 10745 quick start guide

Hans Grohe MyClub 1jet Assembly instructions

Hans Grohe

Hans Grohe MyClub 1jet Assembly instructions

Black & Decker Price Pfister 801 Series quick start guide

Black & Decker

Black & Decker Price Pfister 801 Series quick start guide

Voda STORM VST32 quick start guide

Voda

Voda STORM VST32 quick start guide

Bossini DREAM H75 INSTALLATION AND CARE INSTRUCTIONS

Bossini

Bossini DREAM H75 INSTALLATION AND CARE INSTRUCTIONS

MARIMEX UNO 8 L instruction manual

MARIMEX

MARIMEX UNO 8 L instruction manual

Glacier bay TSPE0715-WH Use and care guide

Glacier bay

Glacier bay TSPE0715-WH Use and care guide

M&M E107C instruction manual

M&M

M&M E107C instruction manual

Ropox 40-44010 user manual

Ropox

Ropox 40-44010 user manual

Abode Chao AB4044 manual

Abode

Abode Chao AB4044 manual

GATTONI RT010 Installation and assembly

GATTONI

GATTONI RT010 Installation and assembly

Lefroy Brooks CW-2401 Installation, operating,  & maintenance instructions

Lefroy Brooks

Lefroy Brooks CW-2401 Installation, operating, & maintenance instructions

LF STYLE SELECTIONS VANITY WITH TOP AND MIRROR ... Assembly and installation instructions

LF

LF STYLE SELECTIONS VANITY WITH TOP AND MIRROR ... Assembly and installation instructions

Fleurco ATAM3260 Installation and user guide

Fleurco

Fleurco ATAM3260 Installation and user guide

manuals.online logo
manuals.online logoBrands
  • About & Mission
  • Contact us
  • Privacy Policy
  • Terms and Conditions

Copyright 2025 Manuals.Online. All Rights Reserved.