manuals.online logo
Brands
  1. Home
  2. •
  3. Brands
  4. •
  5. MERLYN
  6. •
  7. Bathroom Fixture
  8. •
  9. MERLYN 6 Series User manual

MERLYN 6 Series User manual

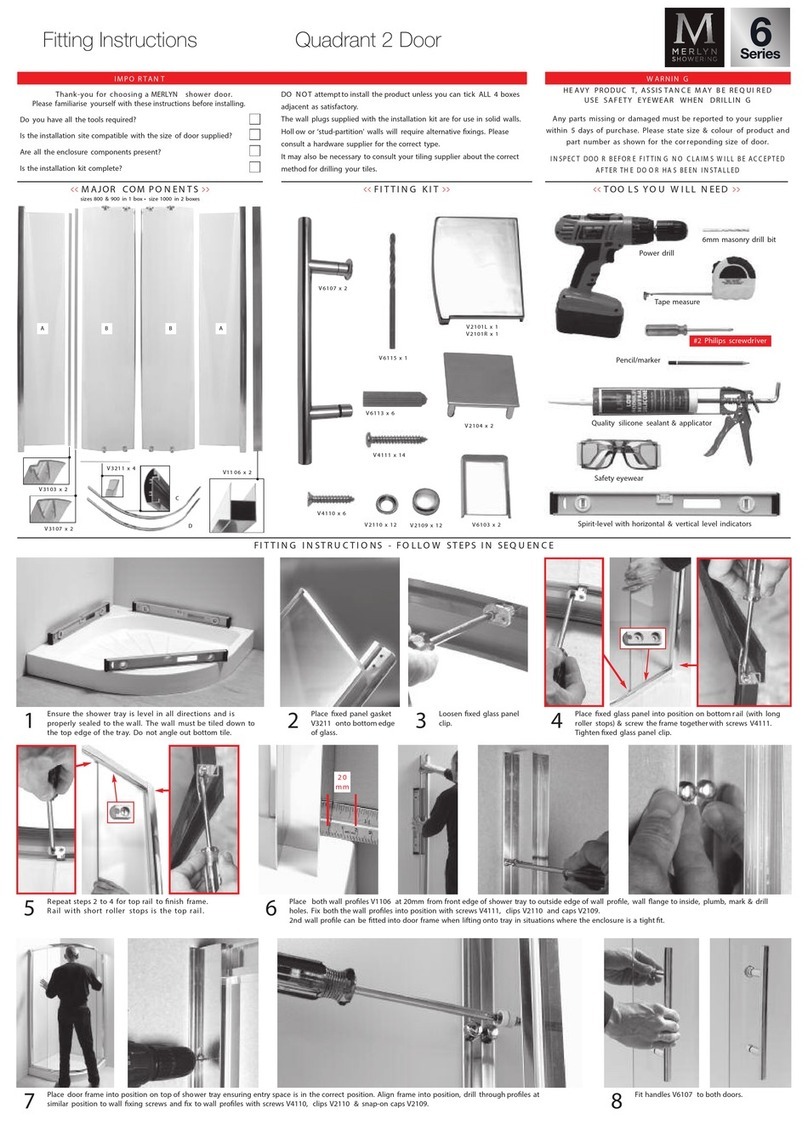
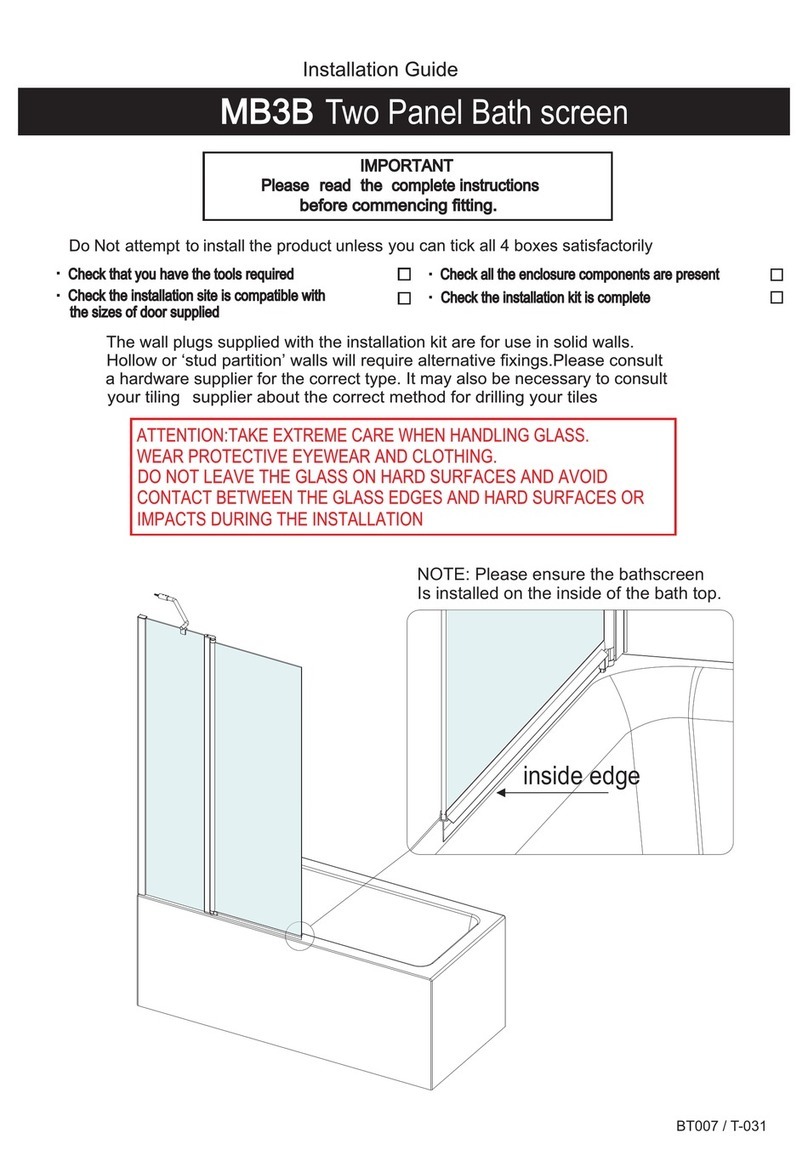
Thank you for choosing Merlyn.Please familiarise yourself
with the fitting instructions before commencing fitting.
1. Check that you have the tools required.
2 that the installation site is compatible . Check
with size of door supplied
3. Check all the enclosure components.
4 that the installation kit is complete. Check
DO NOT attempt to install the product unless you can
tick ALL 4 boxes as satisfactory.
The wall plugs supplied with the installation kit are for
use in solid walls. Hollow or 'stud-partition’ walls will
require alternative fixings. Please consult a hardware
supplier for the correct type.
It may also be necessary to consult your tiling supplier
about the correct method for drilling your tiles.
VIVID
10
IMPORTANT
Any parts missing or damaged must be reported to your supplier within 5 days of purchase.
Inspect shower enclosure before fitting .
No claims will be acceptable after product has been installed.
USE SAFETY EYEWEAR WHEN DRILLING
SLIDING DOOR
INSTALLATION GUIDE
Thank you for choosing Merlyn.Please familiarise yourself
with the fitting instructions before commencing fitting.
1. Check that you have the tools required.
2 that the installation site is compatible . Check
with size of door supplied
3. Check all the enclosure components.
4 that the installation kit is complete. Check
DO NOT attempt to install the product unless you can
The wall plugs supplied with the installation kit are for
use in solid walls. Hollow or 'stud-partition’ walls will
require alternative fixings. Please consult a hardware
supplier for the correct type.
It may also be necessary to consult your tiling supplier
about the correct method for drilling your tiles.
VIVID
10
IMPORTANT
Any parts missing or damaged must be reported to your supplier within 5 days of purchase.
Inspect shower enclosure before fitting .
No claims will be acceptable after product has been installed.
USE SAFETY EYEWEAR WHEN DRILLING
BIFOLD DOOR
INSTALLATION GUIDE
M043-00
COMPONENTS AND BOX CONTENTS 1
3
4
8
9
1 1
1 2
2
1
5
6
1 0
Handle
Screw cover cap
Cover cap for wall profile
6X30 wall plug
Screw cover cap clip
Top cover cap L/R
6
5
2
9
8
7
10
11
12
13
1
3
Description
No. QTY Description
Part No. No.
2
2
6
12
6
1
2
1
2
Note:Further part details for fixing kit available on page 2
6
4
B head screw ST4 12X
12
Wall profile
1
V2101L/R
V4110
V6113
V2114
V2115
SP0S6S01
S6HDLE
V2104
1 4
QTY Part No.
1 3
1 5
7
B head screw ST4 30X V4111
14
Shower room
Water bottom seal
V6LP 8702
V6M612
V6LW 8683
15
V6LP 8686
2
2
1
A
V6LC8441378
Pivot water piece
Countersunk screw M6X12
Adjusting spring
Top fixing clip
FIXING KIT COMPONENTS, TOOLS REQUIRED, SITE
V6LP 8686
1 ×
V6LW 8683
2×
V2115
12×
V2114
12×
V6113
×6
V4111
×6
V4110
×6
V6115
× 1
Tools Required
- 6mm masonry drill bit
- Power drill
- Quality Silicone
- Pencil
- Tape Measure
- #2 Philips Head screw driver
- Spirit level with horizontal and vertical level indicators
IMPORTANT - Installation site
1. Ensure the top surface of the shower tray on which the enclosure will be installed is level in every direction.
2. The tiles or other wall finishing should be effectively sealed at the tray edges.
3. Tiles should extend at least to the corners of the tray and a minimum of 2.0 metres from the top of the tray.
Spanner
-
2
V6LP 8702
1 ×
V6M612
×2
S6HDLE
1×
S6HDLEP2 1×
S6HDLEP3 2×
S6HDLEP4 2×
S6HDLEP1 1×
S6HDLEP6 2×
S6HDLEP7 1×
S6HDLEP5 4×
V2101L
1×
V2101R
1×
V2104
×2
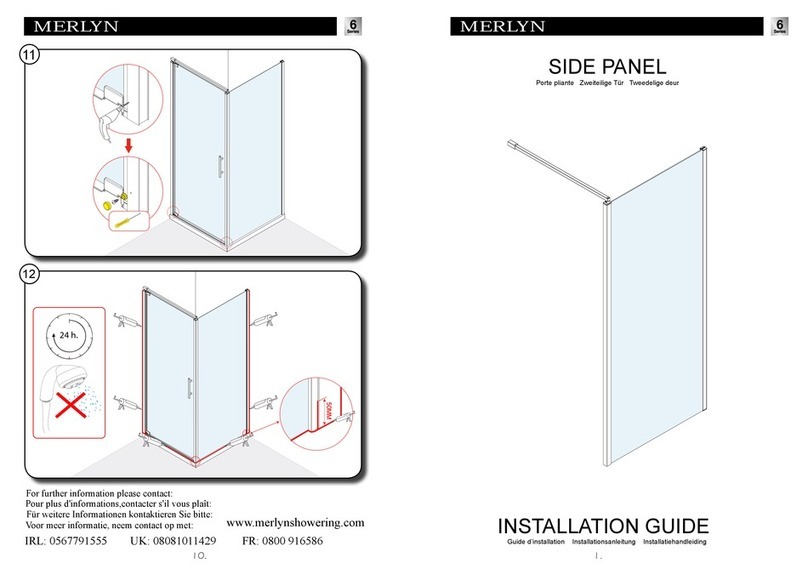
MARKING WALL PROFILE POSITION
Step 1.
Step in wall profile 20mm from the front edge of the shower tray. Ensure wall profile plumb
Do not silicone behind wall profile to wall, see sealing section.
Step 2.
Mark the position for fixing the wall profile to wall.( )Do not fix the wall profile yet
V6113
2
INSIDE
SP0S6S01
100%
Lev el !
TRAY MUST BE 100% LEVEL IN ALL DIRECTIONS
Ensure the shower tray is level in all directions and is
properly sealed to the wall. The wall must be tiled down to
the top edge of the tray. Do not angle out bottom tile.
TRAY MUST BE SEALED FULLY AROUND WHERE THE
TRAY MEETS THE WALL.
PROCEDURE
100% level
∅6mm
masonry drill bit
15mm
15mm
3
FITTING ASSEMBLED FRAME
34
4
Step 6 .
Position the
assembled frame
onto the shower
tray, and fix the
frame to the
marked position
on wall using
V2114 with V2115
screw.
V6M6x12
INSIDE
BOTTOM
Note: Deflection fin
to outside
Note: Deflection fin
to outside
Step 4.
Fit the bottom water seal, ensure the
direction is as picture shows.
Step 3.
Fit the pivot water piece, ensure the
direction is as picture shows.
INSIDE
BOTTOM
Step 5.
Fit the wall profiles to the
assembled frame.
SP0S6S01
5
OUTSIDE
6
V2115
V2114
5
Note: This door is designed
to be opened out in an
emergency only. This may
result in the clip breaking. A
replacement part may be
required, contact Merlyn to
purchase.
Step 7.
Fix the top fixing clip, then
turn the screw M6 12 using
phillips screwdriver to
adjust the clip to suitable
height.
x
Step 8.
Note: Before drilling ensure doors open and close smoothly. If not
adjust the frame in the wall profiles. Drill through upright and
wall profile in 3 places top to bottom as shown.
S6HDLEP4
S6HDLEP3
S6HDLEP5
S6HDLEP2
S6HDLEP1
S6HDLEP6
9
V6115
V4110
V2114
V2115
8
V2101L/R
V2104
10
FINISHING
INSIDE
INSIDE
7
V6M6x12 screw
V6LP 8686
V6LW 8683
INSIDE
Top
fixing clip
Top
track
Apply a dab
of silicone in
this holescrew
SEALING AND TROUBLE SHOOTING
DO NOT
use the
enclosure
for 24 hrs
TROUBLE SHOOTING GUIDE
Step 11.
Use a quality silicone sealant
and applicator gun to seal the
finished door.
Seal top to bottom on the
between the wall
profile and the wall.
Do not apply sealant on
the inside of the tray.
Seal only along bottom on the
between
glass/rail/profile and the tray
and approx 50mm up
between the wall profile and
the wall. Seal joint between
bottom profile and upright
profile.
SEALING INSIDE
INSIDE
Note:
SEALING OUTSIDE
OUTSIDE
TROUBLE SHOOTING GUIDE
DOOR NOT ALIGNING
1. Is the tray 100% level? ( )
2. Have the walls been checked at different levels to ensure consistency?
3. Are the wall profiles stepped in 15mm from the edge of the tray? ( )
4. Do the finished tile measurements on the tray comply with the adjustment listed on the
label and in the specifications book?
6. Is the top rail level? ( )
7. Has the door been adjusted correctly to ensure a smooth rolling action. ( ).
8. Is the top fixing clip adjusted so the door is closing correctly on the top frame.( ).
DOOR LEAKING
1.Is the seal fitted? ( )
2.Is the door sealed correctly? ( )
see page 3
see step 1,2
see step 8
see step 8
see step 7
see step 6
see step 8
----
-
6

Other manuals for 6 Series

7

Other MERLYN Bathroom Fixture manuals

MERLYN 6 Series User manual

MERLYN

MERLYN 6 Series User manual

MERLYN NEXA VWBSVL300 User manual

MERLYN

MERLYN NEXA VWBSVL300 User manual

MERLYN 8 Series User manual

MERLYN

MERLYN 8 Series User manual

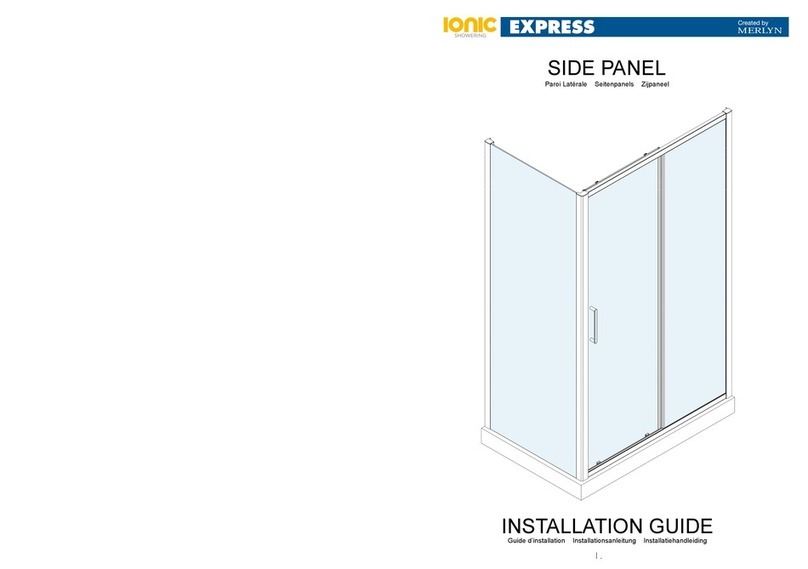
MERLYN SIDE PANEL User manual

MERLYN

MERLYN SIDE PANEL User manual
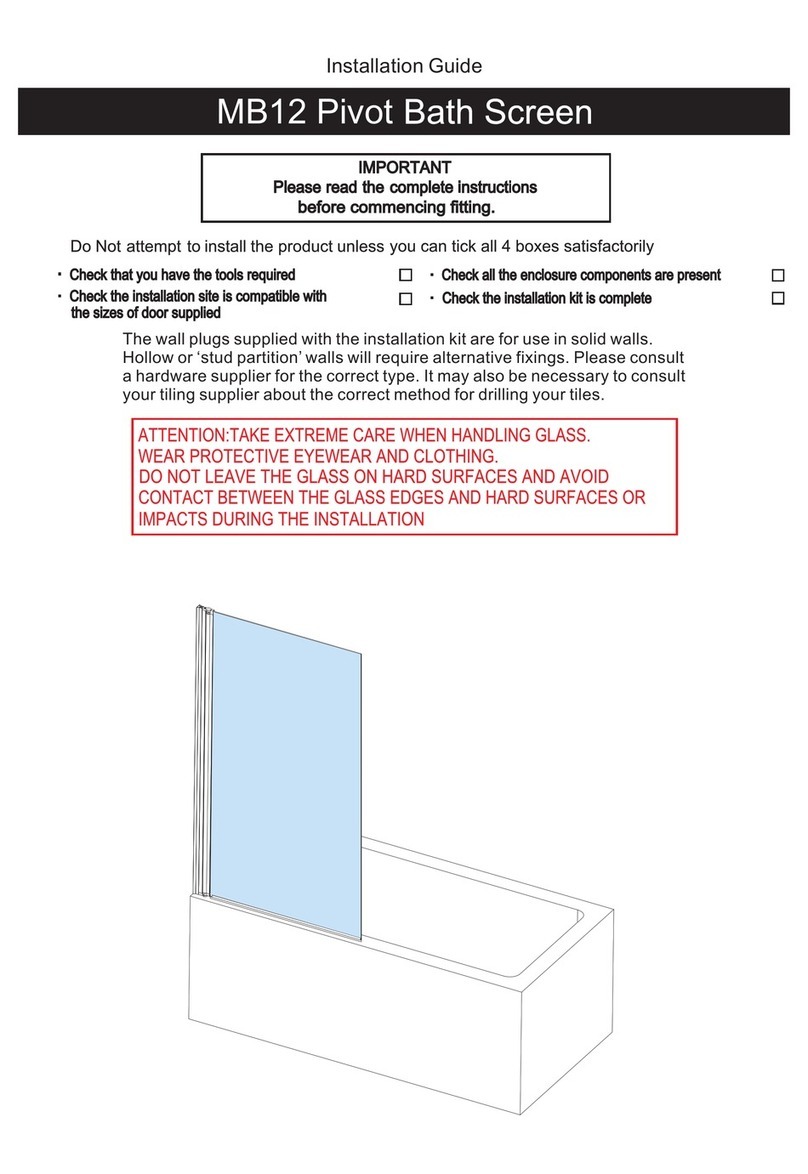
MERLYN Arysto GHH900HL User manual

MERLYN

MERLYN Arysto GHH900HL User manual

MERLYN ARYSTO User manual

MERLYN

MERLYN ARYSTO User manual

MERLYN 6 Series User manual

MERLYN

MERLYN 6 Series User manual

MERLYN IONIC EXPRESS User manual

MERLYN

MERLYN IONIC EXPRESS User manual

MERLYN 6 Series User manual

MERLYN

MERLYN 6 Series User manual

MERLYN Arysto Ten GMW100 User manual

MERLYN

MERLYN Arysto Ten GMW100 User manual

MERLYN ARYSTO User manual

MERLYN

MERLYN ARYSTO User manual

MERLYN 8 Series User manual

MERLYN

MERLYN 8 Series User manual

MERLYN 8 Series User manual

MERLYN

MERLYN 8 Series User manual

MERLYN MB7 User manual

MERLYN

MERLYN MB7 User manual

MERLYN IQ Nexa User manual

MERLYN

MERLYN IQ Nexa User manual

MERLYN MB2 User manual

MERLYN

MERLYN MB2 User manual

MERLYN MB11 User manual

MERLYN

MERLYN MB11 User manual

MERLYN MB12 User manual

MERLYN

MERLYN MB12 User manual

MERLYN MB3B User manual

MERLYN

MERLYN MB3B User manual

MERLYN 6 Series User manual

MERLYN

MERLYN 6 Series User manual
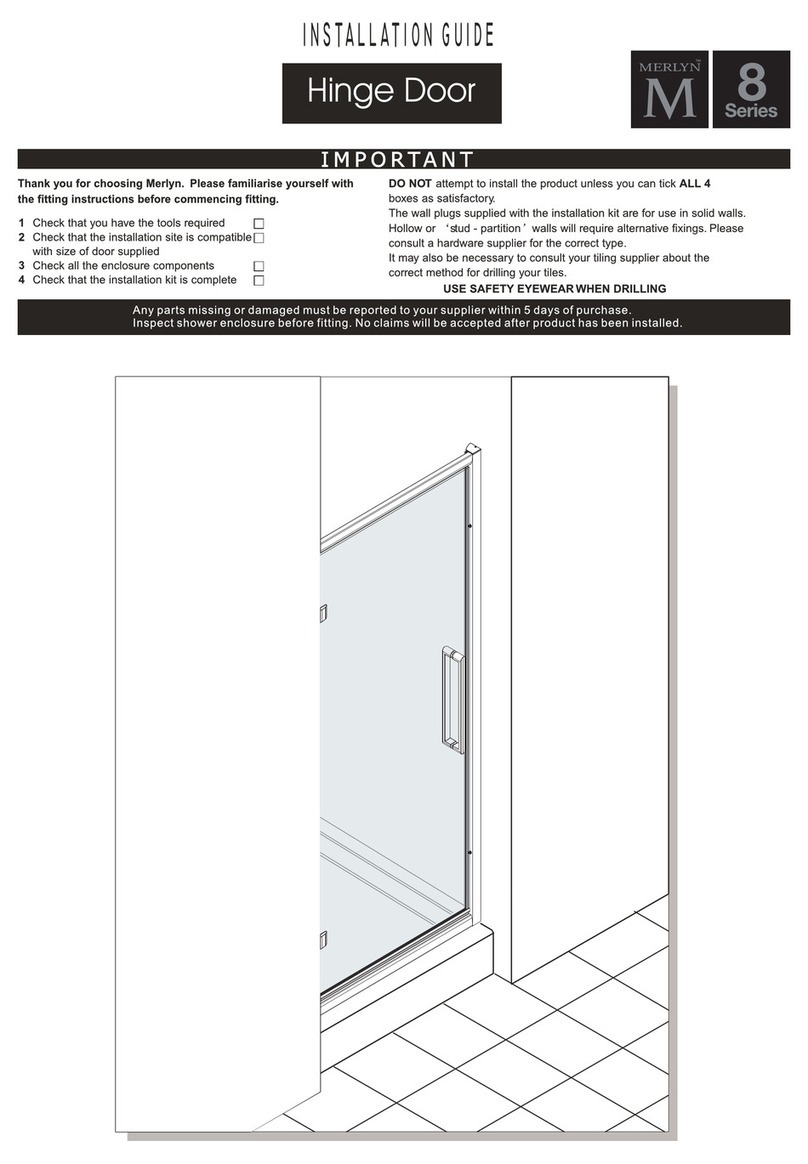
MERLYN EASY CORNER DOOR User manual

MERLYN

MERLYN EASY CORNER DOOR User manual

MERLYN NEXA VWBSVL300 User manual

MERLYN

MERLYN NEXA VWBSVL300 User manual

MERLYN 6 Series User manual

MERLYN

MERLYN 6 Series User manual
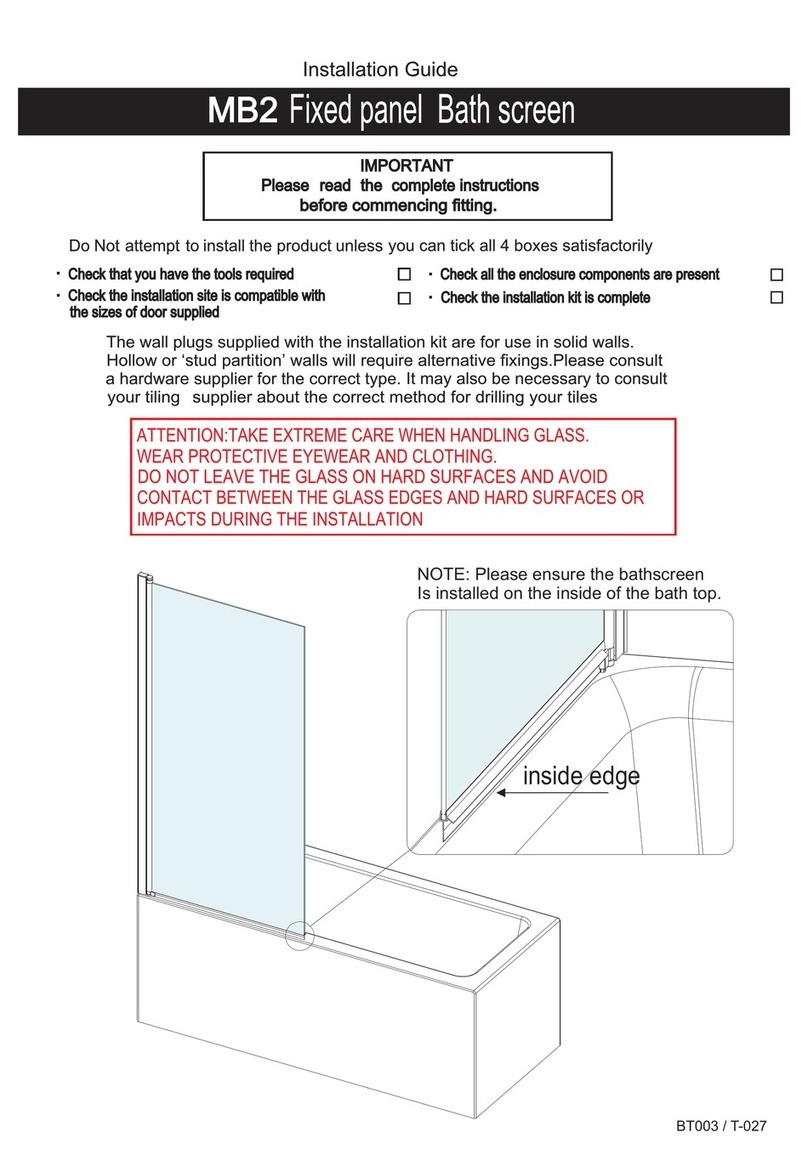
Popular Bathroom Fixture manuals by other brands

Kohler Lakewood K-1649 installation guide

Kohler

Kohler Lakewood K-1649 installation guide

Clas Ohlson P2608/FT manual

Clas Ohlson

Clas Ohlson P2608/FT manual

Orbital Systems OAS Standart R3 Installation

Orbital Systems

Orbital Systems OAS Standart R3 Installation

Eastbrook CORINIUM ROUND instruction manual

Eastbrook

Eastbrook CORINIUM ROUND instruction manual

Hans Grohe Raindance Select 2jet Showerpipe 27126 1... Installation/User Instructions/Warranty

Hans Grohe

Hans Grohe Raindance Select 2jet Showerpipe 27126 1... Installation/User Instructions/Warranty

Grohe Parkfield 20 390 manual

Grohe

Grohe Parkfield 20 390 manual

FROST NOVA2 FITTING INSTRUCTION

FROST

FROST NOVA2 FITTING INSTRUCTION

baliv WT-621 manual

baliv

baliv WT-621 manual

Kohler ENGLEFIELD EXCLUSIVE Series installation instructions

Kohler

Kohler ENGLEFIELD EXCLUSIVE Series installation instructions

PEERLESS PTT4365 owner's manual

PEERLESS

PEERLESS PTT4365 owner's manual

Kohler NEW PURIST K-701574T installation instructions

Kohler

Kohler NEW PURIST K-701574T installation instructions

Rubinet 4UHX1 Assembly instruction

Rubinet

Rubinet 4UHX1 Assembly instruction

Kohler Components K-77980-4A-CP installation guide

Kohler

Kohler Components K-77980-4A-CP installation guide

Kinedo Kinemagic Design DES1314AG-D installation instructions

Kinedo

Kinedo Kinemagic Design DES1314AG-D installation instructions

Gessi 26912 Installation

Gessi

Gessi 26912 Installation

Kallista Tuxedo P72037 installation guide

Kallista

Kallista Tuxedo P72037 installation guide

Clou Flush 6 CL/03.14060 installation instructions

Clou

Clou Flush 6 CL/03.14060 installation instructions

Steinberg iFlow 390 1810 installation instructions

Steinberg

Steinberg iFlow 390 1810 installation instructions

manuals.online logo
manuals.online logoBrands
  • About & Mission
  • Contact us
  • Privacy Policy
  • Terms and Conditions

Copyright 2025 Manuals.Online. All Rights Reserved.