manuals.online logo
Brands
  1. Home
  2. •
  3. Brands
  4. •
  5. MERLYN
  6. •
  7. Bathroom Fixture
  8. •
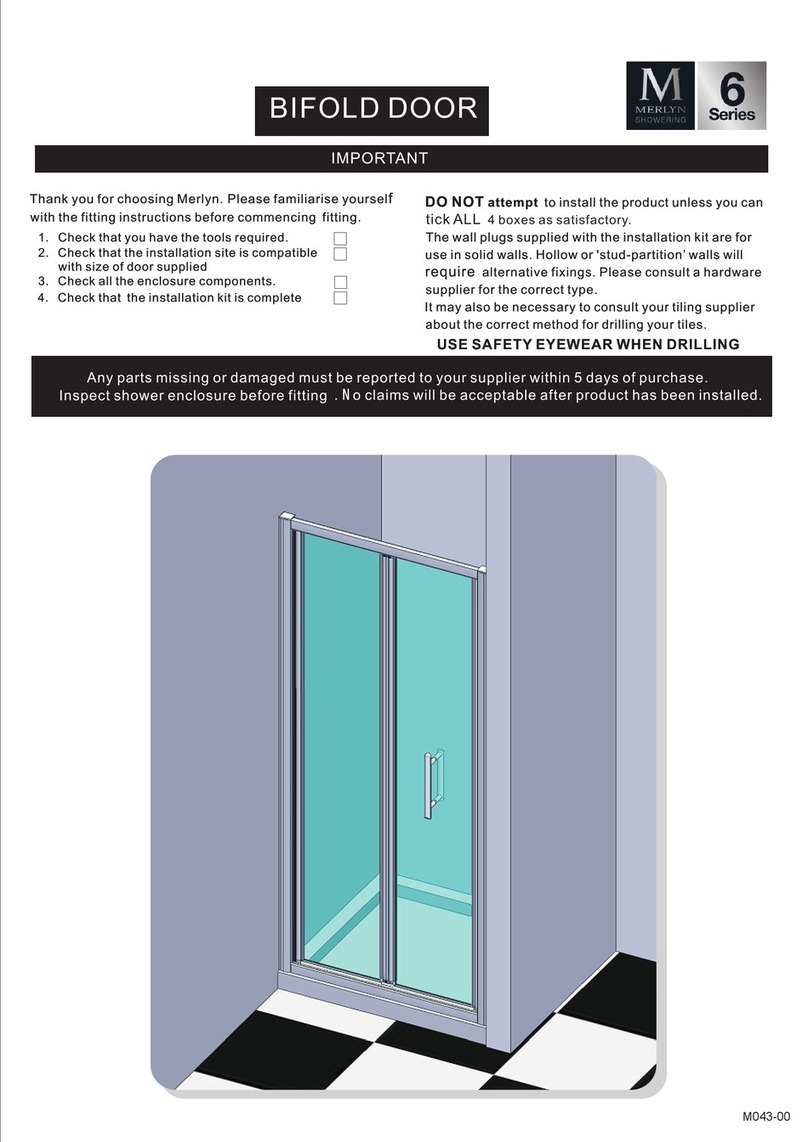
  9. MERLYN 6 Series User manual

MERLYN 6 Series User manual

Any parts missing or damaged must be reported to your supplier
within 5 days of purchase. Please state size & colour of product and
part number as shown for the cor reponding size of door.
I N S P E C T D OO R B EF OR E F I T T IN G N O C LA I M S W I LL B E AC C EP T E D
A F T E R T H E D O O R H A S B E E N I N S T A L L E D
Thank -you for choosing a MERLYN shower door.
Please familiarise yourself with these instructions before installing.
Do you have all the tools required?
Is the installation site compatible with the size of door supplied?
Are all the enclosure components present?
Is the installation kit complete?
DO N O T attempt to install the product unless you can tick ALL 4 boxes
adjacent as satisfactory.
The wall plugs supplied with the installation kit are for use in solid walls.
Holl ow or ‘stud-partition' walls will require alternative xings. Please
consult a hardware supplier for the correct type.
It may also be necessary to consult your tiling supplier about the correct
method for drilling your tiles.
<<
MAJOR COM P O N E N T S
> >
F I T T I N G I N ST R U C T I O N S - F O L LO W S T E P S I N SEQ U E N C E
Ensure the shower tray is level in all directions and is
properly sealed to the w all. The wall must be tiled down to
the top edge of the tray. Do not angle out bottom tile.
1Place xed panel gasket
V3211 onto bottom edge
of glass.
2Loosen xed glass panel
clip.
3Place xed glass panel into position on bottom r ail (with long
roller stops) & screw the frame together with screws V4111.
Tighten xed glass panel clip.
4
Power drill
6mm masonry drill bit
Pencil/marker
#2 Philips screwdriver
Spirit-level with horizontal & vertical level indicators
Tape measure
Safety eyewear
Quality silicone sealant & applicator
< <
T OO L S Y O U W I L L N E ED
> >< <
F I T T I N G K I T
> >
Repeat steps 2 to 4 for top rail to nish frame.
R ail w ith short r oller stops is the top rai l .
5
Fit handles V6107 to both doors.
8
WARNIN G
HE A VY PR OD UC T, ASSI S T A N C E M AY B E R E Q UI R ED
USE SAFETY EYEWEAR WHEN DRILLIN G
IMPO R T AN T
Place door frame into position on top of shower tray ensuring entry space is in the correct position. Align frame into position, drill through proles at
similar position to wall xing screws and x to wall proles with screws V4110, clips V2110 & snap-on caps V2109.
7
Place both wall proles V1106 at 20mm from front edge of shower tray to outside edge of wall prole, wall ange to inside, plumb, mark & drill
holes. Fix both the wall proles into position with screws V4111, clips V2110 and caps V2109.
2nd wall prole can be tted into door frame when lifting onto tray in situations where the enclosure is a tight t.
6
2 0
mm
V11 06 x 2
V 3 21 1 x 4
V 31 03 x 2
V 31 07 x 2
V 210 1L x 1
V 210 1R x 1
V 210 4 x 2
V 610 7 x 2
V 210 9 x 1 2
V 211 0 x 1 2
V 411 0 x 6
V 611 3 x 6
V 611 5 x 1
V 411 1 x 1 4
V 610 3 x 2
A AB B
C
D
sizes 800 & 900 in 1 box •size 1000 in 2 boxes
Fitting Instructions Quadrant 2 Door
INSIDE TOP RAIL
24 HRS
Fit moving panels Binto frame.
9
Working from the outside. Press down on quick release rollers & insert into
bottom rail. Fit chrome covers V6103 to inside of single rollers.
Press down on bottom rollers to gain easy access for cleaning
11
Working from inside the enclosure set the doors into the top rail.
Double rollers on top
10
Press on cover caps V2104
to wall profiles and
V2101L/R to frame profiles.
14
Ensure doors are closing correctly. MAIN ADJUSTMENT is made by
loosening the top roller retaining screws and moving the glass panel up
or down. When correct, secure screw. Micro-adjust with hexkey as
shown. Door is correctly adjusted when top & bottom wheels hit

roller stops evenly.
13 When doors are operating correctly & magnetic
seal is fully aligned proceed to sealing of unit.
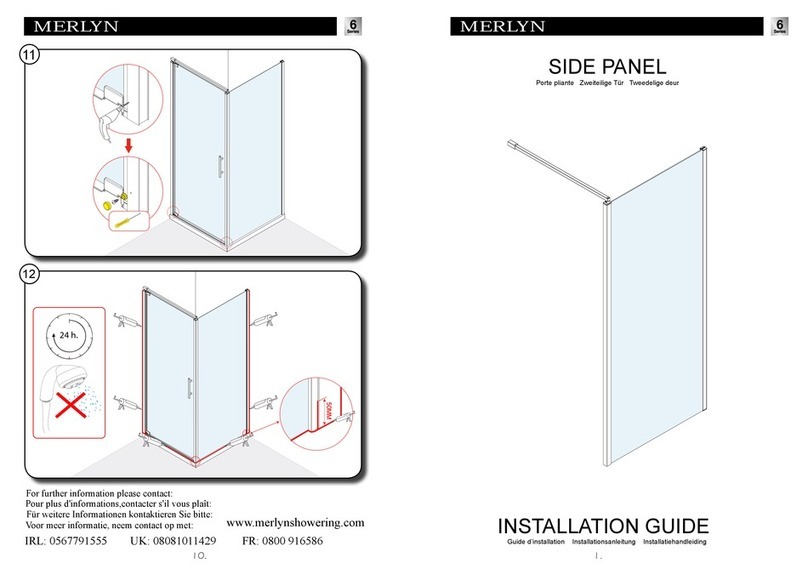
Seal wall profile flanges to wall
on inside vertically. Seal bottom
rail to shower tray horizontally
on outside only. Seal upright
profile to wall from shower tray
approx 100mm vertically on
outside.
Seal all vertical joints on
bottom of frame on outside
only. Allow unit 24hrs to set.
15
Fit short, upright plastic seals V3103 on front of fixed panels & long seals, V3107
on backs of moving panels. Ensure the bottom of the fixed panel seal V3103
sits tight to the fixed glass panel clip.
Ensure soft plastic parts of seals
are facing each other.
12
OUTSIDE
SEAL
INSIDE
FLANGE
TO WALL
OUTSIDE BOTTOM RAIL INSIDE BOTTOM RAIL
MICRO-ADJUST WITH HEXKEY
OUTSIDE BOTTOM RAILINSIDE TOP RAIL
NOTE POSITIONING FOR DOUBLE AND SINGLE ROLLERS
DOUBLE ROLLERS
SINGLE ROLLERS
LOOSEN SCREW
V9203 01/07
MOVE PANEL UP OR DOWN
Tel: +353 56 779 1555

Other manuals for 6 Series

7

This manual suits for next models
1

Other MERLYN Bathroom Fixture manuals

MERLYN 6 Series User manual

MERLYN

MERLYN 6 Series User manual

MERLYN MB2 User manual

MERLYN

MERLYN MB2 User manual

MERLYN 8 Series User manual

MERLYN

MERLYN 8 Series User manual

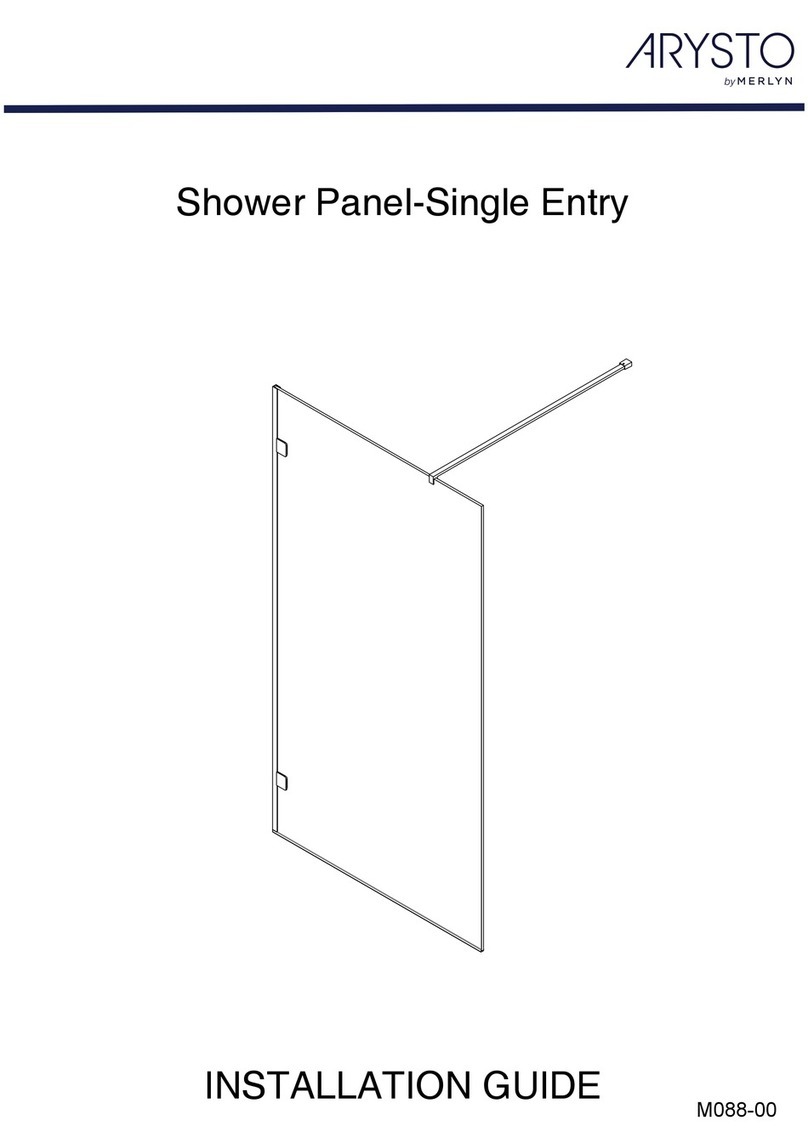
MERLYN ARYSTO User manual

MERLYN

MERLYN ARYSTO User manual

MERLYN NEXA VWBSVL300 User manual

MERLYN

MERLYN NEXA VWBSVL300 User manual

MERLYN ARYSTO User manual

MERLYN

MERLYN ARYSTO User manual

MERLYN MB12 User manual

MERLYN

MERLYN MB12 User manual

MERLYN IONIC EXPRESS User manual

MERLYN

MERLYN IONIC EXPRESS User manual

MERLYN Arysto Ten GMW100 User manual

MERLYN

MERLYN Arysto Ten GMW100 User manual

MERLYN 6 Series User manual

MERLYN

MERLYN 6 Series User manual

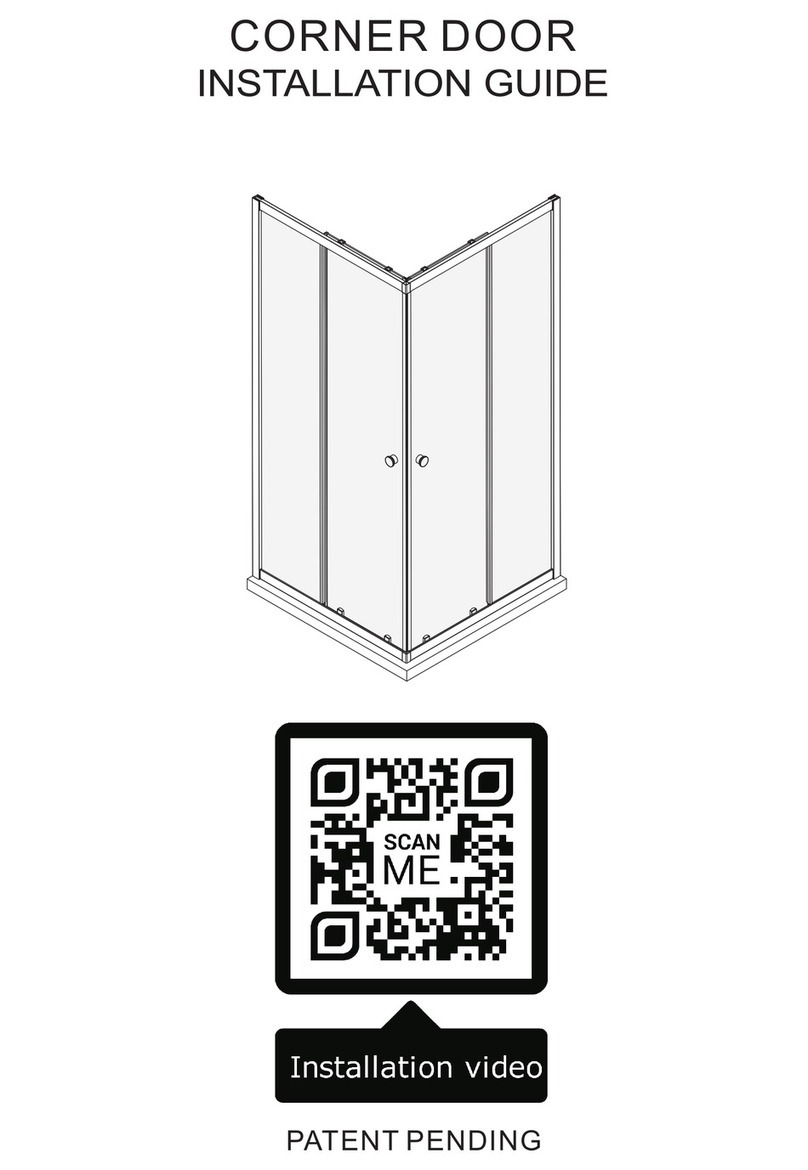
MERLYN EASY CORNER DOOR User manual

MERLYN

MERLYN EASY CORNER DOOR User manual

MERLYN Arysto GHH900HL User manual

MERLYN

MERLYN Arysto GHH900HL User manual

MERLYN 6 Series User manual

MERLYN

MERLYN 6 Series User manual

MERLYN 8 Series User manual

MERLYN

MERLYN 8 Series User manual

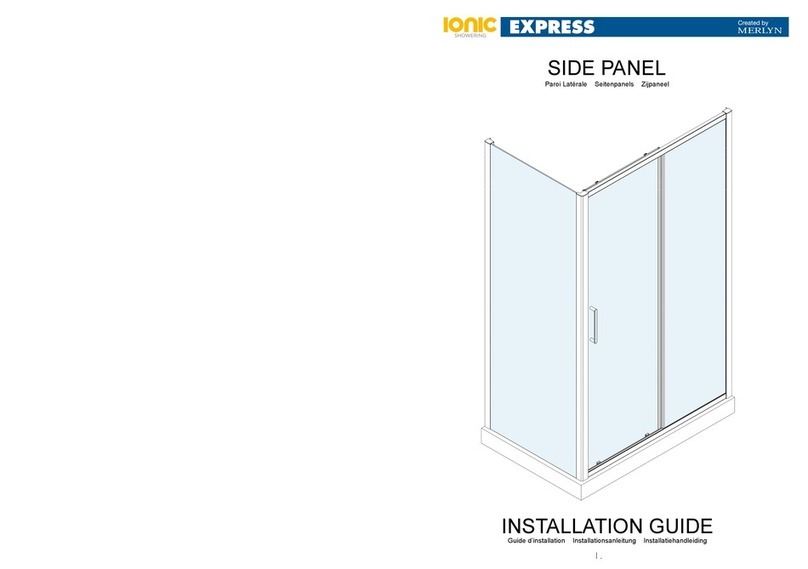
MERLYN SIDE PANEL User manual

MERLYN

MERLYN SIDE PANEL User manual

MERLYN MB7 User manual

MERLYN

MERLYN MB7 User manual

MERLYN 6 Series User manual

MERLYN

MERLYN 6 Series User manual

MERLYN 6 Series User manual

MERLYN

MERLYN 6 Series User manual

MERLYN 8 Series User manual

MERLYN

MERLYN 8 Series User manual

MERLYN MB11 User manual

MERLYN

MERLYN MB11 User manual

MERLYN IQ Nexa User manual

MERLYN

MERLYN IQ Nexa User manual

MERLYN NEXA VWBSVL300 User manual

MERLYN

MERLYN NEXA VWBSVL300 User manual

MERLYN MB3B User manual

MERLYN

MERLYN MB3B User manual

Popular Bathroom Fixture manuals by other brands

Exclusive Heritage CO-10160D installation guide

Exclusive Heritage

Exclusive Heritage CO-10160D installation guide

Oras Eterna & Natura 6388 Installation and maintenance guide

Oras

Oras Eterna & Natura 6388 Installation and maintenance guide

Häfele 485.60.613 installation manual

Häfele

Häfele 485.60.613 installation manual

Noro FROST CONCEPT manual

Noro

Noro FROST CONCEPT manual

Sanela SLPN 09C 91093 Instructions for use

Sanela

Sanela SLPN 09C 91093 Instructions for use

Gessi 39906 Installation

Gessi

Gessi 39906 Installation

DURAVIT Ketho Mounting instructions

DURAVIT

DURAVIT Ketho Mounting instructions

Jacob Delafon SERENITY E14P70-GA user manual

Jacob Delafon

Jacob Delafon SERENITY E14P70-GA user manual

Arcisan SYNERGII SY02910 INSTALLATION AND CARE INSTRUCTIONS

Arcisan

Arcisan SYNERGII SY02910 INSTALLATION AND CARE INSTRUCTIONS

KWC WASHINO-2 SANW200 Installation and operating instructions

KWC

KWC WASHINO-2 SANW200 Installation and operating instructions

Neue PALLAS CABM18 Fitting instructions

Neue

Neue PALLAS CABM18 Fitting instructions

Oasis SB-6030R/L Installations

Oasis

Oasis SB-6030R/L Installations

Jacob Delafon E14F70-GA user manual

Jacob Delafon

Jacob Delafon E14F70-GA user manual

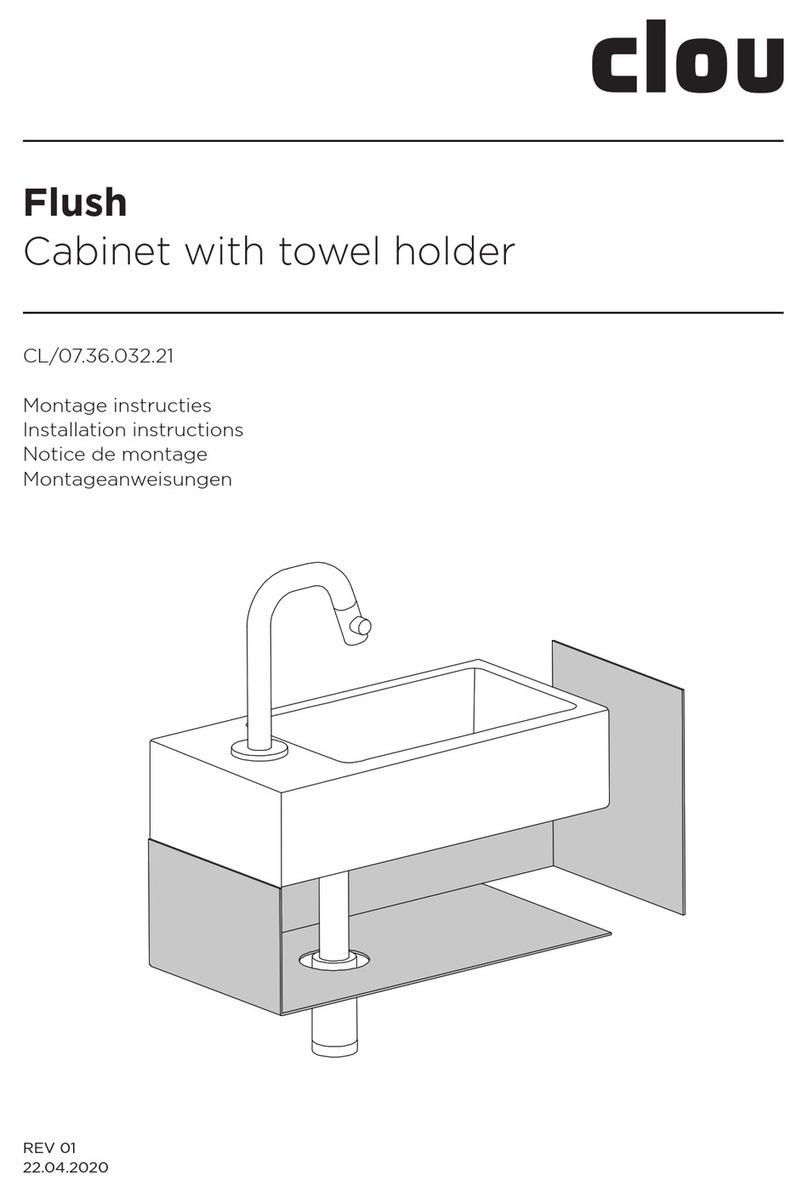
Clou CL/07.36.032.21 installation instructions

Clou

Clou CL/07.36.032.21 installation instructions

Duscholux PANELLE Enlight installation instructions

Duscholux

Duscholux PANELLE Enlight installation instructions

GRE AR1035W instruction manual

GRE

GRE AR1035W instruction manual

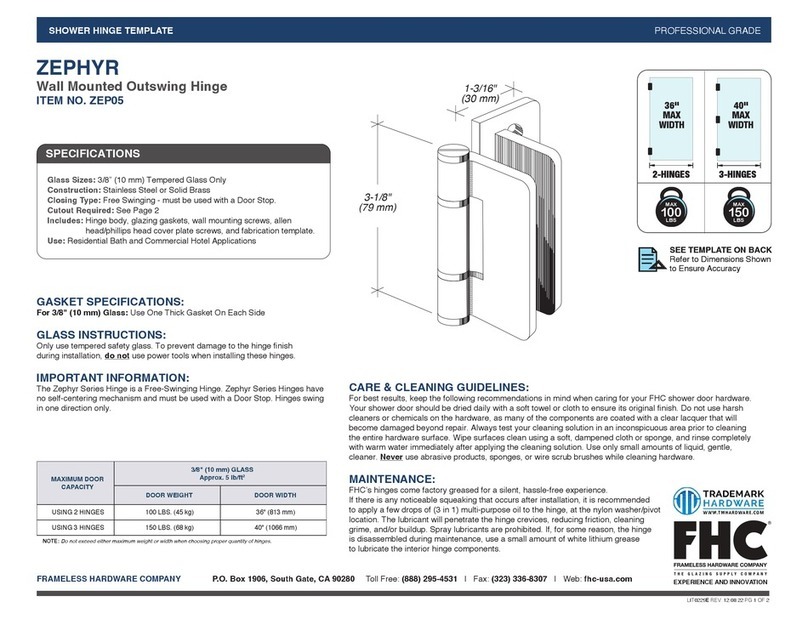
FHC ZEPHYR ZEP05 quick start guide

FHC

FHC ZEPHYR ZEP05 quick start guide

Mora armatur Tronic 720141 Installation instruction

Mora armatur

Mora armatur Tronic 720141 Installation instruction

manuals.online logo
manuals.online logoBrands
  • About & Mission
  • Contact us
  • Privacy Policy
  • Terms and Conditions

Copyright 2025 Manuals.Online. All Rights Reserved.