manuals.online logo
Brands
  1. Home
  2. •
  3. Brands
  4. •
  5. MERLYN
  6. •
  7. Bathroom Fixture
  8. •
  9. MERLYN IQ Nexa User manual

MERLYN IQ Nexa User manual

Bifold door in recess
Pages 1~7
Bifold door with Side Panel
Pages 8~16
PATENT PENDING
BIFOLD DOOR
2SS0092SS0082SY51 2SP12
K019/K040 K142
1
Wall screw 4x30 Wall plug Wall screw
cover cap
Wall screw
cover clip
PH2
Handle Locking cap Wedge seal
×6 ×6 ×6 ×6
×2
K024 x 1 K021/K022
Cover cap
of pivot
6
9
10
11
12
13
2SP12
2SY51
K019/K040
K155
A
2SS009
2
2
6
2
2K142
6
1
1
1
6
14
K095
7
K021/K022 2SS008
115
8
K024
616
2
1
2
3
4
5
6
7
8
9
10
11
13
14
K205
K206
6
12
B
2
100%level!
Please ensure your tray is 100% level in all directions before fitting your
enclosure.
3
10mm
x
x
x
Measure X to make sure it is
within the adjustment range
AB
4
2
3
K095
Size X
760 710-750
800 750-790
900 850-890
700 650-690
1000 950-990
B
2SS009
C
2SS008
A
A. Fit the wall profile onto the frame and lift the frame onto the tray.
B. Fix the frame to the wall using 4 x 30 screws and the cover cap clips.
C. Finally fit the caps over the clips.
A. Adjust the frame side to side until the gap between the top of the door panel is parallel with
the frame.
B. Slide the locking cap into position.
4
5
B
2SS009
C
2SS008
A
K019/K040
B
A
K019/K040
B
5
A
Push the wedge seals between the bottom profile and the tray to hold the frame
in position.
6
6
7
K024
K142
K142
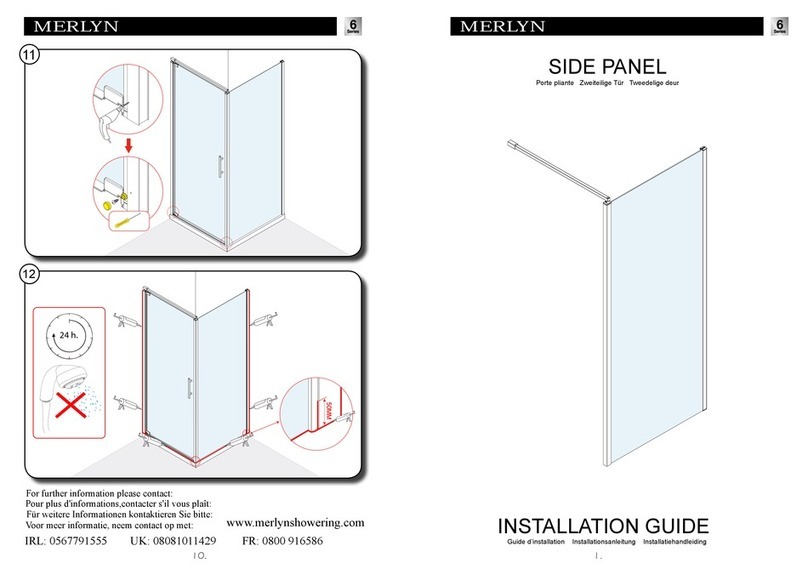
Before sealing make sure all surfaces are clean, dry and free from any residue such as grout.
Use a quality silicone sealant and applicator gun to finish the door.
Seal between the wall and the wall profile.
Seal between the wall profile and the frame 50mm from the tray.
Seal across the top of the locking cap between the cap and the wall.
Seal between the bottom profile and the tray/tile fully across the outside and between the wedge
seals on the inside.
DO NOT USE THE ENCLOSURE FOR 24 HOURS
9
8
K021/K022 K021/K022
7
Wall screw Wall plug Installation tool
K023
8
PH2
×3 ×3 ×1
K013/K014 K016/K017 K015×1
Cover cap of side
panel wall profile
Cover cap of corner
post for slider
Cover cap of corner
post for Pivot and Bifold
9
8
9
K165
8
K079
K183
K077
9
K015
K016/K017
10
A
Min10mm
size x
760 722-742
800 762-782
900 862-882
Measure X to make sure it is
within the adjustment range
x
Y
size Y
760 715-735
800 755-775
900 855-875
Measure Y to make sure it is
within the adjustment range
11
2
3
2SS009
2SS008
K074
x
Y
Min 10mm
B
C D
A. Mark a line to set the outside position of the wall profile. 10mm from the edge of the tray is
recommended and must be within the adjustment X of the door size shown in the table below.
A. Mark a line to set the outside position of the wall profile. 10mm from the edge of the tray is
recommended and must be within the adjustment Y of the door size shown in the table below.
2SY51
700 662-682
1000 962-982
700 655-675
1000 955-975
Min.10mm
4
5
A. Slide the panel into the wall profile. Max adjustment is 20mm.
B. Make sure the screws on the edge of the frame are facing to the inside.
A
B
Max.20mm
A. Slide the frame into the wall profile.
B. Insert a screwdriver through the slot on the outside edge of the profile and remove the
three cover caps. Keep these for later use.
A
K155
B
12
D
C
B
E
6A. Fully open the door.
B&C. Lift the door frame until the bottom holes are aligned with the screws in the side panel.
D&E. Bring the frames together then lower the door frame and tighten the 3 screws through
the slot in the side of the frame.
A. Adjust the side panel side to side until the frame is parallel to the front of the tray.
B. Starting at the bottom use the tool provided to insert the wedge gasket between the glass
and the profile. Keep the flat side to the glass and the ridged side to the profile.
Top Tip ! Dampen the seal with water to help slide the seal into place.
A
K165
Inside
B
13
K023
H2O
H2O
7
A
8
9
A. Adjust the door frame side to side until the side panel is parallel to the side of the tray and the
frame is square and the door is sliding freely.
B. Slide the locking cap into position.
A
B
K019/K040
B
K155
A. Push the wedge seals between the bottom profile and the tray to hold the frame
in position.
B. Fit cover caps.
A
14
K142
K142
10
11
K015
K021/K022
A
K024
K016/K017
15
12
16
Before sealing make sure all surfaces are clean, dry and free from any residue such as grout.
Use a quality silicone sealant and applicator gun to finish the door.
Seal between the wall and the wall profile.
Seal between the wall profile and the frame 50mm from the tray.
Seal across the top of the locking cap between the cap and the wall.
Seal between the bottom profile and side panel.
Seal between the bottom profile and the tray/tile fully across the outside and between the wedge
seals on the inside.
DO NOT USE THE ENCLOSURE FOR 24 HOURS
DOP:CEKA1.1
Https://merlynshowering.com/aftersales-support/dop-certs/

This manual suits for next models

6

Other MERLYN Bathroom Fixture manuals

MERLYN EASY CORNER DOOR User manual

MERLYN

MERLYN EASY CORNER DOOR User manual
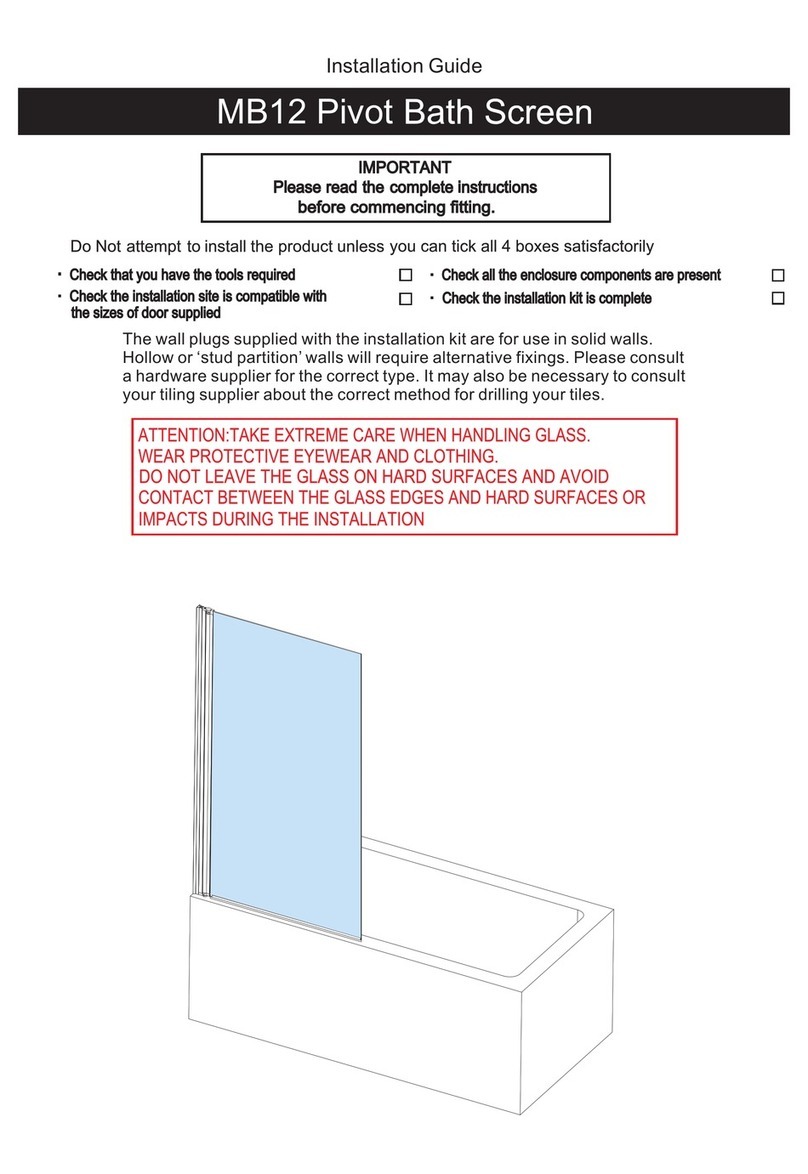
MERLYN MB11 User manual

MERLYN

MERLYN MB11 User manual

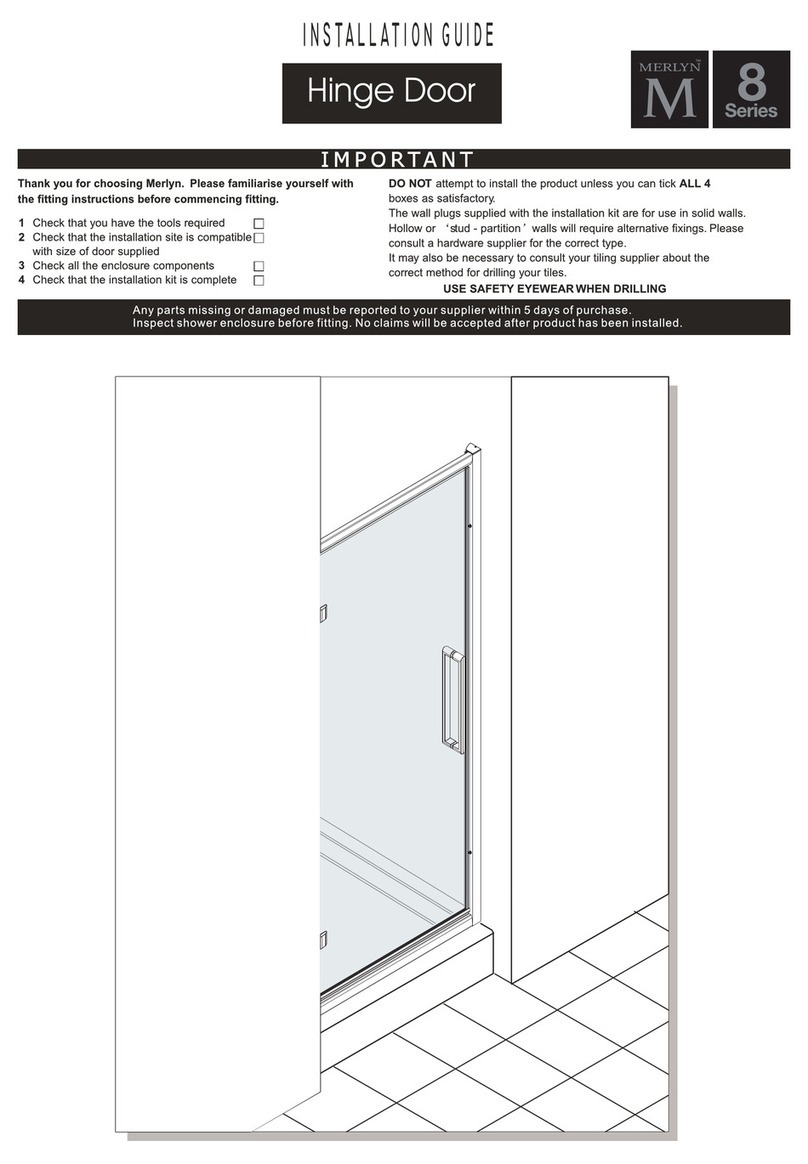
MERLYN 8 Series User manual

MERLYN

MERLYN 8 Series User manual

MERLYN MB12 User manual

MERLYN

MERLYN MB12 User manual
MERLYN MB7 User manual

MERLYN

MERLYN MB7 User manual

MERLYN ARYSTO User manual

MERLYN

MERLYN ARYSTO User manual

MERLYN Arysto GHH900HL User manual

MERLYN

MERLYN Arysto GHH900HL User manual

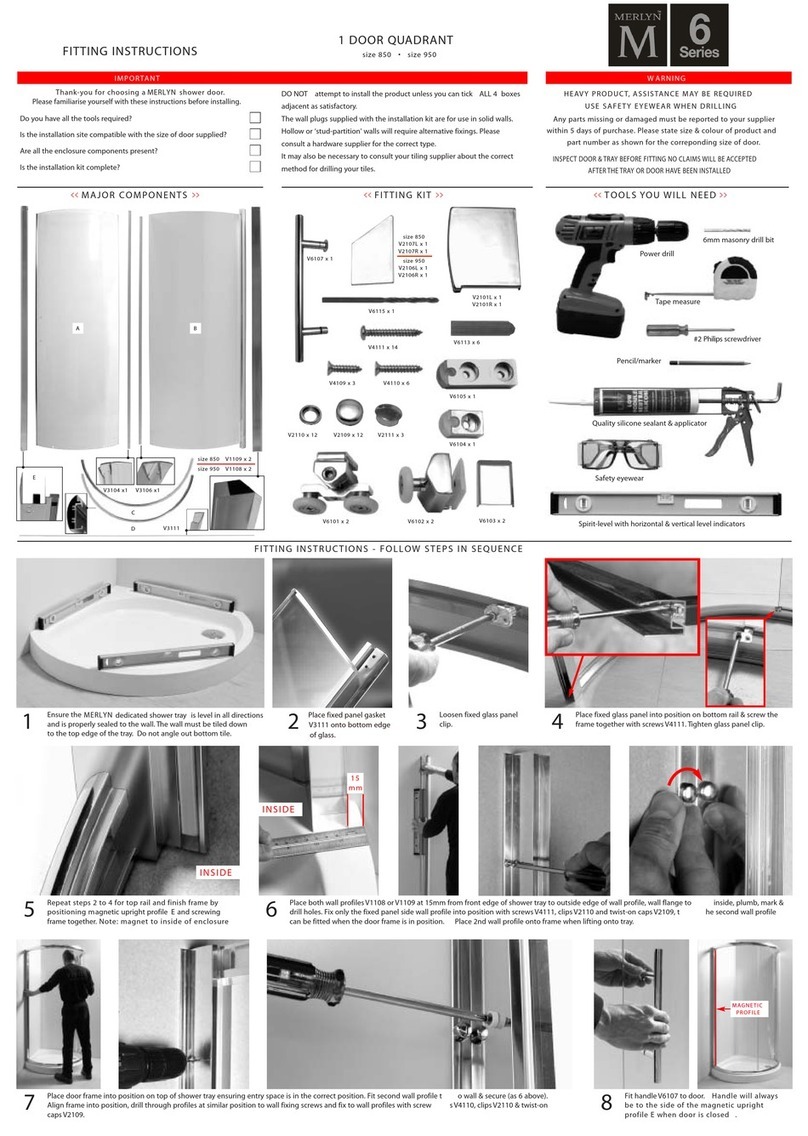
MERLYN 6 Series User manual

MERLYN

MERLYN 6 Series User manual

MERLYN 6 Series User manual

MERLYN

MERLYN 6 Series User manual

MERLYN Arysto Ten GMW100 User manual

MERLYN

MERLYN Arysto Ten GMW100 User manual

MERLYN 6 Series User manual

MERLYN

MERLYN 6 Series User manual

MERLYN NEXA VWBSVL300 User manual

MERLYN

MERLYN NEXA VWBSVL300 User manual

MERLYN 8 Series User manual

MERLYN

MERLYN 8 Series User manual

MERLYN 6 Series User manual

MERLYN

MERLYN 6 Series User manual

MERLYN ARYSTO User manual

MERLYN

MERLYN ARYSTO User manual

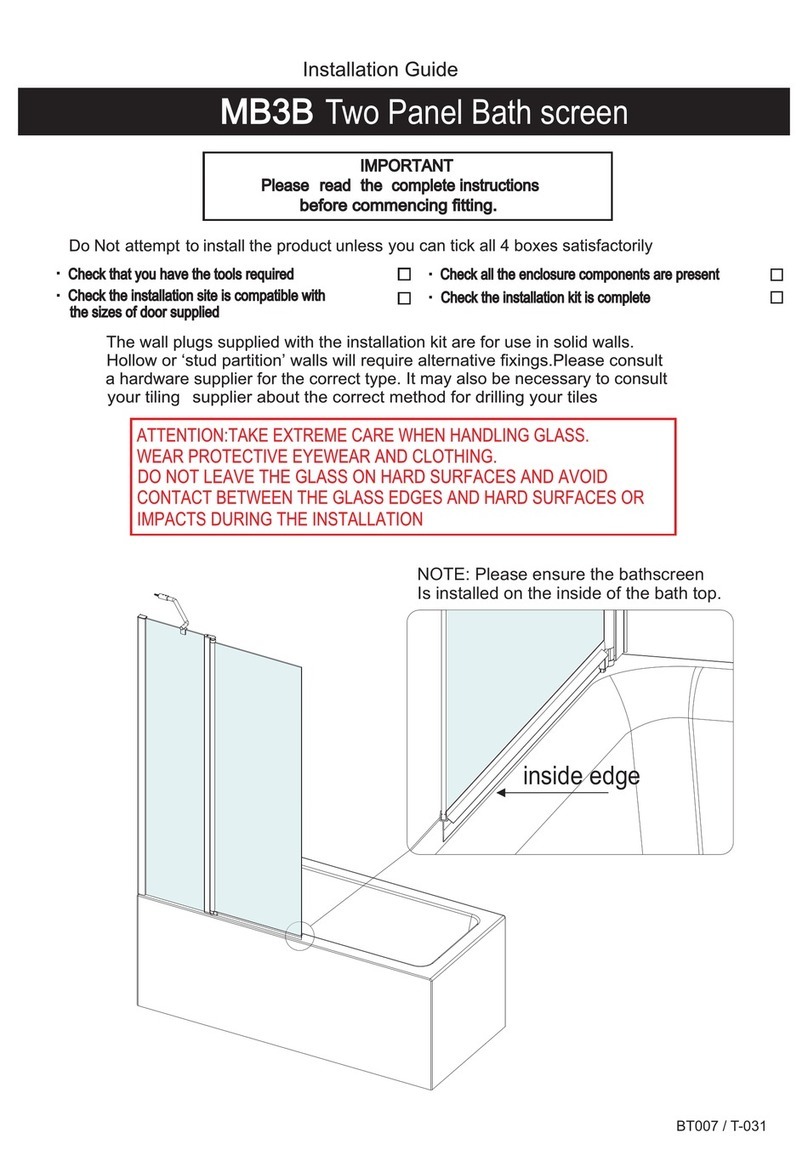
MERLYN MB3B User manual

MERLYN

MERLYN MB3B User manual

MERLYN IONIC EXPRESS User manual

MERLYN

MERLYN IONIC EXPRESS User manual

MERLYN MB2 User manual

MERLYN

MERLYN MB2 User manual
MERLYN 6 Series User manual

MERLYN

MERLYN 6 Series User manual

MERLYN 6 Series User manual

MERLYN

MERLYN 6 Series User manual

MERLYN NEXA VWBSVL300 User manual

MERLYN

MERLYN NEXA VWBSVL300 User manual

MERLYN SIDE PANEL User manual

MERLYN

MERLYN SIDE PANEL User manual

MERLYN 8 Series User manual

MERLYN

MERLYN 8 Series User manual

Popular Bathroom Fixture manuals by other brands

Etac Fresh manual

Etac

Etac Fresh manual

LaGard ALTEA Installation

LaGard

LaGard ALTEA Installation

NewLine Aston instruction manual

NewLine

NewLine Aston instruction manual

Delta Trillian Series Assembly instructions

Delta

Delta Trillian Series Assembly instructions

Delta RP33791PBLHP manual

Delta

Delta RP33791PBLHP manual

VIGO Farmhouse VGR3320C manual

VIGO

VIGO Farmhouse VGR3320C manual

BELLOSTA ponte vecchio B3-154 installation instructions

BELLOSTA

BELLOSTA ponte vecchio B3-154 installation instructions

Inax AL-445V Installation & user manual

Inax

Inax AL-445V Installation & user manual

Artweger 360 Assembly instructions

Artweger

Artweger 360 Assembly instructions

Duschmeister D9675 manual

Duschmeister

Duschmeister D9675 manual

KOLO AKORD RKPG 80 installation manual

KOLO

KOLO AKORD RKPG 80 installation manual

FORENO NORTH NRT73RBG quick start guide

FORENO

FORENO NORTH NRT73RBG quick start guide

Hans Grohe Allegro E 06461 0 Series Installation/User Instructions/Warranty

Hans Grohe

Hans Grohe Allegro E 06461 0 Series Installation/User Instructions/Warranty

Svedbergs Zaga manual

Svedbergs

Svedbergs Zaga manual

BELLOSTA romina 0301/2/C installation instructions

BELLOSTA

BELLOSTA romina 0301/2/C installation instructions

Stella AlluGuard 77 installation guide

Stella

Stella AlluGuard 77 installation guide

Gessi INGRANAGGIO 63581 manual

Gessi

Gessi INGRANAGGIO 63581 manual

PEERLESS Elmhurst P2465LF Series owner's manual

PEERLESS

PEERLESS Elmhurst P2465LF Series owner's manual

manuals.online logo
manuals.online logoBrands
  • About & Mission
  • Contact us
  • Privacy Policy
  • Terms and Conditions

Copyright 2025 Manuals.Online. All Rights Reserved.