manuals.online logo
Brands
  1. Home
  2. •
  3. Brands
  4. •
  5. MERLYN
  6. •
  7. Bathroom Fixture
  8. •
  9. MERLYN 6 Series User manual

MERLYN 6 Series User manual

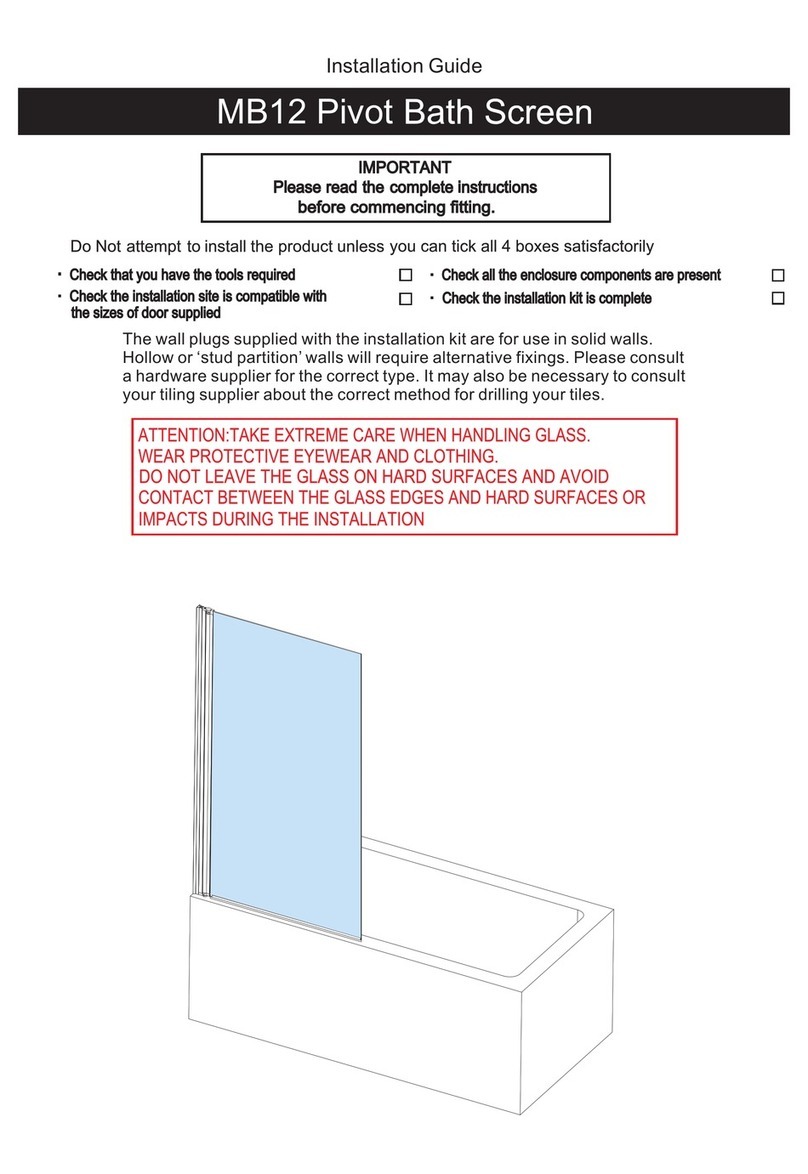
Thank you for choosing Merlyn.Please familiarise yourself
with the fitting instructions before commencing fitting.
1. Check that you have the tools required.
2 that the installation site is compatible . Check
with size of door supplied
3. Check all the enclosure components.
4 that the installation kit is complete. Check
DO NOT attempt to install the product unless you can
tick ALL 4 boxes as satisfactory.
The wall plugs supplied with the installation kit are for
use in solid walls. Hollow or 'stud-partition’ walls will
require alternative fixings. Please consult a hardware
supplier for the correct type.
It may also be necessary to consult your tiling supplier
about the correct method for drilling your tiles.
VIVID
10
IMPORTANT
Any parts missing or damaged must be reported to your supplier within 5 days of purchase.
Inspect shower enclosure before fitting .
No claims will be acceptable after product has been installed.
USE SAFETY EYEWEAR WHEN DRILLING
2 DOOR QUADRANT
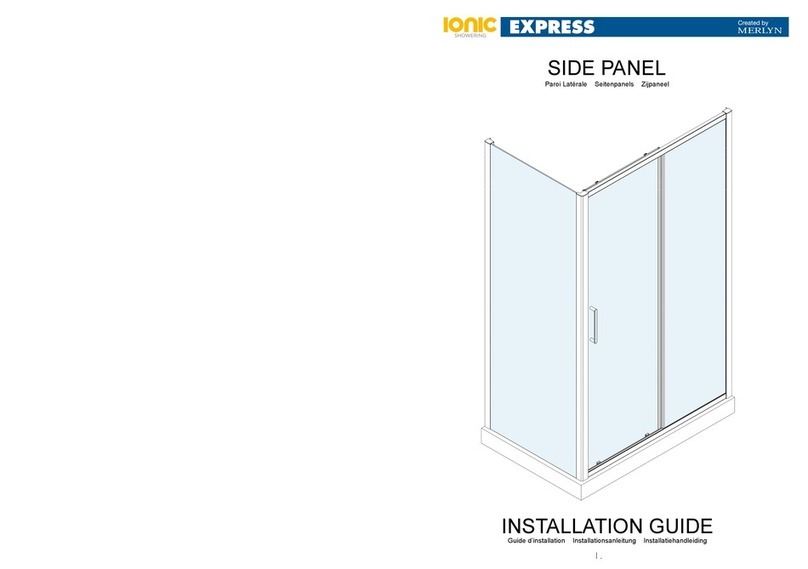
INSTALLATION GUIDE
2 DOOR QUADRANT
M036-00
COMPONENTS AND BOX CONTENTS 1
Handle
Bottom roller
Screw cover cap
Upright water seal for fixed panel
Cover cap for wall profile
∅6 30 wall plug×
Screw cover cap clip
Wall profile
Cover cap for upright profile L/R
6
5
2
9
8
7
10
11
12
13
14
15
1
3
DescriptionNo. QTY Description QTY
Part No. No. Part No.
2
2
14
12
12
2
2
2
2
4
2
4
2
B head screw ST4×30
Note: Further part details for fixing kit available on page 2
6
4
Flat head screw ×ST4 12 6
V4111
V4110
V6113
V2114
V2115
Flat fixed panel
Upright water seal for moving panel
Moving panel
4
16
17 Glass clip screw
18 Roller stop
19
Roller cover cap
20
Rail
8
8
8
2
A
S6LC8433
S6LC83291871 C
V4101
21
8
22
Roller stop screw
4
5
6
9
1 0
1 1
3
2
1
4
7
8
1 2 1 3 1 4
1 6
1 7
1 82 2 2 1
1 5
Bottom seal
1 92 0
Glass clip
Top roller
B
V2101L/R
V2104
S6S01
V3211
V6106L/R
S6HDLE
V6105
V2109
V4109
S6LL8059
S6LL8060
Tools Required
- 6mm masonry drill bit
- Power drill
- Quality Silicone
- Pencil
- Tape Measure
- #2 Philips Head screw driver
- Spirit level with horizontal and vertical level indicators
IMPORTANT - Installation site
1. Ensure the top surface of the shower tray on which the enclosure will be installed is level in every direction.
2. The tiles or other wall finishing should be effectively sealed at the tray edges.
3. Tiles should extend at least to the corners of the tray and a minimum of 2.0 metres from the top of the tray.
Spanner
-
FIXING KIT COMPONENTS, TOOLS REQUIRED, SITE 2
V2101L
1×
V2101R
1×
V2104
×2
S6HDLE
2×
S6HDLEP2 2×
S6HDLEP3 4×
S6HDLEP4 4×
S6HDLEP1 2×
S6LL8059
4×
S6LL8060
4×
V2115
12×
V2114
12×
V6113
×6
V4111
×14
V4110
×6
V6115
× 1
S6HDLEP6 4×
S6HDLEP7 1×
S6HDLEP5 8×
FITTING WALL PROFILE 3
Step 1.
Step in wall profile 20mm from the front edge of the shower tray. Ensure wall profile is plumb
Do not silicone behind wall profile to wall, see sealing section.
Step 2.
Mark the position for fixing the wall profile to wall.
100%
Lev el !
TRAY MUST BE 100% LEVEL IN ALL DIRECTIONS
Ensure the shower tray is level in all directions and is
properly sealed to the wall. The wall must be tiled down to
the top edge of the tray. Do not angle out bottom tile.
TRAY MUST BE SEALED FULLY AROUND WHERE THE
TRAY MEETS THE WALL.
PROCEDURE
20mm
20mm
2
V6113
Inside
∅6mm masonay
drill bit
V4111
V2114 Inside
S6S01
FITTING RAILS 4
Step 4.
Place fixed panel gasket onto bottom edge of glass.
Then fix the two fixed panels and upright profiles to
the bottom rail, using V4111 screw.
Step 5.
Fit the wall profiles to the assembled
frame.
V4111
4
V4111
Step 3.
Loosen fixed glass
panel clip.
Do not remove the
screw.
3
Step 6.
Tighten fixed glass
panel clip.
5
6
V3211
seal (flush with
glass edge)
U shape
V3211 U shape
seal (flush with
glass edge)
FITTING DOOR PANELS AND ROLLERS 5
Step 7.
Position the assembled frame onto the
tray and into the wall profile.
In a situation where you are close
to the minimum adjustment, fit only 1 wall
profile to the wall and put the second wall
profile into the frame, position the frame
onto the tray and then fix the second wall
profile to the wall.
NOTE:
Moving panel
Step 8.
Assemble the top rollers using
spanner.
Step 9.
Assemble the bottom rollers using
.
Bottom rollers has
spring for easy clear function.
screw driver
Important:
Top roller
8
Ensure the rollers are fitted in the
correct position.
Bottom roller
Outside
7
9
6
Bottom
roller
Bottom
rail
S6LC8433
(shorter seal)
S6LC83291871
(longer seal)
Outside
15
Step 10.
Hang the moving panel to the
top rail, then push the bottom
rollers to bottom rail.
Step 13.
If the moving panels are not closing correctly, or there
is any gap between the magnets,
loosen the screw on the top roller to adjust them.
Note: Adjust top rollers also to ensure bottom rollers
are running properly in the bottom track.
FINISHING
Inside
Top roller
Top rail
push
down
10
Ensure the top rail is level
then go on to step 12
14
V2101L/R
V2104
V6115
12
V4110
V2114
Top roller
Inside
S6HDLEP7
S6HDLEP7
S6HDLEP6
S6HDLEP1
S6HDLEP3
S6HDLEP4
S6HDLEP2
S6HDLEP5
11
V2115
Step 12.
Drill through upright and wall profile
in 3 places, top to bottom as shown.
SEALING AND TROUBLE SHOOTING
DO NOT use
the
enclosure
for 24 hrs
TROUBLE SHOOTING GUIDE
Step 16.
Use a quality silicone sealant
and applicator gun to seal the
finished door.
Seal top to bottom on the
between the wall
profile and the wall.
Do not apply sealant on
the inside of the tray.
Seal only along bottom on the
between
glass/rail/profile and the tray
and approx 50mm up
between the wall profile and
the wall. Seal at vertical
joints on bottom of frame on
outside only.
SEALING INSIDE
INSIDE
Note:
SEALING OUTSIDE
OUTSIDE
DOOR NOT ALIGNING
1. Is the tray 100% level? ( )
2. Have the walls been checked at different levels to ensure consistency?
3. Are the wall profiles stepped in 20mm from the edge of the tray? ( )
4. Do the finished tile measurements on the tray comply with the adjustment listed on the
label and in the specifications book?
5.
6. Is the top rail level? ( )
DOOR LEAKING
2.Is the upright seal fitted? ( )
3.Is the door sealed correctly? ( )
see page 3
see step 1
see
see step 12
See step 13
see step 15
see step 16
--
---
Are the rollers adjusted so the bottom rollers are running and not rattling in the
bottom track.( )--- step 10,13
1.Have the rollers been adjusted so there is no gap between the magnets. ( )
7
50mm

Other manuals for 6 Series

7

This manual suits for next models

3

Other MERLYN Bathroom Fixture manuals

MERLYN 6 Series User manual

MERLYN

MERLYN 6 Series User manual

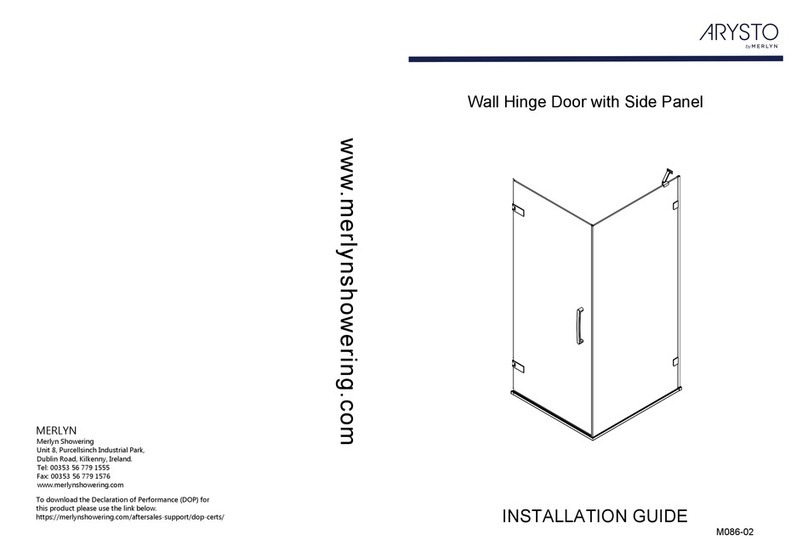
MERLYN ARYSTO User manual

MERLYN

MERLYN ARYSTO User manual

MERLYN ARYSTO User manual

MERLYN

MERLYN ARYSTO User manual

MERLYN NEXA VWBSVL300 User manual

MERLYN

MERLYN NEXA VWBSVL300 User manual

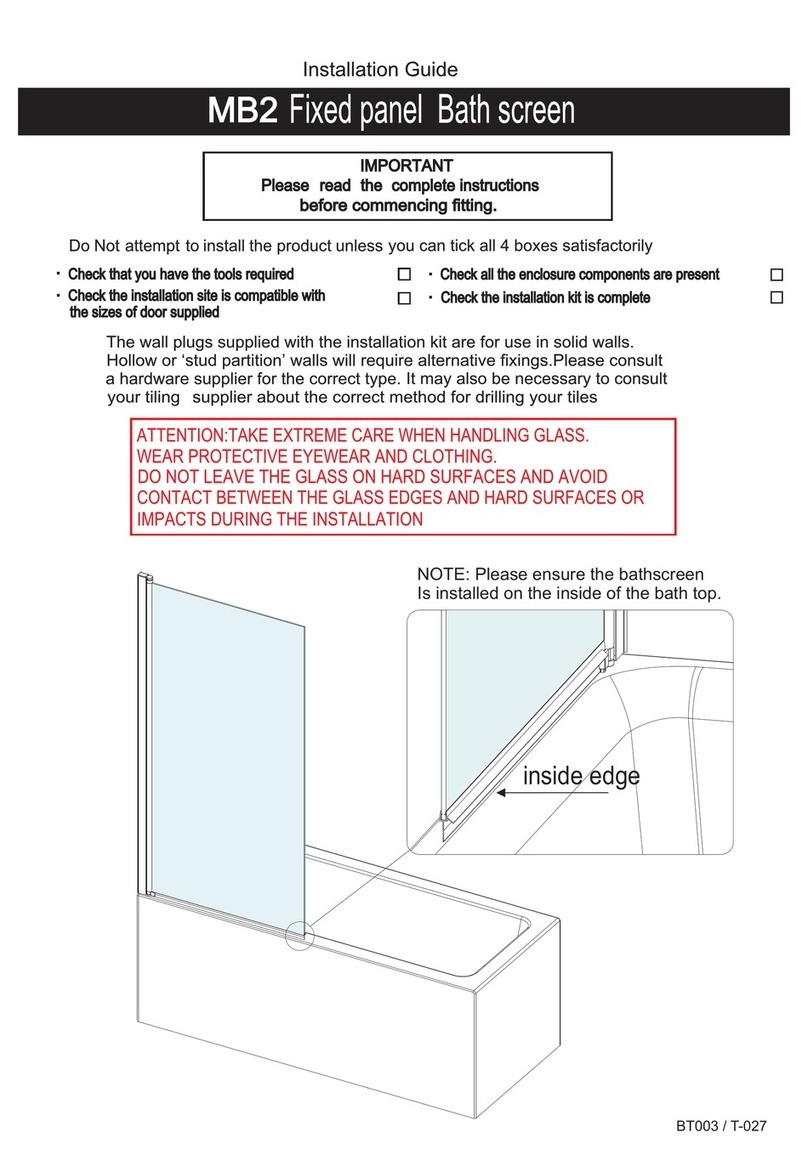
MERLYN MB2 User manual

MERLYN

MERLYN MB2 User manual

MERLYN 6 Series User manual

MERLYN

MERLYN 6 Series User manual

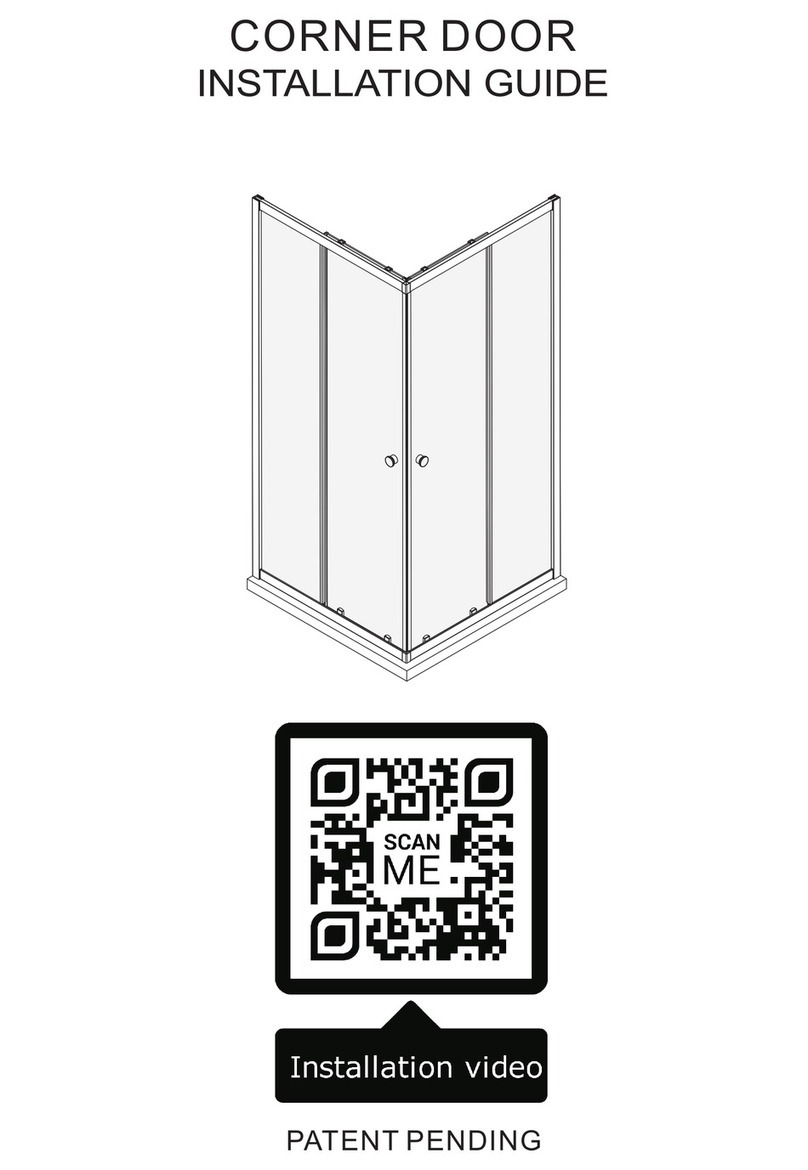
MERLYN EASY CORNER DOOR User manual

MERLYN

MERLYN EASY CORNER DOOR User manual

MERLYN IONIC EXPRESS User manual

MERLYN

MERLYN IONIC EXPRESS User manual

MERLYN IQ Nexa User manual

MERLYN

MERLYN IQ Nexa User manual

MERLYN 8 Series User manual

MERLYN

MERLYN 8 Series User manual

MERLYN NEXA VWBSVL300 User manual

MERLYN

MERLYN NEXA VWBSVL300 User manual

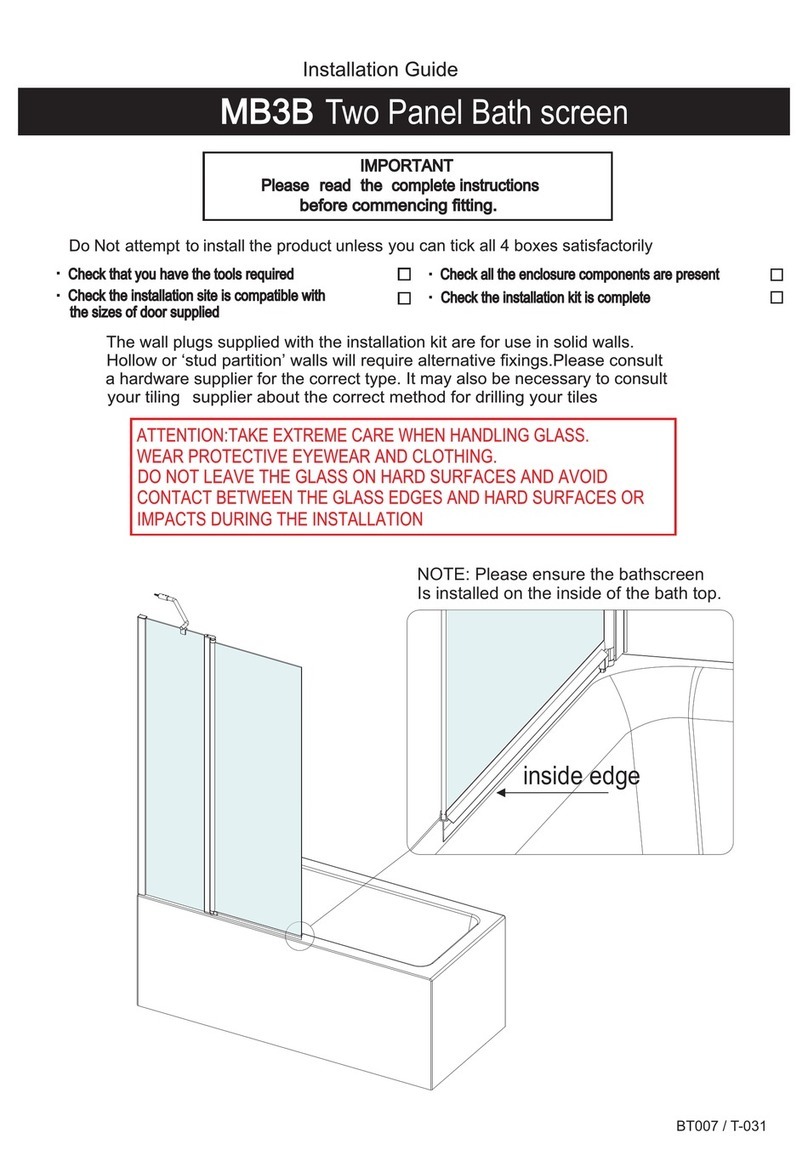
MERLYN MB3B User manual

MERLYN

MERLYN MB3B User manual

MERLYN MB12 User manual

MERLYN

MERLYN MB12 User manual

MERLYN 6 Series User manual

MERLYN

MERLYN 6 Series User manual

MERLYN 8 Series User manual

MERLYN

MERLYN 8 Series User manual

MERLYN Arysto Ten GMW100 User manual

MERLYN

MERLYN Arysto Ten GMW100 User manual

MERLYN MB7 User manual

MERLYN

MERLYN MB7 User manual

MERLYN 8 Series User manual

MERLYN

MERLYN 8 Series User manual

MERLYN MB11 User manual

MERLYN

MERLYN MB11 User manual

MERLYN 6 Series User manual

MERLYN

MERLYN 6 Series User manual

MERLYN 6 Series User manual

MERLYN

MERLYN 6 Series User manual

MERLYN SIDE PANEL User manual

MERLYN

MERLYN SIDE PANEL User manual
MERLYN Arysto GHH900HL User manual

MERLYN

MERLYN Arysto GHH900HL User manual

Popular Bathroom Fixture manuals by other brands

Camargue Stella 7006212 manual

Camargue

Camargue Stella 7006212 manual

Hans Grohe AXOR Urquiola 42500000 User and mounting instructions

Hans Grohe

Hans Grohe AXOR Urquiola 42500000 User and mounting instructions

KIBI Abaco KBA1101 installation guide

KIBI

KIBI Abaco KBA1101 installation guide

Kohler K-14027 installation guide

Kohler

Kohler K-14027 installation guide

Teuco Seaside user manual

Teuco

Teuco Seaside user manual

deante NOO 051T Assembly instructions

deante

deante NOO 051T Assembly instructions

Kohler K-1821 Roughing-In Guide

Kohler

Kohler K-1821 Roughing-In Guide

Omnires BA7844BL Installation and Maintenance

Omnires

Omnires BA7844BL Installation and Maintenance

Aqualisa dream Installation and user guide

Aqualisa

Aqualisa dream Installation and user guide

Toto YG20012R Installation and owner's manual

Toto

Toto YG20012R Installation and owner's manual

Gessi FASCINO 48155 manual

Gessi

Gessi FASCINO 48155 manual

Salvatori VASCO manual

Salvatori

Salvatori VASCO manual

KEUCO FLEXX.BOXX 59970 000070 Mounting instruction

KEUCO

KEUCO FLEXX.BOXX 59970 000070 Mounting instruction

Signature Hardware COOPER 950732 Installation

Signature Hardware

Signature Hardware COOPER 950732 Installation

Samo CEE ART B0901 Assembly instruction

Samo

Samo CEE ART B0901 Assembly instruction

fine fixtures The Imperial 2 Collection Series Assembly instruction

fine fixtures

fine fixtures The Imperial 2 Collection Series Assembly instruction

Beurer BS 59 Instructions for use

Beurer

Beurer BS 59 Instructions for use

Glacier bay HD58101-X5110H Use and care guide

Glacier bay

Glacier bay HD58101-X5110H Use and care guide

manuals.online logo
manuals.online logoBrands
  • About & Mission
  • Contact us
  • Privacy Policy
  • Terms and Conditions

Copyright 2025 Manuals.Online. All Rights Reserved.