9
Vorsichtsmaßnahmen während der
Fahrt
Beobachten Sie die euro-select box während
der Fahrt regelmäßig durch den Rückspiegel.
Bei einer erkennbaren Veränderung der euro-
select box sofort anhalten, nach der Ursache
suchen und die Fahrt erst nach Behebung des
Problems fortsetzten.
Bezüglich der euro-select box und der Ladung
gelten die Vorschriften der StVO, sowie der
StVZO. Die empfohlene Höchstgeschwindigkeit
beträgt 160 km/h. Beachten Sie bei Auslands-
fahrten die jeweiligen Verkehrsvorschriften.
Verändertes Fahrverhalten des
Fahrzeuges
Durch die über das Fahrzeug hinausragende
euro-select box kann besonders bei Beladung
eine starke Tendenz zum Übersteuern, ein ver-
ändertes Seitenwindansprechverhalten und ein
verändertes Bremsverhalten, besonders bei
Kurvenfahrt, auftreten. Passen Sie daher Ihre
Geschwindigkeit stets den Straßen-, Witte-
rungs- und Windverhältnissen an.
Beachten Sie die veränderte Länge des Fahr-
zeuges auch beim Parken und Rückwärtsfah-
ren. Beim Befahren von Ab- und Auffahrten
und beim Überfahren von Rampen sowie in
verkehrsberuhigten Zonen ist auf Freigäng-
igkeit der euro-select box zu achten, um ein
Aufsetzen zu vermeiden. In jedem Fall ist die
Geschwindigkeit auf ein angemessenes Maß zu
reduzieren.
Pege
Damit Sie lange Freude an Ihrer euro-select box
haben, empehlt es sich sämtliche Teile regel-
mäßig mit geeignetem Reinigungsmittel zu rei-
nigen und zu pegen. (Siehe S.34)
Precautions during travel
Check regularly the euro-select box using the
rear-view mirror during your journey. Stop im-
mediately if you notice any signicant change
of the carrier. Identify the problem and continue
your journey after solving it only.
The euro-select box and its load apply to the
provisions of the Road Trafc Regulations. The
recommended maximum speed with a loaded
transport module is 160 km/h. When driving
abroad, observe the applicable trafc regula-
tions.
Changed handling of the vehicle
Due to the fact that the euro-select box juts out
beyond the vehicle, there is a great tendency
to oversteer, a changed reaction to crosswinds
and a changed braking function, especially
when navigating curves. Always adjust your
speed according to the road, weather, and wind
conditions.
Please also pay attention to the changed length
of the vehicle while parking or driving in reverse.
In order to avoid bumping, the euro-select box
must be allowed clearance while driving up or
down very steep inclines or while driving over
ramps, for instance in trafc-calmed areas. In
any case, the speed must be reduced to an ap-
propriate level.
Maintenance
It is recommended that the euro-select box is
cleaned and maintained regularly with suitable
detergents so that you can enjoy the product for
a longer time. (See page 34)
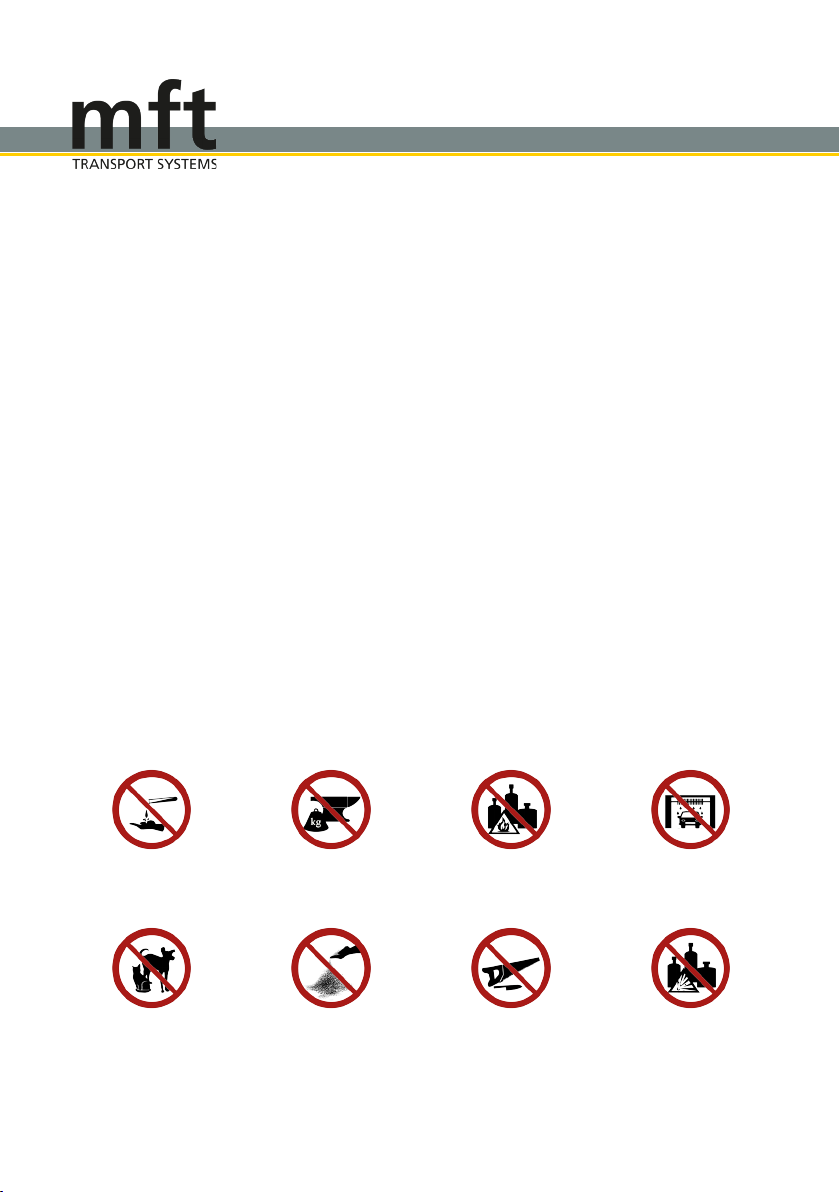
Sicherheitshinweise / Safety instructions
Sicherheitshinweise / Safety instructions