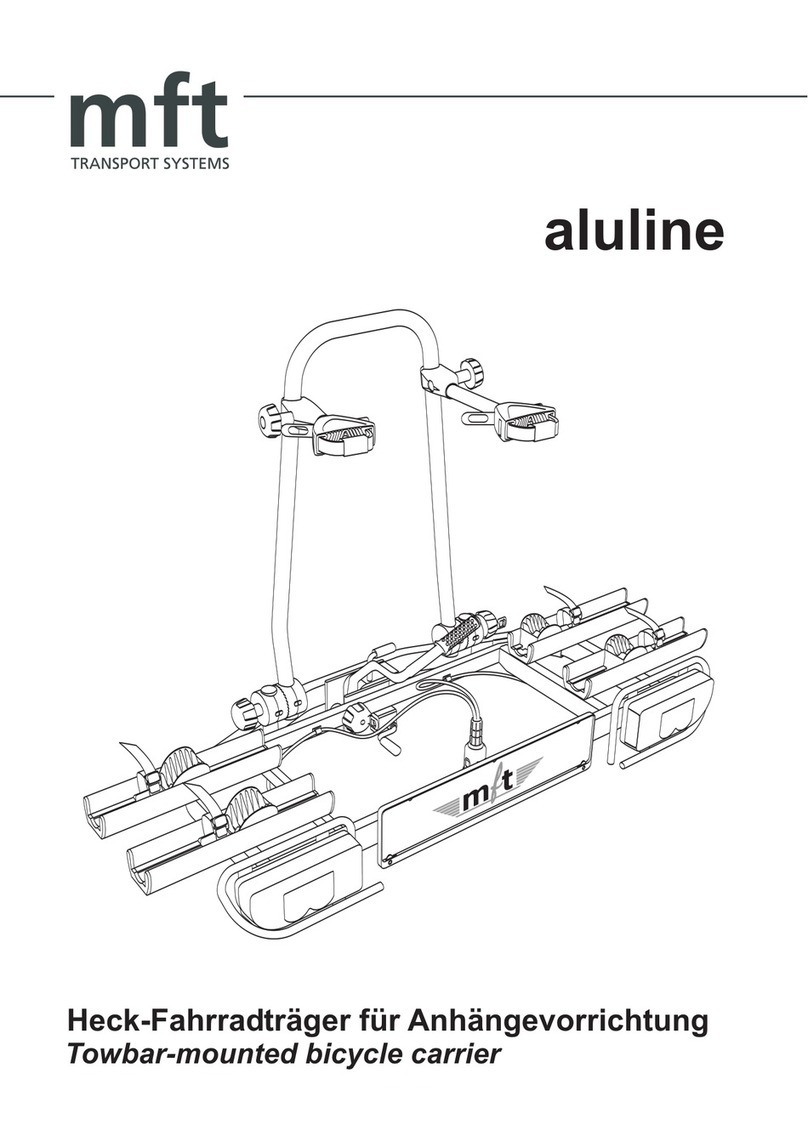
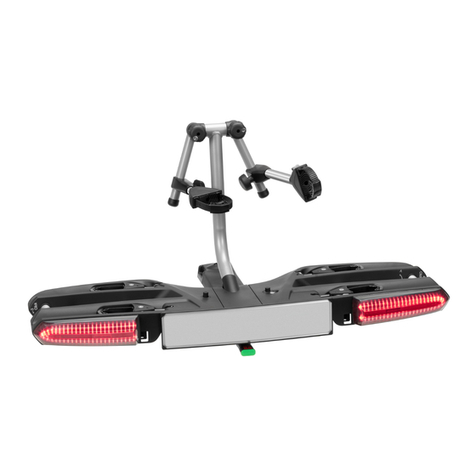
mft multi-cargo2 series User manual

Heck-Fahrradträger für Anhängevorrichtung
Towbar-mounted bicycle carrier
multi-cargo2-family


1
Contents
Inhaltsverzeichnis
Sicherheitshinweise 5Safety instructions
Zusammenbau Heckträger 11Carrier assembly
Montage am Fahrzeug
Montage Fahrräder 19Mounting the bicycles
Nutzung ohne Fahrräder 19Use without bicycles
Heckträger absenken 21Lowering the carrier
Stückliste 3. Rad Kit 23Parts included 3rd bicycle kit
Erstmontage 3. Rad Kit 23Mounting of kit for 3rd bicycle
Stückliste 4. Rad Kit 27Parts included 4th bicycle kit
Erstmontage 4. Rad Kit 27Mounting of kit for 4th bicycle
Wartung, Pege 33Precautions, maintenance
Aufbewahrung 33Storage
Mounting onto the vehicle 15
Demontage vom Fahrzeug 21Removing from the vehicle
Bestandteile / Lieferumfang 3Parts / Items included
Technische Daten 2Technical data

Montage- und Bedienungsanleitung
2
A
B
C
D
E
F
G
H
I
J
K
L
M
N
O
P
Q
R
RechtsLinks
Technical data
Unloaded weight: approx. 18 kg
Maximum load: 80 kg
(note the towball capacity!)
Maximum bicycle weight: 30 kg
Item number: 8200 / bl
Technische Daten
Eigengewicht: ca. 18 kg
Maximale Zuladung: 80 kg
(Stützlast der Anhängekupplung beachten!)
Maximales Fahrradgewicht: 30 kg
Artikelnummer: 8200 / bl
Abbildung 1

3
Parts / Items included
Bestandteile / Lieferumfang
Fahrradträger (Tragemodul + Tragerah-
men) (1x)
Haltestange (1x)
Handrad abschließbar (3x)
Sicherheitshandrad mit Gewindebolzen /
Diebstahlsicherung (1x)
Schlüssel (2x)
Montage- und Bedienungsanleitung
Rasterscheibe (2x)
Schlossschrauben M8 x 100 (2x)
Sternrad M8 (1x)
Kennzeichenhalterung (1x)
Linsenschraube M8 x 40 (6x)
Stoppmutter M8 (4x)
U-Prol (1x)
C-Prol (3x)
Linsenschraube M8 x 16 (2x)
Gabelschlüssel SW 13 mm (1x)
Inbusschlüssel 5 mm (1x)
Anschluss 3. Bremsleuchte
(3. Bremsleuchte als Zubehör erhältlich)
C
B
A
D
E
F
G
H
I
J
K
L
M
N
O
P
Q
R
bicycle carrier (base + support frame) (1x)
upright bar (1x)
lockable handwheel (3x)
security handwheel with threaded bolts /
security against theft (1x)
key (2x)
Instructions for Mounting and Using
toothed mounts (2x)
carriage bolts M8 x 100 (2x)
star wheel M8 (1x)
number plate holder (1x)
clamping screw M8 x 40 (6x)
lock nut M8 (4x)
U-prole (1x)
C-prole (3x)
clamping screw M8 x 16 (2x)
open end spanner SW 13 mm (1x)
allen key 5 mm (1x)
connection for 3rd brake light
(3rd brake light available as accessory)
C
B
A
D
E
F
G
H
I
J
K
L
M
N
O
P
Q
R

4
Notieren Sie hier Ihre
Schlüsselnummer:
Notizen:
Write down your key number here:
Notes:

5
General information
The vehicle should be equipped with a 13-pin
socket, according to the German Road Trafc
Licensing Regulations as of 01.01.90. The vehi-
cle's fog lamp must be switched off via contact
or relay when the carrier lighting is plugged in.
An unstamped (unvalidated) number plate,
corresponding to the vehicle's registered number
plate, must be mounted on the carrier.
The multi-cargo2 carrier has an EU-operation
approval with number:
EG-BE: e4*79/488*87/354*0013*_ _
(the nal two digits vary according to the certica-
tion e.g.: 00, 01, 02, ...)
This carrier has been approved and therefore
does not have to be submitted to TÜV, Dekra,
etc.
See second page for a statement from TÜV-
Rheinland, Kraftfahrt GmbH on their assent to
the issue of a third number plate.!
Do not exceed the towball load capacity (weight
of carrier 18 kg approx. plus payload).
An extension (item no. 8333/bl) is available for
the transport of a third bicycle. For the transport
of a fourth bicyle asecond extension (item no.
8444/bl) is avilable.
A spare wheel kit is available (for vehicles with
an exterior spare wheel item no. 8299) and a
bracket XL (for frame diameters from 45 to 72
mm) ( item no. 8075XL).
Safety instructions
Sicherheitshinweise
Allgemeine Informationen
Das Fahrzeug sollte entsprechend der StVZO
vom 01.01.90 mit einer 13-poligen Steckdose
ausgerüstet sein. Die fahrzeugeigene Nebel-
schlussleuchte muss bei eingesteckter Heck-
trägerbeleuchtung über Kontakt oder Relais
ausgeschaltet sein.
Am Heckträger muss ein mit dem polizeilichen
Kennzeichen des Fahrzeugs übereinstimmen-
des, ungestempeltes Kennzeichen montiert sein.
Der Heckträger besitzt eine EG-Betriebserlaubnis
als selbstständige technische Einheit:
EG-BE: e4*79/488*87/354*0013*_ _
(die beiden letzten Ziffern lauten je nach Gutach-
tenstand: 00, 01, 02, …)
Das Tragesystem ist freigeprüft und muss des-
halb NICHT zu TÜV, DEKRA, etc.!
Ein Schreiben des TÜV-Rheinland, Kraftfahrt
GmbH zur anstandslosen Ausgabe eines dritten
Kennzeichens nden Sie auf der 2. Seite dieses
Dokuments.
Die zulässige Stützlast der Anhängekupplung
darf nicht überschritten werden (Gewicht des
Fahrradträgers ca. 18 kg plus Nutzlast).
Für den Transport eines dritten Fahrrads ist eine
Erweiterung (Artikelnr. 8333/bl) erhältlich. Für
den Transport eines vierten Fahrrads ist eine
zweite Erweiterung (Artikelnr. 8444/bl) erhältlich.
Mit der Wandhalterung ist der Träger platzspa-
rend an der Wand zu verstauen.
Zusätzlich sind ein Reserveradkit (für Fahrzeuge
mit außenliegendem Reserverad Artikelnr. 8299)
und eine Halteklammer XL für ein Fahrrad (mit
Ovalrahmen bis 72 mm Durchmesser (Artikelnr.
8075XL) erhältlich.

6
Assembly
If you have any questions when assembling this
product, please use a qualied service centre.
Technical details are subject to change and may
differ from the gures in the installation instruc-
tions.
Each individual step of these instructions as
well as all of the safety instructions should be
followed exactly. If the carrier is installed and
handled properly it will not damage the vehicle
and its towbar. mft transport systems gmbh is not
liable for damages caused by disregard for the
assembly sequence and safety instructions.
The towball must be free from grease, clean and
undamaged when the carrier is mounted.
Before travelling
Never cover the load with a sheet or other mate-
rials, as it will make the vehicle more difcult to
handle.
Ensure that all locks on the carrier are always
locked.
Check that the lights on the carrier are fully func-
tioning before every journey.
Check that the carrier and its cargo are securely
xed. Only the vehicle owner or the driver is res-
ponsible for the condition and the secure xing of
the carrier according to road trafc regulations!
After the rst installation, all moving parts such
as frame holders, wheel rails, upright bar, etc.
must be checked after a test drive of approx.
15 km and be tightened if necessary. Repeat this
test regularly, especially if the road conditions are
bad. Handwheels, bolts, and securing bands are
also to be checked after every 2 hours of driving
time. An improperly mounted carrier can detach
and cause an accident.
Montage
Sollten bei der Montage Fragen auftreten,
wenden Sie sich bitte an eine qualizierte Fach-
werkstatt. Änderungen von technischen Details
gegenüber Abbildungen der Montageanleitung
sind vorbehalten.
Jeder einzelne Arbeitsschritt sowie sämtliche
Sicherheitshinweise sind genau zu befolgen. Bei
sachgemäßer Montage und Handhabung können
keine Schäden an Fahrzeug und Anhängekupp-
lung auftreten. Für Schäden, die durch Missach-
tung der Arbeitsreihenfolgen und Sicherheits-
hinweise entstehen, übernimmt die mft transport
systems gmbh keine Haftung.
Zur Montage des Heckträgers muss der Kugel-
kopf fettfrei, sauber und unbeschädigt sein.
Vor Fahrtantritt
Auf keinen Fall die Ladung mit einer Folie oder
sonstigen Materialien abdecken, da dadurch das
Fahrverhalten stark beeinusst wird.
Beachten Sie, dass alle Schlösser des Heckträ-
gers immer abgeschlossen werden müssen.
Überprüfen Sie vor jeder Fahrt die volle Funktion
der Beleuchtungseinrichtung des Heckträgers.
Überprüfen Sie die Befestigung des Heckträgers
und dessen Ladung. Für den Zustand und die
sichere Befestigung ist laut StVO der Fahrzeug-
halter bzw. der Fahrer allein verantwortlich!
Nach der Erstmontage müssen alle beweglichen
Teile wie Haltearme, Radschienen, Haltestan-
genbefestigung usw. nach einer Fahrtstrecke von
ca.15 km geprüft und gegebenenfalls nachge-
zogen werden. Diese Prüfung regelmäßig wie-
derholen, besonders bei schlechter Wegstrecke.
Handräder, Schrauben und Spannbänder jeweils
nach 2 Stunden Fahrt kontrollieren. Ein nicht
richtig befestigter Heckträger kann sich lösen
und einen Unfall verursachen.

7
Safety instructions
Sicherheitshinweise
Before travelling
When transporting the bicycles, all loose parts
(air pumps, water bottles, baskets, child seats,
etc.) must be removed. They can detach and put
you and other road users in danger. Always lock
the bicycles onto the carrier.
Each function of the carrier must be checked be-
fore travel even when it is empty. Always tighten
and lock the frame holders, secure and lock the
lock rod with the fastening handwheel and secu-
rely clamp the tyre bands and close the clip.
The carrier can alter the handling of the vehicle,
especially when navigating curves or driving
through a crosswind. Always adjust your speed
according to the load and road conditions.
The boot can only be opened when the carrier
is lower down. Use care with automatic boot lids
and electric convertible roofs. If necessary deac-
tivate these functions. Otherwise people may be
injured or the vehicle and carrier damaged.
In some vehicles the exhaust pipe is positioned
high so that hot exhaust fumes stream against
the carrier or the bicycle tyres. This can result
in damage. Protect the carrier and its load from
such exhaust fumes.
Vor Fahrtantritt
Beim Transport der Fahrräder müssen alle
losen Teile (Luftpumpen, Trinkaschen, Körbe,
Kindersitze u.ä.) entfernt werden. Sie könnten
sich lösen und Sie und nachfolgende Verkehrs-
teilnehmer in Gefahr bringen. Die Fahrräder am
Heckträger immer abschließen.
Auch ohne Ladung müssen vor Fahrtantritt alle
Funktionen des Heckträgers überprüft werden.
Haltearme immer feststellen und abschließen,
den Schließhebel mit dem Sicherungshandrad
immer sichern und abschließen, die Reifenbän-
der immer festzurren und den Clip schließen.
Durch den Fahrradträger kann sich das Fahrver-
halten, insbesondere beim Bremsen in Kurven
oder bei Seitenwind, verändern. Die Geschwin-
digkeit stets der Beladung und dem Straßenzu-
stand anpassen.
Der Kofferraumdeckel kann nur geöffnet werden,
wenn der Heckträger abgeklappt ist. Vorsicht
mit elektrischen Heckklappen und elektrischen
Cabrioverdecken. Funktion gegebenenfalls de-
aktivieren. Ansonsten könnten Personen verletzt
werden oder Sachschäden am Fahrzeug und am
Heckträger entstehen.
Bei manchen Fahrzeugen kann das Auspuffrohr
so hoch liegen, dass heiße Abgase gegen den
Fahrradträger oder die Fahrradreifen strömen.
Dies kann zu Zerstörungen führen. Fahrradträger
und Ladung gegen den Abgasstrom schützen.

8
Precautions during travel
Regularly check the carrier using the rear-view
mirror throughout the journey. Immediately stop
if you notice any signicant change in the carrier
or its cargo. Identify the cause and continue your
journey only after solving the problem.
The provisions of both the Road Trafc Regulati-
ons and the Road Trafc Licensing Regulations
apply to the carrier and its load. The recommen-
ded top speed when driving with a loaded carrier
is 130 km/h.
When driving abroad, observe the applicable
trafc regulations.
Changed handling of the vehicle
Due to the fact that the carrier juts out from the
vehicle, there is a great tendency to oversteer, a
changed reaction to crosswinds and a changed
braking function, especially when navigating
curves. Always adjust your speed according to
the road conditions. You could lose control of
your vehicle and cause an accident which may
result in injury to you or other persons. Note the
length of the vehicle also when parking or driving
in reverse.
The carrier is not suitable for use off-road.
Vorsichtsmaßnahmen
während der Fahrt
Beobachten Sie den Heckträger während der
Fahrt regelmäßig durch den Rückspiegel. Bei ei-
ner erkennbaren Veränderung des Trägers oder
seiner Ladung sofort anhalten. Suchen Sie nach
der Ursache und setzen Sie Ihre Fahrt erst nach
Behebung des Problems fort.
Bezüglich Heckträger und Ladung gelten die
Vorschriften der StVO, sowie der StVZO. Die
empfohlene Höchstgeschwindigkeit bei belade-
nem Heckträger beträgt 130km/h.
Beachten Sie bei Auslandsfahrten die jeweiligen
Verkehrsvorschriften.
Verändertes Fahrverhalten
des Fahrzeuges
Durch den über das Fahrzeug hinausragenden
Heckträger kann besonders bei Beladung eine
starke Tendenz zum Übersteuern, ein verän-
dertes Seitenwindansprechverhalten und ein
verändertes Bremsverhalten, besonders bei
Kurvenfahrt, auftreten. Passen Sie daher Ihre
Geschwindigkeit stets den Straßenverhältnissen
an. Sie könnten die Kontrolle über Ihr Fahrzeug
verlieren und so einen Unfall verursachen, bei
dem Sie oder andere Personen verletzt werden
könnten. Beachten Sie die Länge des Fahrzeu-
ges auch beim Parken und Rückwärtsfahren.
Der Heckträger ist für den Geländeeinsatz nicht
geeignet.

9
Safety instructions
Sicherheitshinweise
Maintenance
It is recommended that the carrier be cleaned
and maintained regularly so that you can enjoy
the product for longer. Lubricate all moving parts
and screw threads with bicycle grease or chain
spray lubricant, and grease the bracket of the
clamp and the pivot of the lock rod.
Damage to the paint surface can be repaired to a
silky gloss with black spray (RAL 9005).
Pege
Damit Sie lange Freude an Ihrem Heckträger
haben, empehlt es sich den Heckträger regel-
mäßig zu reinigen und zu pegen. Alle beweg-
lichen Teile und Gewinde mit Fahrradöl oder
Kettenspray schmieren, das Lager der Klappe
und die Rolle des Schließhebels fetten.
Lackschäden mit Lackspray schwarz, seiden-
glänzend (RAL 9005) nachlackieren.

2
2
1
H
B
CI
A
H
G
10
POS. 1
POS. 2
POS. 3
POS. 4
POS. 4
Abbildung 2
Abbildung 3

11
Mounting the support frame
Note: Place all bolts in position before tightening
any. Position the support frames (left and right)
and lighting units (left and right) on the base as
in gure 1.
POS. 1 Place a C-prole (N) from above onto the
support frame and x to the base with 2 bolts (K).
POS. 2 Fix one C-prole (N) above, and one
C-prole (N) below with 2 bolts (K) und 2 lock
nuts (L).
Slide the lighting unit into the base.
POS.3 Slide the U-prole over the lighting unit
from the inside toward the outside, as in gure 2,
and secure with 2 bolts (K) and 2 lock nuts (L).
POS. 4 screw in the 2 clamping screws M8 x 16.
Mounting upright bar
Position the upright bar (B) at a right angle to the
carrier. Screw the lockable handwheel (C) onto
the left side. Screw the star wheel (I) onto the
right side.
Warning
The lockable handwheels (C) should always be
locked on for safety before any journey.
Carrier assembly
Zusammenbau Heckträger
Montage des Tragerahmens
Hinweis: Erst alle Schrauben nur ansetzen,
dann anziehen. Tragerahmen (links und rechts)
und Leuchtbalkenteile (links und rechts) wie auf
Abbildung 1 auf das Tragemodul auegen.
POS. 1 Ein C-Prol (N) von oben auf den Tra-
gerahmen legen und mit 2 Schrauben (K) mit
Tragemodul verschrauben.
POS. 2 Ein C-Prol (N) von oben, ein C-Prol
(N) von unten mit 2 Schrauben (K) und 2 Stopp-
muttern (L) befestigen.
Leuchtbalken in das Tragemodul einschieben.
POS.3 Das U-Prol wie auf Bild 2 von innen
nach außen über den Leuchtbalken schieben
und mit 2 Schrauben (K) und 2 Stoppmuttern (L)
befestigen.
POS. 4 2 Linsenschrauben M8 x 16 eindrehen.
Erstmontage Haltestange
Die Haltestange (B) senkrecht zum Fahrradträger
ausrichten. Auf der linken Seite das abschließ-
bare Handrad (C) aufschrauben. Auf der rechten
Seite das Sternrad (I) aufschrauben.
Achtung!
Die abschließbaren Handräder (C) müssen aus
Sicherheitsgründen während des Betriebs immer
abgeschlossen sein.

1
J
2
2
3
3
3
1
12
H
Abbildung 4
Abbildung 5

13
Mounting number plate holder
Unscrew the bolts (1) of the number plate holder
(J) (gure 4). Position the number plate holder (J)
centrally and attach with the bolts (1).
Mounting number plate holder
To attach the number plate (1), rst unpack the
number plate locks (2) and the key (3) (gure
5). Slide the number plate locks (2) through the
number plate holder.
Slide the number plate (1) up from below. Turn
the number plate locks 90° with the key.
Carrier assembly
Zusammenbau Heckträger
Erstmontage Kennzeichenhalterung
Die Schrauben (1) der Kennzeichenhalterung (J)
herausdrehen (Abbildung 4). Die Kennzeichen-
halterung (J) mittig positionieren und mit den
Schrauben (1) befestigen.
Erstmontage Kennzeichenhalterung
Zur Befestigung des Kennzeichens (1) die Kenn-
zeichenverriegelungen (2) und die Schlüssel (3)
herausbrechen (Abbildung5). Die Kennzeichen-
verriegelungen (2) in die Kennzeichenhalterung
einschieben.
Das Kennzeichen (1) von unten einstecken. Mit
dem Schlüssel (3) die Kennzeichenverriegelun-
gen um 90° drehen.

4
2
2
D
D
3
14
2
3
1
Abbildung 6
Abbildung 7

15
Mounting onto the vehicle
Screw out the crank (3). Swing the locking rod (2)
vertical.
Warning!
Do not use the bicycle carrier without the alumi-
nium spring catch (1), as otherwise it can slip off
the back.
Mounting onto the vehicle
Place the carrier on the towball and press into
the left half-shell. You may need to press down
rmly to close the clamp. Place the carrier
horizontal and swing the locking rod (2) to the left
downwards.
Warning!
Screw the security handwheel (D) in until it is
past the thread on the locking lever, so that the
locking rod (2) cannot swing open on a journey.
The carrier must not be used unless the thread
protrudes past the locking lever. Fully screw
in the crank (3) to ensure the carrier is rmly
attached to the towball.
Warning!
The security handwheel (C) should always be
locked on for safety before any journey. Connect
the 13-pin plug (4) with the vehicle socket. The
connecting cable should not touch the ground.
Secure it if necessary. Test all the lighting.
Mounting the carrier onto the vehicle
Montage am Fahrzeug
Montage am Fahrzeug
Die Kurbel (3) herausdrehen. Den Spannhebel
(2) senkrecht stellen.
Achtung!
Den Fahrradträger nicht ohne das Aludruckstück
(1) in Gebrauch nehmen, da er sonst abrutschen
kann.
Montage am Fahrzeug
Den Fahrradträger auf die Anhängekupplung auf-
setzen und nach links in die Halbschale drücken.
Evtl. die Klappe mit etwas Druck nach unten
führen. Anschließend den Heckträger waage-
recht ausrichten und den Spannhebel (2) nach
links unten drücken.
Achtung!
Das Sicherungshandrad (D) hineinschrauben bis
das Gewinde am Spannhebel vorbeigeführt ist,
damit der Spannhebel (2) sich nicht während der
Fahrt öffnen kann. Der Heckträger darf nicht in
Betrieb genommen werden, wenn das Gewinde
nicht am Spannhebel vorbeigeführt ist. Die Kur-
bel (3) ganz eindrehen, damit der sichere Halt
des Fahrradträgers auf der Anhängekupplung
gewährleistet ist.
Achtung!
Das Sicherungshandrad (D) muss aus Sicher-
heitsgründen während des Betriebs immer abge-
schlossen sein. Den 13-poligen Stecker (4) mit
der Fahrzeugsteckdose verbinden. Das Kabel
darf nicht über den Boden schleifen, gegebenen-
falls das Kabel hochbinden. Funktionstest aller
Leuchten durchführen.

16
A
1
3
2
4
231
Abbildung 8
Abbildung 9

17
Mounting onto the vehicle
The carrier (A) must be aligned parallel to the
road.
If the carrier (A) is at too high an angle (1), the
adjusting screws (2) should be screwed into the
adaptor housing by 0.5 to 1 rotation and xed
with the nut (3).
If the carrier (A) does not fold out horizontal (4),
the adjusting screws (2) should be unscrewed by
0.5 to 1 rotation and xed with the nut (3).
Re-attach the carrier (A), check the position and
adjust again if necessary.
Attaching the wheels
When carrying two bicycles, always load the
heaviest bicycle with the handle bar to the right
onto the rail closest to the vehicle.
Centre the bicycle on the carrier. Push the rim
holder (1) from the inside against the wheel.
Hook and fasten the band (3). Then close the
clip (3).
Mounting the carrier onto the vehicle
Montage am Fahrzeug
Montage am Fahrzeug
Der Fahrradträger (A) muss parallel zur Fahr-
bahn ausgerichtet sein.
Sollte der Fahrradträger (A) zu weit hochklappen
(1), so muss die Justierschraube (2) ca. 0,5 bis
1 Umdrehung in das Adaptergehäuse hineinge-
schraubt und anschließend mit der Mutter (3)
gekontert werden.
Sollte der Fahrradträger (A) nicht in die Horizon-
tale klappbar sein (4), so muss die Justierschrau-
be (2) ca. 0,5 bis 1 Umdrehung herausgeschraubt
und anschließend mit der Mutter (3) gekontert
werden.
Den Fahrradträger (A) erneut aufsetzen, Position
kontrollieren und gegebenenfalls erneut justieren.
Befestigung der Laufräder
Beim Transport von zwei Fahrrädern immer
das schwerere Fahrrad auf der dem Fahrzeug
nächsten Schiene mit dem Lenker nach rechts
transportieren.
Das Fahrrad mittig auf dem Fahrradträger aufset-
zen. Den Felgenhalter (1) von innen gegen das
Laufrad schieben. Das Reifenband (3) einha-
ken und festzurren. Anschließend den Clip (2)
schließen.

18
2
1
3
4
C
1
B
D
4
3
2
A
5
Abbildung 10
Abbildung 11
Table of contents
Other mft Automobile Accessories manuals
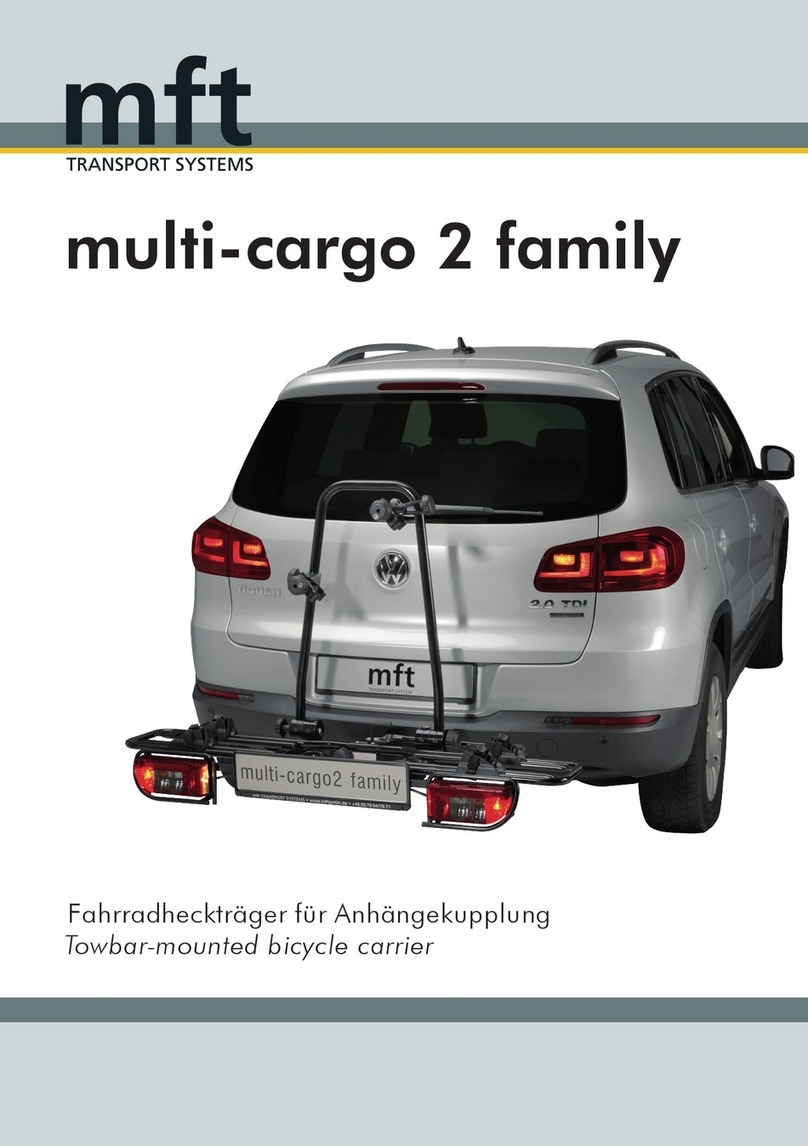
mft
mft multi-cargo 2 family User manual
mft
mft aluline User manual
mft
mft BackCarrier User manual
mft
mft BackBox User manual
mft
mft 1500 Euro-Select Box User manual
mft
mft compact 2e+1 FIX4BIKE User manual
mft
mft EasyMount 2 User manual

mft
mft BackCarrier FIX4BIKE User manual

mft
mft BackBox User manual
mft
mft euro-select XT User manual
Popular Automobile Accessories manuals by other brands
Mont Blanc
Mont Blanc FK221 Fitting instructions

STO N SHO
STO N SHO SNS 75 Installation procedures
Safe Fleet
Safe Fleet Prime Design FBM-1027 Assembly instructions
A-Tach Mounts
A-Tach Mounts 50206 instructions
Ventev
Ventev Wirelesspro Dock installation instructions
Keith
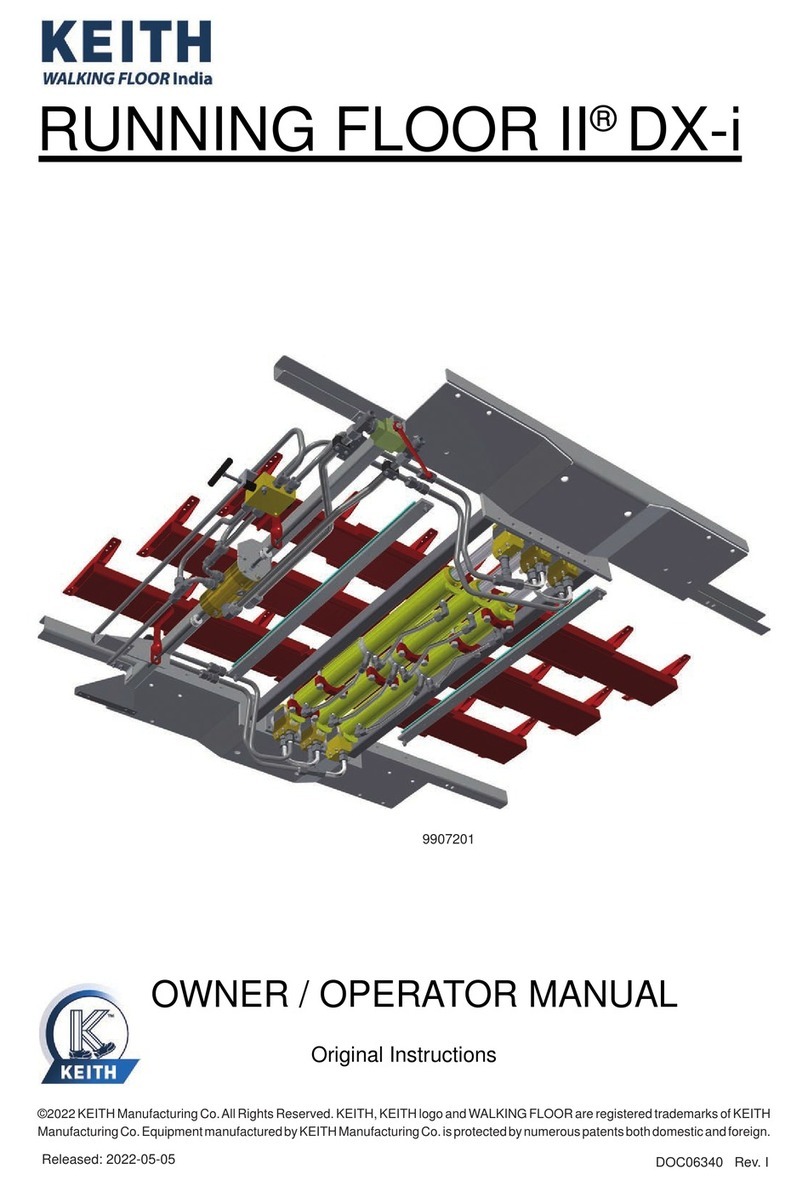
Keith RUNNING FLOOR II DX-i Operator's manual
