MGG EF681 User manual
Wireless Electronic Dog Fencing System
User Manual

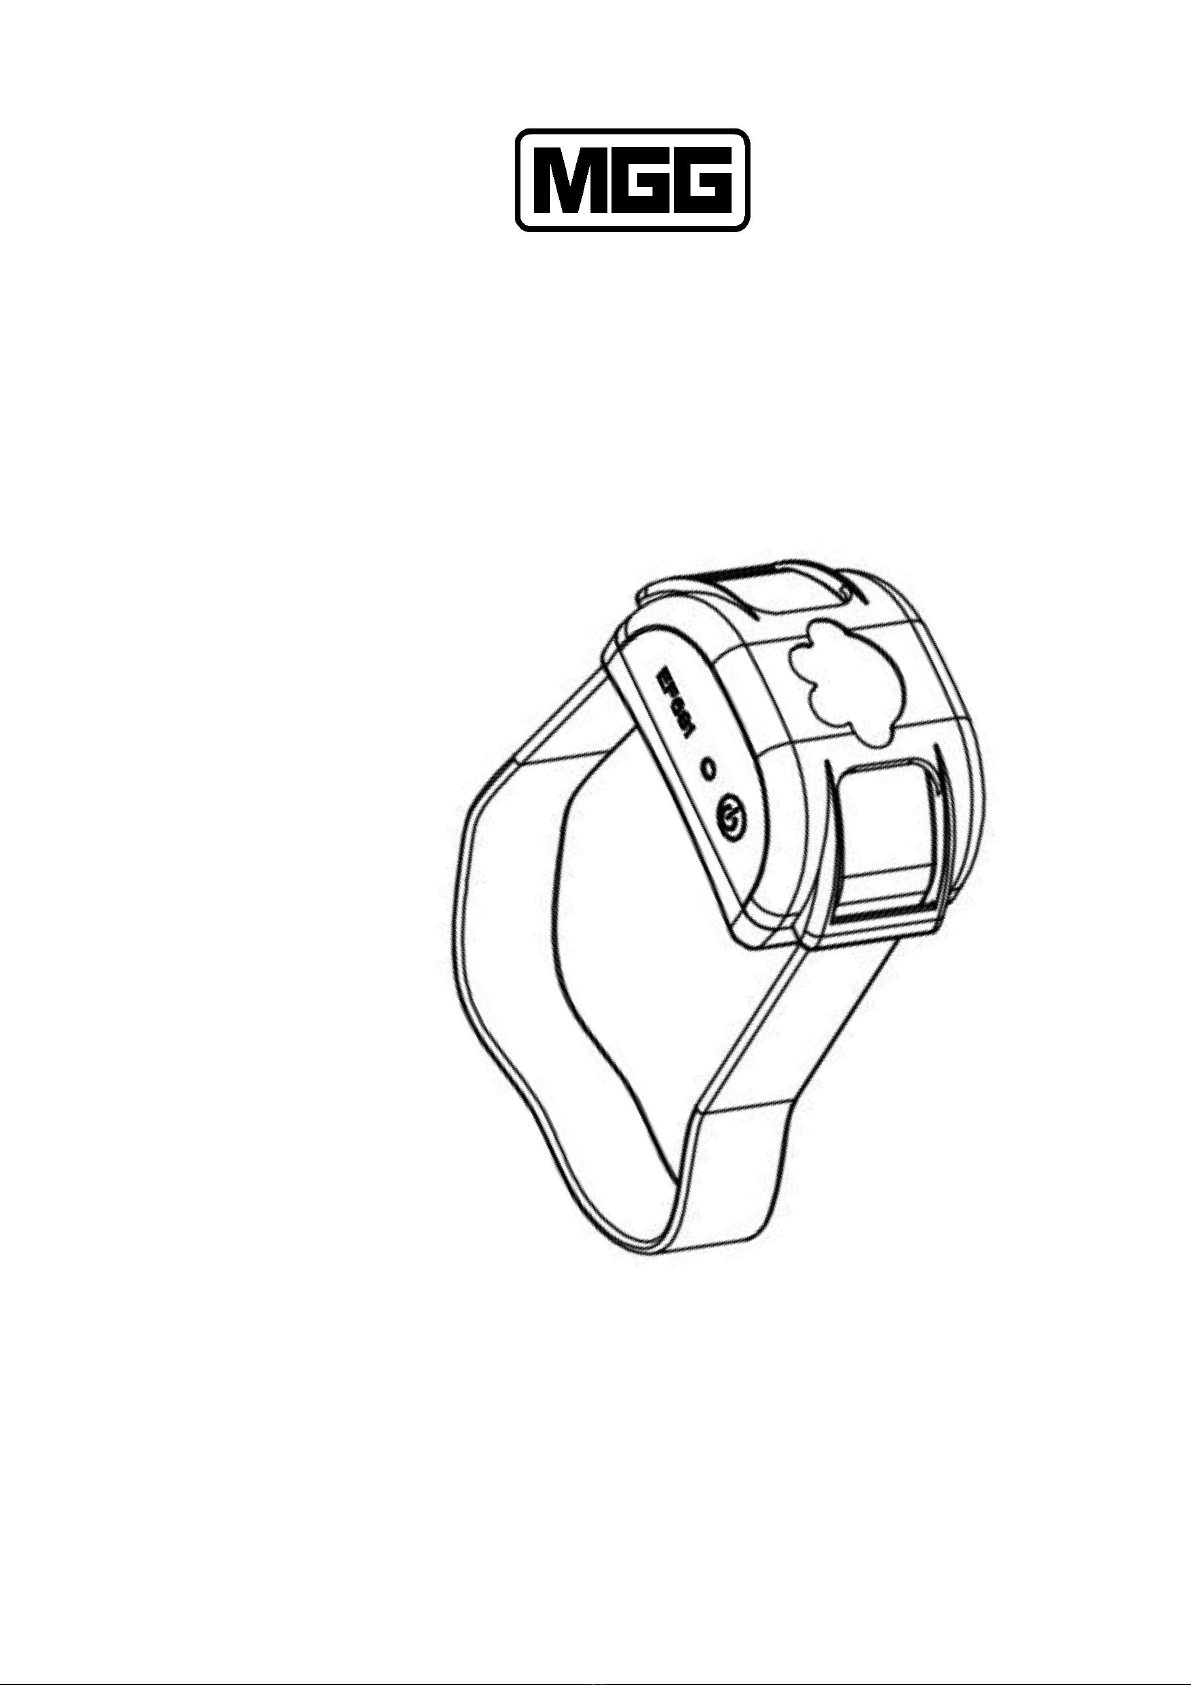
Product Description
The wireless pet fencing system uses GPS technology to locate and set a radius
precisely. The coverage is up to a radius of 800 meters. Once the dog exceeds the pre-
set distance, the receiver will automatically start training with warning beeps and static
shock. Once the dog comes back to the safe area, the receiver will stop training
immediately and return to standby status. It is waterproof and rechargeable, and shock
intensity is adjustable from 0 to 3 levels (level 0, there is only warning tone and no
static shock).
Main Features
1. Wireless fence system without mains transmitter, boundary wire or flags;
2. Control range is up to 800 metre radius with GPS locating technology;
3. Training mode: warning beeper and static shock;
4. Warning tone and then static shock automatically if your dog is beyond control
range;
5. The shock intensity is adjustable from 0 to 3 levels to suit small, medium and large
dogs;
6. Receiver collar is rechargeable and waterproof;
7. Pre-set distance levels display on screen and when multiplied by 10 show radius in
metres;
8. The actual distance from initial set point can also be displayed on screen;
9. Collar will stop working for 1 minute after each training session and return to
standby status automatically.

Package Content
Dog Fencing GPS Receiver * 1
TPU strap * 1
Contact Points (pair) * 2
Test Bulb * 1
5V Mains Charger * 1
USB Charging Cable *1
User Manual * 1
Definitions
L Button: Used to set the radius distance and then initial set point for the radius.
Up/Down Button: Adjust the control range. The display value can be adjusted
between 2 and 80, and the default is 20.
Please refer to below table for remote distance setting:
Display Value
Actual Remote Distance
2
20 Meters
3
30 Meters
4
40 Meters
….
…
78
780 Meters
79
790 Meters
80
800 Meters
In Satellite mode, pressing these will display the distance the collar is away from the
initial point.

S Button: Adjust intensity level of static shock. It can be adjusted from 0 to 3. The
default is 2.
Please refer to below table for intensity level setting:
Level
Intensity
Suit for Dogs
0
No Output
Non- training
1
Low
Small-size dogs
2
Medium
Medium-size dogs
3
High
Large-size dogs
ON/OFF Button: Turn on or shut down the receiver
Press the ON/OFF button briefly to turn on. The LED Indicator will turn on and stay
Blue.
To turn Off, press the ON/OFF button. The LED Indicator will flash twice then turn
off.
LED Indicator: This shows the working status of the receiver.
The LED indicator shows Blue when the receiver turns on. Once the receiver turns
off, the LED indicator flashes twice then goes off.
In training session, the LED indicator shows Blue and flashes once every second.
When the battery runs low, the LED indicator turns to Red, and flashes with its
operating state.
NOTE: When the battery is too low, the Red LED will flash for 2 seconds and then the
receiver will shut down. During the charging process, the LED indicator will remain
Red, and will turn Blue after the battery is fully charged.
How it Works
The receiver detects its distance away from the initial point, through GPS
technology. Once the current position of the dog exceeds the pre-set distance, the
receiver will automatically start the training mode and work periodically until the dog
returns to the safe area (within the pre-set radius). In a single training session, the
system program can be divided into 7 stages. The first two stages only issue warning
beeps. The following stages add a static shock to the warning beep. The static shock
increases its intensity each stage. After one session of training (the 7 stages), the
receiver will automatically stop working for 1 minute and then be ready for the next
training session. Once the dog returns to safe range, the receiver immediately will
stop training and return to standby mode.

To avoid continuing static corrections caused by the dog’s defiance or inability to
understand the training, the receiver will also return to standby status after three
continuous training sessions.
Note:
As the system uses satellite communication, the collar must NOT be worn inside
or in a covered area. Always test this if you are unsure of signal reception.
Set Up Guide
1. Turn on the receiver and the screen displays “20” and flashes. Repeat pressing Up
or Down button to set the distance value you want, which displays on screen and
flashes.
2. Press L button and hold for 3 seconds, it will display 00 and still flash. Now it starts
searching for the satellites and locating the initial point. Please don’t move the
receiver until it has successfully set the location. While the screen displays “00”
without any flashing, it means the locating process is completed and the set value
of radius is stored into memory.
Notice: Your location must be outdoors away from overhead obstructions,
otherwise the receiver will not be able to communicate with the satellites and
locate the initial point.
3. Repeatedly press S button to select the proper intensity of static shock (or vibration)
according to your dog’s size and weight.
Test the System
To verify the receiver is working as you want, you should test the boundary:
Step 1: Turn on the receiver and the screen displays the set distance and flashes.
Step 2: Press L button and hold for 3 seconds, it will display 00 and flash fast. Please
don’t move the receiver until it displays 00 without flashing.
Step 3: Walk from this initial point, and the screen will display the distance value when
L button is pushed. When you go outside the pre-set range, the receiver will start
beeping immediately, and then static shock or vibration. Its intensity will
increase as you move out further. This means the system is working properly.
Step 4: Go back towards the initial point and make sure the distance is showing
correctly. If the receiver stops beeping and static shock, it means the receiver is
working properly. Thus, the fence system is working well.
For static shock mode, put the LED test light over the two metal prongs of the
receiver and the LED will turn on when the static shock function is working.
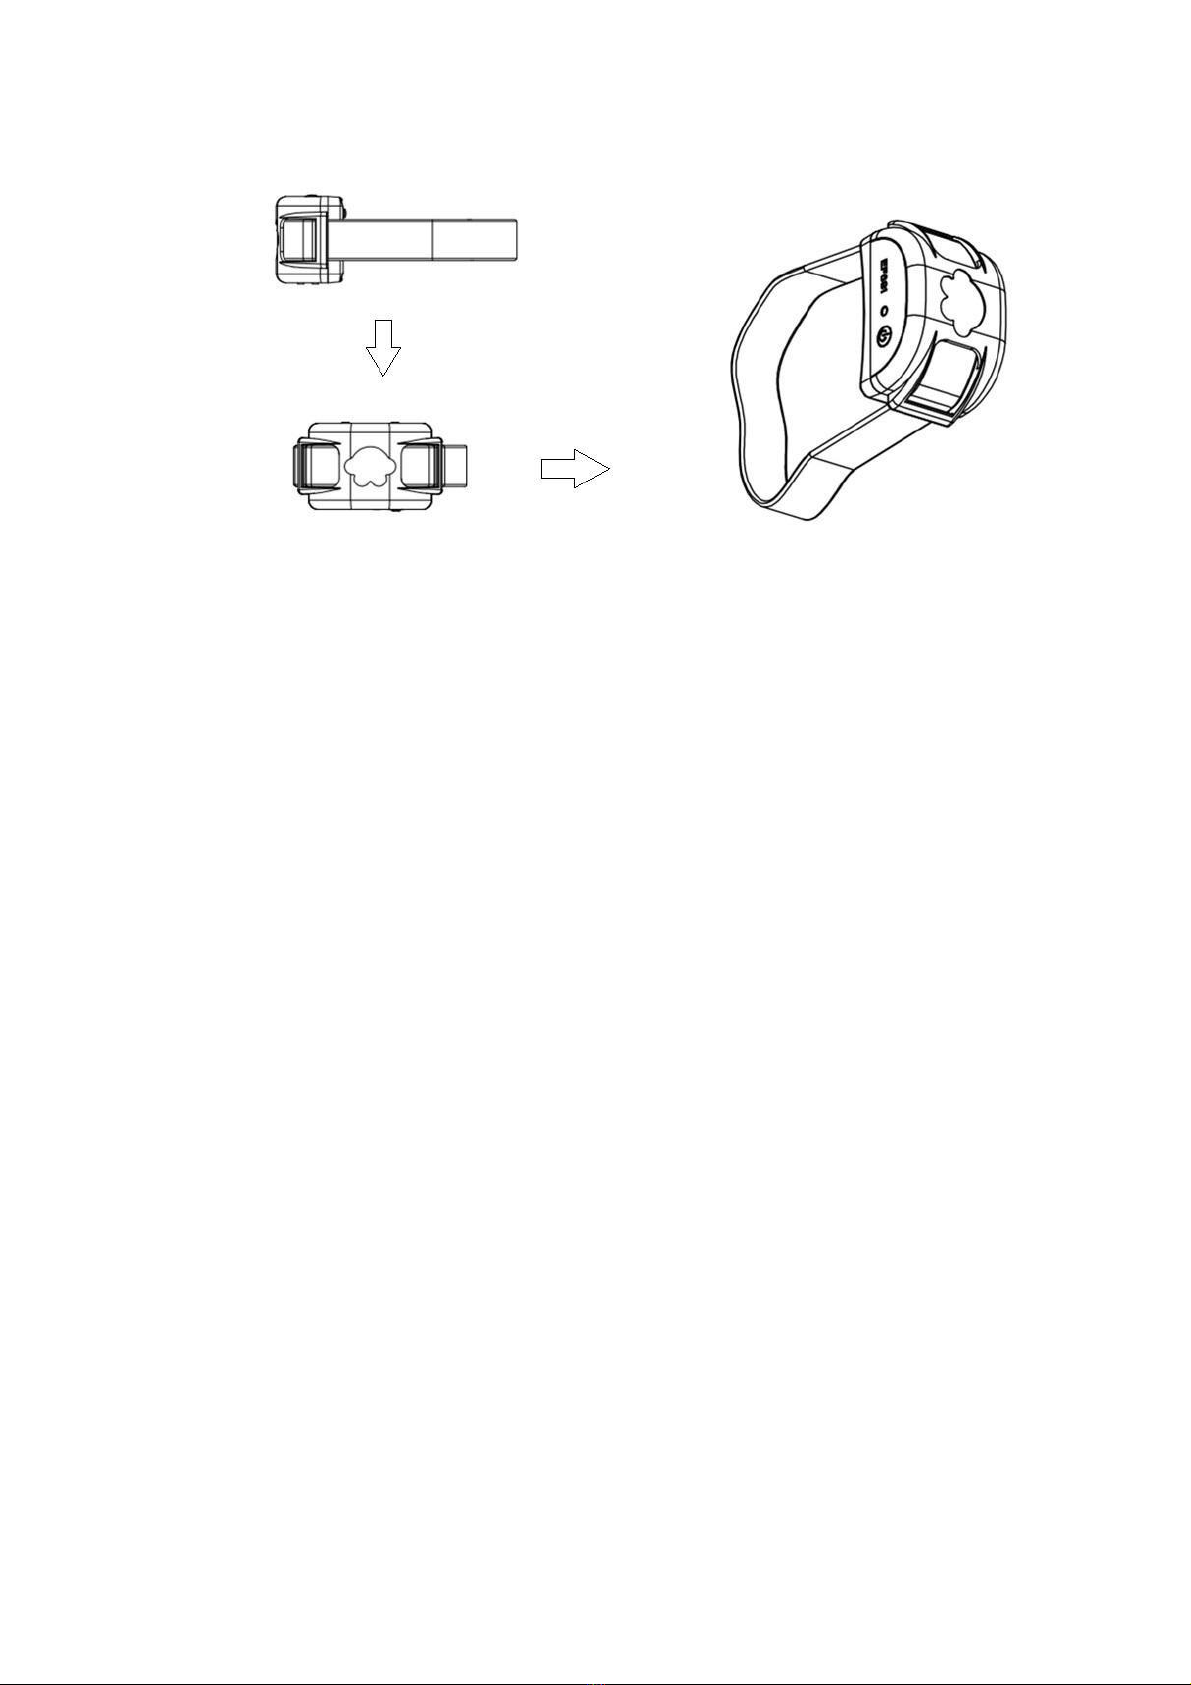
Fit the Receiver
Put the TPU strap through a hole at one end of the receiver, go around the back and
then through the hole at the other end.
Put the receiver on the dog's neck. The receiver's two contact points should be located
on the dog's neck. The tightness is correct when there is enough space to insert one
finger between the strap and the dog’s neck.
Daily Use
After each use, it is recommended that you take the collar receiver off the dog.
Check the colour of the indicator light to see if it needs charging.
Turn it off.
At the next use, turn on, and if the distance is the same, stand at the centre of the area
and press and hold the L button for a couple of seconds. The display will flash 00.
Stay at this initial point until it stops flashing and the satellites are located and the
start point saved into memory. The collar can then be fitted to the dog.

Charging the Receiver
When the receiver indicator turns red, the battery is low and needs to be charged.
Please connect the charge cable to the charging port of the receiver immediately. It
will take 2-4 hours for full charging depending on the mA rating of the charger.
During charging, the LED indicator remains red, and will turn green once the battery is
fully charged. When the battery is too low, the red LED will flash for 2 seconds and then
the receiver will be shut down.
After charging, always make sure that the bung is pushed back firmly into the charging
port.
Note:
The supplied charger is 5V/300mA, you can also insert the USB cable to other charging
devices as long as they are no more than 1A, such as: smart phone charger, USB port
of computer.

Caution
1. This product is only for behavioral training of dogs. Do not put it on other animals
or humans.
2. Please keep this product from children to avoid their playing and causing
unintended injury.
3. This product is for pet training. Therefore, it should not be put on dogs for too long.
It is recommended that the length of each training period be less than 8 hours.
4. This product has a built-in rechargeable battery. Please fully charge it before use to
avoid the automatic shutdown during training or a dissatisfactory result.
5. When the device is put on the dog's neck, please make sure the tightness is
appropriate. Being too loose or too tight will affect its operation and could cause
discomfort to the dog.
6. Always check that the prongs and collar are not causing a rash or affecting the dog’s
skin.
MGG PRODUCTS
www.mggproducts.co.nz
09 4016360
Table of contents
Other MGG Pet Care Product manuals


