Midea TR936T4CR User manual

SAVE THESE INSTRUCTIONS CAREFULLY
Read these instructions carefully before using your
microwave oven, and keep it carefully.
If you follow the instructions, your oven will provide you with
many years of good service.
MODEL:TR936T4CR
OPERATION MANUAL
BUILT-IN VEN
WITH E
COMBINATION STEAM O
HOT AIR AND MICROWAV

CONTENTS
CONTENTS 2
PRECAUTIONS TO AVOID POSSIBLE EXPOSURE TO EXCESSIVE MICROWAVE ENERGY 3
ADDENDUM 3
SPECIFICATIONS
IMPORTANT SAFETY INSTRUCTION
TO REDUCE THE RISK OF INJURY TO PERSONS GROUNDING INSTALLATION
SETTING UP YOUR OVEN
IMPORTANT INFORMATION ABOUT INSTALLING
14
INSTALLATION DIMENSIONS 1
BUILDING IN
BEFORE FIRST USE 1
OPERATION INSTRUCTION
TROUBLESHOOTING
12
13
14
FITTED UNITS
1ELECTRICAL CONNECTION
4
5-9
10-12
4
5
6
17-34
2

(a) Do not attempt to operate this oven with the door open since this can
result in harmful exposure to microwave energy. It is important not to
break or tamper with the safety interlocks.
(b) Do not place any object between the oven front face and the door or allow
soil or cleaner residue to accumulate on sealing surfaces.
(c) WARNING: If the door or door seals are damaged, the oven must not
be operated until it has been repaired by a competent person.
If the apparatus is not maintained in a good state of cleanliness, its surface could
be degraded and affect the lifespan of the apparatus and lead to a dangerous
situation.
PRECAUTIONS TO AVOID POSSIBLE EXPOSURE
TO EXCESSIVE MICROWAVE ENERGY
ADDENDUM
3

Specifications
Model:
Rated Voltage:
Rated Input Power(Microwave):
Rated Output Power(Microwave):
Rated Output Power(Grill):
Rated Output Power(Convection):
240V~50Hz
900W
1 0W
1
1900W
55
Rated Power(Steam):
1500W
Rated Power(Maximum):
3000W
300W
TR936T4CR
4

IMPORTANT SAFETY INSTRUCTIONS
WARNING
IMPORTANT SAFETYINSTRUCTIONS
To reduce the risk of fire, electric shock, injury to
persons or exposure to excessive microwave oven
energy when using your appliance, follow basic
precautions, including the following:
the manufacturer, its service agent or similarly qualified
persons in order to avoid a hazard.( For appliance with
type Y attachment)
AVOIDPOSSIBLE EXPOSURETO EXCESSIVE
MICROWAVE ENERGY".
4. If the supply cord is damaged, it must be replaced by
1. Read and follow the specific:"PRECAUTIONS TO
3. Keep the appliance and its cord out of reach of children
less than 8 years.
years and above and persons with reduced physical,
sensory or mental capabilities or lack of experience
and knowledge if they have been given supervision or
instruction concerning use of the appliance in a safe way
and understand the hazards involved. Children shall not
play with the appliance. Cleaning and user maintenance
shall not be made by children unless they are older than 8
2. This appliance can be used by children aged from 8
and supervised. Children less than 8 years of age shall be
kept away unless continuously supervised.
before replacing the lamp to avoid the possibility of
electric shock.
5. WARNING: Ensure that the appliance is switched off
5

competent person to carry out any service or repair
operation that involves the removal of a cover which
gives protection against exposure to microwave energy.
.ovens
and keep the door closed in order to stifle any flames.
delayed eruptive boiling, therefore care must be taken
when handling the container.
shall be stirred or shaken and the temperature checked
before consumption, in order to avoid burns.
13.The contents of feeding bottles and baby food jars
14. Eggs in their shell and whole hard-boiled eggs should
not be heated in microwave ovens since they may
explode, even after microwave heating has ended.
12. Microwave heating of beverages can result in
keep an eye on the oven due tothe possibility of ignition.
in sealed containers since they are liable to explode.
10. Only use utensils that are suitable for use in microwave
11. If smoke is emitted, switch off or unplug the appliance
7. WARNING: It is hazardous for anyone other than a
8. WARNING: Liquids and other foodsmust not be heated
ot be operated until it has been repaired by a
6. WARNING: If the door or door seals are damaged, the
oven must n
competent person.
9. When heating food in plastic or paper containers,
6

deposits removed.
15. The oven should be cleaned regularly and any food
could lead to deterioration of the surface that could
16. Failure to maintain the oven in a clean condition
-by clients in hotels, motels and other residential type
environments;
-farm houses;
-bed and breakfast type environments.
beverages. Drying of food or clothing and heating of
warming pads, slippers, sponges, damp cloth and similar
may lead to risk of injury, ignition or fire.
20.The microwave oven is intended for heating food and
and similar applications such as:
-staff kitchen areas in shops, offices and other working
environments;
decorative door open. (for ovens with a decorative door.)
this oven.(for ovens provided with a facility to use a
17.Only use the temperature probe recommended for
temperature-sensing probe.)
adversely affect the life of the appliance and possibly
result in a hazardous situation.
18.The microwave oven must be operated with the
allowed during microwave cooking.
21. Metallic containers for food and beverages are not
cleaner.
22. The appliance shall not be cleaned with a steam
23. The microwave oven is intended to be used built-in.
19.This appliance is intended to be used in household
7

25. Care should be taken not to displace the turntable
when removing containers from the appliance. (For fixed
appliances and built-in appliances being used equal or
higher than 900mm above the floor and having detacha le
turntables. But this is not applicable for appliances with
horizontal bottom hinged door.)
be taken to avoid touching heating elements inside the
oven.
29. During use the appliance becomes hot. Care should
26. Steam cleaner is not to be used.
27. Surface ofa storage drawer can gethot.
use. Young children should be kept away.
31. The appliance must not be installed behind a
decorative door in order to avoid overheating. (This is not
applicable for appliances with decorative door.)
become hot during use. Care should be taken to avoid
touching heating elements. Children less than 8 years
of age shall be kept away unless continuously supervised.
28. WARNING: The appliance and its accessible parts
or sharp metal
oven door glass since they can
the surface, which mayresult in shattering of the glass.
scrapers to clean the scratch
30. WARNING: Accessible parts may become hot during
32. Do not use harsh abrasive cleaners
handlesare easily broken.)
( Oven is overweight,
24. WARNING: When the appliance is operated in the
adult supervision due to the temperatures generated.
combination mode, children should only use the oven under
33. WARNING: When move the oven, do not carry handle.
b
8

READ CAREFULLY AND KEEPFOR FUTURE
REFERENCE
o If you are heating liquid in the
microwave, then you must also place
a teaspoon in the container. This will
ensure that the liquid does not boil
suddenly after being removed from
the microwave cavity.
cleaned up after each use.
120 degrees. The glass,
in the water tank should be
temperature resistance below
ceramic, stainless steel utensils can be used.
34. The water in the receiving tank, inside the oven and
35. Do not use the paper cups and plastic containers with
36. Steam is the main heating function for this product.
9

DANGER
Electric Shock Hazard
Touching some of the internal components
can cause serious personal injury or death.
Do not disassemble this appliance.
WARNING
Electric Shock Hazard
Improper use of the grounding can result in
electric shock. Do not plug into an outlet until
appliance is properly installed and grounded.
CLEANING
Be sure to unplug the appliance from the
power supply.
1. Clean the cavity of the oven after using
with a slightly damp cloth.
2. Clean the accessories in the usual way
in soapy water.
3. The door frame and seal and
neighbouring parts must be cleaned
carefully with a damp cloth when they
are dirty.
1. A short power-supply cord is provided
to reduce the risks resulting from becoming
entangled in or tripping over a longer cord.
2. If a long cord set or extension cord is
used:
1)The marked electrical rating of the cord
set or extension cord should be at least as
great as the electrical rating of the appliance.
This appliance must be grounded. In the
event of an electrical short circuit,
grounding reduces the risk of electric
shock by providing an escape wire for
the electric current. This appliance is
equipped with a cord having a grounding
wire with a grounding plug. The plug must
be plugged into an outlet that is properly
installed and grounded.
Consult a qualified electrician or
serviceman if the grounding instructions
are not completely understood or if doubt
exists as to whether the appliance is
properly grounded. If it is necessary to
use an extension cord , use only a 3-wire
extension cord.
2)The extension cord must be a grounding-
type 3-wire cord.
3)The long cord should be arranged so that
it will not drape over the counter top or
tabletop where it can be pulled on by
children or tripped over unintentionally.
4. Do not use harsh abrasive cleaners
or sharp metal scrapers to clean the
oven door glass since they can
scratch the surface, which may
result in shattering of the glass.
5. Cleaning Tip---For easier cleaning of the
cavity walls that the food cooked can
touch:
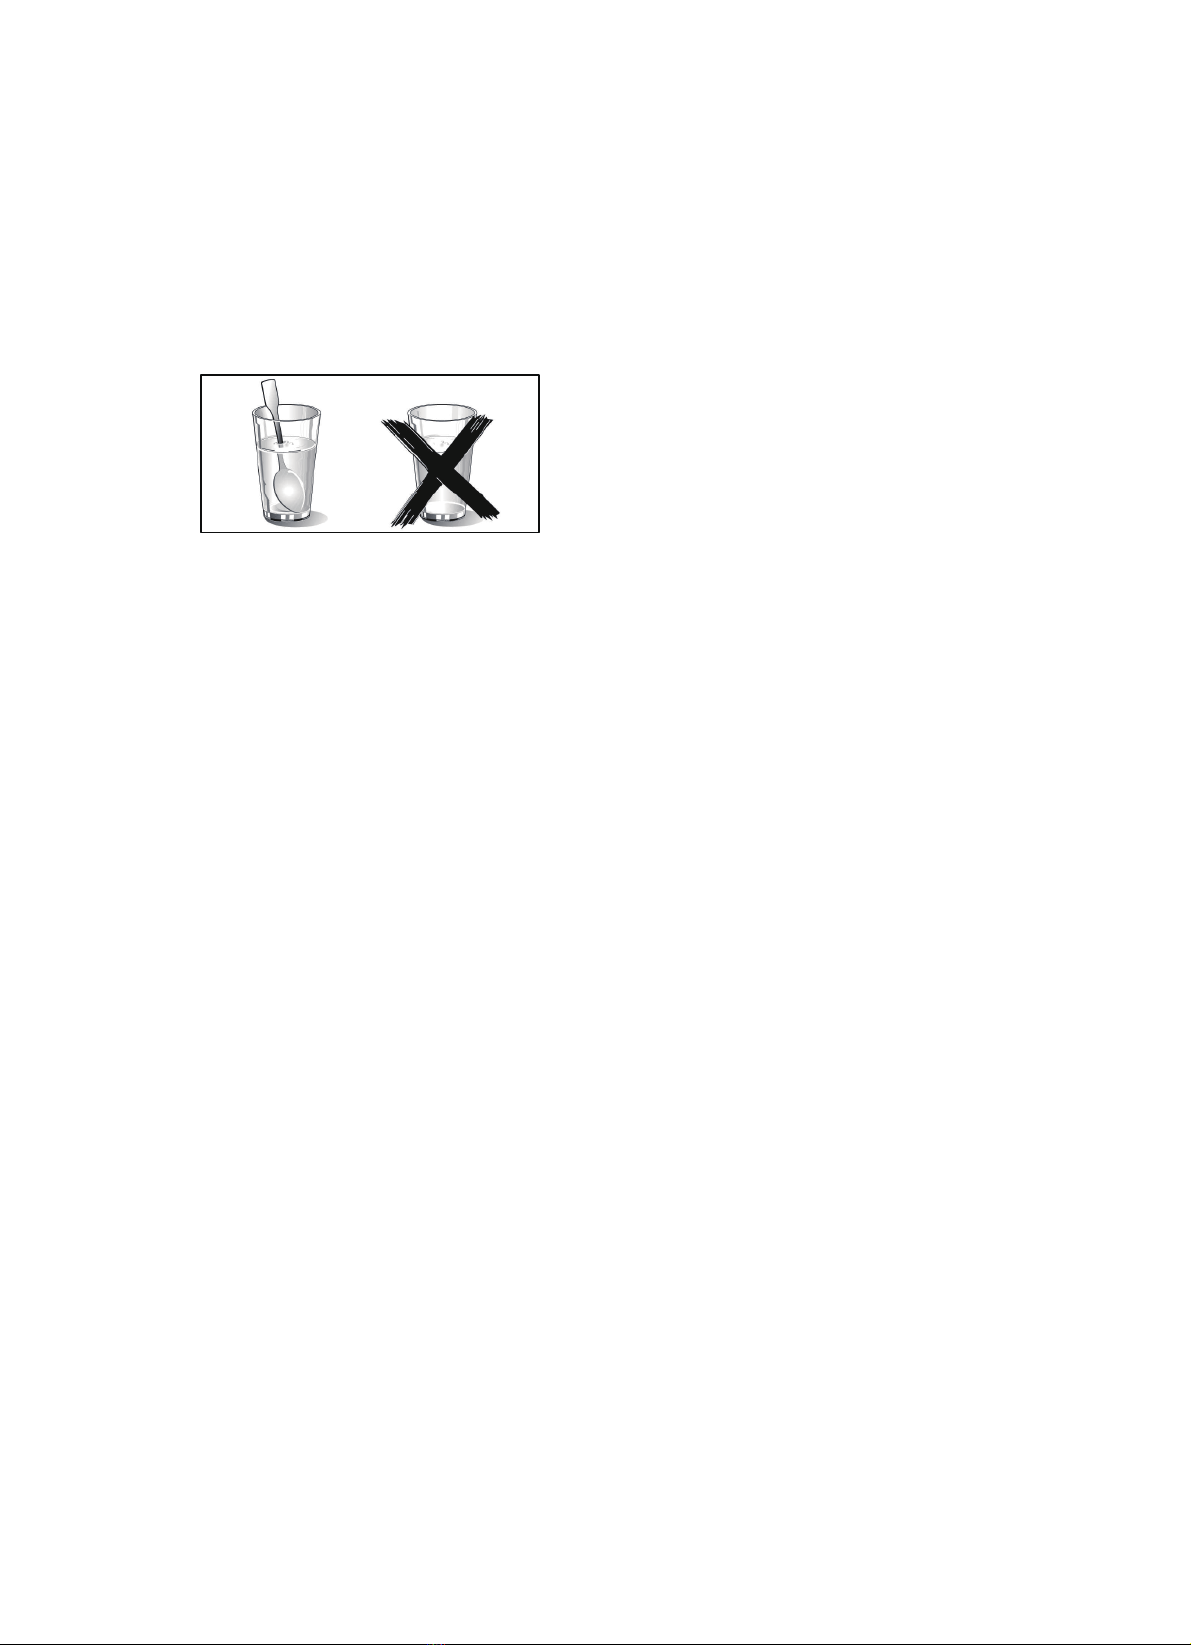
Place half a lemon in a bowl, add 300ml
(1/2 pint) water and heat on 100%
microwave power for 10 minutes.
Wipe the oven clean using a soft, dry cloth.
To Reduce the Risk of Injury to Persons
Grounding Installation
10

CAUTION
Personal Injury Hazard
It is hazardous for anyone
other than a competent person
to carry out any service or repair
operation that involves the removal
of a cover which gives protection
against exposure to microwave
energy.
Utensil Test:
1. Fill a microwave-safe container with 1 cup of cold
water (250ml) along with the utensil in question.
2. Cook on maximum power for 1 minute.
3. Carefully feel the utensil. If the empty utensil is
warm, do not use it for microwave cooking.
4. Do not exceed 1 minute cooking time.
Materials you can use in microwave oven
Utensils Remarks
Follow manufacturer’s instructions. The bottom of browning dish must be
at least 3/16 inch (5mm) above the turntable. Incorrect usage may cause
the turntable to break.
Microwave-safe only. Follow manufacturer's instructions. Do not use
cracked or chipped dishes.
Always remove lid. Use only to heat food until just warm. Most glass jars
are not heat resistant and may break.
Heat-resistant oven glassware only. Make sure there is no metallic trim.
Do not use cracked or chipped dishes.
Follow manufacturer’s instructions. Do not close with metal tie. Make
slits to allow steam to escape.
Use for short–term cooking/warming only. Do not leave oven unattended
while cooking.
Use to cover food for reheating and absorbing fat. Use with supervision
for a short-term cooking only.
Use as a cover to prevent splattering or a wrap for steaming.
Microwave-safe only. Follow the manufacturer’s instructions. Should be
labeled "Microwave Safe". Some plastic containers soften, as the food
inside gets hot. "Boiling bags" and tightly closed plastic bags should be
slit, pierced or vented as directed by package.
Microwave-safe only. Use to cover food during cooking to retain
moisture. Do not allow plastic wrap to touch food.
ThermometersMicrowave-safe only (meat and candy thermometers).
Wax paperUse as a cover to prevent splattering and retain moisture.
Browning dish
Glass jars
Glassware
UTENSILSSee the instructions on "Materials you can use in
microwave oven or to be avoided in microwave oven."
There may be certain non-metallic utensils that are not
safe to use for microwaving. If in doubt, you can test the
utensil in question following the procedure below.
Oven cooking
bags
Paper plates
and cups
Paper towels
Parchment
paper
Plastic
Plastic wrap
Dinnerware
11

Names of Oven Parts and Accessories
SETTING UPYOUR OVEN
Materials to be avoided in microwave oven
Utensils Remarks
Aluminum tray
Food carton with
metal handle
Metal or metal-
trimmed utensils
Metal twist ties
Paper bags
Plastic foam
Wood
Metal shields the food from microwave energy. Metal trim may
cause arcing.
May cause a fire in the oven.
Plastic foam may melt or contaminate the liquid inside when exposed
to high temperature.
Wood will dry out when used in the microwave oven and may split
or crack.
May cause arcing. Transfer food into microwave-safe dish.
May cause arcing and could cause a fire in the oven.
Remove the oven and all materials from the carton and oven cavity
Your oven comes with the following accessories:
Instruction Manual 1
1. Control panel
2. Grill element
3. Light
4. Level
5. Door glass
6. Hinge
7. Grill Rack
8. Grass Pan
7
8
1
2
3
4
5
6
12

The accessible surface
may be hot during
operation.
•
•
•
•
•
Please observe the installation instructions provided and note that this appliance
should only be installed by a qualified technician.
In case a new socket is needed, installation and cable connection must only be done
by a qualified electrician. If the plug is no longer accessible following installation, a
pole disconnecting device must be present on the installation site with a contact gap
of at least 3 mm.
Adapters, multi-way strips and extension cords must not be used. Overloading can
This appliance is NOT intended for use in a commercial environment.
The appliance is
installed earthed socket.
result in fire.
If the appliance is not fitted with a supply cord and a plug, the connection equipment
must have a contact separation in all poles that provide full disconnection, and the
appliance must be incorporated in the fixed wiring in accordance with the wiring rules.
•
fitted with a plug and must only be connected to a properly
IMPORTANT INFORMATION ABOUT INSTALLING
13

•Do not hold or carry the appliance by the door handle. The door handle cannot hold
the weight of the appliance and may break off.
1. Carefully push the oven into the box, making sure that it is in the centre.
2. Open the door and fasten the with the screws that were supplied.
Note: There should be gap above the oven.
•
•
•
•
•
•
Fitted units
Installation dimensions
Building in
•
•
•
min 45
Cupboard feet
Ventilation grid
min 45
50
460
250
45
250
oven
14

Fully insert the appliance and centre it.
Do not kink the connecting cable.
Screw the appliance into place.
The gap between the worktop and the appliance must not be closed by
additional battens.
10
25
<
15

ESUTSRIFEROFEB
Initial cleaning and heating
Removing the microwave oven all of the protection foil on the front.
For more information see the "CLEANING". Before the first use of the appliance,
Remove all accessories and wash out of the microwave.
ew appliances typically smell when first used.
Before using the electrical appliance to cook food faster to heat it helps to banish
odors.
●Before heating, it is best to wipe the microwave oven interior with a damp cloth. In
this way, storage and untwisting appliances accumulated in the packaging process in
furnace dust or residual packing material can be removed.
●Touch “ ” keys. Appliance turn on, the main menu appears in the display.
●Touch "
Recommended temperature will be highlighted, along with microwave
started directly.
●Raise the temperature to maximum temperature. This can be achieved by
using to achieve.
●Touch " " symbol next to the sensor keys. Heat the empty oven for at least an
hour.
When you do this, make sure that the room well ventilated. Close the door to the other
room to avoid odor pervaded the house.
●Let the appliance cool down to room temperature. Then solution of neutral detergent
mixed with hot water to clean inside the microwave oven, then wipe dry with a clean
soft cloth.
Keep the door open untilcompletelydryin the oven.
" to choose the convection function.
adjustment keys
Electric heating empty containers. N
16

When you set the clock, long press " " or " " to adjust the time by
OPERATION INSTRUCTION
Control Panel
This microwave oven uses modern electronic control to adjust cooking parameters
to meet your needs better for cooking.
When the microwave oven is electrified, "00:00" will blink, buzzer will ring once.
2) After you have set the right time, press " ". The clock has been set.
Note: 1) If you want to change the time, you have to press and hold the " "
to confirm the setting.
1.Clock Setting
button for 3 seconds. The actual time disappears and then the time will
blink in the display.
button
1) to set the right time(between 00:00 and 23:59.)
Press" " or " "to set the new time and press the " "
Press " " or " "
)2
2. Microwave Cooking
1) Press the " " button to activate the microwave function. "01:00" displays
The max. cooking time depends on the power that has been set. When the power
is 900W, the MAX. time is 30 minutes and other powers are 90 minutes.
and the microwave icon appears.
( 00W, 00W,450W, 00W, 00W).
Press " " or " " or " "mode.
The default power is 900W.
to select cooking2)
3) Press " ", then press " " or " "to adjust the microwave power
NOTE: When press " ", you could choose Microwave,Grill, Convection,
Grill+Fan, MW+Convection, MW+Grill function, Microwave+Grill+Fan.
4) Press " " , then press " " or " " to set the cooking time.
5) Press " " button to start cooking.
9 7 3 1
10min interval and short press for 1 min interval.
17

Microwave Power Chart
Microwave Power 80% 50% 30%
100%
Display 900W 700W 450W 300W 100W
You can see from the table below from which
which foods the power levels are suitable.
Power level Food
900 W - Boiling water, reheating
- Cooking chicken,
700 W - Reheating
- Cooking mushrooms, shell
- Cooking dishes containing eggs and cheese
450 W - Cooking rice, soup
300 W - Defrosting
- Melting chocolate and butter
100 W sdoofetaciled/evitisnesgnitsorfeD-
- Defrosting irregularly-shaped foods
- Softening ice cream
- Allowing dough to rise
power levels you can choose and for
fish, vegetables
fish
20%
3. Grill Cooking
" to choose the grill level.
.setunim01siemittluafedehT.edomgnittesemitehttcelesot""sserP
Press " " or " " or " "mode. The default grill power is the
Press" "or " " to select the cooking time of grill. The MAX.time is 90 minutes.
third level.
level "1-3 ".
to select grill
1) Press the " " button to activate the microwave function. "01:00" displays
2)
3) Press "
4) Press " "or " "to select the
5)
6) Press " " button to start cooking.
and the microwave icon appears.
18

) Press " " button to start cooking.
.setunim01siemittluafedehT.edomgnittesemitehttcelesot""sserP
4. Convection Cooking
Press " " or " " or " "to select convection mode.
" to enter to the temerature mode.
The default temperature is 180 degrees.
. The temperature is from 50 to
Press " " or " " to select the cooking time. The MAX.time is 5 hours.
1) Press the " " button to activate the microwave function. "01:00" displays
and the microwave icon appears.
2)
3) Press "
4) Press" " or " "to select temperature
5)
6
to enter to the temperature selection.
5. Grill FanCooking
Press " "or " "or " " to select grill fanmode. The default temperature
is 180 degrees.
temperature .
Press" " to select the time setting mode. The default time is 10 minutes.
Press " " or " " to select the cooking time. The MAX.time is 5 hours.
1) Press the " " button to activate the microwave function. "01:00" displays
and the microwave icon appears.
2)
3) Press " "
4) Press " " or " "to select the
5)
6) Press " " button to start cooking.
The temperature is
from to 0 degrees.(35,100,105,110,115,120,125,130,135,140,145,150,35 18
230 degrees.
15 , )5 160 165,, 170,175,180
p
19

2) Press" " or " "or " " to select the " MW+GRILL" combination mode.
to enter to the microwave power level selection.
7) Press" " to select the time setting mode. The default time is 10 minutes.
Microwave + Grill Cooking
Press" "or " " to select the cooking time . The MAX.time is 90 minutes.
1) Press the " " button to activate the microwave function. "01:00" displays
and the microwave icon appears.
" to enter to the grill level selection.
level "1-3".
3) Press "
4) Press" "or " "to select the
microwave power(700W, 450W, 300W,
5) Press " "
8)
9) Press " " button to start cooking.
6) Press " " or " " to select the
6.
2) Press" " or " "or " " to select the "MW+ CONV."combination mode.
to enter to the microwave power level selection.
The default power is 300W.
Microwave +
1) Press the " " button to activate the microwave function. "01:00" displays
and the microwave icon appears.
microwave power(700W, 450W, 300W,
to enter to the temperature selection.
temperature between to degrees.50 230
Convection Cooking7.
100W). The default power is 300W.
100W).
(50,100,105,110,115,120,125,130,135,140,145,150,155,160,
165,170,175,180,185,190,195,200,205,210,215,220,225,230)
3) Press " "
The default temperature is 180 degrees.
4) Press " " or " "to select the
5) Press " "
6) Press " " or " " to select the
20
Table of contents
Other Midea Oven manuals

Midea
Midea 315544 User manual

Midea
Midea MG25BNM User manual

Midea
Midea 7NM20M1 User manual

Midea
Midea MCO44BL User manual

Midea
Midea MO 713 TDE BK User manual

Midea
Midea MCOS34BL User manual

Midea
Midea MO 729 TDE BK User manual

Midea
Midea TVN50E4AQ User manual

Midea
Midea MG25CHB User manual

Midea
Midea TJE17GS7-S00N0A User manual

Midea
Midea B 3.60 IX User manual

Midea
Midea 310717 Wiring diagram

Midea
Midea MEO-10BDW-BK User manual

Midea
Midea MO 659 TD BK User manual

Midea
Midea MC25CHB User manual

Midea
Midea ESK 2875 BL User manual

Midea
Midea MEO-38GY5 User manual

Midea
Midea MEO-25EX1 User manual

Midea
Midea MO5BL User manual

Midea
Midea TF044E4MD-SH0DK0 User manual