manuals.online logo
Brands
  1. Home
  2. •
  3. Brands
  4. •
  5. miseno
  6. •
  7. Plumbing Product
  8. •
  9. miseno MNO191ECP User manual

miseno MNO191ECP User manual

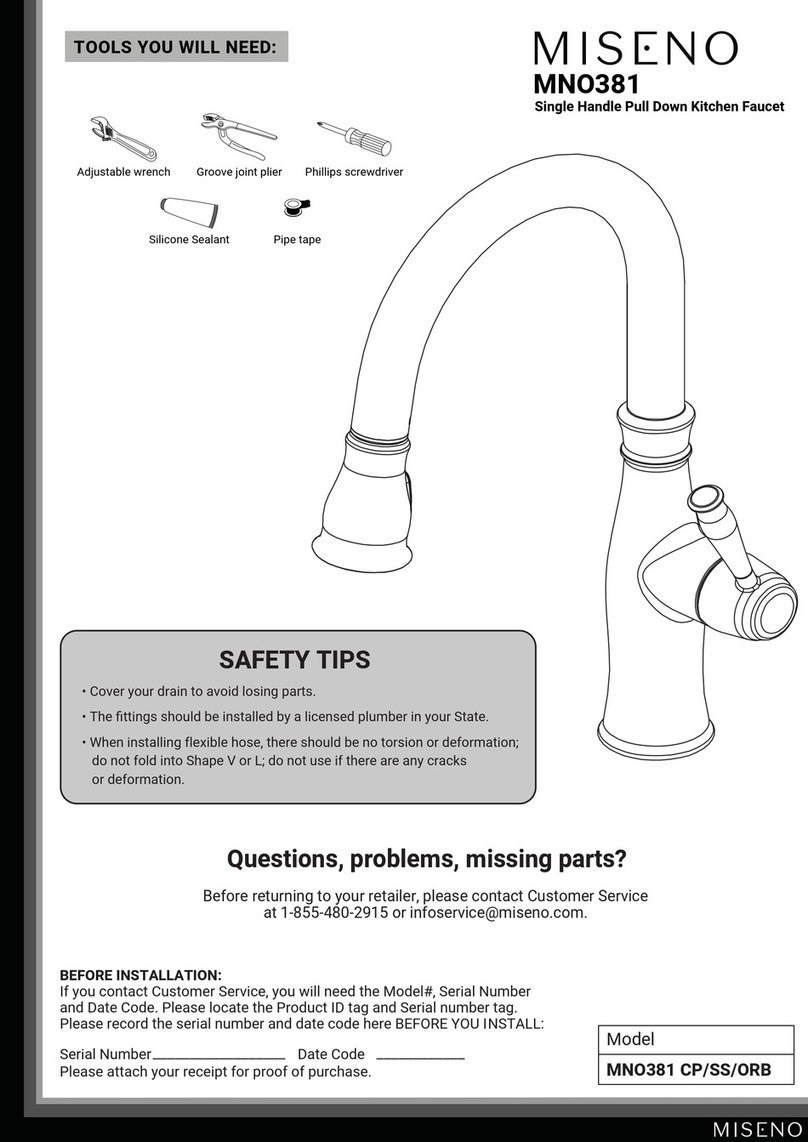
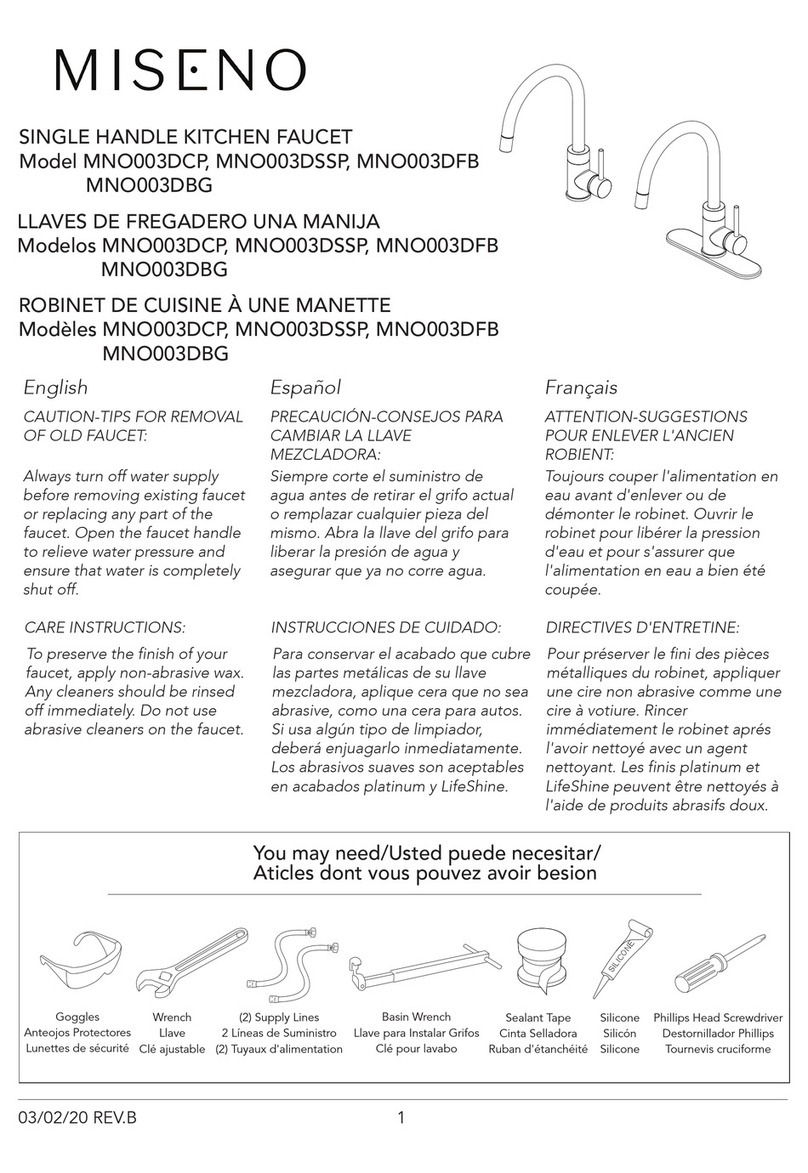
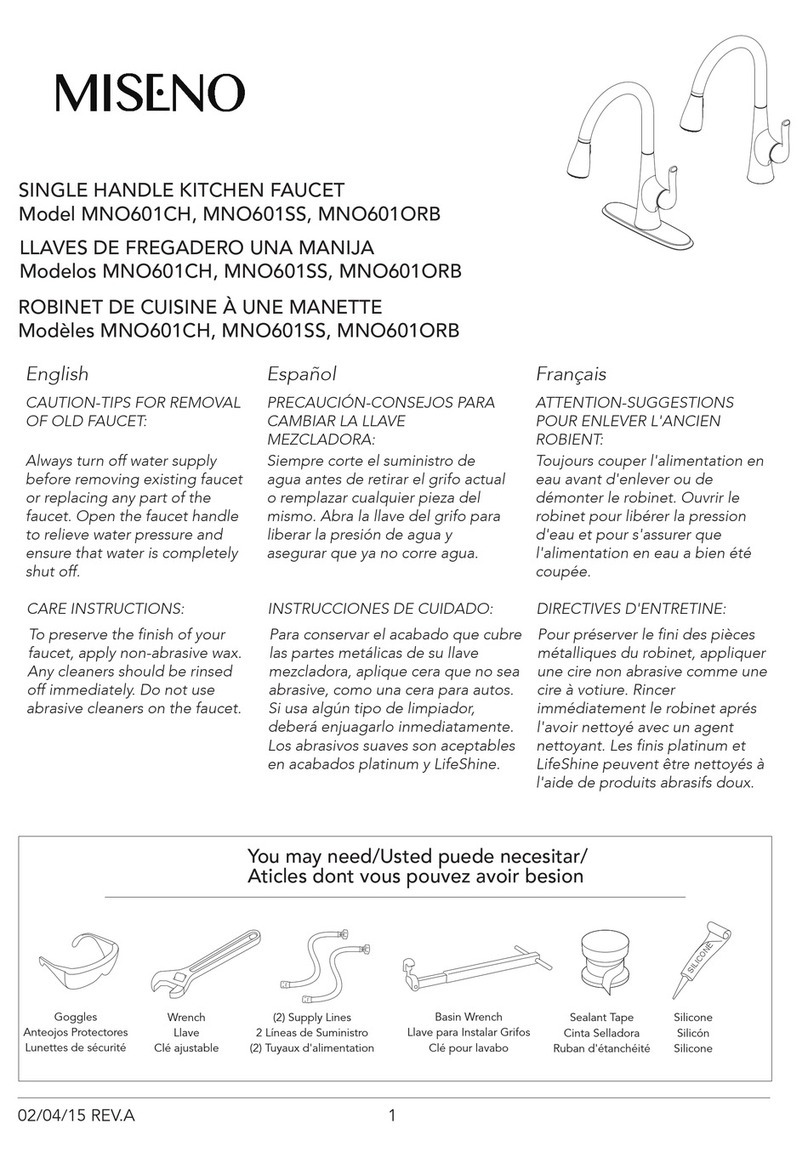
SINGLE HANDLE PULL-DOWN KITCHEN FAUCET
1
You may need/Usted puede necesitar
Goggles Wrench Hex Wrench Phillips Head Screwdriver
05/09/22 REV.A
Tape Measure
Model:
MNO191ECP
MNO191EZSS
MNO191EFB
MNO191ECG
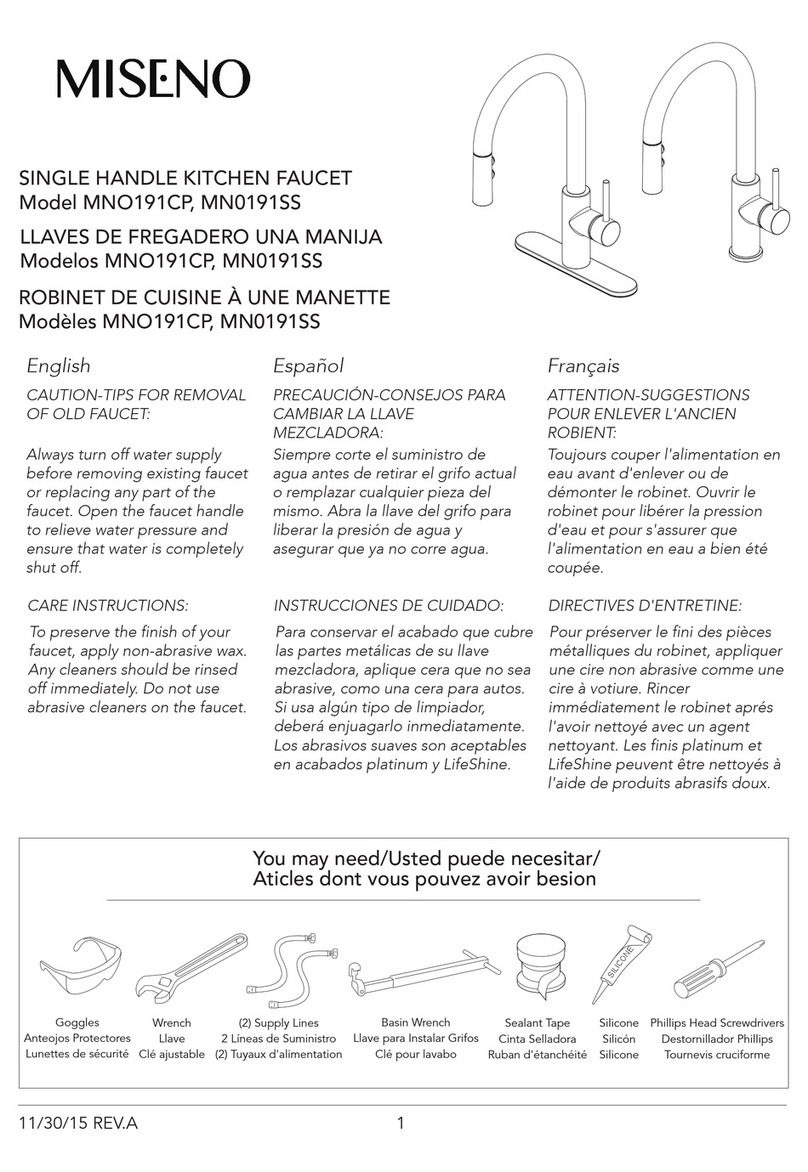
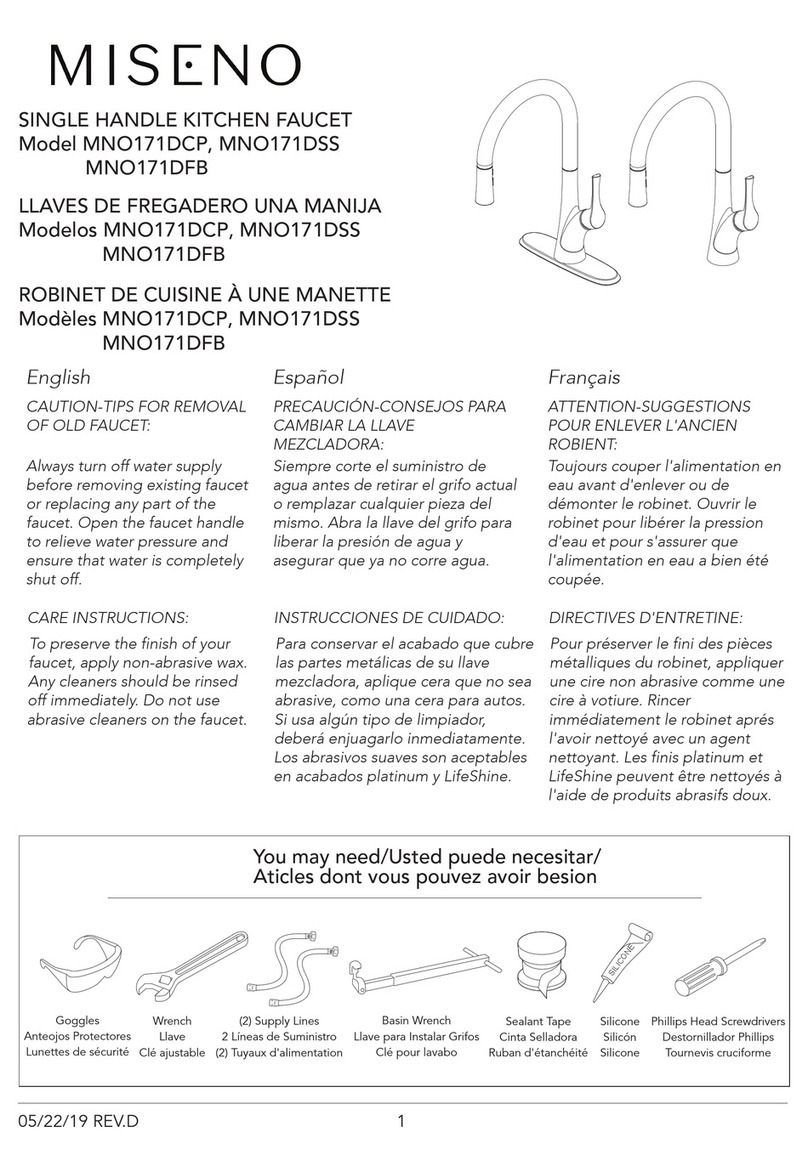
CAUTION-TIPS FOR REMOVAL OF OLD FAUCET:
Always turn off water supply before removing existing faucet or replacing any part of the faucet. Open the
faucet handle to relieve water pressure and ensure that water is completely shut off.
CARE INSTRUCTIONS:
To preserve the finish of your faucet, apply non-abrasive wax. Any cleaners should be rinsed off immediately
Do not use abrasive cleaners on the faucet.
2
Shut off water supplies. Place new faucet through holes in top of sink. Install metal
washer (1) onto the threaded mounting shank. Thread nut (2) onto mounting shank.
Lock nut into position by tightening screws (3). Do not overtighten. If installing the
faucet with the escutcheon, begin with step 1b.
23a
1a 1b
Shut off water supplies. Place the escutcheon (4) and the gasket (5) on the bottom
of the new faucet assembly. Place new faucet through holes in top of sink. Install
metal washer (1) onto the threaded mounting shank. Thread nut (2) onto mounting
shank. Lock nut into position by tightening screws (3). Do not over tighten.
Note: If the sink surface is uneven or irregular, plumber’s putty or a silicone sealant
may be used to create a watertight seal. Plumber’s putty may have an adverse
reaction with plastic gaskets under the spout base so if your faucet has a plastic
gasket, use a high quality silicone sealant. Plumber’s putty also may have an
adverse reaction with some cultured marble or natural stone. In these cases a high
quality silicone sealant is recommended.
05/09/22 REV.A
1
2
Connect the hose with the yellow tag to the hose on the control box (H) with a
matching yellow tag. Push firmly together until they snap into place. Connect the
hose with the green tag to the hose on the control box (H) with a matching green
tag. Push firmly together until they snap into place.
Install the data cable (1) to the control box connection (2). Ensure the arrows on the
data cable and control box connection are aligned to one another to ensure proper
installation. Ensure they are tightly connected by firmly pushing together. Secure the
connection by hand tightening the nut (3) in a clockwise direction onto the threaded
sensor cable.
NOTE: The side of the control box (H) with "in" and "out" showing must face the
front of the cabinet (away from the back of the cabinet). If the connections are not
made properly, the sensor feature will not work.
(2N. m
Max)
(2N. m
Max)
4
5
“Green”
“Green”
2
3
1
H
“Yellow”
“Yellow”
1
2
3
1
3
2
305/09/22 REV.A
3b
Drill a hole in the wall using a 6 mm (15/64 in.) diameter drill bit. Install the battery
pack (M) using the molly anchor (1) and screw (2) provided. Insert the battery pack
cable (3) into the control box connection (4).
NOTE: After installing the battery pack, the light on the sensor will flash and the
faucet control box will make a "click" sound when you move your hand in the
sensor area. If not, check to ensure the batteries are installed correctly.
4
5
To open the battery housing, squeeze the tabs (1) on the cover (2), then remove the
cover (2). Install the four AA batteries (M) included by matching the positive (+) and
Negative (-) ends on the battery (M) to the (+) and (-) markings in the battery pack
(N). The negative ends of the battery (M) should always connect to the spring end
of the battery slots in the battery pack (N). Reinstall the battery pack cover (2) by
pushing up and snapping into place.
NOTE: When the sensor flashes 10 times continuously and slowly, the batteries
have lost their charge. Replace the batteries (M).
OPTIONAL: If you want to use the faucet without the sensor feature or without
power, you can attach the quick connector (1) to the receiving block (2). This
bypasses the sensor feature and enables the faucet to work by operating the handle.
+
-
-
+
+
-
-
+
2
+-
+
+
-
-
3
4
4
1
5
(15/64 in.) dia.
6mm
1
2
Install the weight clip (G) at the point of the hose (1) marking “weight here”. Insert
the weight (F) onto the clip (G) by sliding it down onto the clip (G).
Weight
here
Weight
here
6
“Weight here”
2
1
1
2
2
M
N
N
3
4
2
1
M
L
F
F
G
G1
405/09/22 REV.A
7
Making the waterline connections
Thread the nut (1) on supply line onto outlet of water supply valve (2) and tighten
with wrench. Do not over tighten.
8
IMPORTANT: After installation is complete, remove the sprayer by unscrewing it in a
counter-clockwise direction. Turn on the water supply to flush debris from the
faucet. Run the hot and cold water for at least one minute each. This flushes away
any debris that could cause damage to internal parts.
Squeeze
Pull down
10
If it is necessary to remove the quick connector (1), squeeze the tabs (2) on the quick
connector and then pull down to disconnect.
Turn the handle (1) away from the faucet to the full on position. Turn the water on
by activating the sensor (2) by waving your hand within 2-3/8 inches of the sensor.
Move handle towards you and away from you, the water flow pattern can be
switched from the cold water to hot water. If the sensor does not work, then you
can refer to the troubleshooting. If you want to use the faucet without the sensor
feature, then you can refer to step 3b. Then, turning on the water can be done by
moving the handle away from the faucet to the full on position.
NOTE: As a water saving feature, the water will turn off automatically after 3
minutes of continuous flow.
9
min.
45
30
0
15
3
2-3/8 in. MAX
Cold
Hot
2
1
2
1
1
90
1
2
505/09/22 REV.A
1. Maintenance:
Water will not shut off when turning the handle to the OFF position.
1a. When you turn the handle to the full on position, the water will turn on.
1b. But when you turn the handle to the full off position, the water does not turn off.
1c. If faucet leaks underneath handle or water does not completely shut off: replace
cartridge (1).
1a 1b
2. Maintenance:
The light on the sensor is flashing continuously.
If the handle is closed, turn the handle to the on position and move your hand in the
sensor area. If the sensor flashes 10 times continuously and slowly, then replace the
4 "AA" batteries.
Replace the batteries
-
2
1
Flash 10 times continuously and slowly.
N
1c
1
605/09/22 REV.A
3. Maintenance:
The sensor is not activating the water flow.
3a. When you turn the handle to the full on position, the water will turn on.
3b. However, when you move your hand in front of the sensor, the water does not
turn off as it should.
3c.This indicates that the control box is damaged. Call customer service to request
a replacement control box. Replace the old control box with the new control box.
H
3a 3b
3c
705/09/22 REV.A
4. Maintenance:
There is a low flow of water.
4a. There is a low flow of water or LED indicator in the spray head is not functioning.
4b. This could indicate that the screen filter in the hose connectors is dirty. Turn off the
water supply and unscrew the hose connectors from water supply lines. Clean the screen
filter in the hose connectors under running water.
4c. This could indicate that the washer in the "in" end of the control box is dirty or
damaged. Remove the hose and unscrew the connector. Take out the washer from the
control box. Clear the washer or replace the washer. Reassemble the connector and hose.
4d. Or the screen filter in the spray head is dirty. Turn off the water supply and unscrew the
spray head from spray hose. Clean the screen filter in the spray head under running water.
Connector
Washer
Control box
Hose
4a
4c
Screen filter
4b
Screen filter
4d
Hose
Spray head
* Specify Finish
OBPF220081
Cartridge
OBPF6F38018*
Spray Head
OBPF13064*
Handle
OBPF1F80017*
Escutcheon
0BPF170817
Weight
OBPF1RP70221
2.5mm Hex Allen Wrench
OBPF170707 OBPF170708
Battery pack Sensor control box
805/09/22 REV.A

This manual suits for next models

3

Other miseno Plumbing Product manuals

miseno MNO381PBORB User manual

miseno

miseno MNO381PBORB User manual

miseno KIDO- 2510 User manual

miseno

miseno KIDO- 2510 User manual

miseno MNOSH715-CP User manual

miseno

miseno MNOSH715-CP User manual

miseno MNO601CH User manual

miseno

miseno MNO601CH User manual

miseno MNOTS250CP User manual

miseno

miseno MNOTS250CP User manual

miseno MNO811CP/BN User manual

miseno

miseno MNO811CP/BN User manual

miseno Mia MNO1343SLCP User manual

miseno

miseno Mia MNO1343SLCP User manual

miseno MNO163620F6040 User manual

miseno

miseno MNO163620F6040 User manual

miseno MT650CP User manual

miseno

miseno MT650CP User manual

miseno MNO163219SR5050 User manual

miseno

miseno MNO163219SR5050 User manual

miseno MNO2113RU User manual

miseno

miseno MNO2113RU User manual

miseno MNO611 CP User manual

miseno

miseno MNO611 CP User manual

miseno MNO441 BN User manual

miseno

miseno MNO441 BN User manual

miseno MNO361 CP User manual

miseno

miseno MNO361 CP User manual

miseno MNO183119WS User manual

miseno

miseno MNO183119WS User manual

miseno MNO1714OU User manual

miseno

miseno MNO1714OU User manual

miseno MNO5882CP User manual

miseno

miseno MNO5882CP User manual

miseno MNO003DCP User manual

miseno

miseno MNO003DCP User manual

miseno MNOSH625ECP User manual

miseno

miseno MNOSH625ECP User manual

miseno MNOSH515-CP User manual

miseno

miseno MNOSH515-CP User manual
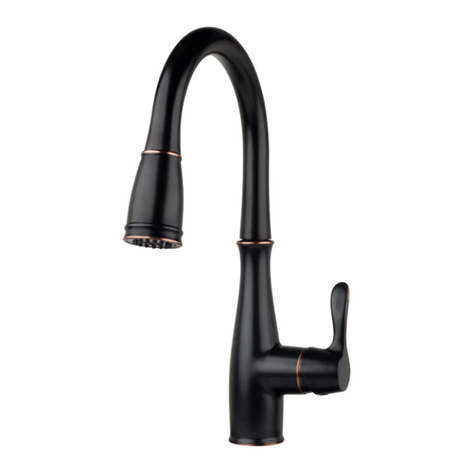
miseno MNO191CP User manual

miseno

miseno MNO191CP User manual

miseno MNO351CP User manual

miseno

miseno MNO351CP User manual

miseno MNO621A User manual

miseno

miseno MNO621A User manual

miseno MNOSA216CP User manual

miseno

miseno MNOSA216CP User manual

Popular Plumbing Product manuals by other brands

EOS P1 Installation and user guide

EOS

EOS P1 Installation and user guide

Grohe Minta instructions

Grohe

Grohe Minta instructions

Jacuzzi J-DREAM owner's manual

Jacuzzi

Jacuzzi J-DREAM owner's manual

Hans Grohe Rainfinity Digital 360 3jet 25032 Series Instructions for use

Hans Grohe

Hans Grohe Rainfinity Digital 360 3jet 25032 Series Instructions for use

California Faucets Solimar CF-TO-V7002-9 installation instructions

California Faucets

California Faucets Solimar CF-TO-V7002-9 installation instructions

DXV Randall D35102980 installation instructions

DXV

DXV Randall D35102980 installation instructions

Halsey Taylor 4705 owner's manual

Halsey Taylor

Halsey Taylor 4705 owner's manual

DURAVIT Happy D.2 Plus HP 4951 Mounting instructions

DURAVIT

DURAVIT Happy D.2 Plus HP 4951 Mounting instructions

Kohler Oblo K-124B16-SANA-CP installation guide

Kohler

Kohler Oblo K-124B16-SANA-CP installation guide

aquabrass loveme 32020 installation guide

aquabrass

aquabrass loveme 32020 installation guide

Gessi RETTANGOLO 30988 manual

Gessi

Gessi RETTANGOLO 30988 manual

Hans Grohe Solaris 06649XX0 Specification sheet

Hans Grohe

Hans Grohe Solaris 06649XX0 Specification sheet

Fricosmos 061212 quick start guide

Fricosmos

Fricosmos 061212 quick start guide

Jacuzzi MOOD S installation manual

Jacuzzi

Jacuzzi MOOD S installation manual

Hans Grohe Cento XXL 2jet 14806000 Instructions for use/assembly instructions

Hans Grohe

Hans Grohe Cento XXL 2jet 14806000 Instructions for use/assembly instructions

Sanela SLP 07Z Instructions for use

Sanela

Sanela SLP 07Z Instructions for use

Crosswater Heir 18-31 installation instructions

Crosswater

Crosswater Heir 18-31 installation instructions

KEUCO IXMO 59509 013000 Mounting instruction

KEUCO

KEUCO IXMO 59509 013000 Mounting instruction

manuals.online logo
manuals.online logoBrands
  • About & Mission
  • Contact us
  • Privacy Policy
  • Terms and Conditions

Copyright 2025 Manuals.Online. All Rights Reserved.