© MOBATIME 4 / 8 BE-800752.06
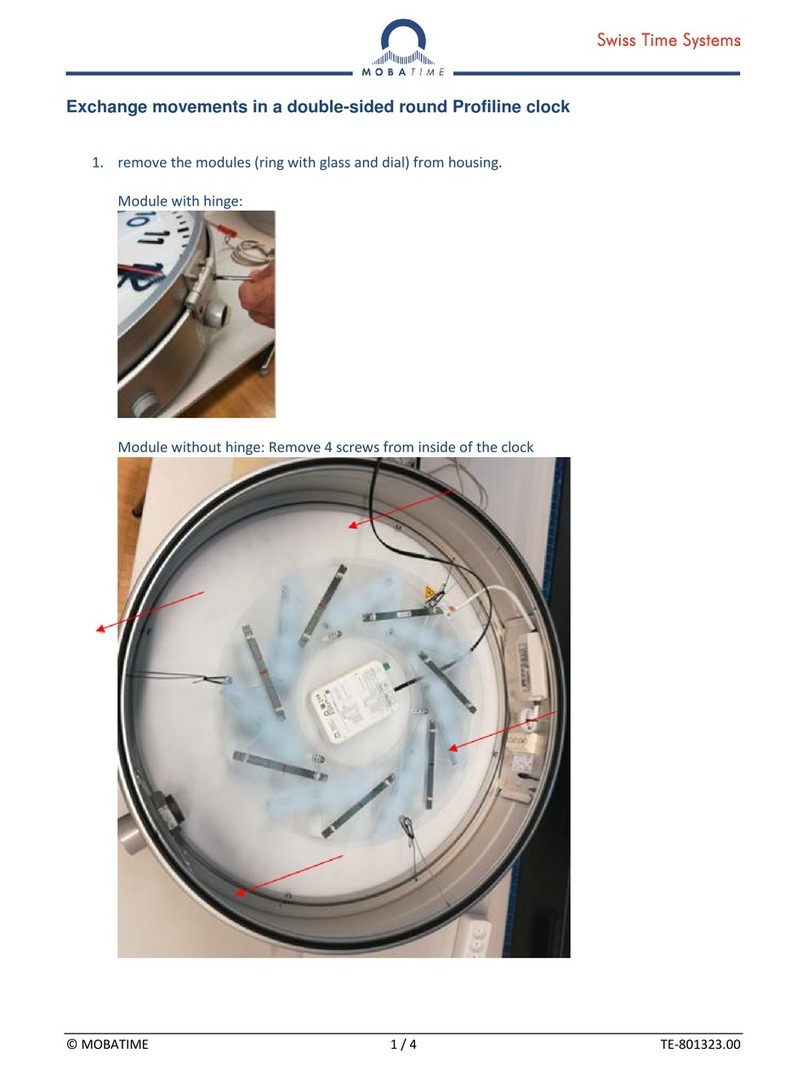
3 Installation
1. Set the DIP switch 1 to ON or set the slave clock line of the
MOBALine master clock to the STOP state
2. Connect the clock to the time signal (MOBALine or DCF active).
(The input is located at the 6 o’clock position)
3. Wait until the movement stops
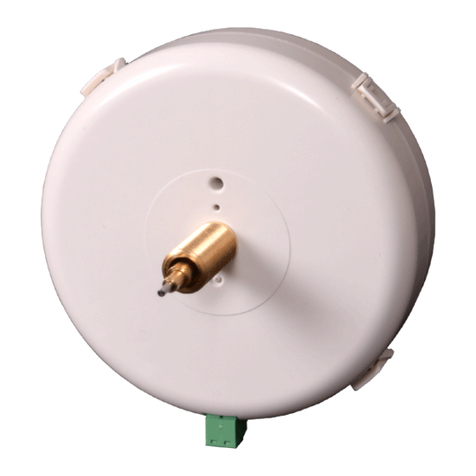
4. Insert metal pins carefully without force into the two holes on the back
side (ill. 1). It should be possible to insert the pins about 6-7mm deep.
Maybe move the hands slightly.
5. Mount the parts to the shafts in the following order:
- rubber washer
- dial
- metal ring
- ring nut (torque 4.5 Nm +/- 0.2)
- hour hand
- minute hand
- second hand
During the assembly, the movement must rest on
a stable surface (ill. 2).
Otherwise the movement can be damaged!
6. Adjust the hands to 12 o’clock
7. Remove the pins
8. Set the DIP switch 1 to OFF or set the slave clock line of the MOBALine master clock to
the RUN state
4 Maintenance
If maintenance is necessary, repeat the steps 1-8 in chapter 2.
5 World time function
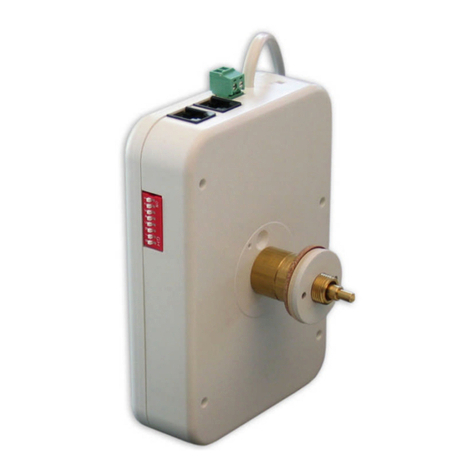
The movements SEM 40 / SAM 40 support the MOBALine world time function. On the master clock
(e.g. DTS, ETC, CTC or MTC) you can configure up to 20 different world time zones with different lo-
cal time offsets (e.g. New York, London, Brussels, Tokyo, etc.) which will be transmitted to the slave
clocks by means of MOBALine world time telegrams.
With the switches 4 to 8 one out of the 20 world time zones can be selected. Further details regarding
the configuration of the world time function can be found in the manuals of the corresponding master
clocks.
With the selection of an invalid time zone or one, which is not defined on the master clock, the normal
MOBALine line time will be displayed. The same happens with the standard settings (DIP switches 4
to 8 set to OFF position).
Illustration 1
Illustration 2
1 second hand 6 dial
2 minute hand 7 rubber washer
3 hour hand 8 MOBALine input
4 nut 9 rest
5 metal ring (optional) 10 metal pins
1
10
2
8
7
6
54
3
9
~4mm
~3mm
hours/minutes
seconds

