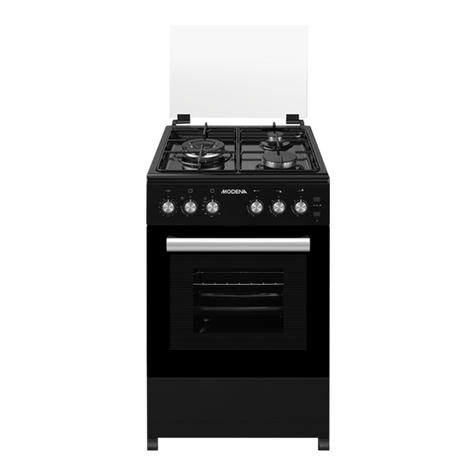
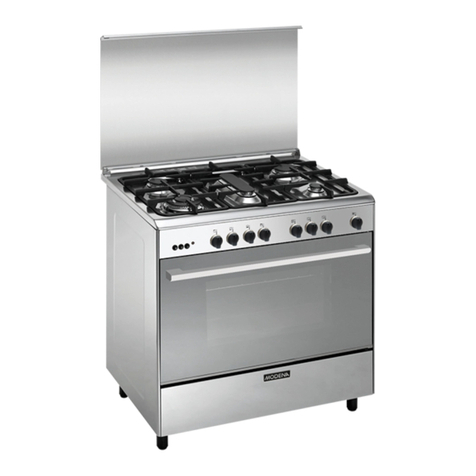
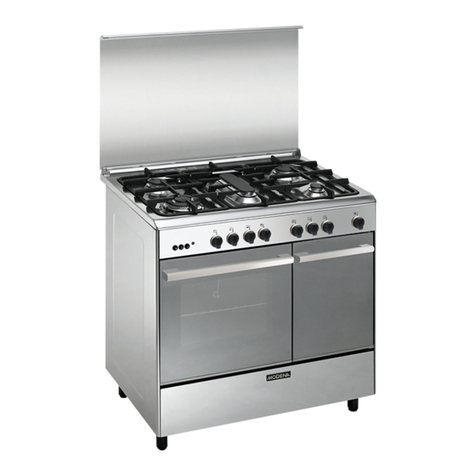
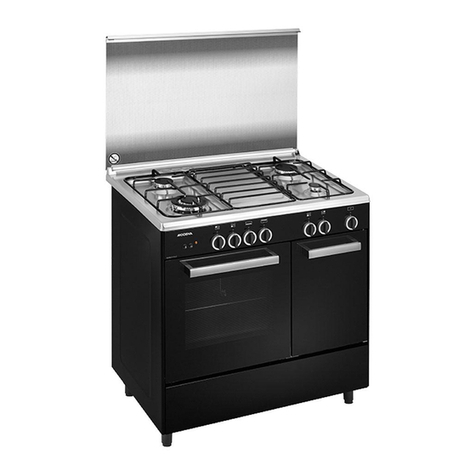
Modena Carrara Series Owner's manual
Other Modena Cooker manuals

Modena
Modena Essente Series Owner's manual
Modena
Modena Carrara Series Owner's manual
Modena
Modena PI 1315 Owner's manual
Modena
Modena BV 3435 Owner's manual
Modena
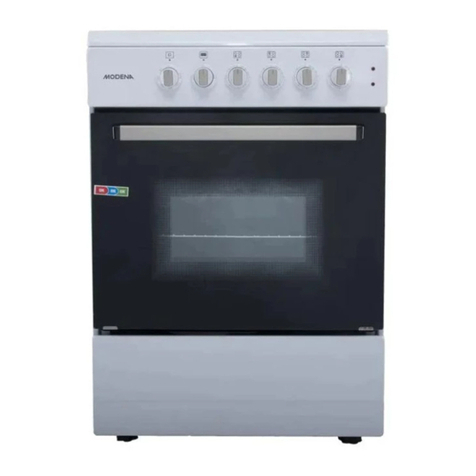
Modena FC 864C WER Owner's manual
Modena
Modena Satina - BE 1320 User manual
Modena
Modena Giusto Series Owner's manual
Modena
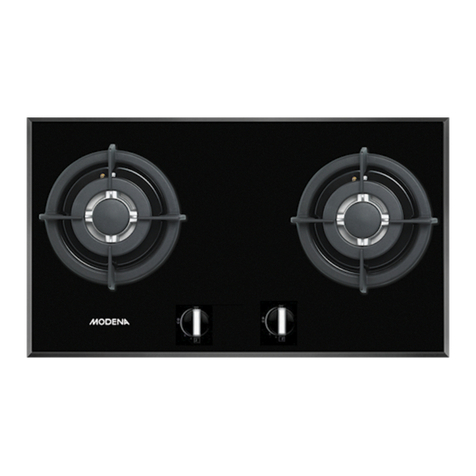
Modena BH Series User manual

Modena
Modena FC 7645 SGM Owner's manual
Modena
Modena FC 2940 LV Owner's manual
Popular Cooker manuals by other brands

Electrolux
Electrolux Insight EKG6049 user manual

Stanley
Stanley Donard 60 Installation and operating instructions

Bartscher
Bartscher 201TC manual

Parkinson Cowan
Parkinson Cowan 50 GR/BU installation instructions
Siemens
Siemens HK9P00020U instruction manual

Creda
Creda S150E Installation and user instructions

RiverGrille
RiverGrille TF2002501-RG Assembly instruction

Vollrath
Vollrath 69504F Operator's manual
Tricity Bendix
Tricity Bendix CSIE500 Operating and installation instructions
AEG
AEG Competence 5731 V Instruction book

Euromaid
Euromaid ES60 Installation and operation manual

Hotpoint
Hotpoint HUI 62 TP Instructions for installation and use
