manuals.online logo
Brands
  1. Home
  2. •
  3. Brands
  4. •
  5. Monacor
  6. •
  7. Controllers
  8. •
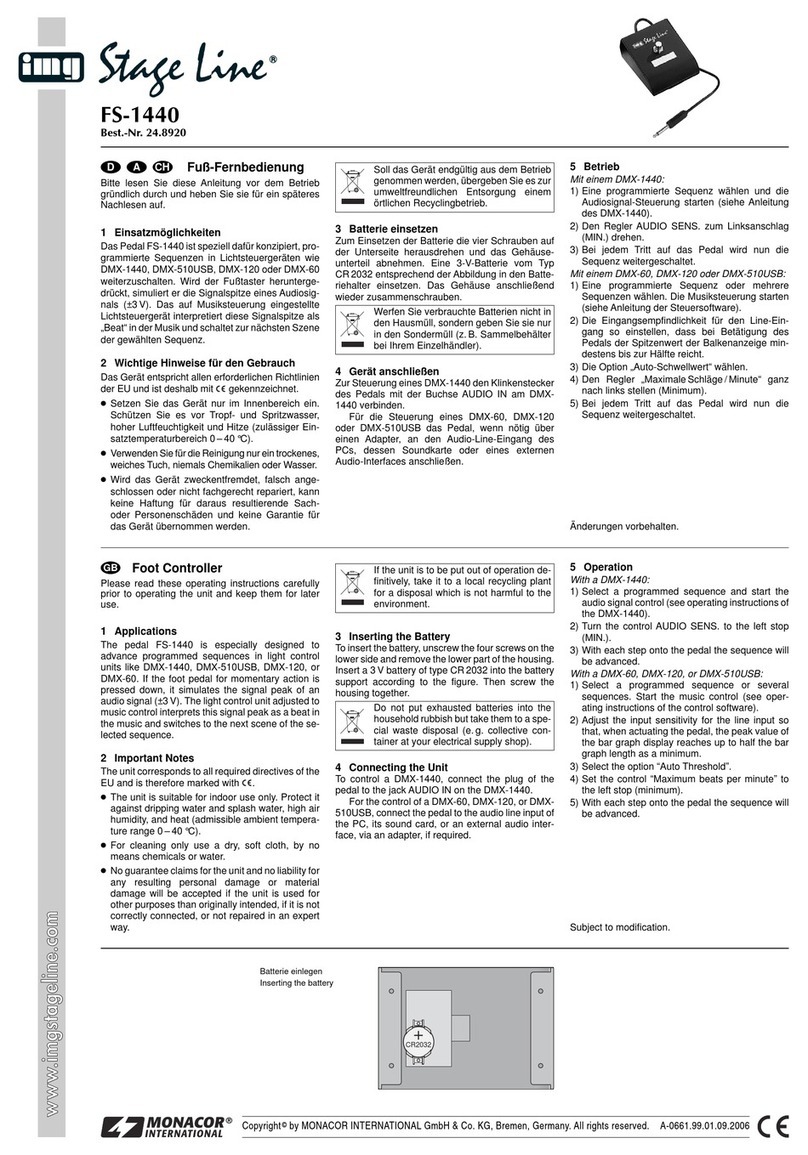
  9. Monacor img Stage Line FSC-3 User manual

Monacor img Stage Line FSC-3 User manual

Fuß-Fernbedienung
BittelesenSiedieseAnleitungvordemBetriebgründ-
lich durch und heben Sie sie für ein späteres Nach-
lesen auf.
1Einsatzmöglichkeiten
Diese Fuß-Fernbedienung kann anstelle der Fernbe-
dienung LC-3 für Lichteffektgeräte von „img Stage
Line“ verwendet werden.
2Wichtige Hinweise für den Gebrauch
Die Fernbedienung entspricht allen erforderlichen
Richtlinien der EU und ist deshalb mit gekenn-
zeichnet.
●Verwenden Sie die Fernbedienung nur im Innenbe-
reich.SchützenSie sie vorTropf-undSpritzwasser,
hoher Luftfeuchtigkeit und Hitze (zulässiger Ein-
satztemperaturbereich 0–40°C).
●Verwenden Sie zum Reinigen nur ein trockenes,
weiches Tuch, niemals Chemikalien oder Wasser.
●Wird die Fernbedienung zweckentfremdet, falsch
bedient oder nicht fachgerecht repariert, kann
keine Haftung für daraus resultierende Sach- oder
Personenschäden und keine Garantie für die Fern-
bedienung übernommen werden.
3Inbetriebnahme
1) Den 6,3-mm-Klinkenstecker der Fernbedienung in
die zugehörige Buchse des Lichteffektgerätes ste-
cken. Diese ist meistens mit REMOTE CONTROL
beschriftet.
Hinweis: Bei DMX-steuerbaren Lichteffektgeräten
darf an deren DMX-Eingang kein DMX-Steuersig-
nal anliegen, sonst kann keine Bedienung über die
FSC-3 erfolgen.
2) Mit den drei Tasten 1, 2und 3das Lichteffektgerät
steuern. Diese Tasten entsprechen denen auf der
Fernbedienung LC-3 (siehe Abbildung unten).
Taste 1= MODE: Modus wählen; je nach gewähl-
tem Modus leuchtet, blinkt oder erlischt die grüne
LED auf der Fernbedienung
Taste 2= FUNCTION: je nach gewähltem Modus
Aktivierung einer Funktion (z.B. Farb- oder Gobo-
wechsel)
Taste 3= STAND BY: Ein- und Ausschalten der
Funktion Blackout; bei eingeschalteter Funktion
leuchtet die rote LED auf der Fernbedienung und
der Lichtstrahl des Effektgerätes ist abgeblendet
oder abgeschaltet
Die einzelnen Modi und Funktionen sind in der Be-
dienungsanleitung des Lichteffektgerätes genau
beschrieben.
Änderungen vorbehalten.
Soll die Fernbedienung endgültig aus dem
Betrieb genommen werden, übergeben Sie
sie zur umweltfreundlichen Entsorgung
einem örtlichen Recyclingbetrieb.
FSC-3
Best.-Nr. 24.8930
wwwwww..iimmggssttaaggeelliinnee..ccoomm
LC-3
CONTROLLER
1 2 3
FUNCTION
MODE
STAND
BY
Copyright©by MONACOR INTERNATIONAL GmbH & Co. KG, Bremen, Germany. All rights reserved. A-0662.99.01.09.2006
®
Foot Controller
Please read these operating instructions carefully
prior to operating the unit and keep them for later use.
1Applications
This foot controller can be used for light effect units
from “img Stage Line” instead of the remote control
LC-3.
2Important Notes
The remote control corresponds to all required direc-
tives of the EU and is therefore marked with .
●The remote control is suitable for indoor use only.
Protect it against dripping water and splash water,
high air humidity, and heat (admissible ambient
temperature range 0–40°C).
●For cleaning only use a dry, soft cloth, by no means
chemicals or water.
●No guarantee claims for the remote control and no
liability for any resulting personal damage or mate-
rial damage will be accepted if the unit is used for
other purposes than originally intended, if it is not
correctlyoperated,ornotrepairedin an expert way.
3Setting into Operation
1) Connect the 6.3mm plug of the remote control to
the corresponding jack of the light effect unit. This
jack is labelled with REMOTE CONTROL in most
cases.
Note: In case light effect units are used which can
be controlled by DMX, no DMX control signal must
be present at the respective DMX input, otherwise
operation via the FSC-3 is not possible.
2) With the three buttons 1, 2, and 3, control the light
effect unit. These buttons correspond to those on
the remote control LC-3 (see fig. below).
Button 1= MODE: select the mode; depending on
the selected mode, the green LED on the remote
control will light up, flash, or will be extinguished.
Button 2= FUNCTION: depending on the selected
mode, activation of a function (e.g. change of
colour or gobo)
Button 3= STAND BY: switching the function
Blackout on and off; with the function switched on,
the red LED on the remote control lights up and the
light beam of the effect unit is stopped down or
switched off
The individual modes and functions are in detail
described in the operating instructions of the light
effect unit.
Subject to modification.
If the remote control is to be put out of oper-
ation definitively, take it to a local recycling
plant for a disposal which is not harmful to
the environment.
FTélécommande à pied
Veuillez lire la présente notice avec attention avant le
fonctionnement et conservez-la pour pouvoir vous y
reporter ultérieurement.
1Possibilités d’utilisation
Cette télécommande à pied peut être utilisée à la
place de la télécommande LC-3 pour jeux de lumière
de “img Stage Line”.
2Conseils d’utilisation importants
La télécommande répond à toutes les directives
nécessaires de l’Union Européenne et porte donc le
symbole .
●La télécommande n’est conçue que pour une utili-
sation en intérieur. Protégez-la de tout type de pro-
jections d’eau, des éclaboussures, d’une humidité
élevée d’air et la chaleur (plage de température de
fonctionnement autorisée : 0–40°C).
●Pourlanettoyer,utilisez uniquement un chiffonsec et
doux, en aucun cas de produits chimiques ou d’eau.
●Nous déclinons toute responsabilité en cas de
dommages matériels ou corporels résultants si la
télécommande est utilisée dans un but autre que
celui pour lequel elle a été conçue, si elle n’est pas
correctement utilisée ou n’est pas réparée par une
personne habilitée ; en outre, la garantie devien-
drait caduque.
3Fonctionnement
1) Reliez la fiche jack 6,35mm de la télécommande
à la prise correspondante du jeu de lumière.
Généralement, elle est repérée par REMOTE
CONTROL.
Conseil : Pour des jeux de lumière à gestion DMX,
aucun signal DMX ne doit être présent à leur en-
trée DMX, sinon aucune utilisation via la FSC-3 ne
peut être effectuée.
2) Avec les trois touches 1, 2, 3, gérez le jeu de
lumière. Ces touches correspondent à celles sur la
télécommande LC-3 (voir schéma ci-dessous).
Touche 1= MODE : sélection du mode : selon le
mode choisi, la LED verte sur la télécommande
brille, clignote ou s’éteint.
Touche 2= FUNCTION : selon le mode choisi,
activation d’une fonction (par exemple change-
ment de couleur ou de gobo)
Touche 3= STAND BY : marche/arrêt de la fonc-
tion Blackout ; si la fonction est activée, la LED
rouge sur la télécommande brille et le faisceau
lumineux du jeu de lumière est coupé ou éteint.
Les différents modes de fonctionnement et les
fonctions sont décrits avec précision dans la notice
d’utilisation du jeu de lumière.
Tout droit de modification réservé.
Lorsquelatélécommandeestdéfinitivement
retiré du service, vous devez le déposer
dans une usine de recyclage adaptée pour
contribuer à son élimination non polluante.
FSC-3 LC-3
®
GB
D A CH
F B CH
Telecomando a pedale
Vi preghiamo di leggere attentamente le presenti
istruzioni prima dell’uso e di conservarle per un uso
futuro.
1Possibilità d’impiego
Questo telecomando a pedale può essere usato al
posto del telecomando LC-3 per le unità per effetti
luce di “img Stage Line”.
2Avvertenze importanti per l’uso
Il telecomando è conforme a tutte le direttive richieste
dell’UE e pertanto porta la sigla .
●Usare il telecomando solo all’interno di locali. Pro-
teggerlo dall’acqua gocciolante e dagli spruzzi
d’acqua, da alta umidità dell’aria e dal calore (tem-
peratura d’impiego ammessa fra 0 e 40°C).
●Per la pulizia usare solo un panno morbido, asciut-
to; non impiegare in nessun caso prodotti chimici o
acqua.
●Nel caso d’uso improprio, d’impiego scorretto o di
riparazione non a regola d’arte del telecomando,
non si assume nessuna responsabilità per even-
tualidanniconsequenzialiapersoneo a cose e non
si assume nessuna garanzia per il telecomando.
3Messa in funzione
1) Inserire il jack 6,3mm del telecomando nella cor-
rispondente presa dell’unità per effetti luce. Nella
maggior parte dei casi, tale presa è contrasse-
gnata con la scritta REMOTE CONTROL.
N.B.: Nel caso di unità per effetti luce comandabili
tramite DMX, al loro ingresso DMX non deve
essere presente nessun segnale di comando
DMX; altrimenti non è possibile il comando tramite
l’ FSC-3.
2) Con i tre tasti 1, 2e 3si comanda l’unità. I tasti cor-
rispondono a quelli del telecomando LC-3 (vedi
illustrazione in basso).
Tasto 1= MODE: selezione della modalità; a
seconda della modalità scelta, il LED verde del te-
lecomando è acceso, lampeggia o è spento
Tasto 2= FUNCTION: a seconda della modalità
scelta, attivazione di una funzione (p.es. cambio
calore o gobo)
Tasto 3= STAND BY: attivare e disattivare la fun-
zione blackout; con la funzione attivata, il LED
rosso sul telecomando è acceso e il raggio di luce
dell’unità per effetti luce è mascherato o spento
Le singole modalità e funzioni sono descritte det-
tagliatamente nelle istruzioni dell’unità per effetti
luce.
Con riserva di modifiche tecniche.
Se si desidera eliminare il telecomando
definitivamente, consegnarlo per lo smal-
timento ad un’istituzione locale per il rici-
claggio.
FSC-3
Best.-Nr. 24.8930
wwwwww..iimmggssttaaggeelliinnee..ccoomm
LC-3
CONTROLLER
1 2 3
FUNCTION
MODE
STAND
BY
Copyright©by MONACOR INTERNATIONAL GmbH & Co. KG, Bremen, Germany. All rights reserved. A-0662.99.01.09.2006
®
Controlador de pie
Por favor, lea estas instrucciones de uso cuidadosa-
mente antes de utilizar la unidad y guárdelas para
usos posteriores.
1Aplicaciones
Este controlador de pie se puede usar para efectos de
luz de “img Stage Line” en vez del control remoto LC-3.
2Notas importantes
El control remoto corresponde a todas las Directivas
requeridas por la UE y por ello está marcado con .
●El control remoto sólo está indicado para su uso en
interior. Protéjalo contra goteos y salpicaduras de
agua, humedad elevada del aire, y calor (gama de
temperatura ambiente admisible 0–40°C).
●Para limpiar use sólo un paño seco y suave, no uti-
lice nunca productos químicos o agua.
●No se asumirá ninguna garantía para el control
remoto ni se aceptará ninguna responsabilidad en
caso de daños personales o patrimoniales causa-
dos si la unidad se usa para otros fines distintos a
los originalmente concebidos, si no se utiliza co-
rrectamente, o si no se repara de manera experta.
3Puesta en marcha
1) Conecte el enchufe de 6,3mm del control remoto
al jack correspondiente de la unidad de efecto de
luz. En la mayoría de los casos, este jack está
etiquetado como REMOTE CONTROL.
Nota: En caso de que se usen unidades de efecto
de luz que puedan ser controladas por DMX, no
debe haber ninguna señal DMX presente en la en-
trada DMX respectiva, de otro modo no es posible
el funcionamiento mediante FSC-3.
2) Con los tres botones 1, 2, y 3, controle la unidad de
efecto de luz. Estos botones corresponden a los
del control remoto LC-3 (vea la fig. abajo).
Botón 1= MODE: selecciona el modo; depen-
diendo del modo seleccionado, el LED verde en el
control remoto se encenderá, parpadeará, o se
apagará.
Botón 2= FUNCTION: dependiendo del modo se-
leccionado, activación de una función (p.ej. cam-
bio de color o gobo)
Botón 3= STAND BY: enciende y apaga la función
Blackout; con la función encendida, el LED rojo en
el control remoto se enciende y el haz de luz del
efecto de luz se detiene o se apaga
Los modos y las funciones individuales se descri-
ben en detalle en las instrucciones de funcio-
namiento de la unidad de efecto de luz.
Sujeto a modificación.
Si el control remoto se debe retirar definiti-
vamente del funcionamiento, llévelo a un
centro de reciclaje local para su disposición
no contaminante para el medio ambiente.
Sterownik nożny
Przed użyciem urządzenia należy przeczytać
instrukcję obsługi i zachować ją do wglądu.
1 Zastosowanie
Sterownik nożny przeznaczony jest do efektów
świetlnych “img Stage Line” w zastępstwie pilota
zdalnego sterowania LC-3.
2 Bezpieczeństwo użytkowania
Urządzenie spełnia wymogi norm obowiązujących w
Unii Europejskiej, posiada więc oznaczenie .
●Urządzenie przeznaczone jest do użytku jedynie
wewnątrz pomieszczeń. Należy chronić je przed
bezpośrednim kontaktem z wodą, działaniem wil-
goci oraz wysokiej temperatury (dopuszczalna
temperatura otoczenia pracy: 0 – 40ºC).
●Do czyszczenia urządzenia należy używać suchej,
miękkiej tkaniny. Nie wolno stosować wody ani
chemicznych środków czyszczących.
●Producent ani dostawca nie ponoszą odpowie-
dzialności za wynikłe szkody (uszkodzenie sprzętu
lub obrażenia użytkownika), jeśli urządzenie
używano niezgodnie z przeznaczeniem, niepra-
widłowo podłączono, bądź poddano nieautoryzo-
wanej naprawie.
3 Przygotowanie do pracy
1) Należy podłączyć wtyk 6,3 mm urządzenia do
zdalnego sterowania do odpowiedniego gniazda
efektu świetlnego. Gniazda te posiadają oznacze-
nie REMOTE CONTROL.
Uwaga: W przypadku efektów świetlnych stero-
wanych sygnałem DMX, na wejściu DMX nie może
być obecny sygnał DMX, w przeciwnym razie nie
będzie możliwa praca z urządzeniem FSC-3.
2) Do sterowania efektem świetlnym służą klawisze
1, 2i 3. Klawisze te odpowiadają przyciskom na
pilocie zdalnego sterowania LC-3 (zob. schemat).
Klawisz 1= MODE: wybór trybu pracy; w zale-
żności od wybranego trybu zielony wskaźnik LED
na urządzeniu do zdalnego sterowania będzie się
świecić, migać lub zgaśnie.
Klawisz 2= FUNCTION: w zależności od wybra-
nego trybu pracy – włączenie funkcji (np. zmiana
koloru lub figury gobo)
Klawisz 3= STAND BY: włączanie i wyłączanie
funkcji zaciemniania; przy włączonej funkcji
zapali się czerwony wskaźnik LED na urządzeniu
do zdalnego sterowania i nastąpi zatrzymanie lub
wyłączenie wiązki światła efektu świetlnego.
Szczegółowy opis trybów oraz funkcji znajduje się
w instrukcji obsługi efektu świetlnego.
Z zastrzeżeniem możliwości zmiany.
Po całkowitym zakończeniu eksploatacji
urządzenia należy oddać je do punktu uty-
lizacji odpadów, aby uniknąć zanieczys-
zczenia środowiska.
FSC-3 LC-3
E
I
PL
This manual suits for next models

1

Other Monacor Controllers manuals

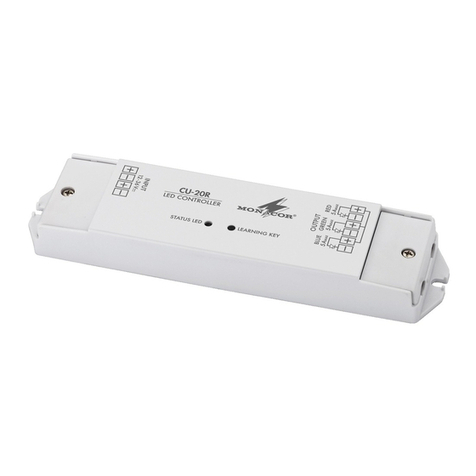
Monacor CU-3MINI User manual

Monacor

Monacor CU-3MINI User manual

Monacor img Stage Line CU-1RC User manual

Monacor

Monacor img Stage Line CU-1RC User manual

Monacor CU-1MINI User manual

Monacor

Monacor CU-1MINI User manual

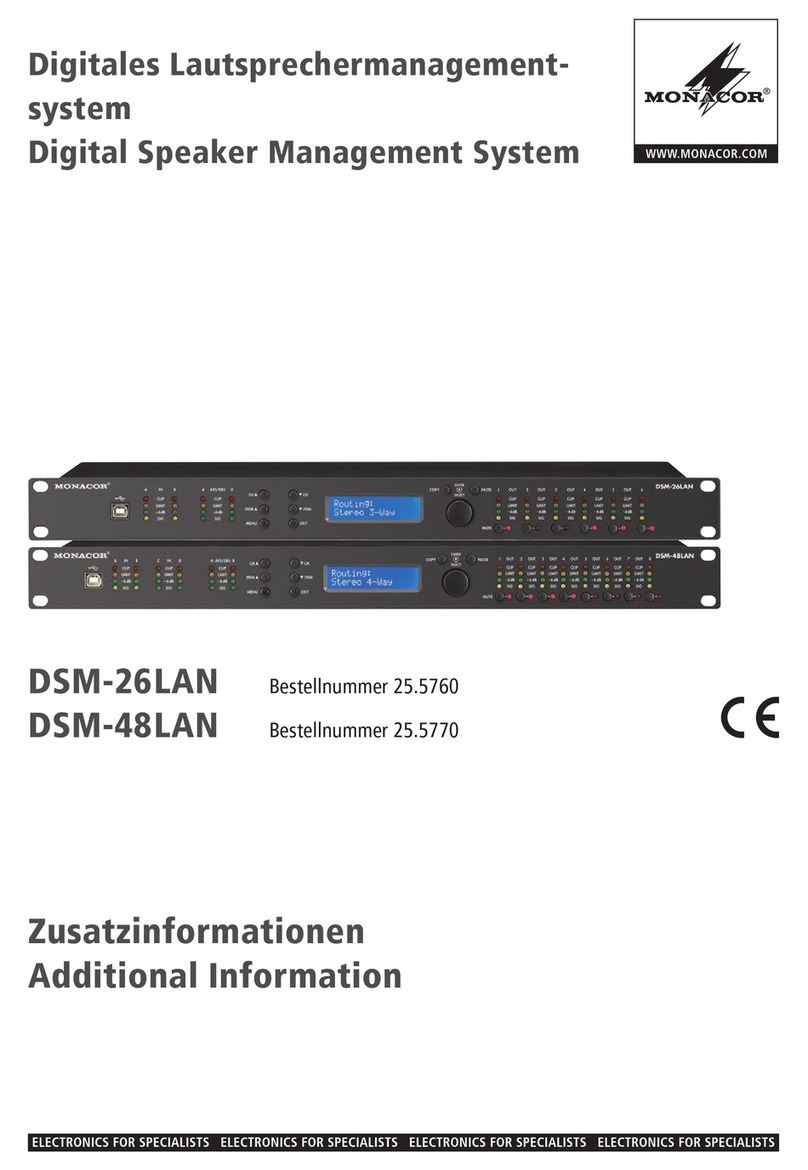
Monacor DSM-26LAN Installation manual

Monacor

Monacor DSM-26LAN Installation manual

Monacor PA-100ANC User manual

Monacor

Monacor PA-100ANC User manual

Monacor KB-100 User manual

Monacor

Monacor KB-100 User manual

Monacor PA VCA-202RN User manual

Monacor

Monacor PA VCA-202RN User manual

Monacor KU-516 User manual

Monacor

Monacor KU-516 User manual

Monacor CU-10R User manual

Monacor

Monacor CU-10R User manual

Monacor CU-20R User manual

Monacor

Monacor CU-20R User manual

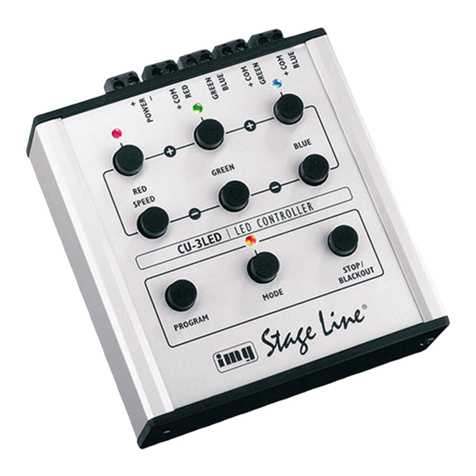
Monacor img Stage Line CU-3LED User manual

Monacor

Monacor img Stage Line CU-3LED User manual

Monacor VCA-202RN User manual

Monacor

Monacor VCA-202RN User manual

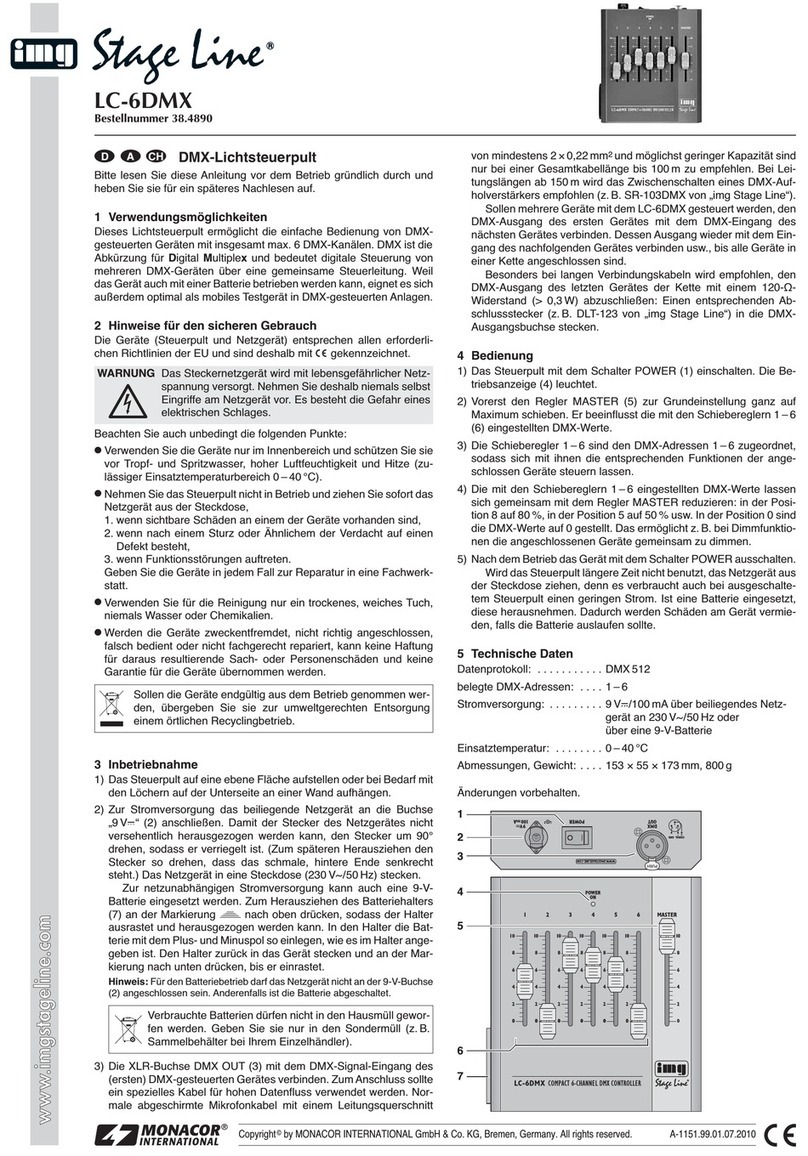
Monacor img Stage Line LC-6DMX User manual

Monacor

Monacor img Stage Line LC-6DMX User manual

Monacor img Stage Line STROBE-1C User manual

Monacor

Monacor img Stage Line STROBE-1C User manual

Monacor CU-3MINI User manual

Monacor

Monacor CU-3MINI User manual

Monacor IMG Stageline FS-1440 User manual

Monacor

Monacor IMG Stageline FS-1440 User manual

Monacor IMG STAGELINE CU-3IR User manual

Monacor

Monacor IMG STAGELINE CU-3IR User manual

Popular Controllers manuals by other brands

Brooks 5850EMH quick start guide

Brooks

Brooks 5850EMH quick start guide

Trio Flex-6 Nano P601 quick start guide

Trio

Trio Flex-6 Nano P601 quick start guide

Brodersen RTU32R Installation and wiring guide

Brodersen

Brodersen RTU32R Installation and wiring guide

dbx DriveRack 260 user manual

dbx

dbx DriveRack 260 user manual

Dontek V2-1 quick start guide

Dontek

Dontek V2-1 quick start guide

Yudo ACT-D800 instruction manual

Yudo

Yudo ACT-D800 instruction manual

Siemens SQK349.00/209 Mounting instructions

Siemens

Siemens SQK349.00/209 Mounting instructions

Philips dynalite LFC8400 installation guide

Philips

Philips dynalite LFC8400 installation guide

AVer CL01 user manual

AVer

AVer CL01 user manual

Digi-Sense TC9600 Advanced quick start guide

Digi-Sense

Digi-Sense TC9600 Advanced quick start guide

Ingersoll-Rand EC24N user manual

Ingersoll-Rand

Ingersoll-Rand EC24N user manual

Towelrads SMART Thermostatic manual

Towelrads

Towelrads SMART Thermostatic manual

ZIEHL-ABEGG DControl PKDT Series operating instructions

ZIEHL-ABEGG

ZIEHL-ABEGG DControl PKDT Series operating instructions

Allen-Bradley SLC 500 user manual

Allen-Bradley

Allen-Bradley SLC 500 user manual

AMX UPC20 Plus quick start guide

AMX

AMX UPC20 Plus quick start guide

Datapath VSN Series quick start guide

Datapath

Datapath VSN Series quick start guide

Parker 598P Applications manual

Parker

Parker 598P Applications manual

Mold-Masters E_DRIVE user manual

Mold-Masters

Mold-Masters E_DRIVE user manual

manuals.online logo
manuals.online logoBrands
  • About & Mission
  • Contact us
  • Privacy Policy
  • Terms and Conditions

Copyright 2025 Manuals.Online. All Rights Reserved.