3
Installation and Operation Guide
!
Precautions:
1. The electrical installation of actuators must be completed first, and then the system
learning must be completed before the actuators can be installed on the frame,
otherwise damage may occur because the system is not synchronized.
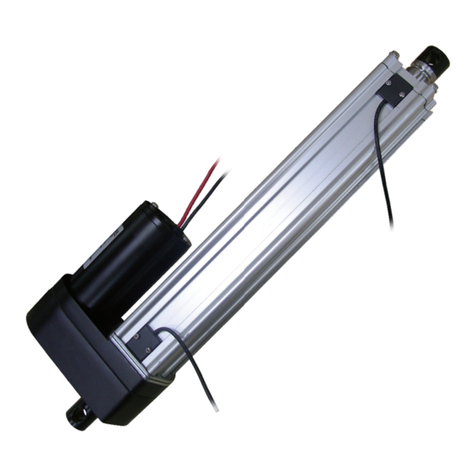
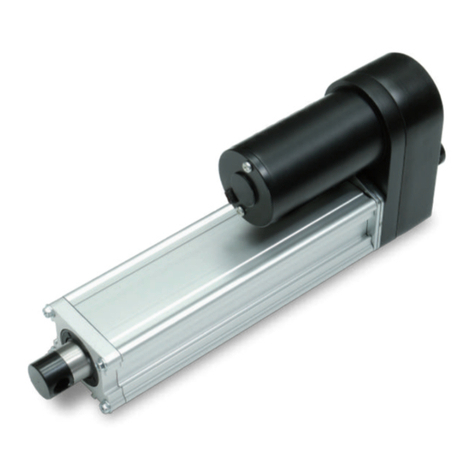
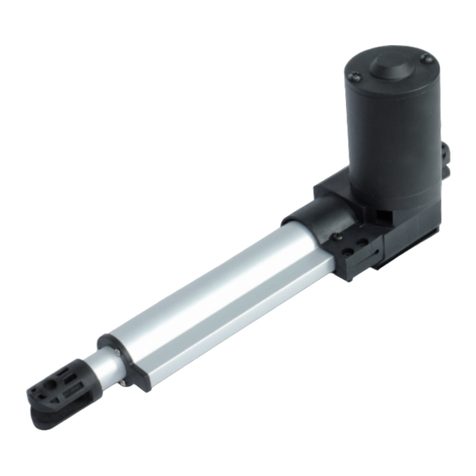
2. When the system learning is in progress, the front connectors of the two actuators
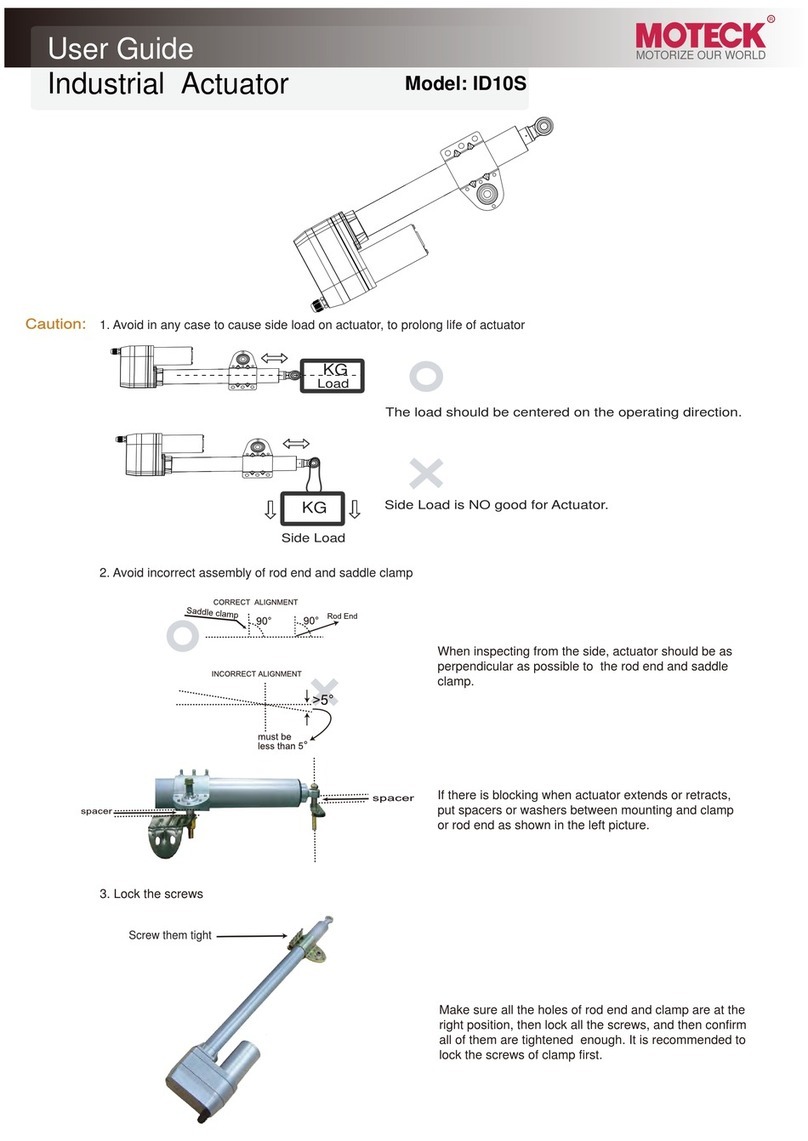
must be pinned to prevent their rotation, but the individual linear movement of the
actuators must not be restricted. The two actuators must learn without load, and there
must be no interference between them.
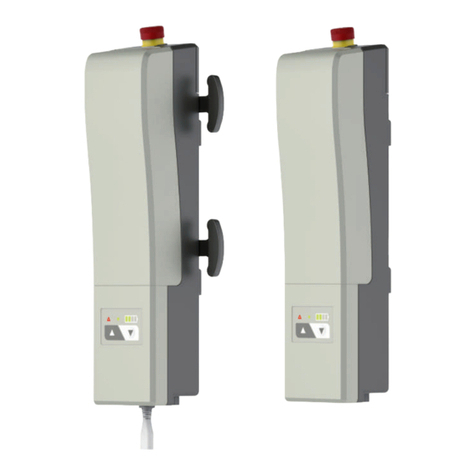
3. Hand controls compatible with the CIS1 control box have similar operation methods
and key function definitions. HM-6R hand control is used here as an example.
4. In the course of use after successful installation, if there is a clutch tripping of
actuators (not all Moteck actuators are equipped with a clutch), the CIS1 control system
will automatically stop the actuators within one second. As long as the abnormal
obstacles or other reasons that cause the trip are checked and eliminated, at this time,
the system can be restored to good synchronization conditions by operating the
retract function first.
5. If you cannot restore the system's good synchronization in the above way, please
remove the actuators from the frame and restart the system learning.
6. If re-learning still fails to restore the system to a good synchronization function,
please contact Moteck sales staff to provide further services.
Electrical Installation:
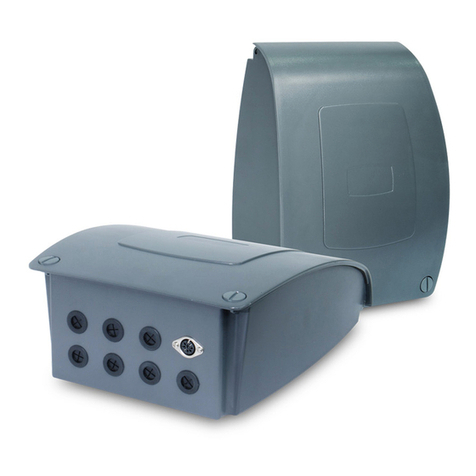
1. Open the lid of the CIS1 control box, thread the cables of actuator 1 and actuator 2
through the hole in the control box, and lock them to the terminal according to the wire
sequence described on the previous page.
2. Pass in the 24V DC power cable through the cable hole of the control box, connect
and lock it to the terminal, and close the lid.
3. Connect the plug of the hand control, the electrical installation is complete, and the
DC power supply can be turned on.
