attaching the hood cómo fijar la capota
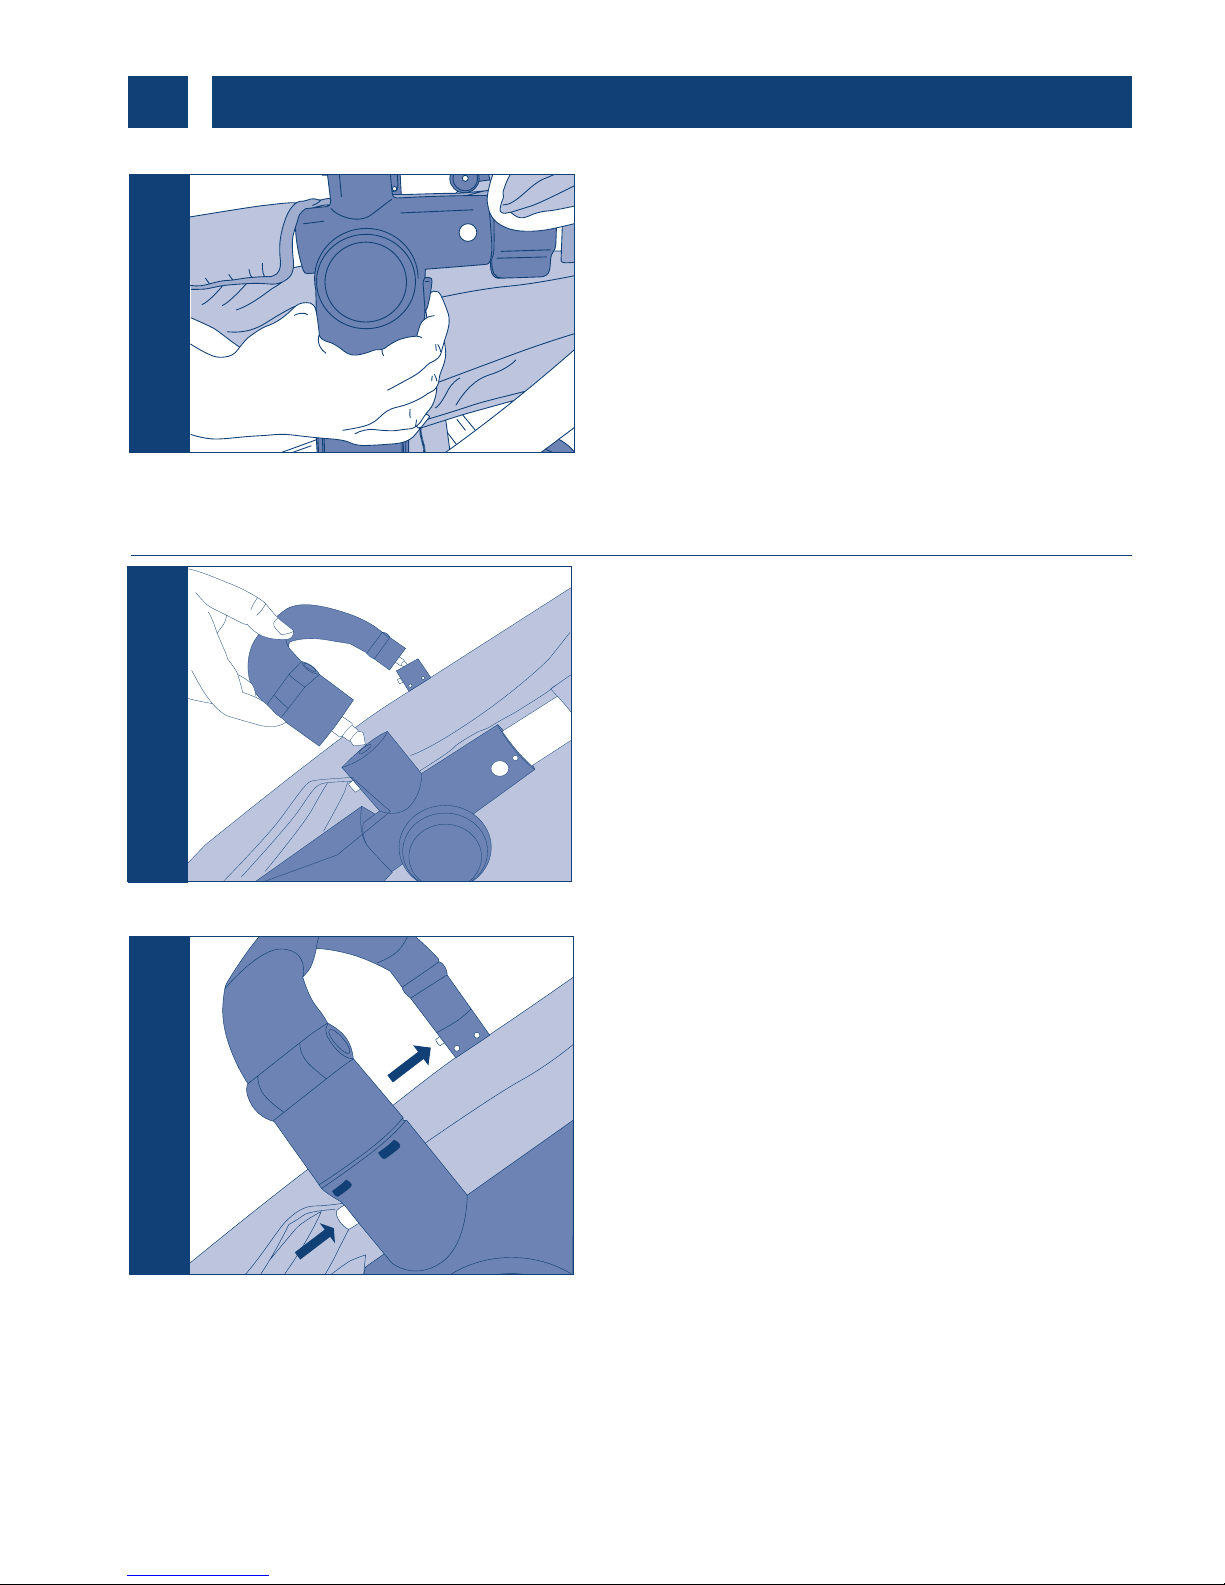
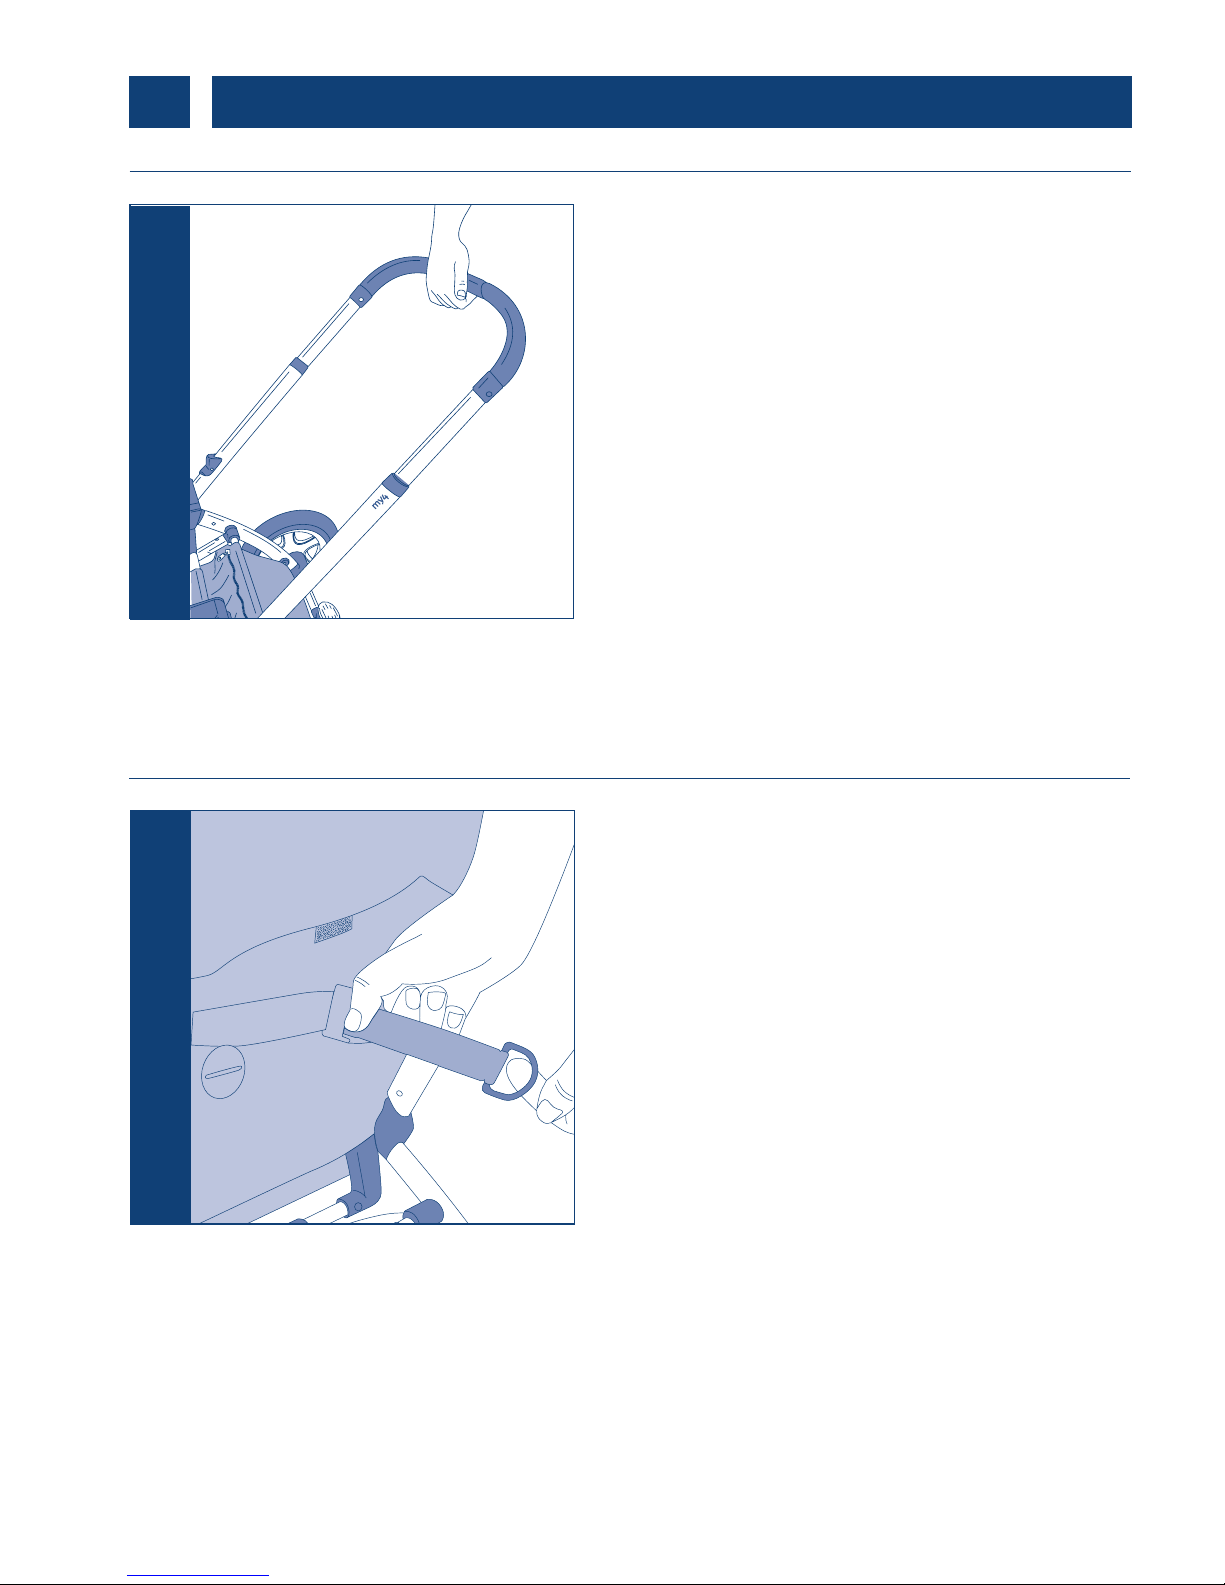
Attach the hood to the seat unit frame using
the plastic clips on either side. Push the clips
firmly over the metal frame as shown in the
diagram. Pull the hood over the back of the
seat unit to ensure a better fit. To remove the
hood, gently lift the tab behind the clip and
remove, or pull the tab away from the frame.
Fije la capota a la estructura del asiento
mediante los clips que están situados a cada
lado del mismo. Presione firmemente los clips
contra la estructura de metal como se muestra
en el dibujo. Para retirar la capota, extraiga
con cuidado la lengüeta situada detrás del
clip o retire la lengüeta de la estructura.
adjusting the hood cómo ajustar la capota
The hood can be pulled forward during use
to help protect your child from wind or bright
sunlight. The hood has an optional window
panel on top, you can roll up the flap of
material and fasten it with the toggle to view
your child. There is also an optional mesh
section, simply undo the zip along the bottom
of the hood to increase the amount of air that
flows through the my4 keeping your child cool.
La capota puede echarse hacia adelante
para proteger a su hijo del viento o del sol.
La capota cuenta con un panel con una
ventana opcional en la parte superior, puede
enrollar el material protector y agarrarlo con
el elemento de sujección para ver a su hijo.
Además, hay una zona con malla opcional,
sólo tiene que tirar de la cremallera situada en
la parte inferior de la capota para aumentar
la cantidad de aire que corre a través de my4,
manteniendo así a su hijo aireado..
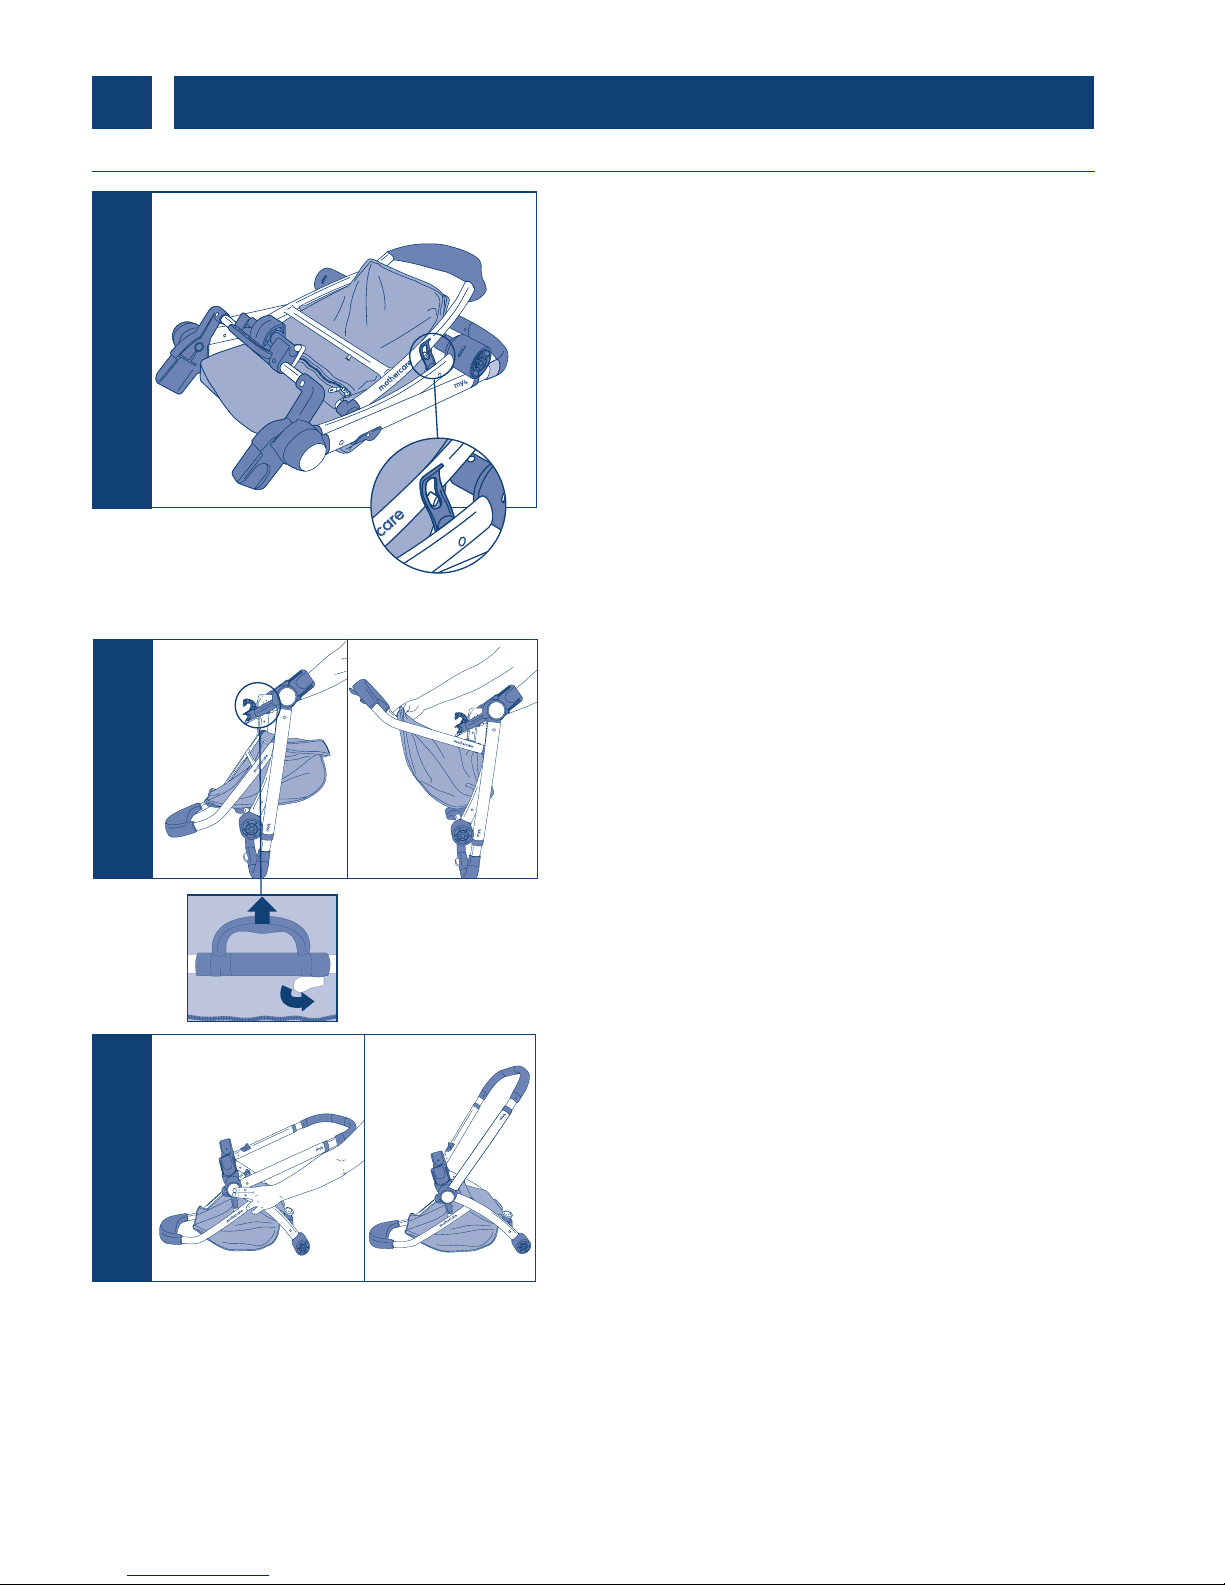
preparation for use • preparación para el uso
3