mothercare Nixi Pushchair User manual

GB
User Guide
E
User Guide
Important. Keep for future reference.
Nixi Pushchair
0-15Kg
WARNING: A CHILD’S SAFETY IS YOUR RESPONSIBILITY
If you have a problem with this product or require any replacement
parts, please contact your nearest Mothercare store or telephone
the Mothercare customer care line on 08453 30 40 30.
Alternatively write to:
Customer care.
Mothercare, Cherry Tree Road, Watford Herts. WD24 6SH.
www.mothercare.com
GB
WARNING: A CHILD’S SAFETY IS YOUR RESPONSIBILITY
If you have a problem with this product or require any replacement
parts, please contact your nearest Mothercare store or telephone
the Mothercare customer care line on 08453 30 40 30.
Alternatively write to:
Customer care.
Mothercare, Cherry Tree Road, Watford Herts. WD24 6SH.
www.mothercare.com
E
AZ0-060-00

32
Parts check list
GB Parts check list
E
4
7
5
12
6
GB
1. Folded Nixi Pushchair
2. 2 Front wheels
3. Apron
4. Weathershield™
5. Bumper bar
6. Hood
7. Liner
8. Adaptors
9. User guide
E
1. Folded Nixi Pushchair
2. 2 Front wheels
3. Apron
4. Weathershield™
5. Bumper bar
6. Hood
7. Liner
8. Adaptors
9. User guide
8
9
3

54
6
4
1
2
5
3
16
9
7
10
11
13
15
8
14
17
19
18
20
21
24
22
23
12
1. Extendable handles
2. Frame lock release latches
3. Mattress and pram liner
4. Foot lock
5. Lower framework
6. Foot brake
7. Head enclosure
8 “D” Rings
9. Harness straps
10. Armrest
11. Bumper bar
12. Seat cover
13. Calf support
14. Calf Support release latches
15. Footrest
16. Front swivel wheel lock
17. Hood
18. Hood tensioner
19. Removable apron panel
20. Frame locking latch
21. Hood catch
22. Removable apron
23. Folding handle
24. Shopping basket
GB E
Infant Pram
GB Infant Pram
E
Toddler Pushchair
GB
Toddler Pushchair
GB
Toddler Pushchair
E
Toddler Pushchair
E
Introducing your new pushchair
GB Introducing your new pushchair
E

76
Read these instructions carefully before use and
keep them for future reference. Your child’s safety
may be affected if you do not follow these
instructions.
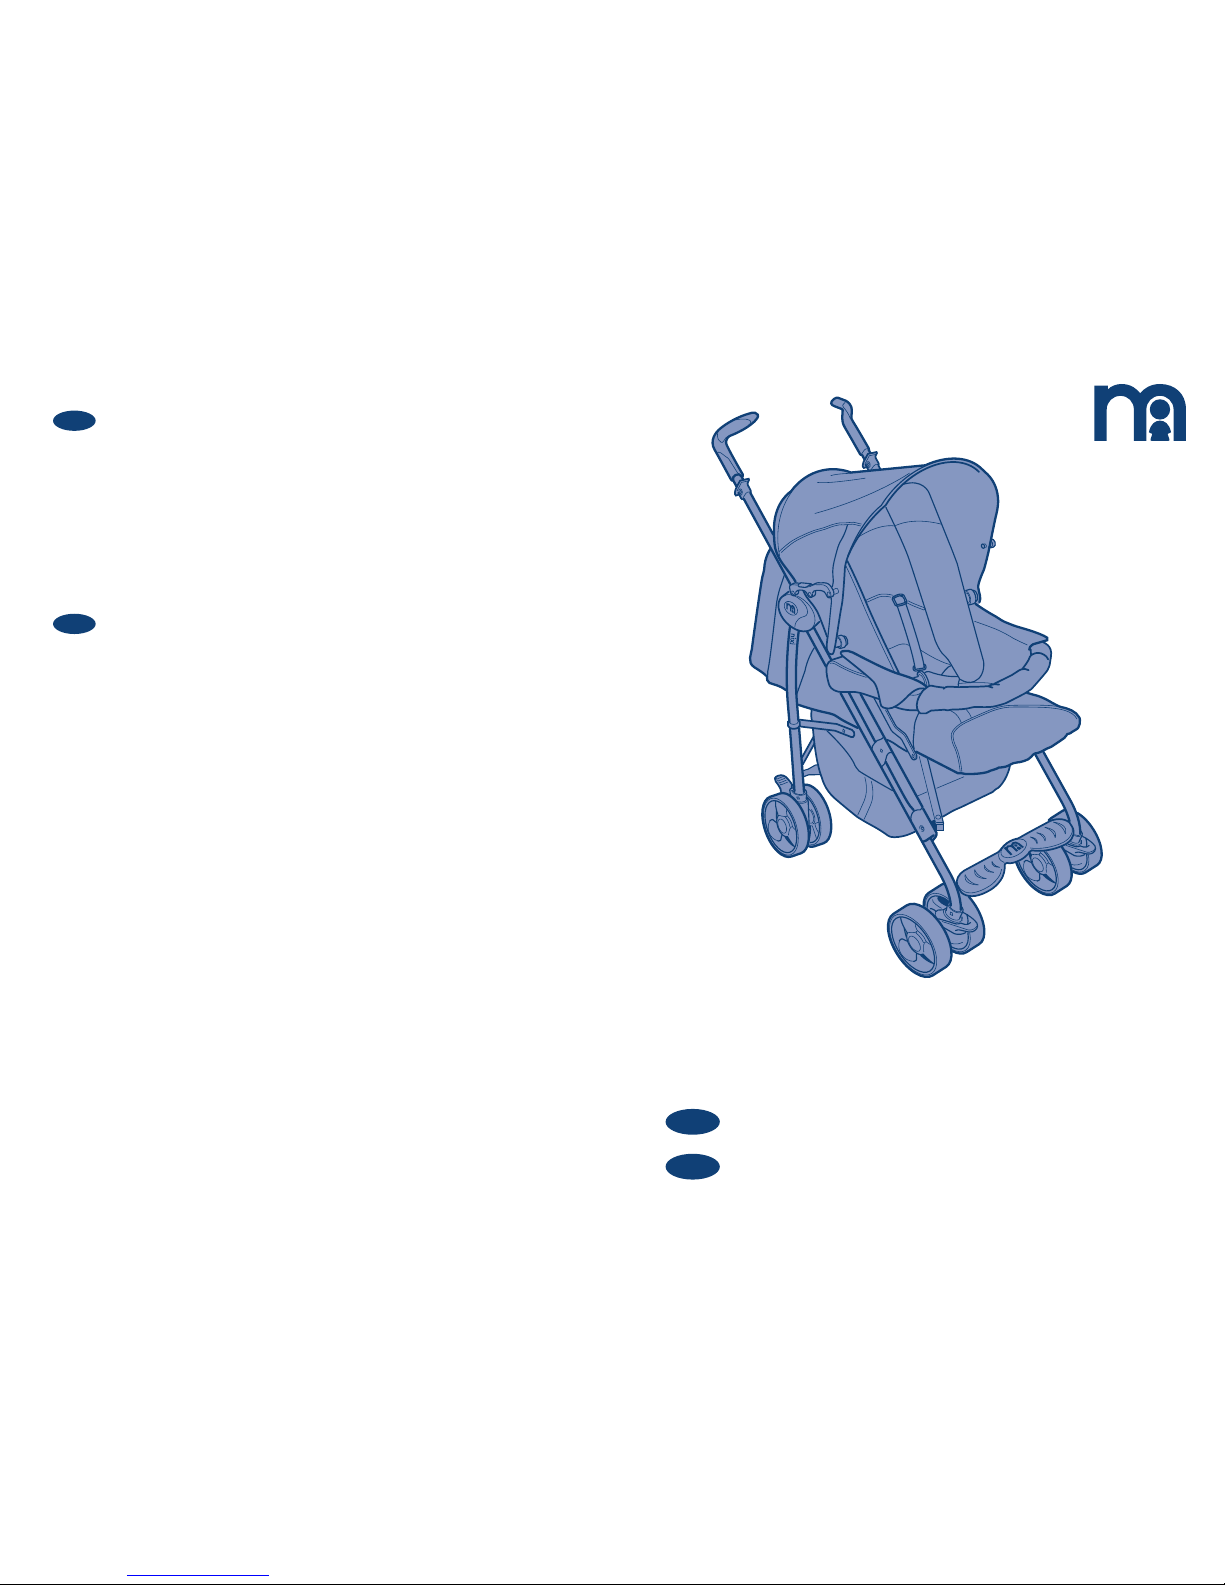
Please read this User Guide carefully BEFORE
trying to use your pushchair.
Looking after your pushchair
The pushchair and its cover have been
carefully designed, manufactured and
tested to high safety standards.
Regularly inspect and maintain your
pushchair to ensure freedom of movement
of the joints, locking devices and security
of components. To prolong the life of your
pushchair, keep it clean and do not leave
it in direct sunlight for extended periods of
time.
Cleaning the cover
The seat cover is removable and can be
washed in accordance with the washing
instructions on the label.
The hood and trims may be cleaned using
warm water with household soap or mild
detergent. Allow it to dry fully, preferably
away from direct sunlight.
DO NOT dry clean or use bleach or any
other aggressive cleaning agents.
IMPORTANT MAINTENANCE ADVICE
If the wheels squeak use a silicon based
spray or light lubricating oil ensuring it
penetrates the wheel and axle assembly.
Regularly clean and lubricate the front
swivel and wheel units as dirty or dry
units can have an adverse effect on
manoeuvrability and steering.
When using the pushchair on the beach,
clean it completely afterwards to remove
all the sand and salt from the mechanisms
and wheel assemblies.
If there are compression marks or
indentations on the tyres – use a domestic
hair dryer to gently warm the area. This
should help make them disappear
(DO NOT OVERHEAT).
Under certain climate conditions the
covers and trims may be affected by
mould and mildew. To help prevent
this occurring, do not fold or store this
pushchair if it is wet or damp. Always store
in a well ventilated area.
To maintain the safety of your pushchair,
seek prompt repairs for bent, torn or
broken parts. Use only those parts and
accessories approved by Mothercare.
Replacement parts and accessories are
available from your local Mothercare store
or contact Customer care on
08453 30 40 30.
This product is not intended for
commercial use.
Important!
Birth to 15kg (approx. 4 years)
GB Warnings
WARNING – A CHILD’S SAFETY IS YOUR RESPONSIBILITY
WARNING – This vehicle is only intended for
children from birth and up to 15kg.
WARNING – Always apply the brakes when
the pushchair is stationary, and before putting
your child into the pushchair.
WARNING – Any load attached to the handle
affects the stability of the pushchair.
WARNING – This vehicle is not suitable for
running or skating.
WARNING – It may be dangerous to leave
your child unattended.
WARNING – Ensure that all locking devices
are fully engaged before use.
WARNING – Use a harness as soon as your
child can sit unaided.
WARNING – Overloading, incorrect folding
and the use of non-approved accessories
may damage or break this pushchair and
make it unstable for use.
WARNING – Regularly inspect the pushchair
to ensure all parts are in full working order.
WARNING – Do not use a mattress thicker
than 15mm in place of the liner supplied
when used as infant pram.
DO NOT allow your child to climb unassisted
into the pushchair.
DO NOT allow the pushchair to remain wet for
prolonged periods of time. If it does get wet,
allow to dry unfolded at room temperature.
DO NOT carry more than 2kg in the
shopping basket.
DO NOT allow children to play with or adjust
the pushchair.
DO NOT carry more than one child on this
pushchair.
DO NOT overload the pocket on the back of
the hood – this may cause the pushchair to
fall backwards.
DO support the back of the pushchair seat
when reclining it.
DO use a correctly tted and adjusted
harness at all times. If using an alternative
harness conforming to BS6684, ‘D’ ring
attachments are found on each side of the
pushchair.
DO read the labels on the covers for washing
instructions and do not tumble dry – drip dry
only.
DO ensure children are clear of moving
parts and locking devices while making
adjustments.
DO periodically check that any screws, nuts,
bolts and other fastenings are fully tightened.
DO store the pushchair in a safe place when
not in use. Avoid placing heavy objects on
top of it and do not store near direct heat
sources, e.g. radiators, open bar res or in
direct sun light as the cover may fade.
DO hold on to your pushchair when close to
moving road vehicles or trains. Even with the
brake on, the draught from the vehicle may
cause it to move.
DO be careful when going up or down kerbs.
Remove your child and fold the pushchair
when using stairs or escalators.
DO always remove Weathershield™ or apron
when indoors, in a hot atmosphere, or near a
heat source to prevent overheating.
This pushchair is designed and manufactured
to comply to EN1888: 2005.
This pushchair is a Type ‘A’ chassis, and is
compatible with other Mothercare Type ‘A’
products.

9
8
Unfolding the pushchair
Holding the pushchair in a vertical
position, lift up on the frame lock
release latches (dia 2a).
Push down on the foot lock with your
foot whilst pulling both handles up
rmly, opening the pushchair until the
chassis locks into the open position
(dia 2b). Ensure the frame locking latch
has locked on both sides.
Fitting and removal of the front swivel
wheels
Take each of the front swivel wheel
assemblies and press them down onto
each of the front legs. You will hear a
“click” when they are locked into place
(dia 1a).
If you need to remove a front swivel
wheel, press the wheel release lever
(dia 1b) located on the underside of
the wheel and lift the wheel assembly
from the front leg.
Fitting and using the bumper bar
Whilst pressing the button on the
bottom of the bumper bar, slide one
side of the bar into the armrest socket
in the position shown (dia 3a). Repeat
this sequence for the other side.
To release the bumper bar, push in
button and release (dia 3b).
2. Using the functions of your pushchair
Birth to 15kg (approx. 4 years)
Extending and retracting the handles
To extend each of the pushchair
handles, press the button located at
the top of each handle inwards
(dia 4a), pull the handles towards you
to extend (dia 4b).
1. Assembling your pushchair
Birth to 15kg (approx. 4 years)
GB
1a 1b
2a 2b
3a 3b
4a 4b
To adjust the calf support
Lower the calf support by lifting up the
release latches located underneath
both sides of the calf support (dia 6a)
and push the calf support down.
Raise the calf support by lifting it until
the release latches lock into place
(dia 6b).
Adjusting the backrest
Squeeze clips towards each other to
release the backrest lock (dia 5a).
Move the backrest into the desired
position (dia 5b).
5a 5b
6a 6b

11
10
Folding your pushchair
Lock the front wheels. Position the seat in the front-facing full upright position. Lift up on the lock release
latches (dia 9a). Lift up the lower framework with your foot then pull up on the folding handle to fold the
frame (dia 9b).
Hold pushchair vertically and push down on the handles until the latches lock on both sides (you will hear
a click) (dia 9c).
2. Using the functions of your pushchair, continued
Birth to 15kg (approx. 4 years)
Insert the liner in the position shown (dia 10g). The D-rings can be used
to attach your own harness, and can be accessed through the slots in
the slots in the liner.
Fitting and removing the liner
Raise head enclosure (dia 10e),
unfasten the harness and move
them away to the side of the
pushchair (dia 10f).
3. Using your pushchair as an infant pram
Birth to 9kg (or until your child can sit unaided)
Using the front swivel wheel locks
To lock the front swivel wheels into
the locked position, align front wheels
into a straight forward position and
slide the wheel lock guide up (dia 7a).
To unlock the front wheels, slide front
wheel lock guide down (dia 7b).
To use the pushchair brake
IMPORTANT – Parking brake is to be
used only when pushchair is stopped.
DO NOT apply the parking brake to a
moving pushchair.
IMPORTANT – To prevent the
pushchair from moving, always use
the parking brake when loading/
unloading pushchair or making any
adjustments.
To lock rear wheels for parking or
loading pushchair, depress foot
brake (dia 8a).
To release brake, simply lift up the
foot brake to disengage brake from
rear wheel hubs (dia 8b).
Open the bumper bar (dia 3a and 3b).
Raise the calf support to the upright
position (dia 10a and 10b). Close the
bumper bar on the outside with the
calf support on the inside.
GB
IMPORTANT – Always use the brake pedal, as using the
connecting bar will cause it to bend.
7a 7b
8a 8b
9a 9b 9c
10a 10b
10c Lower the backrest into the infant
pram position (lowest position)
(dia 10c) by squeezing and pulling the
adjustment handle upwards (dia 10d).
10d
10f10e
10g

1312
3. Using your pushchair as an infant pram, continued
Birth to 9kg (or until your child can sit unaided)
4. Using your pushchair with an infant carrier
Birth to 13kg (approx. 1 year)
Ensure that the left hand and right
hand adaptors are used on the
correct side of the child seat.
To t the adaptor to the child seat
squeeze the lever and insert into the
space below the handle (dia 11a).
Make sure it is fully tted and release
the lever to lock into place. Repeat this
process for both adaptors.
Fitting the infant carrier
First engage the brake. Unfold the armrest pads (dia 14a).
Lower the infant carrier (labelled Type ‘A’) onto the armrests in the
orientation shown (dia 11b), making sure that the prongs either side drop
into the slot on each armrest. Push down rmly.
Once the infant carrier is engaged you will hear a click.
Lower the infant carrier handle to the safety stop position. Please refer
to the user guide for the infant carrier.
WARNING – Check that the attachment devices are correctly engaged
before use.
Removing the infant carrier
First engage the brake. To remove the
infant carrier, move the handle to the
carrying position.
Please refer to the user guide for the
infant carrier.
Pull up the release levers on each side
(dia 11d) and lift the infant carrier out
of the sockets (dia 11e).
The infant carrier is now ready for use.
Re-attach the armrest pads after use.
Removing the adaptors
To remove the adaptors from the child seat, pull the lever on the adaptors
away from the child seat while pulling down (dia 11f). Repeat the
process for both adaptors.
IMPORTANT –
It may be necessary to remove the adaptors from the child seat when
installing it in your vehicle. If the adaptors are in contact with the vehicle
seat cushion, remove them.
Place the apron over the frame as
shown (dia 10j).
On each side fold the ‘hook and loop
strap’ back onto itself, and tuck inside
the apron. Attach the remaining hook
strap on both sides of the apron to
the loop strip on each side of the seat
cover (dia 10k). The loop strip on the
seat cover should be shared by the
hook straps on both the apron and
hood.
GB
10j 10k
11a 11b
11c
11d 11e
11f
Fitting the hood
Place the hood in the correct position
(with the window at front of pushchair)
over the pushchair. Attach the hood
clip to each side of the pushchair
frame by locating the clips over the top
of the upper tube rst, then pushing
until they click into place (dia 10h).
Open the hood by pulling the front of
the canopy forwards engaging the
hood tensioners on each side to click
in place (dia 10i).
Fasten the two press studs on the
hood to the press studs on the
underside of the calf support.
10h 10i

15
14
5. Using your pushchair for carrying a toddler, continued
Birth to 15kg (approx. 4 years)
Attach the apron in the toddler
position, place the apron over the
frame as shown (dia 12h). Attach
the hook and loop straps on each
side around the pushchair chassis,
threading straps between the tubes
as shown (dia 12i).
Fitting the Weathershield™
Place the Weathershield™ over the
pushchair/infant carrier. Pull the
front panel over and in between the
pushchair handles (dia 13a).
Fasten the upper hook and loop strips
together, under the pushchair handle
bars (dia 13b).
Fasten the front hook and loop straps
around the chassis tubes (dia 13c), and
fasten the rear hook and loop strips
together (dia 13d).
Open the bumper bar (dia 3b) and
lower the calf support into the toddler
carrying position
(dia 12a and 12b).
Raise the backrest into the required
position (dia 12c) by squeezing
and pulling the adjustment handle
upwards.
Flatten the head enclosure on the
backrest (dia 10e).
To secure your child
A ve-point harness is provided to restrain your child (dia 12e). To secure
the child in the harness, push buckle A through C and into B until
the buckle prongs snap into position. Carefully adjust the harness by
pulling the slider D until the desired t is achieved in the waist belt,
shoulder and crotch straps. Always adjust the harness when changing
the seating position of the child. To release the buckle, squeeze the top
and bottom prongs.
WARNING – Always use the crotch strap in combination with the waist belt.
WARNING – Fasten the harness when not in use to prevent it becoming
trapped when folding the pushchair. “D” rings are provided at each
side of the seat for attachment of an alternative harness.
D
A
B
CA
C
D
5. Using your pushchair for carrying a toddler
Birth to 15kg (approx. 4 years)
GB
Place the hood in the correct position
(with window at rear of pushchair) over
the pushchair. Attach the hood clip to
each side of the pushchair frame by
locating the clips over the top of the
upper tube rst, then pushing until they
click into place. (dia 12f).
Open the hood by pulling the front of
the canopy forwards engaging the
hood tensioners on each side to lock it
in place (dia 12g).
6. Using your Weathershield™
Birth to 15kg (approx. 4 years)
12a 12b
12c 12d
12e
12f 12g
12h 12i
13a 13b
13d
13c

1716
7. Removing and retting the covers and harness, continued
Birth to 15kg (approx. 4 years)
To remove the apron
Unfasten the hook and loop strips on
both sides of the seat (dia 14f) then
pull the apron off (dia 14g).
Removing the main chassis cover
Unthread the underside cover straps
(dia 14h).
Unhook the cover from under the calf
support by pulling up in the direction
shown (dia 14i).
The chassis cover can now be lifted
from the pushchair frame (dia 14j and
14k) and the harness released from
the chassis cover.
To ret all the covers, simply reverse
the above instructions.
7. Removing and retting the covers and harness
Birth to 15kg (approx. 4 years)
Unfolding the armrest pads
To unfold the armrest pads, pull down on the fabric on the outer side
and fold into the centre of the pushchair (dia 14a).
Removing the bumper bar cover
To remove the bumper bar cover, simply unzip the bumper bar cover
and remove from the plastic moulding (dia 14b).
Removing the shopping basket
Unfasten the press studs straps
located at the rear (dia 14c) and the
front (dia 14d) of the shopping basket.
Attaching the shopping basket
Thread the front press stud straps
through the metal loops attached
to the front of the frame, then press
studs together (dia 14c).
Thread the rear press stud straps
over the round tube and around the
rear legs, then press studs together
(dia 14d).
Removing the hood
Pull the hood clips off the bars located just above the armrest (dia 14e).
GB
Re-threading the underside chassis
cover straps
Place the pushchair on it’s side to gain
better access to the underside cover
straps.
Thread the loose end of the strap
through both D-rings (dia 14l). Thread
the strap back over the last D-ring and
back through the rst D-ring (dia 14m).
Pull the strap tight.
14l 14m
14a
14b
14c 14d
14e
14f 14g
14h 14i
14j 14k

Table of contents
Other mothercare Stroller manuals

mothercare
mothercare jive User manual

mothercare
mothercare my4 User manual

mothercare
mothercare Mirage Plus User manual

mothercare
mothercare xcursion User manual

mothercare
mothercare Buggster User manual

mothercare
mothercare Albany Plus User manual

mothercare
mothercare orb User manual

mothercare
mothercare M.P.V. User manual

mothercare
mothercare Xtreme User manual

mothercare
mothercare my3 User manual