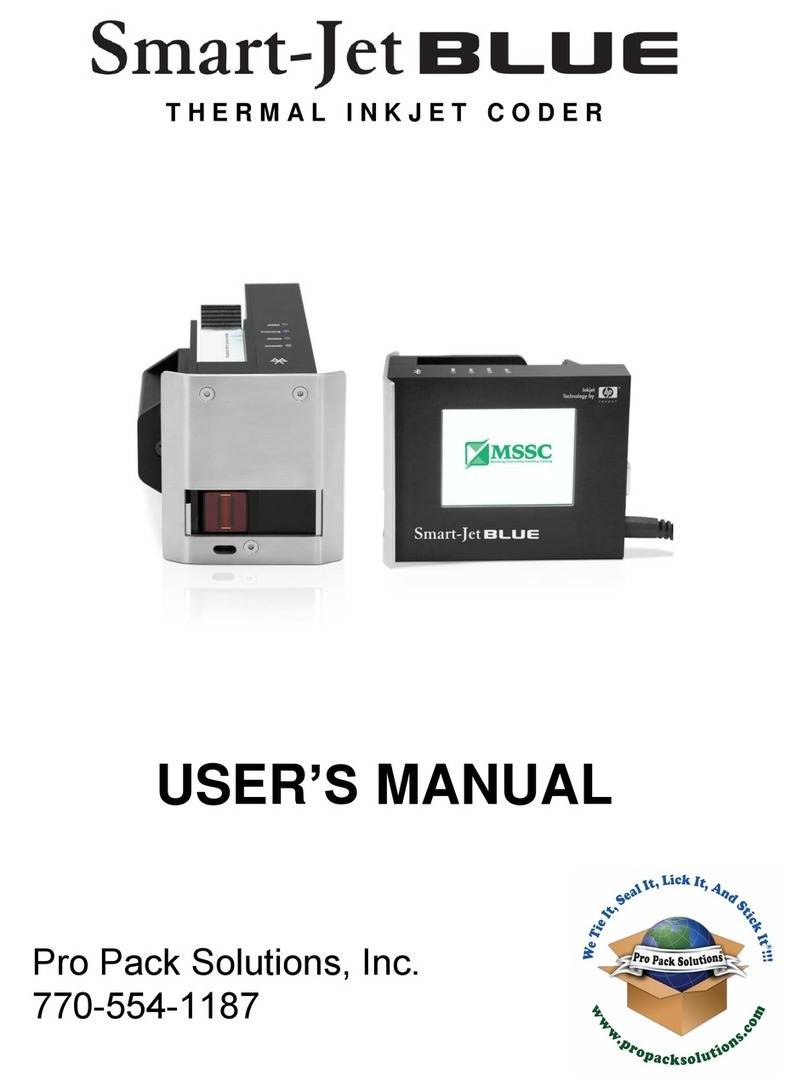
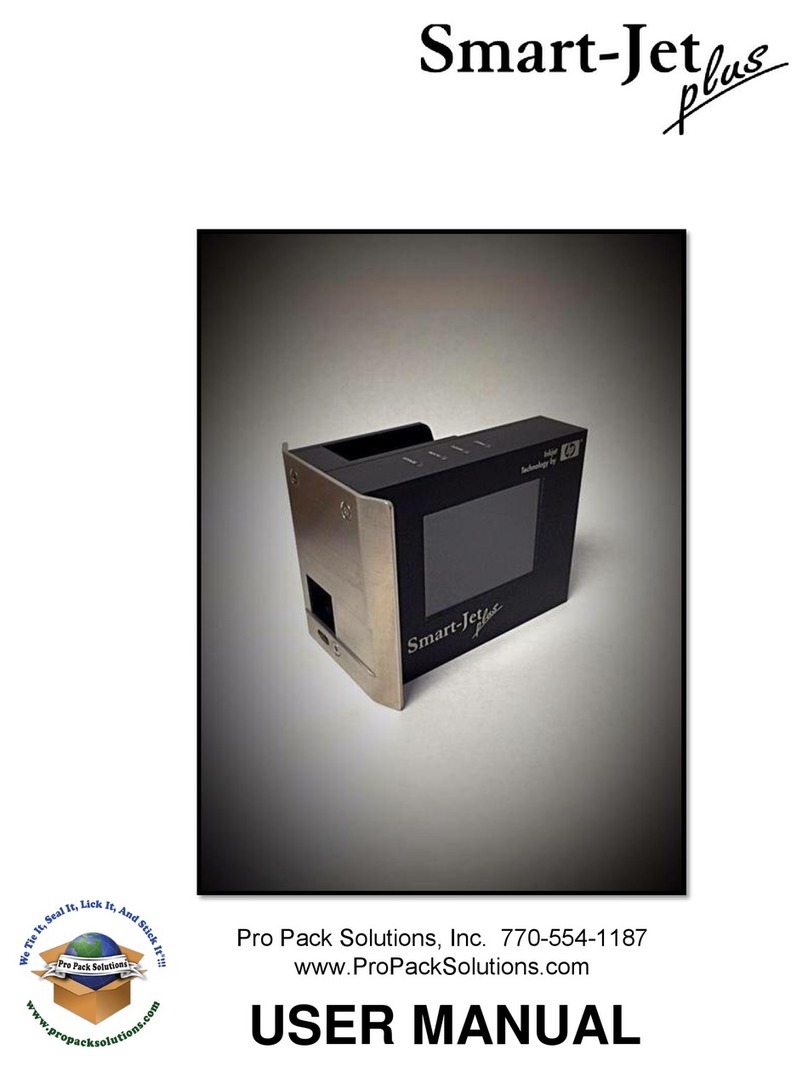
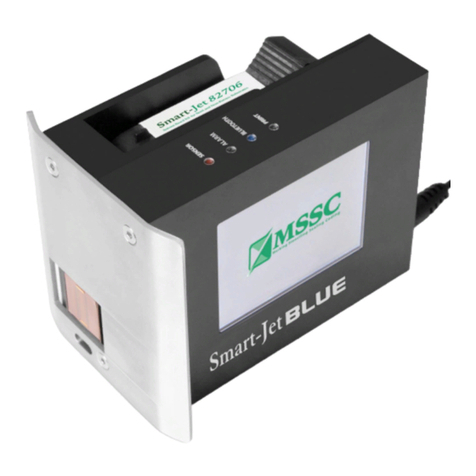
MSSC Smart-Jet BLUE User manual

Contents
1. Introduction .............................................................................................................................4
2. Specifications..........................................................................................................................5
3. Keyboard Definition ................................................................................................................5
4. Layout......................................................................................................................................6
5. Installation...............................................................................................................................7
6. External sensor connection...................................................................................................11
7. Feature menu.........................................................................................................................12
8. First run of your Smart-Jet.....................................................................................................13
9. Message.................................................................................................................................13
10. Operate ..................................................................................................................................14
10.1. Install Ink Cartridge...........................................................................................................14
10.2. Stop printing .......................................................................................................................17
10.3. Start printing.......................................................................................................................17
10.4. Purge..................................................................................................................................17
11. Settings ..................................................................................................................................17
11.1. Speed.................................................................................................................................17
11.2. Resolution...........................................................................................................................17
11.3. Density ...............................................................................................................................18
11.4. Printing Delay.....................................................................................................................18
11.5. Counter...............................................................................................................................19
11.6. Logo ...................................................................................................................................20
11.7. Time ...................................................................................................................................20
11.8. Date....................................................................................................................................20
11.9. Font....................................................................................................................................21
11.10. Print Side............................................................................................................................21
11.11. Sensor................................................................................................................................22
11.12. Wi-Fi...................................................................................................................................22
11.13. Random Jetting ..................................................................................................................22
11.14. Direction.............................................................................................................................23
11.15. Name..................................................................................................................................23
11.16. Print Mode..........................................................................................................................23
11.17. Shift Code...........................................................................................................................24
11.18. Rollover hour......................................................................................................................24
11.19. Printer Information..............................................................................................................24
11.19.1. Product Count.....................................................................................................................25
11.19.2. Ink Level.............................................................................................................................25
11.20. Default................................................................................................................................25
12. Update firmware.....................................................................................................................26
13. Important handling cautions ..................................................................................................27
14. Product Warranty...................................................................................................................27
15. Ink Cartridges Maintenance ..................................................................................................28
15.1. Printhead cleaning:.............................................................................................................28
15.2. Storage procedure:.............................................................................................................30
16. Appendix ...........................................................................................................................................................31
16.1 Accessories & Parts .............................................................................................................................31

MSSC, LLC Collinsville, IL USA Tel: 618-343-1006 Fax: 618-343-1016 80100 Rev
28816 www.msscllc.com
4
1.Introduction
Smart-Jet Industrial Inkjet Printer is provided and branded by MSSC, LLC. This compact and
lightweight printer is designed for ease of operation in the packaging industry with multiple
features:
WIFI connection via smartphones and tablets using Android and iOS operating systems
USB keyboard direct connection without PC
SD card slot built in for easy upgrading of firmware
Built in photo-sensor
AUX I/O port for external sensor and photo-sensor connections
Nozzle switching and self-cleaning capabilities to extend the lifetime of the printhead
Auto system back-up and reset to secure data
Plug and print with HP45 printhead technology licensed by Hewlett Packard
Adjustable optical density (up to 5 levels)
Accept both water based and solvent based inks
Note: Smart-Jet can be controlled over Wi-Fi using Apple or Android devices. To download MSSC, LLC
App on the Apple App store, search for keywords MSSC or SmartJet. For the Apple device the username
to log into the app is Administrator and the password is mssc@smartjet. For Android devices, the
username to log into the app is Administrator and the password is mssc@smartjet2012.

MSSC, LLC Collinsville, IL USA Tel: 618-343-1006 Fax: 618-343-1016 80100 Rev
28816www.msscllc.com
5
2.Specifications
3. Keyboard Definition
No.
Key
Meaning
1
Enter
Confirm/ save
2
ESC
Turn back to previous menu
3
Left, Right
Move the menu forward or backward
4
Up, Down
Change value
5
Shift
Upper case
6
Ctrl
Insert: Date, Time, Counter, Shift Code, Expiration date,
Advanced menu
7
Backspace
Delete character in message
8
Backspace
Reset Ink level
No.
Description
Functions
1
Model
Smart-Jet
2
Printhead
Drop-On-Demand Thermal Inkjet: TIJ2.5
3
Printing Technology
Drop-On-Demand Thermal Inkjet
4
Resolution & Print Speed
300 dpi @ 75 m/min
150 dpi @ 150 m/min
100 dpi @ 230 m/min
5
Ink Type
Water-based and solvent-based inks
6
Dimension (L x W x H)
106 mm x 53 mm x 83 mm
(4.17 inch x 2.09 inch x 3.27 inch)
7
Operation Condition
05 - 400C (41 –1040F)
8
Humidity
20 –80%
9
Net Weight
530 g or 1.16 lbs (excluding printhead cartridge)
10
Power supply
AC: 100V - 240V, 50/60Hz, 1.6A
11
Maximum power consumption
30 watts

MSSC, LLC Collinsville, IL USA Tel: 618-343-1006 Fax: 618-343-1016 80100 Rev 28816
www.msscllc.com
6
4.Layout
Skid plate
Note: For a detailed drawing including sizing, please see appendix of this manual

MSSC, LLC Collinsville, IL USA Tel: 618-343-1006 Fax: 618-343-1016 80100 Rev 28816
www.msscllc.com
7
5. Installation
Step 1: The skid plate guide

MSSC, LLC Collinsville, IL USA Tel: 618-343-1006 Fax: 618-343-1016 80100 Rev 28816
www.msscllc.com
8
Step 2: Install base clamp to the side of the conveyor
Step 3: Installing the clamps to the round bar

MSSC, LLC Collinsville, IL USA Tel: 618-343-1006 Fax: 618-343-1016 80100 Rev
28816 www.msscllc.com 9
Step 4: Installing the printer, select the suitable bar length for each case
Case A
Case B

MSSC, LLC Collinsville, IL USA Tel: 618-343-1006 Fax: 618-343-1016 80100 Rev 28816
www.msscllc.com
10
Step 5: Installing the skid plate
Notes:
Push the cover plate fit to the printer when assembling the skid plate
Note: In addition to hardware
included, "Print Down Kit" part
# 80805 needs to be purchased
separately. See page 31

MSSC, LLC Collinsville, IL USA Tel: 618-343-1006 Fax: 618-343-1016 80100 Rev 28816
www.msscllc.com 11
6. External sensor connection
Support NPN type only
Use onboard 12 VDC on pin 1, or 5 VDC on pin 2
Any external power supply is compatible, just need to ground together.
Appropriate power supply: 24 VDC
Using onboard 12VDC (for 5VDC use pin 2 instead of pin 1)
Using external power supply
4 3 2 1

MSSC, LLC Collinsville, IL USA Tel: 618-343-1006 Fax: 618-343-1016 80100 Rev
28816 www.msscllc.com 12
7. Feature menu
Notes:
ContPrint: Continuous print
Res:Resolution
Dens:Density
ProdCount: Product count
Setting
Message
Select Edit
Operate
Stop Start Purge
Speed Res Dens Delay Count
Logo Time Date Font PrintSide
Sensor WiFi RandomJet Direction Name
side
Connect Info
Enter password:
“advance”
Voltage Time
Wave form setting
Water Solvent
Press Ctrl
PrintMode Shift RollOver Info Password Default
ProdCount InkLevel

MSSC, LLC Collinsville, IL USA Tel: 618-343-1006 Fax: 618-343-1016 80100 Rev 28816
www.msscllc.com
13
8. First run of your Smart-Jet
A password will be required to start your Smart-Jet printer for the first time. Default
password is mssc.
Upon entering the password provided by your supplier, press Enter to log in. Now you can
change this password to your personal password with the following steps:
From the main screen, select “Setting” and press Enter
From the Setting screen, select “Password”by using the Left or Right arrow keys,
press Enter
Enter your old password (mssc), press Enter
Enter your new password, press Enter
Retype your new password, press Enter
Change of password is complete. Press F4 to lock your printer screen and unlock with your new
password.
Notes:
The maximum password length is 15 characters
Disable your printer’s security feature by setting new password with no characters
In case you forget your personal password, the Master password to reset
version 1.4.2.1 is hmplqt@031029nt.
The Master Password for versions after 1.4.2.1 is mssc@2012.
9. Message
From the main screen, select “Message”and press Enter
Select
Select available messages stored on the printer. There are 15 default messages.
To Edit your message, go to the Edit screen and press enter. Select Line 1 or Line 2 to edit.
Use Backspace key to delete the default message and input your own.
To insert Date, Time, Shift Code, Counter, and Expiration Date, press Ctrl and use the Up
or Down arrow key to select your desired insert item. Press Enter to select.
You are required to set up Date, Time, Counter and Expiration Date before running
other operations on this printer. See Section 11 “Setting”
Notes:
The Smart-Jet printer can print 2 lines for small fonts and 1 line (as Line 1) for big fonts.
Each message contains up to 60 characters/ line for small fonts and up to 60
characters/line for big fonts (100x300), depending on the density and resolution of printer.

MSSC, LLC Collinsville, IL USA Tel: 618-343-1006 Fax: 618-343-1016 80100 Rev 28816
www.msscllc.com
14
Tips to create message with more than 2 lines:
Step 1: Design your message (image) by using photoshop tools available on your
Microsoft Window: Microsoft Paint, Photoshop ... with maximum size W x H 400 x 150
pixels.
Step 2: Save your image under these formats: PNG, JPG, JPEG, BMP, GIF.
Step 3: Copy this image to your smart devices
-iOS devices: Copy to Photo Library or Camera Roll.
-Android devices: Copy to folder "Smart Jet" on your device's SD
card. This folder will be automatically generated when you installed Smart
Jet Printer application for your device.
Step 4: Send this image to your printer by using Logo function.
10. Operate
10.1. Install Inks Cartridge
Ink cartridge/Bulk set up:
- Step 1 to 5 and step 8 apply for ink
cartridges - Step 1 to 8 apply for bulk system
1. Be sure you turn off Smart-Jet printer before inserting.
2. Pull to open the latch
3. Remove the old/empty ink cartridge
4. Remove the tape from the printhead.
5. Install the ink cartridge into the printer.
On the main screen, move the cursor to “Operate” by using the Left or Right arrow keys,
press Enter.

MSSC, LLC Collinsville, IL USA Tel: 618-343-1006 Fax: 618-343-1016 80100 Rev 28816
www.msscllc.com
15
6. Place the ink reservoir on the ink tray. The ink tray must be located 4 inches below the
printhead.
7. Insert valve into the plastic clip on the printhead.
8. Listen for a click indicating the valve has snapped into place.
The system after set up:
For a crisp, sharp printed message, it is important to set the nozzle-to-paper distance
properly. Too high nozzle-to-substrate spacing will degrade print quality (fuzzy text),
because the ink droplet is less likely to hit the targeted position of the printed substrates.
MSSC, LLC recommends a nozzle-to- substrate spacing of 1.0mm to 1.5mm when using
the water-based inks.

MSSC, LLC Collinsville, IL USA Tel: 618-343-1006 Fax: 618-343-1016 80100 Rev 28816
www.msscllc.com
16
Important note
It is best to place the print cartridge in the printer and locate the ink reservoir in the
appropriate tray before connecting the valve.
Once the print head is connected to the reservoir it cannot be taken apart without
damaging the system.
Printhead removal
The ink cartridge/bulk without ink
1. Be sure you turn off the Smart-Jet printer before inserting.
2. Pull to open the latch.
3. Grasp both sides of the print head to remove it from the printer stall. Do not pull on the
tube or clip
Important note: if there is ink in the ink cartridge/bulk:
1. Do not raise printhead more than 10 inches above the ink reservoir or the air will be
drawn into it, damage then will result to the print head.
2. Do not position the printhead below the ink reservoir to avoid ink leakage.

MSSC, LLC Collinsville, IL USA Tel: 618-343-1006 Fax: 618-343-1016 80100 Rev 28816
www.msscllc.com
17
10.2. Stop printing
Select “Stop” to stop printing
10.3. Start printing
Select “Start” to start printing
10.4. Purge
If your printer remains inactive for a period of time, it might require a purge to clear out dust
particles on the nozzles. This is required when there are missing dots in the print on the printed
products.
Place a piece of lint free wipe (or absorbent paper) in front of the printhead
Select “Purge” and press Enter to push ink out from the nozzles
Every time the Enter is pressed, a single purge is activated
11. Settings
On the main menu, move the cursor to “Setting” and press Enter
11.1. Speed
Speed is a way to set printing speed to synchronize with the conveyor speed
From the “Setting” menu, move the cursor to “Speed” and press Enter
Use the Up and Down arrow keys to change the value of the print speed, press Enter to
apply and save the setting
Notes:
Minimum speed: 5 m/min (meter/minute)
Maximum speed:
75 m/min at 300 dpi resolution, density = 1
150 m/min at 150 dpi, density = 1
230 m/min at 100 dpi, density = 1
11.2. Resolution
Resolution is the number of dots per inch (Unit: DPI)
On the “Setting” menu, move the cursor to “Res” and press Enter

MSSC, LLC Collinsville, IL USA Tel: 618-343-1006 Fax: 618-343-1016 80100 Rev 28816
www.msscllc.com 18
Use the Up or Down arrow keys to change the value of resolution, press Enter to apply and
save the setting
Setting a higher value for resolution results in higher print DPI
Notes:
The maximum printing speed is affected by the resolution setting. The speed setting must be
adjusted accordingly to correspond with the resolution setting.
11.3. Density
Density level is set to change the optical density of the print. Higher density level may result in
bold font.
Smart-Jet supports 5 levels of density (from 1 to 5)
On the “Setting” menu, move the cursor to “Dens” and press Enter
Use the Up or Down arrow keys to change value of density, press Enter to apply and save
the setting
Notes:
Every density has a maximum speed equivalent. If the maximum speed of your desired density is
lower than the actual speed, you reduce your density and reset your speed.
Table 1: Maximum speed, resolution, and density correlation
Density
Resolution
1
2
3
4
5
100
230.9
119.0
80.2
60.4
48.5
150
153.9
79.3
53.4
40.3
32.3
300
76.9
39.6
26.7
20.1
16.1
11.4. Printing Delay
Printing delay allows you to adjust the distance that the printhead delays after receiving the print
signal to position a message at a desired location on the product.
On the “Setting” menu, move the cursor to “Delay” and press Enter
Delay before print: The distance that your printer delays after receiving signal from
the sensor.
Use the Up or Down arrow keys to change value, press Enter to go to the next
setting
Delay after print: After you finish printing each message, the printer will delay for a
set distance before it allows the sensor to receive the next signal.

MSSC, LLC Collinsville, IL USA Tel: 618-343-1006 Fax: 618-343-1016 80100 Rev32913
www.msscllc.com 19
Be sure that you set the suitable delay distance, or the printer will miss the product
Use the Up or Down arrow keys to change value, press Enter to apply and save
setting
Notes:
Delay before print ranges from 5 to 500 mm
Delay after print ranges from 50 to 500 mm
11.5. Counter
Calculate the total print counts during a production job
On the “Setting” menu, move the cursor to “Count” and press Enter
Start Count: Start the value of the counter. Use the Up or Down arrow keys
to
change value, press Enter to go to the next setting
Count Up/Down: Set the direction of the counter. Select Count Up or Count Down by
using Left or Right arrow keys, press Enter to go to the next setting
Reset Count: Ending value of the counter. Use the Up or Down arrow keys to
change value, press Enter to go to the next setting
Count Step:Set the step between counts. Use the Up or Down arrow keys to
change value, press Enter to go to the next setting
Count Fill Zero: Automatically add zero before the count. Select “Enable” or “Disable”
by using Left or Right arrow keys, press Enter to apply and save setting
Example: 001, 003, 005…101, 001, 003, 005…
Start Count: 1
Count Up/Down: Up
Reset Count: 101
Count Step: 2
Count fill zero: Enable
Notes:
The maximum value for Reset Count and Start Count is up to 4,200,000,000
The maximum value for Count Step is 250
Current Count will be automatically backed up in case of power failures
To reset counter, go to the count setting and set again

MSSC, LLC Collinsville, IL USA Tel: 618-343-1006 Fax: 618-343-1016 80100 Rev32913
www.msscllc.com 20
11.6. Logo
On the “Setting” menu, move the cursor to “Logo” and press Enter
Select position of logo on the message by using or keys, press Enter to apply and save
setting
None: No logo in the message
Pref: Add logo at the begin of the message
Suff: Add logo at the end of the message
Notes:
Logos are formatted by your smartphone and tablet (Android and iOS) and sent to SD
card in the Smart-Jet printer
Maximum size of logo (W x H): 400 x 150 pixels
11.7. Time
Allow user to format, edit and display time.
On the “Setting” menu, move the cursor to “Time” and press Enter
Format: Select time format for the printer
Move the cursor to “Format” and press Enter
Use the Up or Down keys to change value, press Enter to apply and save setting
Edit: Edit Date & Time for the printer
Move the cursor to “Edit” and press Enter
Use Left , Right ,Up or Down arrow keys to edit Time and Date
Press Esc key to save and return to the “Time” menu
Show: View Date & Time of the printer
Move the cursor to “Show” and press Enter to view
Press Esc key to return to the “Time” menu
11.8. Date
Allow user to format, edit, and display date.
On the “Setting” menu, move the cursor to “Date” and press Enter
Format: select date format for the printer.
Notes: These formats will be used for expiration date
Other manuals for Smart-Jet BLUE
4
This manual suits for next models
1
Table of contents
Other MSSC Printer manuals

MSSC
MSSC Smart-Jet BLUE User manual

MSSC
MSSC QM2-101 User manual

MSSC
MSSC Smart-Jet BLUE User manual

MSSC
MSSC Smart-Jet Plus User manual

MSSC
MSSC QM2-101 User manual

MSSC
MSSC Smart-Jet BLUE User manual

MSSC
MSSC Smart-Jet DL200 User manual

MSSC
MSSC QM1610 User manual

MSSC
MSSC Smart-Jet BLUE User manual

MSSC
MSSC QM1610 User manual