manuals.online logo
Brands
  1. Home
  2. •
  3. Brands
  4. •
  5. Nasco
  6. •
  7. Medical Equipment
  8. •
  9. Nasco Life/form LF00995U User manual

Nasco Life/form LF00995U User manual

Other Nasco Medical Equipment manuals

Nasco Life/form LF01210U User manual

Nasco

Nasco Life/form LF01210U User manual

Nasco Life/form LF01131U User manual

Nasco

Nasco Life/form LF01131U User manual

Nasco LF03740U User manual

Nasco

Nasco LF03740U User manual

Nasco Life/form LF03699U User manual

Nasco

Nasco Life/form LF03699U User manual

Nasco Life/form LF01060U User manual

Nasco

Nasco Life/form LF01060U User manual

Nasco Life/form LF01155U User manual

Nasco

Nasco Life/form LF01155U User manual

Nasco Life/form LF03633U User manual

Nasco

Nasco Life/form LF03633U User manual

Nasco Life/form LF00856U User manual

Nasco

Nasco Life/form LF00856U User manual

Nasco Life/form Basic Buddy User manual

Nasco

Nasco Life/form Basic Buddy User manual

Nasco Life/form LF03593U User manual

Nasco

Nasco Life/form LF03593U User manual

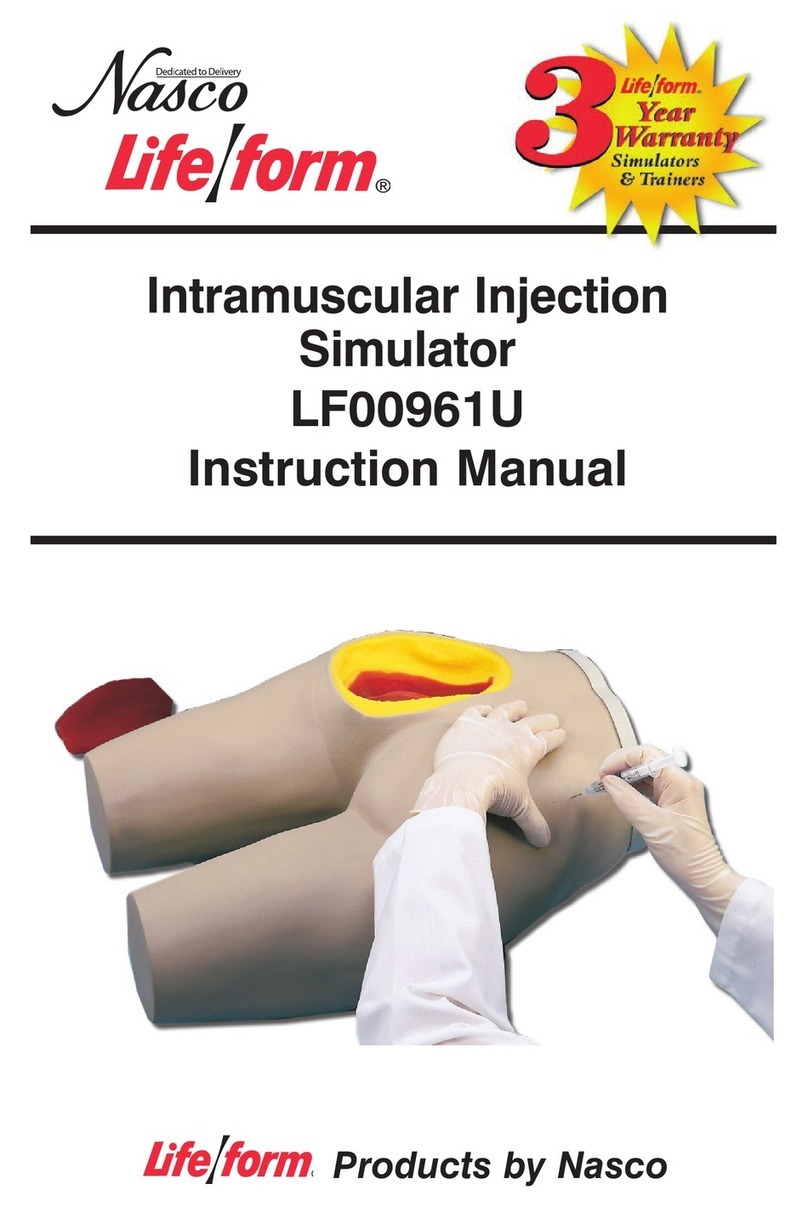
Nasco Life/form LF00961U User manual

Nasco

Nasco Life/form LF00961U User manual

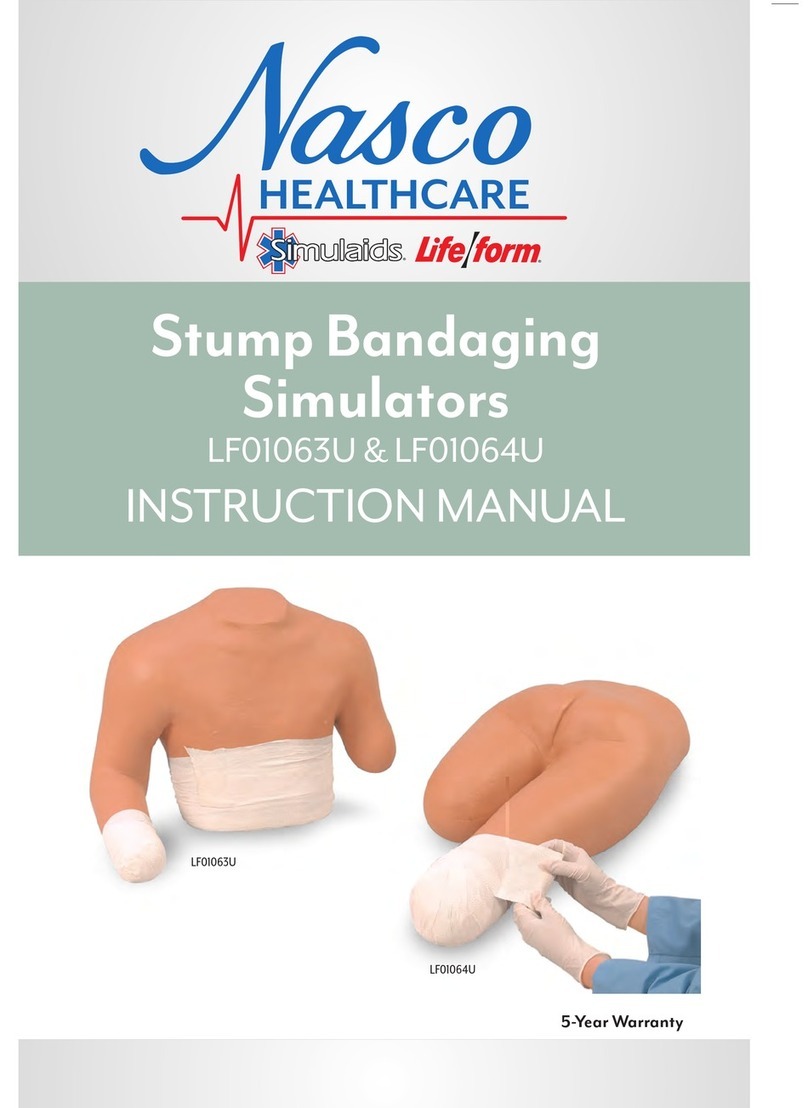
Nasco Life/form LF01063U User manual

Nasco

Nasco Life/form LF01063U User manual

Nasco TERi LF04300 User manual

Nasco

Nasco TERi LF04300 User manual

Nasco LF03500U User manual

Nasco

Nasco LF03500U User manual

Nasco Life/form LF00855U User manual

Nasco

Nasco Life/form LF00855U User manual

Nasco Life/form LF01108U User manual

Nasco

Nasco Life/form LF01108U User manual

Nasco Life/form LF00901U User manual

Nasco

Nasco Life/form LF00901U User manual

Nasco Life/form LF01167U User manual

Nasco

Nasco Life/form LF01167U User manual

Nasco Life/form LF01235U User manual

Nasco

Nasco Life/form LF01235U User manual

Nasco Life/form LF01083U User manual

Nasco

Nasco Life/form LF01083U User manual

Nasco Life/form LF00994U User manual

Nasco

Nasco Life/form LF00994U User manual

Nasco Life/form LF03614U User manual

Nasco

Nasco Life/form LF03614U User manual

Nasco Life/form Airway Larry User manual

Nasco

Nasco Life/form Airway Larry User manual

Nasco Life/form LF03652U User manual

Nasco

Nasco Life/form LF03652U User manual

Popular Medical Equipment manuals by other brands

Itamar Medical WatchPAT Operation manual

Itamar Medical

Itamar Medical WatchPAT Operation manual

PROTEOR 1P650 KNEE Assembling and adjustment instructions

PROTEOR

PROTEOR 1P650 KNEE Assembling and adjustment instructions

Liberate Medical VentFree user manual

Liberate Medical

Liberate Medical VentFree user manual

Dicarre DA20 user guide

Dicarre

Dicarre DA20 user guide

Stryker Medical M Series Operation manual

Stryker Medical

Stryker Medical M Series Operation manual

Invacare ScanBed 750 user manual

Invacare

Invacare ScanBed 750 user manual

Getinge Arjohuntleigh Nimbus 3 Professional Instructions for use

Getinge

Getinge Arjohuntleigh Nimbus 3 Professional Instructions for use

Mettler Electronics Sonicator 730 Maintenance manual

Mettler Electronics

Mettler Electronics Sonicator 730 Maintenance manual

Pressalit Care R1100 Mounting instruction

Pressalit Care

Pressalit Care R1100 Mounting instruction

Denas MS DENAS-T operating manual

Denas MS

Denas MS DENAS-T operating manual

bort medical ActiveColor quick guide

bort medical

bort medical ActiveColor quick guide

AccuVein AV400 user manual

AccuVein

AccuVein AV400 user manual

agiliti NP Trio user manual

agiliti

agiliti NP Trio user manual

Rocket Medical Rocket Digital Oocyte Aspiration Pump Service manual

Rocket Medical

Rocket Medical Rocket Digital Oocyte Aspiration Pump Service manual

Monteris Medical Neuroblate Instructions for use

Monteris Medical

Monteris Medical Neuroblate Instructions for use

Otto Block 8E33 7 manual

Otto Block

Otto Block 8E33 7 manual

ADVANCED HOME CARE Helios Guide

ADVANCED HOME CARE

ADVANCED HOME CARE Helios Guide

NeuLog NUL-208 Guide

NeuLog

NeuLog NUL-208 Guide

manuals.online logo
manuals.online logoBrands
  • About & Mission
  • Contact us
  • Privacy Policy
  • Terms and Conditions

Copyright 2025 Manuals.Online. All Rights Reserved.

Products by Nasco
CAUTION: PRODUCT CONTAINS DRY NATURAL RUBBER
ARTERIAL PUNCTURE ARM
LF00995U
INSTRUCTION MANUAL
About the Simulator
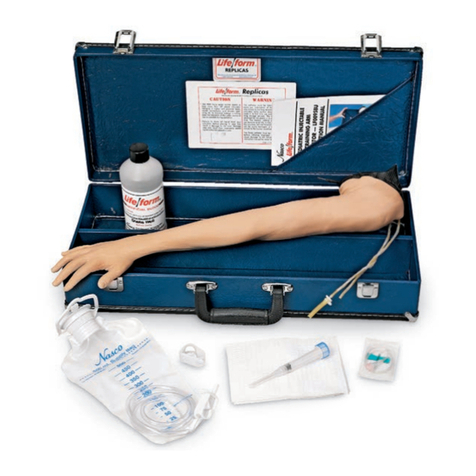
The Life/form®Arterial Puncture Arm
Simulator is the most realistic training
simulator possible for demonstrating
and practicing arterial injections. Visual
as well as tactile realism is designed
into this training aid to allow students
to develop the skills necessary to learn
how to draw arterial blood samples.
Figure 1
Both radial and brachial arterial punc-
tures can be practiced. The arterial
system provides pulsation to allow
proper practice in locating arteries.
(See figure 1.)
Great effort has been put into the
development and design of this medi-
cal simulator to provide maximum real-
ism and durability. Careful selection
of synthetic tubing has been made to
provide the most realistic sensation of
puncture possible while still maintain-
ing durability for long life. With proper
care, your Life/form®Arterial Puncture
Arm Simulator will provide years of
valuable service. Please review the
instructions carefully.
List of Components
•Life/form®Skin and Artery Kit
•Two 3 cc Syringes with Needles
•IV Supply Bag
•Two Replacement Sections of
Artery
•Life/form®Arterial Blood — 1 Pint
General Instructions for Use
A. Prepare the Synthetic Arterial
Blood
Concentrated blood colorant is
provided. Fill the 16-oz. container
with tap water for proper dilution.
(See figure 2.)
B. Fill the IV Supply Bag
Pour diluted Life/form®Arterial Blood
into the IV bag. (See figure 3.) Hang
the bag at 18" height. To minimize
leakage in tubing, keep the elevation
of the fluid bags as low as possible
during operation.
Figure 4
C. Connect the IV Bag to the Arm
The IV bag is supplied with a con-
nector to fit the end of the tubing
protruding from the arm. Connect
as shown. Be certain the flow
control clamp on IV bag is closed.
(See figure 4.)
ARTERY SITES
Figure 3
Figure 2
1
Figure 7
Procedures That Can Be Performed
on This Simulator
A. Radial Arterial Puncture
The artery is superficial and easily
palpated. Confirmation of arterial
blood is done as in actual practice
by checking color and pulsing in
the syringe. (See figure 7.)
B. Brachial Arterial Puncture
The simulated artery in the training
arm is NOT superficial. The simu-
lated artery in the training arm is
approximately 1.5 cm below the
surface. By aiming the needle
directly at the strongest pulsation,
a student should successfully
penetrate the artery.
Figure 8
Confirmation of needle placement by
the color of blood and pulsation in
the syringe should be encouraged.
(See figure 8.)
D. Fill the Arterial System
1. Hold the open tubing end over an
empty container with the white
pinch clamp on the arm open.
2. Squeeze the bulb and hold.
Figure 5
3. Open the flow control clamp on
the IV bag. When the blood com-
ing from the IV bag has passed
the squeeze bulb, close the
white pinch clamp on the arm.
(See figure 5.)
4. Release the squeeze bulb, then
reopen the white pinch clamp on
the arm.
5. Allow the blood to continue
through the system and out the
open tube end until the air
bubbles are gone.
6. Close the white pinch clamps
on the arm and on the IV bag.
Figure 6
E. Ready for Use
The arterial system is now ready
for use. (See figure 6.) A series of
contractions of the squeeze bulb
will create a pulse. With a little
practice, a very realistic pulse will
be prominent at both the radial and
brachial sites.
2
Care of the Simulator
A. General Care and Use of the Arm
The usable life of the skin and tubing
will vary depending on such factors
as the size of the needles used,
distribution of the punctures, and
the general care and use of the
arm. Below are some suggestions
for use and care of the Life/form®
Arterial Puncture Arm Simulator
which will help prolong the useful
life of the skin and simulated arteries.
1. Needles
A hypodermic needle is actu-
ally a very small cutting tool.
Puncturing the skin and artery
with needles forms slits or cuts
which will eventually lead to
deterioration. The larger the
needle, the larger the cut made
in the skin and tubing. Use of
22-gauge or smaller needles is
recommended. Always use
sharp needles. Dull or blunt
needles cause unnecessary
damage.
2. Distribution of Punctures
If the injections can be distrib-
uted along the length of the
injection sites without deviation
from acceptable practice, the
product will last longer.
3. Height of the IV Bag
Fluid pressure increases as the
height of the bag increases. A
height of 18" above the arm
provides a realistic “flashback.”
Elevating the bag higher raises
the pressure and will cause
additional leakage through
previous puncture holes.
4. IV Solutions
Use only water or Life/form®
Arterial Blood. Use of other
solutions may block the tubing.
5. Site Preparation
Clean water is recommended
for swabbing injection sites and
will help lubricate the skin
surface to minimize damage
from punctures. Alcohol, iodine,
or other antiseptics are not
recommended, as they will
stain the skin permanently.
6. Cleaning
Use a mild solution of Ivory®
liquid detergent and water to
clean the surface of the skin.
Use Nasco Cleaner (LF09919U)
to remove stubborn stains from
the simulator. Simply apply
Nasco Cleaner to the soiled
area and wipe clean with soft
cloth or paper towels.
B. Storing the Simulator
1. Disconnect the IV bag, making
sure the clamp is closed. Place
the tubing end in the pint bottle
and open the clamp to drain.
2. Rinse the IV bag.
3. Open the pinch clamp and
drain the arm. Tip the hand
up until the fluid is removed.
Always flush the tubing with
water after use. Rinse the exte-
rior with water and dry it with a
soft cloth or paper towel. Place
the arm in the storage bag.
Store the arm in the carrying
case.
C. Repair of Tubing Punctures
Due to the thin wall of the tubing
and the pressure of the pulsation
of the arterial system, leakage is
likely after repeated punctures.
Additional replacement latex tub-
ing sections are included with the
simulator to renew the arterial sys-
tem. Refer to the instructions for
skin replacement.
Tubing Sealant (LF01099U) is
included with the product and will
significantly reduce leakage of tub-
ing when applied regularly. Always
flush the tubing with water before
attempting the sealing procedure.
See the instructions on the container.
3
Figure 11
3. Lubricating the new skin
Pour lubricant into the skin and
swish so all surfaces are covered.
(See figure 11.)
4. Installing the replacement skin
a. Slide the skin over the hand
of the core. Be certain the
palm of the hand and core
are in the same position.
Figure 12
b. Grasp the skin with both
hands, as illustrated, and
slide the skin over the core
until the fingers of the core
approach the finger holes of
the skin. (See figure 12.)
(During this step, be certain
the tubing remains in the
proper channels.)
CAUTION: Excessive pulling on the end
of the skin may stretch or tear material.
Figure 13
c. Work the fingers into place.
(See figure 13.)
Figure 9
D. Skin and Artery Replacement
1. Removing the used skin and
arterial tubing from the arm
a. Untie the lace from the base
of the arm.
b. Lubricate the EXTERIOR of
the skin using baby powder.
c. Peel the skin off carefully,
turning inside out. (See
figure 9.)
d. Remove the foam pad at the
antecubital fossa.
e. Disconnect the arterial
tubing at the antecubital
fossa and at the wrist.
Figure 10
2. Installing the new arterial
tubing
a. Slide each end of precut
length of replacement tubing
securely over the connectors.
b. To secure the connections,
roll the O-rings over tubing
after connecting to fittings.
c. Place the foam pad over the
arterial tubing at the antecu-
bital fossa. (See figure 10.)
d. Make sure that the white
wrapped sections of tubing
are over the injection areas.
4
The Life/form®Arterial Puncture Arm
Simulator is now fully renewed and
ready for use.
Cautions:
Solvents or corrosive materials will
damage the simulator. Never place the
simulator on any kind of printed paper
or plastic. These materials will transfer
an indelible stain. Ball-point pens will
also make an indelible stain.
Supplies/Replacement Parts for the
Arterial Puncture Arm Simulator
LF09919U Nasco Cleaner
LF00998U Skin Replacement Kit
with Artery Sections
LF01099U Tubing Sealant
LF01004U Life/form®Arterial
Blood — 1 Quart
LF00985U Life/form®Lubricant Kit
LF01059U Arterial Puncture Arm
Artery Replacement
Only
5
Figure 14
d. Draw the skin snugly over the
arm. (See figure 14.)
Figure 15
e. Check the tubing position.
If the tubing has slipped from
the channel, it can usually be
pushed back in place by
working it with the fingertips
from the outside of the skin.
(See figure 15.)
E. Installing the Lace
1. Thread the lace through the
supplied eyelets and tie it
securely.
2. Rinse the excess lubricant from
the exterior of the arm with warm
water.
901 Janesville Avenue, P.O. Box 901
Fort Atkinson, Wisconsin 53538-0901
1-800-558-9595
eNasco.com • E-mail: [email protected]
COPYRIGHT © NASCO 1998 PRINTED IN U.S.A. NP 042-91/RV 2-12
Fort Atkinson
Other Available Simulators
LF00698U Adult Injectable Arm (White)
LF00855U Male Catheterization
LF00856U Female Catheterization
LF00901U Prostate Examination
LF00906U Ostomy Care
LF00929U Surgical Bandaging
LF00957U Enema Administration
LF00958U Pediatric Injectable Arm
LF00961U Intramuscular Injection
LF00984U Breast Examination
LF00995U Arterial Puncture Arm
LF00999U Pediatric Injectable Head
LF01005U First Aid Arm
LF01008U Intradermal Injection Arm
LF01012U Heart Catheterization (TPN)
LF01019U Ear Examination
LF01027U Peritoneal Dialysis
LF01028U Suture Practice Arm
LF01034U Suture Practice Leg
LF01036U Spinal Injection
LF01037U Hemodialysis Practice Arm
LF01038U Episiotomy Suturing Set
LF01042U Suture Kit
LF01062U Pelvic, Normal & Abnormal
LF01063U Stump Bandaging, Upper
LF01064U Stump Bandaging, Lower
LF01069U Cervical Effacement
LF01070U Birthing Station
LF01082U Cricothyrotomy
LF01083U Tracheostomy Care
LF01084U Sigmoidoscopic
Examination
LF01087U
Central Venous Cannulation
LF01095U Blood Pressure Arm
LF01108U Infant Intraosseous Infusion
LF01121U Advanced IV Arm
LF01131U Venipuncture and Injection Arm
LF01139U Advanced IV Hand
LF01142U Auscultation Trainer
LF01143U Testicular Exam
LF01152U Male & Female Catheter
LF01155U Advanced CPR Dog
LF01162U Venatech IV Trainer
LF01174U NG Tube & Trach Skills
LF01184U Venatech IM & Sub Q
LF01193U Special Needs Baby
LF03000U CPARLENE
®
Series
LF03601U Adult Airway Management
Trainer with Stand
LF03602U Adult Airway Management
Manikin
LF03609U Child Airway Management
Trainer with Stand
LF03616U Child CRiSis™Manikin
LF03617U Deluxe Child CRiSis™
Manikin with Arrhythmia Tutor
LF03620U PALS Update Kit
LF03623U Infant Airway Management
Trainer with Stand
LF03632U Child Intraosseous Infusion/
Femoral Access Leg on a Stand
LF03633U Child Airway Management
Trainer Torso
LF03693U Basic Buddy
®
CPR Manikin
LF03699U “Airway Larry” Airway
Management Trainer
LF03709U Infant CRiSis™ Manikin
LF03720U Baby Buddy
™
Infant CPR Manikin
LF03750U Fat Old Fred
LF03760U Airway Management/Cricoid
Pressure Trainer
LF03770U Chest Tube
LF03953U CRiSis™Manikin, Complete
LF03955U Deluxe CRiSis™Manikin
LF03956U Deluxe “Plus” CRiSis™Manikin
LF03965U Adult CRiSis™Auscultation
Manikin
LF03966U Adult CRiSis™Auscultation
Manikin with ECG Simulator
LF04000U GERi™/KERi™Manikin Series
LF04200U Adult Sternal Intraosseous
Infusion
LF06001U CPR Prompt
®
Adult/Child
Manikin
LF06012U CPR Prompt
®
Infant Manikin
LF06200U CPR Prompt
®
Keychain
Rescue Aid
LF06204U CPR Prompt
®
Rescue and
Practice Aid