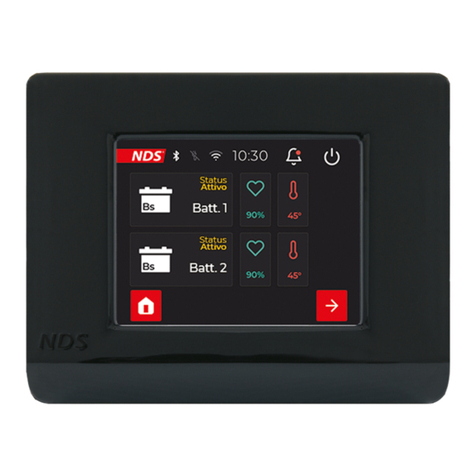
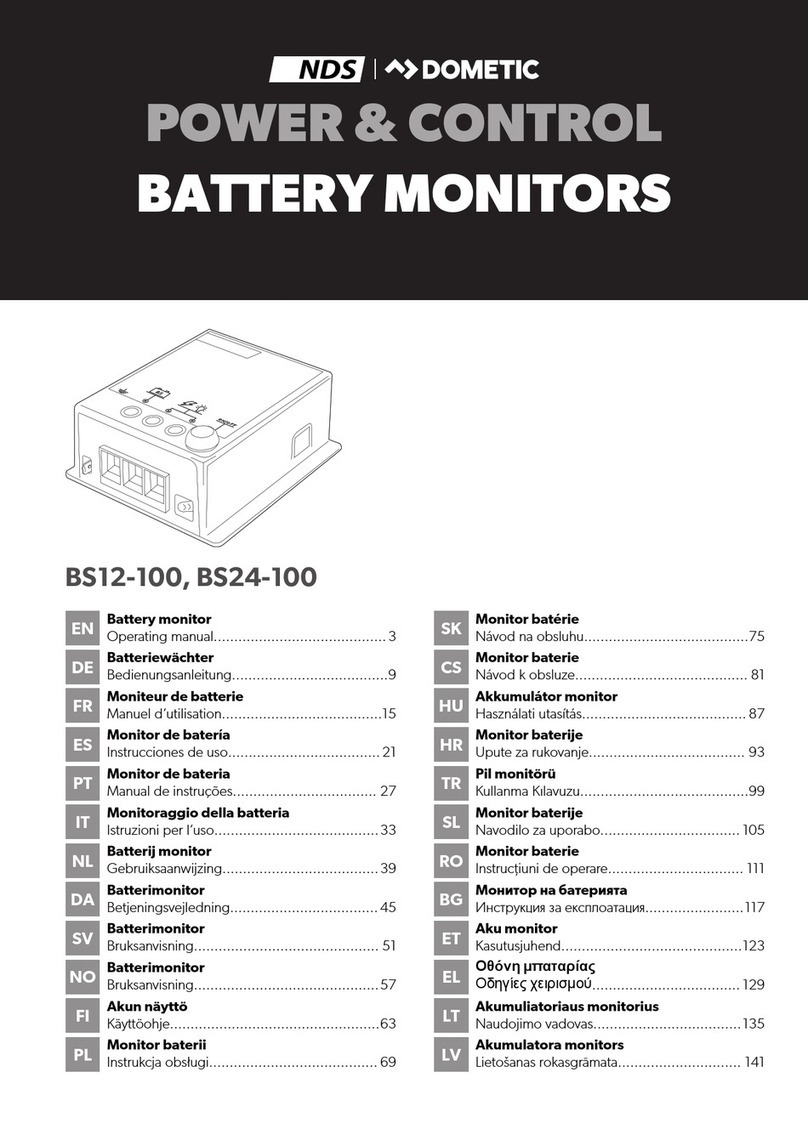
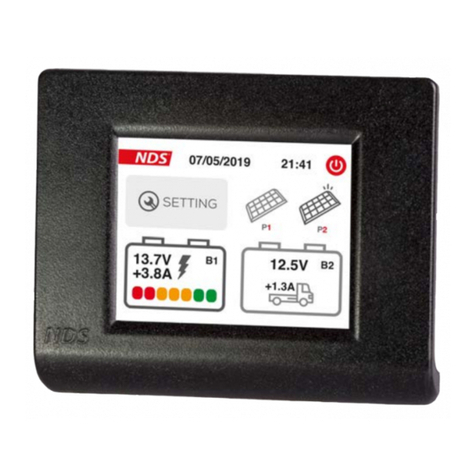
NDS Dometic IM12-150 Owner's manual

POWER & CONTROL
PROCESS AND MANAGEMENT SYSTEM
IM12-150, IM12-150W
EN Battery monitor
Short Installation and Operating Manual.......................... 11
DE Batteriewächter
Montage- und Bedienungskurzanleitung.........................19
FR Moniteur de batterie
Bref manuel d’installation et d’utilisation......................... 27
ES Controlador de batería
Guía breve de instalación y funcionamiento.................... 35
PT Monitorizador da bateria
Breve Instalação e Manual de Operações....................... 43
IT Monitor batteria
Guida rapida di installazione e d’uso.............................. 51
NL Accumonitor
Beknopte montagehandleiding en gebruiksaanwijzing.....59
DA Batteriovervågning
Kort installations- og betjeningsvejledning...................... 67
SV Batterivakt
Snabbguide för installation och användning.................... 75
NO Batterivakt
Kort monterings- og brukerveiledning............................83
FI Akkuvahti
Pikaohje asennusta ja käyttöä varten............................... 91
PL Układ monitorowania stanu
akumulatora
Krótka instrukcja montażu iobsługi................................ 99
SK Monitor batérie
Krátky návod namontáž aobsluhu................................107
CS Monitor baterie
Stručný návod kmontáži aobsluze................................115
HU Akkumulátorfelügyelő
Rövid telepítési és üzemeltetési kézikönyv..................... 123
HR Kontrolni uređaj za akumulator
Kratke upute za montažu i rukovanje..............................131
TR Akü denetleyici
Kısa Kurulum ve Kullanım Kılavuzu.................................139
SL Nadzornik baterij
Kratka navodila zamontažo in uporabo......................... 147
RO Monitorul de baterie
Manual scurt de instalare şi de utilizare..........................155
BG Мониторът на акумулатора
Кратко ръководство за инсталация и работа................. 163
ET Akude jälgimisseade
Lühike paigaldus- ja kasutusjuhend................................171
EL Συσκευή προστασίας μπαταρίας
Συνοπτικό εγχειρίδιο τοποθέτησης και χρήσης..........179
LT Akumuliatoriaus monitorius
Trumpas montavimo ir naudojimo vadovas.................... 188
LV Akumulatora uzraudzības sistēma
Īsā uzstādīšanas un lietošanas rokasgrāmata...................196

Copyright
© 2023 Dometic Group. The visual appearance of the contents of this manual is protected by copyright and
design law. The underlying technical design and the products contained herein may be protected by design,
patent or be patent pending. The trademarks mentioned in this manual belong to Dometic Sweden AB. All rights
are reserved.

List of Figures
1.
4.
2. 3.
Ø 3 mm
Ø 8 mm
2.
1. 4x
1x
2.
4x
1.
1

2.
1.
1.
2.
2

1.
3.
2.
2.
1.
Ø 3 mm 4x
1.
2.
3.
2.
1.
3

2.
1.
4
6
5
7
9
8
1
2
3
3
12 V
A
B
20 A
4

20 A
1,5 mm2
2,5 mm2
10 mm
2
10 mm2
10 mm2
10 mm
2
10 mm
2
10 mm
2
120 A
120 A
1
2
12
11
9
8
10
4
5
6
7
3
12 V
5

30 A
20 A
1,5 mm2
2,5mm2
10 mm
2
10 mm2
10 mm
2
10 mm
2
120 A
1
2
12
11
9
8
10
7
3
4
5 6
12 V
6

30 A
20 A
1,5 mm2
2,5 mm2
10 mm
2
10 mm
2
10 mm
2
10 mm
2
10 mm2
120 A
120 A
1
2
15
14
12
11
13
8
7
9
10
3
45 6
12 V
7

ON/OFF
2 min
8

1,5 s
1,5 s
A
B
1
2
1 2
2
9

1.
3.
2.
1.
2.
1.
2.
1.
3.
2.
1.
3.
2.
1.
2.
1.
2.
10

English
1 Important notes
Please read these instructions carefully and follow all instructions, guidelines, and warnings included in this product manual in order to
ensure that you install, use, and maintain the product properly at all times. These instructions MUST stay with this product.
By using the product, you hereby confirm that you have read all instructions, guidelines, and warnings carefully and that you understand
and agree to abide by the terms and conditions as set forth herein. You agree to use this product only for the intended purpose and ap-
plication and in accordance with the instructions, guidelines, and warnings as set forth in this product manual as well as in accordance
with all applicable laws and regulations. A failure to read and follow the instructions and warnings set forth herein may result in an injury
to yourself and others, damage to your product or damage to other property in the vicinity. This product manual, including the instruc-
tions, guidelines, and warnings, and related documentation, may be subject to changes and updates. For up-to-date product informa-
tion, please visit documents.dometic.com.
2 Related documents
Find the installation and operating manual online on documents.dometic.com/?objec
t_id=87600.
3 Safety instructions
WARNING! Electrocution hazard
• Installation and removal of the device may only be carried out by qualified personnel.
• Do not disconnect any cables when the device is in use.
• If this device's connection cable is damaged, the connection cable must be replaced by
the manufacturer, a service agent or a similarly qualified person in order to prevent safety
hazards.
• This device may only be repaired by qualified personnel. Improper repairs can lead to con-
siderable hazards.
• When the device gets disassembled: Detach all connections. Ensure that no voltage is
present on any of the inputs and outputs.
WARNING! Fire hazard
• Do not place the device on highly flammable surfaces.
• Do not cover the vents.
• Avoid the contact with direct heat sources.
11

WARNING! Health hazard
• This device can be used by children aged from 8 years and above and persons with re-
duced physical, sensory or mental capabilities or lack of experience and knowledge if they
have been given supervision or instruction concerning use of the device in a safe way and
understand the hazards involved.
•Electrical devices are not toys. Always keep and use the device out of the reach of very
young children.
• Children must be supervised to ensure that they do not play with the device.
• Cleaning and user maintenance shall not be made by children without supervision.
CAUTION! Electrocution hazard
• Do not operate the device if it is visibly damaged.
• Observe that parts of the device may still conduct voltage even if a fuse has blown.
• Do not use the device in wet conditions or submerge in any liquid. Store in a dry place.
• Only use accessories that are recommended by the manufacturer.
• Do not modify or adapt any of the components in any way.
CAUTION! Damage hazard
• Before start-up, check that the voltage specification on the data plate is the same as that of
the power supply.
• Ensure that other objects cannot cause a short circuit at the contacts of the device.
• Ensure that the negative and positive poles never come into contact.
Installing the device safely
WARNING! Electrocution hazard
• Lay the cables so that they cannot be damaged by the doors or the hood.
• Crushed cables can lead to serious injury.
CAUTION! Suffocation hazard
Install the device in a well ventilated area.
CAUTION! Risk of injury
• Ensure that the device is securely fastened so that it cannot get loose under any circum-
stances (e. g. sudden braking, accidents) and cause injury to the occupants of the vehicle.
• When positioning the device, ensure that all cables are suitably secured to avoid any form
of trip hazard.
12

NOTICE! Damage hazard
• Do not place the device near heat sources (heaters, direct sunlight, gas ovens, etc.).
• Set up the device in a dry location where it is protected against splashing water.
• Use ductwork or cable ducts if it is necessary to lay cables through metal panels or other
panels with sharp edges.
• Do not lay the cables so that it is loose or heavily kinked.
• Do not pull on the cables.
• Do not place the device near AGM or EFB batteries because they produce flammable, cor-
rosive and explosion gas while working.
Safety precautions when handling batteries
WARNING! Risk of injury
• Batteries contain aggressive and caustic acids. Avoid battery fluid coming into contact with
your body. If your skin does come into contact with battery fluid, wash that part of your
body thoroughly with water. If you sustain any injuries from acids, contact a doctor immedi-
ately.
• When working on batteries, do not wear any metal objects such as watches or rings. Lead
acid batteries can cause short circuits which can cause serious injuries.
• Only use insulated tools.
• Do not place any metal parts on the battery.
• Wear goggles and protective clothing when working on batteries. Do not touch your eyes
when working on batteries.
• Do not use defective batteries.
WARNING! Health hazard
Keep the battery out of the reach of children.
CAUTION! Electrocution hazard
• Keep the battery away from water.
• Avoid short circuits.
• Avoid clothing rubbing against the battery.
• Wear antistatic clothing when handling the battery.
CAUTION! Explosion hazard
• Do not place the battery in a area with flammable liquids or gases.
• Never attempt to charge a frozen or defective battery. Place the battery in a frost-free area
and wait until the battery has acclimatised to the ambient temperature. Then start the charg-
ing process.
• Do not smoke, use an open flame, or cause sparking near the engine or a battery.
• Keep the battery away from heat sources.
13

NOTICE! Damage hazard
• Only use rechargeable batteries.
• Prevent any metal parts from falling on the battery. This can cause sparks or short-circuit the
battery and other electrical parts.
• Ensure that the polarity is correct when connecting the battery.
• Follow the instructions of the battery manufacturer and those of the manufacturer of the sys-
tem or vehicle in which the battery is used.
• If the battery has to be removed, first disconnect the ground connection. Disconnect all
connections and all consumers from the battery before removing it.
• Only store fully charged batteries. Recharge stored batteries regularly.
• Do not carry the battery by its terminals.
Safety precautions when handling lead acid batteries
CAUTION! Health hazard
The water-acid liquid inside the battery can evaporate and cause an acidic odor. Use the battery
only in a well-ventilated area.
NOTICE! Damage hazard
• The battery is not sealed. Do not turn the battery on its side or upside down. Place the bat-
tery on a horizontal surface.
• Check the acid level for open lead acid batteries regularly.
• Immediately recharge deeply discharged lead acid batteries to avoid sulfation.
4 Intended use
The battery monitor is intended to monitor and control the current information about the battery charging and
discharging current from 12 V lead acid batteries of AGM, Gel and Wet. The battery monitor is intended to con-
nect the connected batteries in parallel and protect them from deep discharge. The battery monitor is intended
to be installed in recreational vehicles.
The battery monitor is not intended to be used with lithium batteries.
This product is only suitable for the intended purpose and application in accordance with these instructions.
This manual provides information that is necessary for proper installation and/or operation of the product. Poor
installation and/or improper operating or maintenance will result in unsatisfactory performance and a possible
failure.
The manufacturer accepts no liability for any injury or damage to the product resulting from:
• Incorrect assembly or connection, including excess voltage
• Incorrect maintenance or use of spare parts other than original spare parts provided by the manufacturer
• Alterations to the product without express permission from the manufacturer
• Use for purposes other than those described in this manual
Dometic reserves the right to change product appearance and product specifications.
14

The radio equipment of the device complies with the requirements of the directive 2014/53/EU. You can find
the Declaration of Conformity of the device on http://documents.dometic.com.
5 Installation
Mounting the battery monitor
NOTICE! Damage hazard
Using wrong cables can lead to excessive overheating of the cables, high voltage drops, and possi-
ble failures. Use only the cable supplied.
1. Mounting the display:
fig. on page1 fig. on page2
2. iManager12-150 only: Connecting the display panel to the control unit:
fig. on page2
3. Mounting the control unit:
fig. on page3 fig. on page4
Connecting the battery monitor
Note The specified value for the fuse of the house battery is a reference value. Use a fuse
that is at least 30 % higher than the maximum current of the house battery used.
Proceed as shown:
General connection
fig. on page4
No. Component No. Component
A Option for wireless display connections 5 House battery 2
B Option for wireless display connections 6 Temperature sensor for house battery
1 Display (optional) 7 House battery 1
2 Control unit 8 Additional 12 V devices
3 Wireless display (optional) 9 Starting battery
4 Temperature sensor for house battery 2
Connection variant A
fig. on page5
15

No. Component No. Component
1 Display (optional) 7 House battery 2
2 Control unit 8 Additional 12 V devices
3 Wireless display (optional) 9 12 V fridge or oven
4 Inverter 10 Split-charge relay
5 Battery charger 11 Starting battery
6 House battery 1 12 Alternator
Connection variant B
fig. on page6
No. Component No. Component
1 Display (optional) 7 House battery
2 Control unit 8 Additional 12 V devices
3 Wireless display (optional) 9 12 V fridge or oven
4 Charge controller 10 Split-charge relay
5 Solar panel 11 Starting battery
6 Solar panel 12 Alternator
Connection variant C
fig. on page7
No. Component No. Component
1 Display (optional) 9 House battery 1
2 Control unit 10 House battery 2
3 Wireless display (optional) 11 Additional 12 V devices
4 Charge controller 12 12 V fridge or oven
5 Solar panel 13 Split-charge relay
6 Solar panel 14 Starting battery
7 Battery charger 15 Alternator
8 Inverter
6 Operation
1. Switching the battery monitor on or off:
fig. on page8
2. Displaying the battery voltage and current:
fig. on page8
3. Activate the automatic mode by tapping the icon.
16

4. Activating the manual mode:
fig. on page9
Making settings
Open the basic settings by tapping the icon for a few seconds.
The following settings can be made:
• Setting the language
• Setting the house battery 1 type and capacity
• If available, setting the house battery 2 type and capacity
• Setting the date and time
fig. on page10 fig. on page10
Open the secondary settings by tapping the icon shortly.
Display the next screen by tapping the icon.
Display the previous screen by tapping the icon.
Increase a value by tapping the icon.
Lower a value by tapping the icon.
Select a setting by tapping the icon.
Deselect a setting by tapping the corresponding icon.
Confirm the setting by tapping the icon.
Cancel the set setting by tapping the icon.
7 Disposal
Recycling packaging material: Place the packaging material in the appropriate recycling waste bins
wherever possible.
Recycling products with non-replaceable batteries, rechargeable batteries or light sources:
• If the product contains any non-replaceable batteries, rechargeable batteries or light
sources, you don't have to remove them before disposal.
• If you wish to finally dispose of the product, ask your local recycling center or specialist deal-
er for details about how to do this in accordance with the applicable disposal regulations.
• The product can be disposed free of charge.
8 Warranty
The statutory warranty period applies. If the product is defective, please contact the manufacturer's branch in
your country (see dometic.com/dealer) or your retailer.
For repair and warranty processing, please include the following documents when you send in the device:
17

• A copy of the receipt with purchasing date
• A reason for the claim or description of the fault
Note that self-repair or nonprofessional repair can have safety consequences and might void the warranty.
18
This manual suits for next models
1
Table of contents
Languages:
Other NDS Monitor manuals

NDS
NDS Radiance Ultra SERIES User manual

NDS
NDS Radiance G3 User manual

NDS
NDS DOMETIC BS12-100 User manual

NDS
NDS DT002 User manual

NDS
NDS DOMETIC SS12-100 User manual

NDS
NDS DTB01 User manual

NDS
NDS RADIANCE ULTRA 32 4K ZEROWIRE DUO User manual

NDS
NDS DTB01 User manual

NDS
NDS DOMETIC BS12-100 User manual

NDS
NDS EndoVue 19" User manual