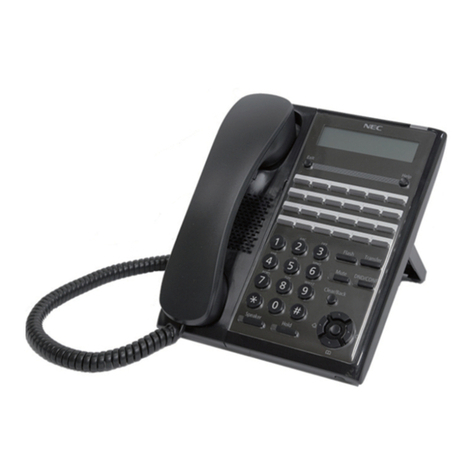
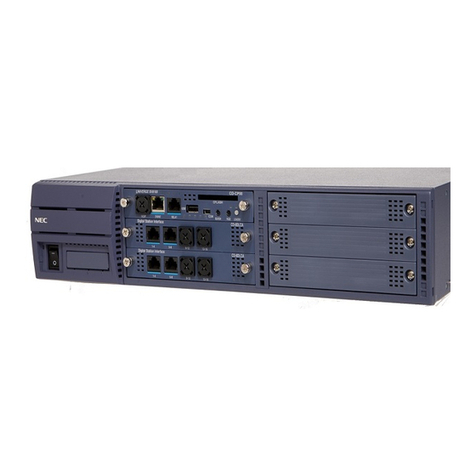
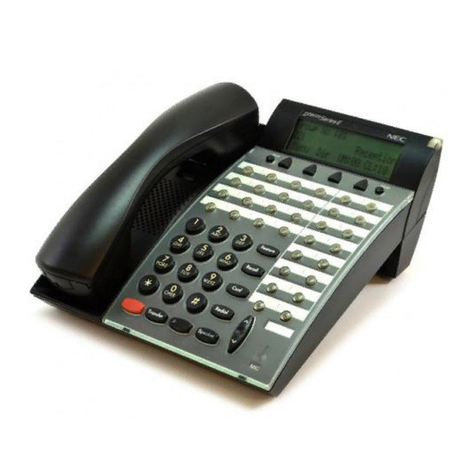
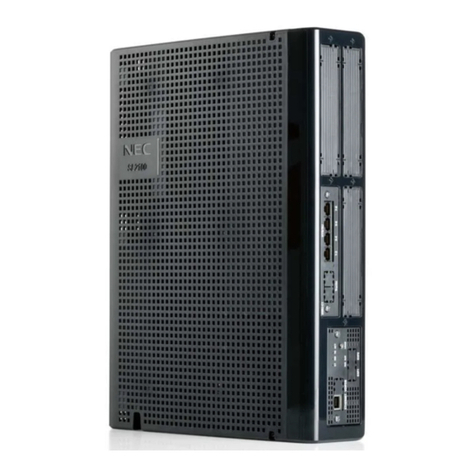
NEC UNIVERGE SL2100 Setup guide

IT Support
1300 603 404
support@databox.net.au
IT Support
1300 603 404
support@databox.net.au
Personally devoted account and project managements Experts who understand your business
VIP accessibility on a local dedicated phone line 1300 603 404, not a call centre
Cutting edge hardware, accessories and up to date telecommunication advise
routine account reviewals to provide guarantee competitive rates
DataBox Solutions is here to help you work smarter, not harder.
Databox Solutions is passionate about cutting-edge solutions and the newest technology, Providing your
business ongoing support with local managed IT services that is more personal than a big name brand.
Not only will it benefit your businesses to use our services, but it will also receive:
To allow ongoing support, save the following training guide to your desktops to ensure your staff are
assisted in your new phone system's essential functions.
For support, please contact us at 1300 603 404
Databox Solutions
Training Guide For NEC SL2100

IT Support
1300 603 404
support@databox.net.au

IT Support
1300 603 404
support@databox.net.au
LED LIGHT
GREEN LED YOUR CALL
FAST RED FLASH
SLOW RED FLASH
STEADY RED LIGHT
PICK UP LINE
(KEYS UNDERNEATH LCD)
EXIT
LIST
DIRECTORY
ICM
PROGRAM
HELP
SL2100 TRAINING NOTES
SOFTKEYS ON HANDSET
To return to the main me
To access redial & CID (Caller ID) – scroll
To access system speed dials – SPD – ABB
Intercom – INPG – Pickup and dial Zero
To access Call Forward and DND (Do Not Disturb)
DND 1 – External
DND 2 – Intercom
DND 3 – ALL
Push help and then function key to view the programming
(extension numbers)
Green External Call – The Red Internal Call
Your Call
Incoming Call
Call on hold at another station
Station with the call in progress
Dial Zero

IT Support
1300 603 404
support@databox.net.au
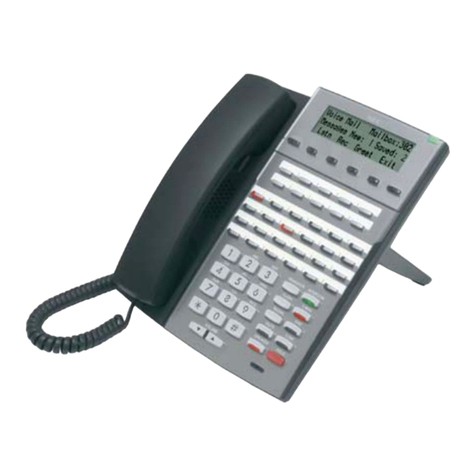
Key Handset Functions
Soft Keys:
Used for the on-screen
displays
Function Keys:
Programmable Keys
Transfer:
To transfer calls to other
handsets/numbers
DND:
The Do Not Disturb Function
Control Panel (Circular Pad):
See more information below
Hold:
To place a call on
hold
Speaker:
To place a call on
speakerphone
Flash:
Terminate the current
call, to pick up another
line
Mute:
Mute any sound through
the microphone on the
handset
The up and down buttons can be used to adjust the LCD contrast when the handset is idle
The up and down buttons can be used to adjust the ringing volume when the handset is
ringing (Dial 729 to make the phone ring)
The up and down buttons can be used to adjust your earpiece volume when the call is in place
Press the Left button once to access the previous 20 dialled numbers
Press the Left button twice to access the phone numbers of the last 100 incoming calls
Press the Right button to access your company's speed dial. Then follow this by using the
keypad to enter the name of the person you are searching for.
CONTROL PANEL (CIRCULAR DIAL)

IT Support
1300 603 404
support@databox.net.au
Press on the Speaker key (for Hands-free), or lift the Handpiece
Hang up the handset to end the call, or press the Speaker Button
Press Speaker key (for Hands-free), or lift Handpiece
Dial zero for an outside line followed by the telephone number
Press Speaker key (for Hands-free), or lift Handpiece
Dial your extension number or press a programmed function key (the one-touch key)
Leave Handpiece down
Press Redial (left side - circular dial)
Then scroll through the numbers using the up and down on the circular dial
When the desired number is being displayed, lift the handset or press the speaker to dial
the number.
Whilst on a call, press Transfer
Dial-in the extension number or dial Zero; Follow this step by an external number or
press the one-touch key.
When the line is picked up, announce the caller and hang up.
Alternatively, if the extension number does not pick up or does not want to take the call,
you can press the Line Key to get the caller back.
While on a call, press Hold (Save) (a line key displays a slow green flash while on hold)
To retrieve calls on hold, press the flashing green line key
How to Answer an Incoming Call
How To Make an External Call
How To Make an Internal Call
(The system retains the last ten numbers dialled which can be viewed and dialled)
How To Transfer a call off-Site (if applicable) or to another extension
Note: If a transferred call goes through to voicemail, press recall to exit the voicemail and
then return to the caller
ANSWERING INCOMING CALLS
PLACING AN OUTSIDE CALL
LAST NUMBER-REDIAL
TRANSFER
HOLD

IT Support
1300 603 404
support@databox.net.au
Press Speaker key (for Hands-free), or lift Handpiece
Then Dial the extension number or press the programmed flexible key
Dial # when a busy tone is heard and hang up
The campon will then be displayed on the screen and when the busy station switched
to idle a call back ring will be heard on the station.
Lift the handpiece and the station desired will be called automatically
Press the Speaker
Then dial 7-7-0
Press Speaker
While on a call, press the Key: CONF - LCD options (the first caller is placed on hold)
Dial the extension or external number
When the called party answers
Press ADD and then BEGIN to establish the conference call
Once finished, hang up to exit the conference call.
Press Speaker
Dial 7-4-1 (all calls) or Dial 7-4-4 (busy and no answer calls)
Dial 1
Enter extension number to where the calls should be forwarded or zero followed by
an external number
Press Speaker
Press Speaker
Dial 7-4-1 (all calls) or dial 7-4-4 (busy and no answer calls)
Dial 0
Press Speaker
How To activate automatic call back
To cancel automatic call back
How To Establish a Conference Call
How To set Call Forwarding
How To Cancel Call Forwarding
AUTOMATIC CALL-BACK (CAMPON)
CONFERENCE CALL
CALL FORWARD

IT Support
1300 603 404
support@databox.net.au
Press the Speaker key or lift the handpiece
Dial 7-0-1-1 and announce page internally on the phone systems
Press the Speaker or lift the handpiece
Then dial the extension number of the person you want to call, then while their
phone is ringing: Press '1'
Press DND
Press Set
Dial Ext for all external calls
Dial Icm for intercom calls
Dial All for all calls
Your extension key will show a fast red flash to indicate the DND is activated
Press DND
Press Cncl
Press Speaker, or lift the handset
Dial *#
Press Speaker, or lift the handset
Dial ** followed by the extension number of whose call you want to intercept
Group Paging
Individual User Paging
How To Activate Do Not Disturb (DND)
How To cancel Do Not Disturb (DND)
Group Call Pick Up (picks up another phone that is ringing in your group)
Direct Call Pick Up (picks up a call that is ringing outside your group, if applicable)
PAGING - INTERCOM CALLS
DO NOT DISTURB
CALL PICKUP

IT Support
1300 603 404
support@databox.net.au
Press Speaker
Dial 7-5-1
Press the programmable function key to be programmed
Dial 0-1 for the one-touch feature desired or 2-7 for speed dials entered
Dial the extension number or zero plus an outside line, or the BIN number of the speed
dial
Press Hold
Press Speaker
Press Speaker
Dial 7-5-3
Dial the phone system speed dial buffer number (001-999)
Dial the phone number you to store (up to 24 digits)
Press Hold
Enter the name which is associated with the speed dialling number (up to 13 letters, #
allows you to enter the same character twice, ## enables a space, DND to go backspace
and Zero to clear all programming)
Press Hold
Press Speaker
Press Redial then system speed-dial buffer number (001-999)
Using the LCD Options:
Press DIR > ABB or Press the right arrow on the circular dial
Select the first letter of the name which is being searched for
Use the circular dial to scroll through names
Press the Speaker key or lift the handpiece to commence the desired call
Dial #2<Bin Number> (e.g. #2000 for the first entry)
Note: To program another key- Press the next programmable function key instead of the
speaker key to finish.
Note: Service code 0-0 will erase the function from the key
You can store up to 999 numbers in the phone system. This will stop make looking up
numbers more efficient. This will allow easy access to calls by allowing calls to be picked up
once the number is selected. To ensure even faster dialling, list the abbreviated dialling Bin
numbers on the display near the phone system.
Note: The Programming System Speed Dial can only be entered on the manager phone or
on Web Pro as an alternative.
How to Use System (Company) Speed Dials
or
Alternatively, If the speed dial Bin of the desired caller is known:
PROGRAMMING SYSTEM (COMPANY) SPEED DIAL
PROGRAMMING A ONE-TOUCH KEY

IT Support
1300 603 404
support@databox.net.au
Press Speaker
Dial 7-5-5
Dial the station speed buffer dial number (1-0)
Dial zero for the line out followed by the telephone number you want to store (up to 24
digits)
Press Hold
Enter the name associated with the speed dial number (up to 13 letters- # allows the
same character to be entered twice, ## enable a space, DND to backspace, zero to clear
all the programming)
Press Hold
Press Speaker
Press #7 followed by the stations speed dial buffer (1-0)
Using the LCD options, Press the DIR>STA
Then Scroll through the numbers by using the circular dial
Press the Speaker key or lift the handpiece to commence the call
Press Speaker key
Dial 7-0-0
Dial the Extension Number for the person whose name will be entered
Enter the name associated by using the dial pad characters (# Lets you enter the same
character twice, ## enables a space, DND enables a backspace
Press the Hold to save and listen for the confirmation tone
Press Speaker
You can store up to 10 personal numbers on the phone.
Using Station (Personal) Speed Dials
or
PROGRAMMING SYSTEM (PERSONAL) SPEED DIAL
PROGRAMMING NAMES INTO HANDSETS

IT Support
1300 603 404
support@databox.net.au
Lift handset and dial 6-1-6
The display will show these options:
Record -7
Listen 5
Delete 3
Dial the VRS message number:
001 (Day), 002 (Night), 003 (Holiday), 004 (Custom)
Record, Listen and or Delete the message
Press # to finish recording and hang up the phone
Dial 7-1-8
Press 3 for Holiday Message, 4 for a custom message
Press the speaker to close
Press Day/Night switch
If there is an automatic night mode switching, set Public holidays in WebProf for the
phone system to set Public Holidays in the Calendar
How to record a new night message
Note: it is advised to record the message through the handset rather than record hands-
free. This is to reduce the background noise for recordings.
Professional Messages are:
Note: If recording a personal message, include in the message 'Press 1 to record a message
after the tone' if intending for the caller to leave a message.
How to change to Holiday mode on the desired phone system
Note: To change back to day mode when custom/holiday messages are no longer required:
NIGHT MESSAGE (COMPANY)
TO CHANGE TO HOLIDAY & CUSTOM MODES
Day
Night
Holiday
Custom

IT Support
1300 603 404
support@databox.net.au
Press the message button
Press *8
Press GR1 (Greeting 1) GR2 (Greeting 2) or GR3 (Greeting 3)
Once selecting GR1, GR2 or GR3
Press Lstn - Listen to the current greeting recorded
Press Rec - Record a new message over this greeting
Press Erse - Erase the message
Press the message button
Press Greet
Press GR3 then hang up
Greeting 3 is now activated
Example: To activate Greeting 3 (GR3) for night message;
RECORD VOICE MAIL (PERSONAL ONLY)
Other manuals for UNIVERGE SL2100
29
Table of contents
Other NEC Telephone manuals

NEC
NEC ST4 User manual

NEC
NEC Single Line User manual

NEC
NEC UNIVERGE UM8500 User manual

NEC
NEC UX5000 User manual

NEC
NEC Xen Topaz User manual

NEC
NEC Aspire User manual

NEC
NEC DT930 Series User manual

NEC
NEC NEAXMail AD-40 User manual

NEC
NEC Univerge SV9100 User manual

NEC
NEC Single Line Telephone User manual

NEC
NEC NVM-2000 User manual

NEC
NEC DT400 User manual

NEC
NEC Univerge SV8100 User manual

NEC
NEC DT920 Setup guide

NEC
NEC Univerge SV9100 User manual

NEC
NEC NEAXMAIL IM-16 User manual

NEC
NEC IPK II Instruction Manual

NEC
NEC Dterm Series III User manual

NEC
NEC Univerge SV8100 User manual

NEC
NEC DT310 User manual