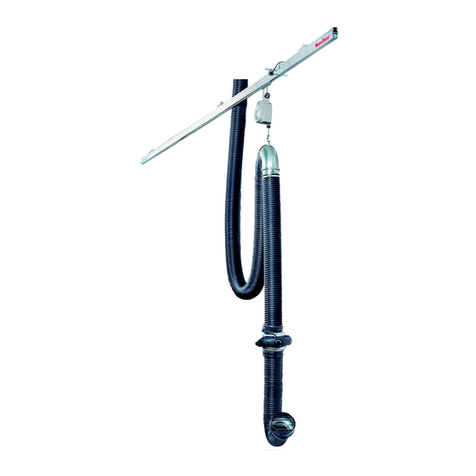
PTS
8
A lockable safety switch is recommended for
the electrical system including the fan.
Before installation
Before the PTS system can be installed, a suitable
position must be determined in relation to the vehicle's
parking position in the station. N.B. The vehicle’s par-
king position must be on the opposite side
of the track compared to the duct connection.
See picture Alternative 1 / 2.
The distance from the oor to the bottom edge of the track
should normally be 10 - 13 ft (3 - 4 m). 11 ft 6 in (3,5 m)
is recommended. If the system is to be used between two
vehicles, the distance between the vehicles must be at
least 4 ft (1,2 m).
The distance from the track's front edge to the station
door threshold should be at least 3 ft (1,0 m). Make
sure the door can open freely without interference to
the track. See picture A.
Installation instructions
See pictures 1 - 14.
1. Place all the track proles in line with each other
on the oor according to the picture. Screw the proles
together with the lengthening joints.
2. Fasten the mounting brackets on the proles
according to the measurements in the picture.
3. Lift the tracks and t them in the ceiling. Check that
there is no gap between the track sections. The
mounting devices should be xed in bars, brackets or
similar arrangements according to the examples.The
rst and the last mounting bracket should be braced
(see pictures Aand B). All mounting brackets should
be braced with bracing bars positioned sideways ac-
cording to one of the pictures C,D or E. When moun-
ting the track, ensure that suitable xing bolts are used
considering the ceiling construction material and the
traction forces in the suspension points.
4. Position the duct connector near the middle of the
main track. Fasten it according to 12 a - e. NB! The
duct connector must not be positioned on the
same side of the track as the vehicle's parking
position (see picture Alternative 1 / 2).
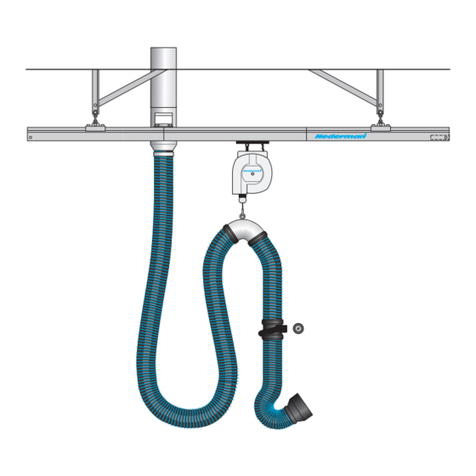
5. Connect the nozzle kit on the safety
coupling.
6. Slide the trolley with balancer into the main track.
7. Fit the balancer cord in the sheet metal bend.
8. Mount the trolley with hose holder in the
secondary track. Fit the hose holder on the hose
minimum 12 ft 6 in (3,8 m) from the balance cord (see
picture 9).
The exhaust hose length is delivered for a mounting
height of 11ft 6 in (3,5 m). It is important that
the nozzle suspends freely (approx. 1 ft (30 cm))
from the oor when the hose is in its raised
position. For higher mounting heights than 11 ft 6 in
(3,5 m) the hose position is adjusted by moving the
balancer cord stop the necessary length. For lower
mounting heights than 11 ft 6 in (3,5 m) the exhaust
hose must be cut in the following way:
a. Separate the safety coupling.
b. Close the compressed air supply.
c. Cut o the necessary length of the lower
exhaust hose.
d. Cut the compressed air hose by the same length
as the exhaust hose.
e. Reassemble the hose and the safety coupling.
f. Check that there is no tension in the hose after
the nozzle has been connected to the exhaust pipe.
9. To obtain clearance height under the exhaust
hose (when the vehicle is in parking position) the
position of the duct connector must be adjusted in
the following way (see picture 9 a - e):
a. Back the vehicle into its parking position.
b. Slide the exhaust nozzle onto the exhaust pipe
of the vehicle.
c. Loosen the duct connector from the exhaust track
and push it towards the door opening and the track´s
front edge, until the distance from the oor to the bottom
edge of the exhaust hose is at least 7 ft (2,1 m).
d. Drill holes, diameter 2/5 in (10 mm) in the track
for the duct connector bracket. It is to be noted that
the duct connector must be fastened in front of the
middle of the track.
e. Fasten the duct connector with screws.
10. Install shock absorbers in the front edge of the tracks.
11. Install screw and nut at the back edge of the tracks.
12. Install the disconnection valve on the front part
of the main track. Install the valve with the screw X.
Max. moment = 1,1 lbft (1,5 Nm). The exact distance
from the front edge of the track must be checked acc.
to the installation protocol point 3F.
13. Install the compressed air hose to the T-coupling.
The hose is mounted on the top of the guide track. Drill
holes, 1/6 in (4,5 mm) diameter, and t the hose with
clips according to the pictures. Adjust the hose length
and connect the hose to the disconnection valve.
14. A exible hose, minimum length 1 ft (30 cm) must
be connected between the duct connector and the
duct pipe work.
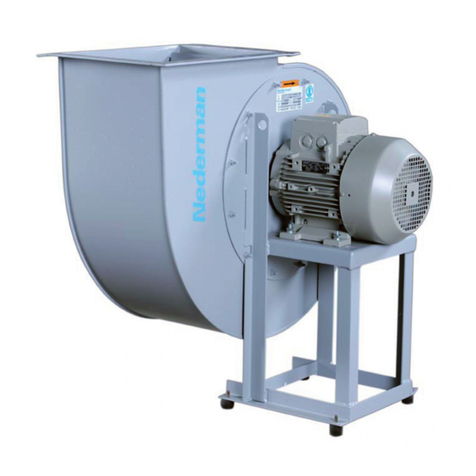
Fans
Fans are not included in the basic package. For the
best results, one fan per extraction unit is recom-
mended. It is also possible to connect several units
to a central fan.
To obtain optimum performance, the fan should be
positioned as near the duct outlet from the room as
possible. Please contact your Nederman represen-
tative for advice on fan selection.
The exhaust pipe
The edge of the exhaust pipe must have a free
distance to surrounding vehicle parts. See recom-
mendations, picture C. Check that the nozzle, after the
disconnection, does not catch any part of the vehicle.
It is possible that modications may be required to the
