Note: this equipment has been tested and found to comply
with the limits for class A digital device, pursuant to Part 15 of
the FCC Rules. These limits are designed to provide
reasonable protection against harmful interference when the
equipment is operated in a commercial environment. This
equipment generates, uses, and can radiate radio frequency
energy and, if not installed and used in accordance with this
instruction manual, may cause harmful interference to radio
communications. Operation of this equipment in a residential
area is likely to cause harmful interference in which case the
user will be required to correct the interference at his own
expense.
EEC-declaration of concurrence.
We, Neopost Technologies B.V.,
De Tijen 3
9201 BX Drachten
The Netherlands
declare, entirely under our own responsibility, that the
products described in this manual, to which this
declaration relates, conform the standards of
in accordance with
The Machine Directive 98/37/EEC,
the low voltage Directive 73/23/EEC, modified by the
directive 93/68/EEC,
and the EMC Directive 89/336/EEC, modified by the
directives 92/31/EEC and 93/68/EEC.
It is forbidden to put the product into use
before the equipment to which it is connected,
declared to be in accordance with the
stipulations of the Machine Directive.
9/9FO
Remarks
• The specification of the paper handling equipment is often wider than that of the envelopes and documents handled. The condition
of material handled will limit the specified environmental conditions.
• We recommend that materials to be handled are stored at a temperature of 20 °C (68°F) with a relative humidity factor of 50%. If
difference in temperature occurs between store room and mailing area, the material has to be stored near the machine at least 24
hours before use.
•Self-copying paper may cause rubber parts to wear quicker. The rubber used in this machine has the best resistance to Wiggins
Teape material.
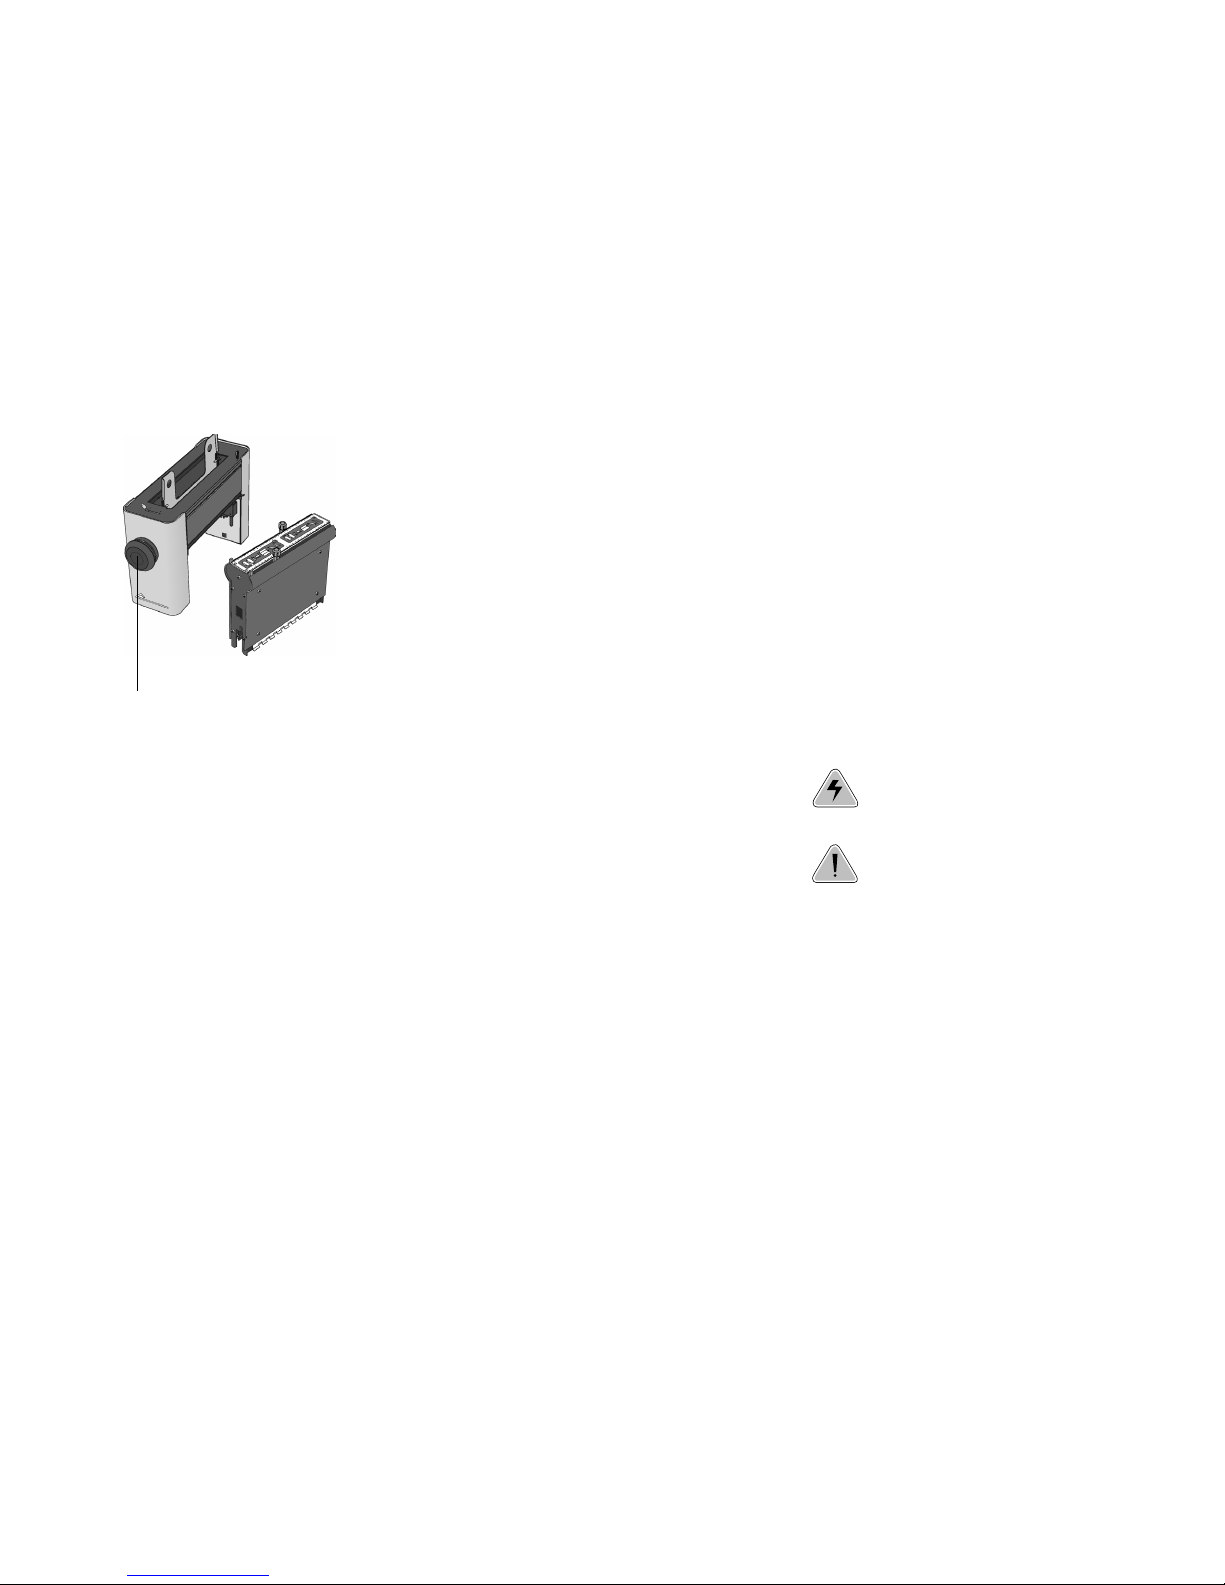
7. SPECIFICATIONS
This operator manual refers to machines as from machine number FO-1: 98 L-5353 or higher
FO-2A: 97 AL-5391 or higher
Machine specifications
Model :FO-1/2A
Type :paperfolding device in medium office use; accessory to System 7
Overall Dimensions :height 460 mm (18,1 inch)
:width 460 mm (18,1 inch)
:length 200 mm (7,9 inch)
Weight :approx. 14 kg (30,9 lbs)
Noise level :refer to inserter operator manual for configuration noise levels
Operating temperature :10 - 50°C (50 - 122°F)
Humidity :30 - 90%
Power consumption :low voltage supplied by the inserter.
Approvals :conforms to IEC 950 and derivatives.
UL listed ITE, File E153801
BS EN 60950, File KM 11322
Paper specifications
Paper sizes minimum maximum
width : 100 mm (3,9 inch) 230 mm (9,1 inch)
length : 80 mm (3,1 inch) -
Fold length
fold plate “b” : 30 mm (1,2 inch) 212 mm (8,3 inch)
fold plate “a” : 47 mm (1,9 inch) 212 mm (8,3 inch)
Quality :45 gr/m2 170 gr/m2
(11 lb bond) (40 lb bond)
89.39.59 index A 01/06 Specifications and design are subject to change without prior notice.
EN 292-1, EN 292-2
EN 60950
EN 55022, EN 50082-1
EN 294