manuals.online logo
Brands
  1. Home
  2. •
  3. Brands
  4. •
  5. NetApp
  6. •
  7. Storage
  8. •
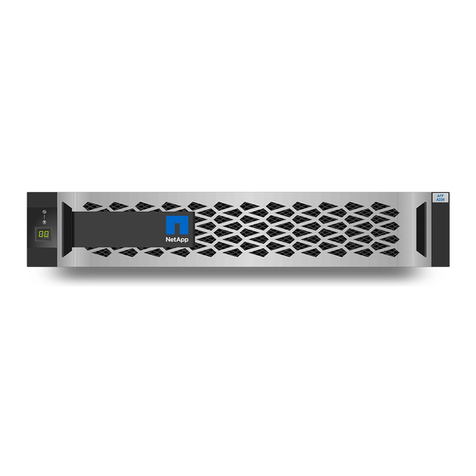
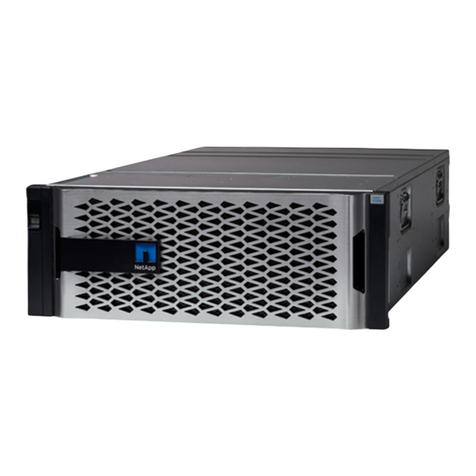
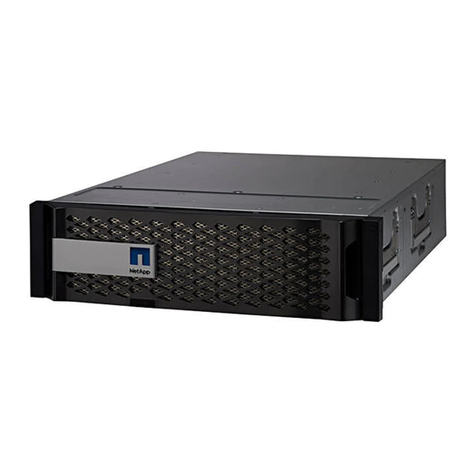
  9. NetApp FAS2700 Series Manual

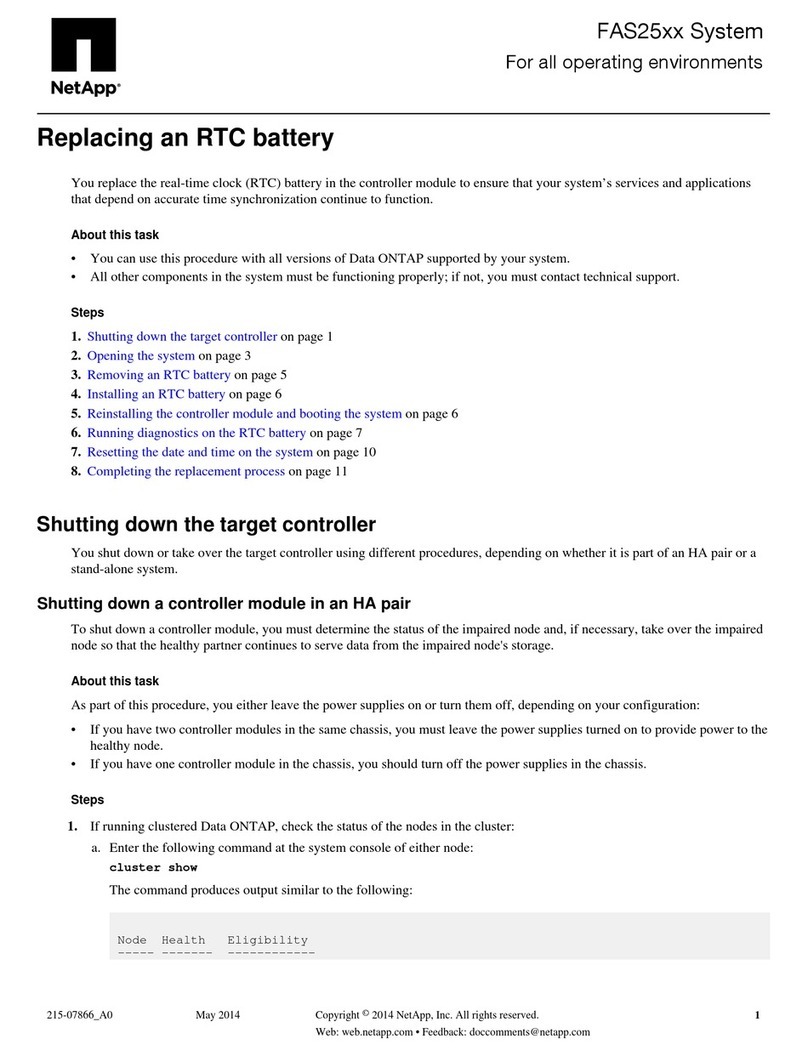
NetApp FAS2700 Series Manual

Prepare for installation Install hardware Cable storage Complete system setup
and configuration
1 2 3 4
AFF A220 or
FAS2700 Systems
Installation and Setup Instructions
Prepare for installation |Stage 1
You provide
In the box
Pre-setup
1. Click mysupport.netapp.com and then create/log in to your account, download and install Active IQ Config Advisor,
and register your system. 
2. Unpack all boxes and inventory contents. For more cable information and part numbers, see the Hardware Universe.
3. Go to the AFF and FAS System Documentation Center and click AFF A220 and FAS2700 systems, and then Installation and Setup:
- Download and complete the Cluster Configuration Worksheet.
- Watch the videos listed under Setup videos.
.
Storage cables
mini-SAS HD to mini-SAS HD cables
Part number X66030A (112-00435) or X66031A (112-00436)
or X66032A (112-00437) or X66033A (112-00438)
Additional cables
Power cables
Ethernet cables micro USB console cable
Screwdriver
Phillips #2
Laptop or console
With USB/serial connect or direct
switch connect and access to a Web browser
to configure your storage system
Rack space
2U per chassis
Additional network cables
For connecting your storage system to your
network switch and laptop or console.
Cluster Interconnect cables
Part number X6566B-05-R6 (112-00297)
or X6566B-2-R6 (112-00299)
10 GbE network cables
(order dependent)
Part number X6566B-2-R6 (112-00299) or
X6566B-3-R6 (112-00300) or X6566B-5-R6 (112-00301)
Optical network cables (order dependent)
Part number X6553-R6 (112-00188) or
X6554-R6 (112-00189) or X6536-R6 (112-00090)
Data and cluster Interconnect cables
CAT6 RJ-45 cables
Part number X6585-R6 (112-00291)
or X6562-R6 (112-00196)
A
B
1
2
Unified configuration (order dependent)
A
B
1
2
Ethernet configuration (order dependent)
215-13080_E0
Install hardware |Stage 2
• Install the rail or telco tray kits, as needed, and then install and secure your
system using the instructions included with the kit, or see the 42U 1280 mm
System Cabinet Guide for cabinet installation.
• Attach cable management devices to the back of each controller (as shown).
• Place the bezel on the front of the system.
Install system in a rack or cabinet
1LIFTING HAZARD
CAUTION
≥25 kg (≥56 lbs.)
Back of
the controller
2
Power cables
3Connect both power cords
1
2
Retaining clipsRetaining clips
Cable controller for switchless or switched cluster
See your network administrator for help connecting to your switches.
Connect the power cables to both power supplies.
• Use the retaining clips.
• Connect power cables to dierent power sources.
DO NOT turn on the power supply switches.
For switchless cluster
Connect port e0a to port e0a and port e0b to port e0b.
For switched cluster
Connect port e0a and port e0b on each controller
to the cluster interconnect switches.
On each controller, connect ports e0c/0c and e0d/0d
OR ports e0e/0e and e0f/0f to the FC host network
switches.
On each controller, connect ports e0c and e0e
OR ports e0d and e0f to the data network switches.
Connect the wrench port (e0M + BMC) on both
controller modules to the management subnet switches.
Strap the cables to the cable management arms.
(not shown)
4
2
3
1
Ethernet cables
CAT6 RJ-45 cables
Cluster interconnect cables
10 GbE
network
cables
Optical
network
cables
OR
For Unified configuration
For Ethernet configuration
1
2
AC AC
1
2
AC AC
1
To cluster interconnect
switches
2
To data network
switches
3
To management
network switches
1
Switchless cluster
A
Switched cluster
B
Unified
configuration
Unified
configuration
2
To data network
switches
3
To management
network switches
A
B
1
2
Attention: Be sure to check the illustration arrow for the proper cable connector pull-tab orientation.
Note: To unplug a cable, gently pull the tab to release the locking mechanism.
Pull-tab
Note: The illustrations below show the Unified configuration system. The cluster and management network cabling remain the
same for an Ethernet configuration system. You will be using cables with RJ-45 connectors instead to connect to 10GbE switches.
Cable storage |Stage 3
Cabling an AFF A220 or FAS2700 series
WITH external storage (DS224C)
2
1
3
Connect the shelf-to-shelf ports
Connect each node to IOM A in the stack
Connect each node to IOM B in the stack
Storage cables
1
2
AC AC
IOM12
21
L N K L N K
43
L N K L N K
IOM12
21
L N K L N K
43
L N K L N K
IOM12
21
L N K L N K
43
L N K L N K
IOM12
21
L N K L N K
43
L N K L N K
IOM12
21
L N K L N K
43
L N K L N K
IOM12
21
L N K L N K
43
L N K L N K
1
2
AC AC
1
2
AC AC
1
2
AC AC
First
shelf
IOMA
Last
shelf
IOMB
Dual controller system FAS2700 or AFF A220
Attention: Be sure to check the illustration arrow for the proper cable connector pull-tab orientation.
Note: To unplug a cable, gently pull the tab to release the locking mechanism.
Pull-tab
2Complete initial cluster setup:
1. Make sure that your laptop has network discovery enabled. See your laptop’s help for more information.
2. Connect your laptop to the Management switch.
3. Go to network devices and double-click either ONTAP icon.
Note: Accept any certificates displayed on your screen.
If your laptop has network discovery enabled:
OPTION
A
If your laptop does not have network discovery enabled:
OPTION
B
Ensure the controller modules are completely cabled and then turn the power supplies.
Management subnet
Laptop
3Use System Manager Guided Setup to configure your cluster
4Completing setup
1. Verify the health of your system by running Config Advisor.
2. After you have completed the initial configuration, go to the NetApp ONTAP Resources page for information
about configuring additional features in ONTAP.
Set the console port on the laptop to 115,200 baud
with N-8-1, connect to the micro-USB port on the
controller with the console cable.
Connect the laptop to the Management
switch and give the laptop a TCP/IP
address on the management switch
Assign an initial node management IP address to one
of the nodes. If you have DHCP configured on your management network, record the IP address assigned
to the new controllers. Otherwise use Cluster Setup wizard to assign the node management IP address.
a. Open a console session using PuTTY, a terminal server, or the equivalent for your environment.
b. Enter the management IP address when prompted by the script.
Open a browser and enter management IP address. (https://xxx.xxx.xxx.xxx)
micro USB console cable
Ethernet cable
2
3
4
1
If your system has one or more external drive shelves,
set the shelf IDs:
1. Power on the drive shelf, and then remove the end cap on the left of the shelf.
2. Press and hold the orange button until the first digit blinks, and then press the button to advance
the first digit (0-9) to the desired number. The first digit continues to blink.
3. Press and hold the button until the second digit blinks, and then press the button to advance
the second digit (0-9) to the desired number. The first digit stops blinking, and the second digit continues to blink.
4. Press and hold the button until the second digit stops blinking, and then replace the end cap on the shelf.
5. Wait about 10 seconds for both digits to start blinking again and for the LED to illuminate,
and then power-cycle the drive shelf to make the shelf ID take eect.
6. Repeat these steps for any remaining drive shelves.
1
Complete system setup and configuration |Stage 4
1
2
AC AC
1
2
AC AC
FAS2700 or AFF A220 system
Laptop
Management subnet 2
1
Other manuals for FAS2700 Series

2

This manual suits for next models

5

Other NetApp Storage manuals

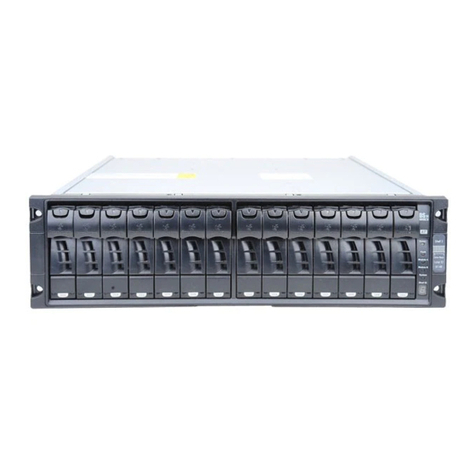
NetApp AFF A250 User manual

NetApp

NetApp AFF A250 User manual

NetApp FAS22 Series User manual

NetApp

NetApp FAS22 Series User manual

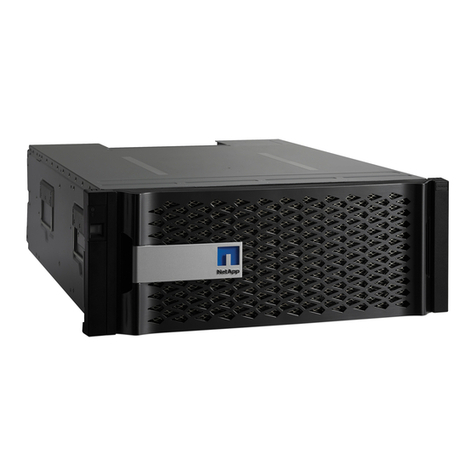
NetApp AFF A400 Manual

NetApp

NetApp AFF A400 Manual

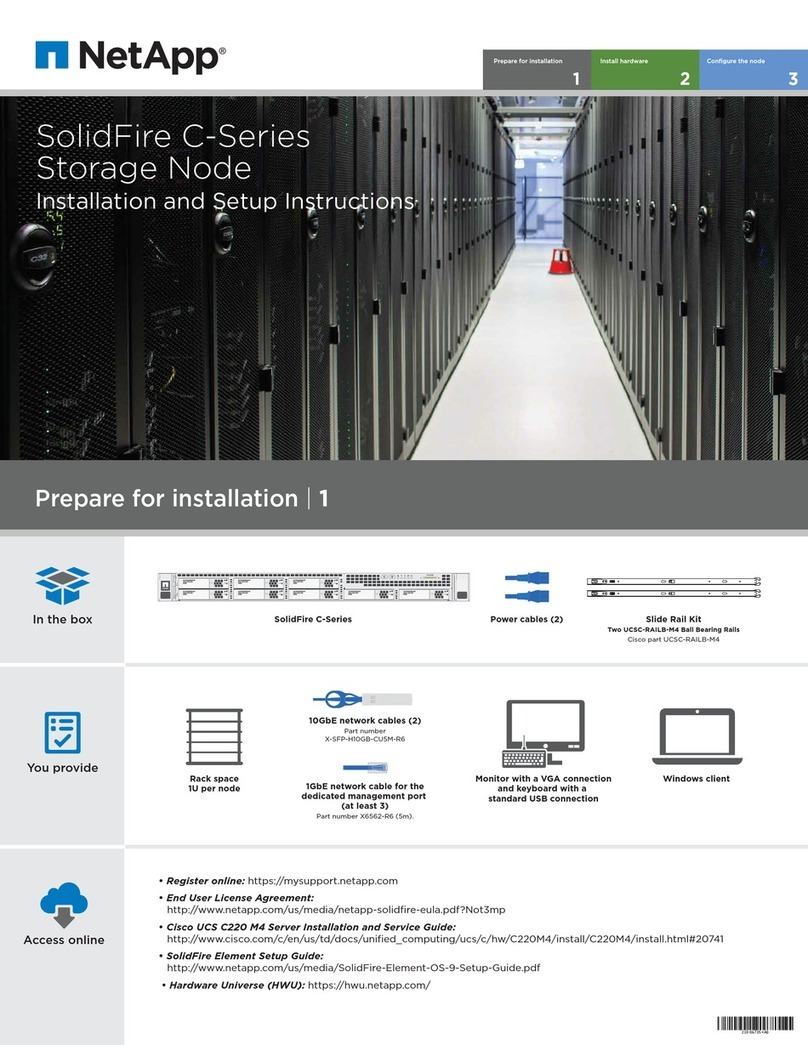
NetApp SOLIDFIRE User manual

NetApp

NetApp SOLIDFIRE User manual

NetApp FAS8300 User manual

NetApp

NetApp FAS8300 User manual

NetApp FAS9500 Manual

NetApp

NetApp FAS9500 Manual

NetApp E2712 User manual

NetApp

NetApp E2712 User manual

NetApp AFF A800 User manual

NetApp

NetApp AFF A800 User manual

NetApp DS4243 Installation and maintenance instructions

NetApp

NetApp DS4243 Installation and maintenance instructions

NetApp AFF A700s User manual

NetApp

NetApp AFF A700s User manual

NetApp FAS2020 Manual

NetApp

NetApp FAS2020 Manual

NetApp StorageGRID SD100 User manual

NetApp

NetApp StorageGRID SD100 User manual

NetApp FAS2700 Series User manual

NetApp

NetApp FAS2700 Series User manual

NetApp StorageGRID Webscale SG6000 Series Operating manual

NetApp

NetApp StorageGRID Webscale SG6000 Series Operating manual

NetApp FAS8200 Series Manual

NetApp

NetApp FAS8200 Series Manual

NetApp H410S Manual

NetApp

NetApp H410S Manual

NetApp SteelStore 30 Series User manual

NetApp

NetApp SteelStore 30 Series User manual

NetApp StorageGRID Webscale SG5700 Series Operating manual

NetApp

NetApp StorageGRID Webscale SG5700 Series Operating manual

NetApp AFF A300 User manual

NetApp

NetApp AFF A300 User manual

NetApp AFF A800 Instruction Manual

NetApp

NetApp AFF A800 Instruction Manual

NetApp DS224C User manual

NetApp

NetApp DS224C User manual

NetApp FAS8700 Instruction sheet

NetApp

NetApp FAS8700 Instruction sheet

NetApp FAS8200 Series User manual

NetApp

NetApp FAS8200 Series User manual

NetApp StorageGRID Webscale 10.4 Product manual

NetApp

NetApp StorageGRID Webscale 10.4 Product manual

Popular Storage manuals by other brands

Rocstor Rocport 3CX Quick installation guide

Rocstor

Rocstor Rocport 3CX Quick installation guide

SonicWALL 01-SSC-1954 installation guide

SonicWALL

SonicWALL 01-SSC-1954 installation guide

Teac CD-224PEK user manual

Teac

Teac CD-224PEK user manual

Vertex V100 series Maintenance manual

Vertex

Vertex V100 series Maintenance manual

Quantum LTO 3A release note

Quantum

Quantum LTO 3A release note

Panasonic VW-PT2 operating instructions

Panasonic

Panasonic VW-PT2 operating instructions

HP D2D manual

HP

HP D2D manual

Haworth Beside Storage Pantry quick start guide

Haworth

Haworth Beside Storage Pantry quick start guide

IBM Netfinity Series Hardware Maintenance Manual

IBM

IBM Netfinity Series Hardware Maintenance Manual

HP Surestore 160ex - Optical Jukebox user guide

HP

HP Surestore 160ex - Optical Jukebox user guide

Seagate Elite 9 product manual

Seagate

Seagate Elite 9 product manual

Iomega Floppy USB Drive Quick install

Iomega

Iomega Floppy USB Drive Quick install

Macally Mobile Wi-Fi Pocket Drive user manual

Macally

Macally Mobile Wi-Fi Pocket Drive user manual

Maxtor 2R015H1 Specifications

Maxtor

Maxtor 2R015H1 Specifications

Nexsan SATABoy quick start guide

Nexsan

Nexsan SATABoy quick start guide

Glyph GT 051 Specifications

Glyph

Glyph GT 051 Specifications

Sun Oracle StorageTek SL500 System assurance guide

Sun Oracle

Sun Oracle StorageTek SL500 System assurance guide

Seagate ST650211U-RK - USB2.0 Pocket Hard Drive 5 GB... Product overview

Seagate

Seagate ST650211U-RK - USB2.0 Pocket Hard Drive 5 GB... Product overview

manuals.online logo
manuals.online logoBrands
  • About & Mission
  • Contact us
  • Privacy Policy
  • Terms and Conditions

Copyright 2025 Manuals.Online. All Rights Reserved.