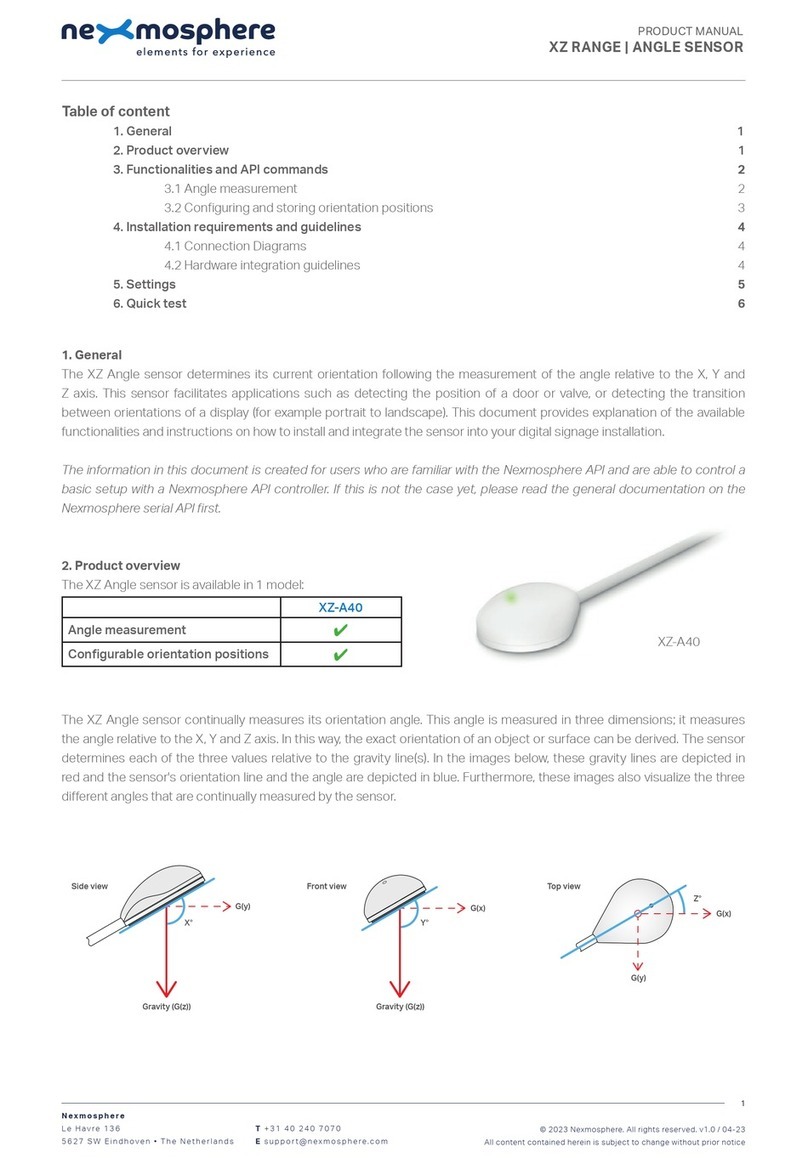
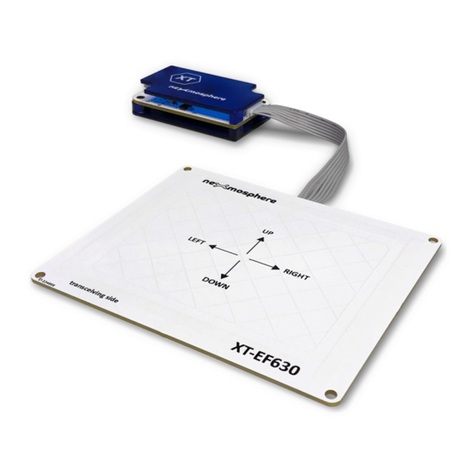
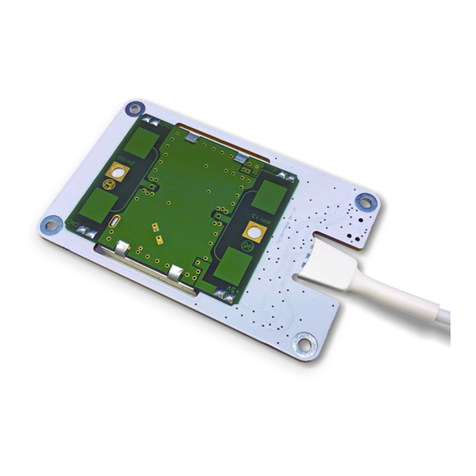
Nexmosphere XZ Series User manual

1. General
The XZ Color sensor can detect the color of objects that are held against or placed upon the sensor. This document provides
explanation of the available functionalities and instructions on how to install and integrate the sensor into your digital signage
installation.
The information in this document is created for users who are familiar with the Nexmosphere API and are able to control a
basic setup with a Nexmosphere API controller. If this is not the case yet, please read the general documentation on the
Nexmosphere serial API rst.
Nexmosphere
Le Havre 136
5627 SW Eindhoven • The Netherlands
T+31 40 240 7070
Esupport@nexmosphere.com
PRODUCT MANUAL
XZ RANGE | COLOR SENSOR
© 2021 Nexmosphere. All rights reserved. v1.0 / 07-21
All content contained herein is subject to change without prior notice
1
Table of content
1. General 1
2. Product overview 1
3. Functionality and API commands 2
3.1 Color measurement 2
3.2Reectionmeasurement 3
3.3 Calibration 3
3.4 Adjust LED intensity and measurement duration 4
4. Installation requirements and guidelines 5
4.1 Connection Diagrams 5
4.2 Hardware integration guidelines 5
5. Settings 6
5.1 Settings 6
6. Quick test 7
XZ-H60
Hue measurement
✔
Saturation measurement
✔
Lightness measurement
✔
Auto object placement detection
✔
Calibration controls
✔
The XZ Color sensors utilizes and array of photodiodes and lters
which can measure the light intensity within dierent wavelength
ranges. By doing so, it can sense the amount of red, green, blue
and white in the light reected from an object, coming from the
embedded LED. These raw measurement values are used by the
XZ-H60 to calculate the Hue, Saturation and Lightness of the object
which is held against the sensor.
In order for the sensor to function, the sensor needs to be
installed behind a cut-out of a front panel. This way, there is room
forthelightcomingfromtheon-boardLEDtoreectbackintothe
sensor. Please see page 5 for more detailed information.
XZ-H60
2. Product overview
The XZ Color sensor is available in 1 models: XZ-H60

© 2021 Nexmosphere. All rights reserved. v1.0 / 04-21
All content contained herein is subject to change without prior notice
Nexmosphere
Le Havre 136
5627 SW Eindhoven • The Netherlands
T+31 40 240 7070
Esupport@nexmosphere.com
2
PRODUCT MANUAL | XZ COLOR SENSOR
3. Functionalities and API commands
The XZ Color sensor provides the following functionalities:
1. Color measurement - measures the HSL values from the object held against the sensor
2. Reection measurement -measuredtheamountoflightreectedfromtheobjectheldagainstthesensor
3. Calibration -providesfeaturesforne-tuningandcalibratingthesensortoitsenvironmentandappliedmaterials
4. Adjust LED intensity and measurement duration -parameterswhichinuencethecolormeasurement
When implementing color measurements, consider the
following:
• For optimal accuracy, make sure the sensor is
calibrated. See page 3 for more info
• The measurement duration can be adjusted. See
page 4 for more info.
• The sensor is not designed for applications in which
highly accurate color measurements are required (e.g.
mixing paint colors).
• The sensor can also be set to only output the Hue,
Saturation or Lightness. To do so please see page
6 "Settings" In this case the output will have the
following formats:
A color measurement can also always be requested by
sending one of the following API command:
The reply will be identical to the triggered API messages
such as the examples listed on this page.
3.1 - Color measurement
The XZ Color sensor measures the Hue, Saturation and
Brightness of the object which is placed against the
sensor. When an object is placed against the sensor, the
measurement LED immediately starts to blink and the
color measurement starts. When the color measurement
is completed, an API command is triggered. This API
message has the following format:
The following sections will cover each of these functionalities in detail. Please note that for each API example in this
document, X-talk interface address 001 is used (X001). When the sensor is connected to another X-talk channel,
replacethe"001"withtheapplicableX-talkaddress.
hhh = Hue 000-360 or XXX
sss = Saturation 000-100 or XXX
lll = Lightness 000-100 or XXX
hhh = Hue 000-360 or XXX
sss = Saturation 000-100 or XXX
lll = Lightness 000-100 or XXX
X001B[Cv=hhh,sss,lll]
X001B[Hv=hhh]
X001B[Sv=sss]
X001B[Lv=lll]
Example API messages
Example API messages
Color measured with Hue 327, Sat 87 and Lightness 92
Color measured with Hue 120
Color measured with Hue 213, Sat 66 and Lightness 89
Color measured with Saturation 90
Object removed from sensor
Color measured with Lightness 60
X001B[Cv=327,087,092]
X001B[Hv=120]
X001B[Cv=213,066,089]
X001B[Sv=090]
X001B[Cv=XXX,XXX,XXX]
X001B[Lv=060]
X001B[HSL?]
X001B[HUE?]
X001B[SAT?]
X001B[LIGHT?]
X001B[ALL?]
Request HSL values
Request Hue value
Request Saturation value
Request Lightness value
Request HSL values with
separate replies

© 2021 Nexmosphere. All rights reserved. v1.0 / 04-21
All content contained herein is subject to change without prior notice
Nexmosphere
Le Havre 136
5627 SW Eindhoven • The Netherlands
T+31 40 240 7070
Esupport@nexmosphere.com
3
PRODUCT MANUAL | XZ COLOR SENSOR
3.2 - Reection measurement
Per default, the measurement LED in the XZ color sensor
is o. When an object is placed against the sensor, the
sensor automatically detects this and the measurement
LEDwillstarttoblink.Thelightisreectedfromtheobject
backintothesensortoconrmthatanobjectispresent
and determine if a color measurement should be started.
The sensor can measure the level of light reection to
give an indication on how close the object is placed to
the sensor. This value can be requested by sending the
following API command:
3.3 - Calibration
The color sensor can be calibrated to its environment
to maximize accuracy. The two main procedures are
"background"calibrationand"white"calibration.
For background calibration, make sure the sensor has a
clear view into the void of the environment in which it will
be placed. Then, send the following command:
Forwhitecalibration,makesureawhiteobjectisplacedon
the sensor, preferably in the same material as the colored
objects which are used in your application. Subsequently,
send the following command:
***= Reflection value 000-999 or XXX
X001B[Rv=***]
X001B[CALI=DONE]
X001B[CALI=DONE]
X001B[REFL?]
X001B[CALI=BG]
X001B[CALI=WH]
RequestcurrentReectionvalue
StartBackgroundcalibration
Start White calibration
The reply has the following format:
Oncebackgroundcalibrationisdone,thesensorwillsend
the following reply:
Once white calibration is done, the sensor will send the
following reply:
Both calibrations are stored in the sensor's memory. So
after a power cycle there is no need to calibrate again.
ThereectionlevelisalsousedtodeterminewhenaColor
measurement trigger is send. This can be adjusted using
setting 11. For more information please see page 6.
Example commands
Measured reflection value of object is 410
No object is detected (measurement LED is not blinking)
X001B[Rv=410]
X001B[Rv=XXX]
object
light reection
void
white
object

© 2021 Nexmosphere. All rights reserved. v1.0 / 04-21
All content contained herein is subject to change without prior notice
Nexmosphere
Le Havre 136
5627 SW Eindhoven • The Netherlands
T+31 40 240 7070
Esupport@nexmosphere.com
4
PRODUCT MANUAL | XZ COLOR SENSOR
3.4 - LED intensity and measurement duration
Both the intensity of the measurement LED as well as
the duration of a color measurement can be adjusted.
The accuracy of the color measurement is - amongst
others - dependent on the correlation between these two
parameters. The more light, the less time the sensor needs
to measure the colors. Vice versa, the less light there is,
the more time is needed. Typically it is recommended to
leave both parameters to their default value. However, in
scenarios where it is desirable to have a less bright LED
light or shorter measurement duration, it is possible to
adjust accordingly.
After the LED intensity and/or measurement duration
have changed, both calibrations need to be performed
again. Please see page 3 for the calibration procedures.
Factory reset
The calibrations, LED intensity and measurement
durationcanbesetbacktotheirdefaultfactoryvaluesby
performing a factory reset.
X001B[LED=***]
X001B[MEASURE=*]
X001B[FACTORYRESET]
***= value 001-100
*= value 1-5
Default, the LED value is 100.
Lowerisdarker,higherisbrighter.
Default, the measurement duration is set to 3.
Higher is longer, lower is shorter.
The intensity of the measurement LED can be adjusted by
sending the following API command:
The duration of the color measurement can be adjusted
by sending the following API command:
A factory reset can be initiated by sending the following
API command:

4.1 Connection Diagrams
TheXZColor sensorcanbeconnected toanyX-talkinterfaceandisthereforecompatiblewithallXperiencecontrollers.
MakesurethesensorisconnectedtotheX-talkinterfacebeforepoweringtheXperiencecontroller.Otherwise,itwillnotbe
recognized by the Xperience controller and no sensor output will be provided.
© 2021 Nexmosphere. All rights reserved. v1.0 / 04-21
All content contained herein is subject to change without prior notice
Nexmosphere
Le Havre 136
5627 SW Eindhoven • The Netherlands
T+31 40 240 7070
Esupport@nexmosphere.com
5
PRODUCT MANUAL | XZ COLOR SENSOR
Installation behind front panel
The XZ Color sensor needs to be installed behind a front
panel with a cut-out. We recommend to make a circular
cut-out of 10mm diameter in the front panel behind which
the sensor can be placed. For optimal performance, the
thicknessofthefrontpanelshouldbebetween3-5mm
Background light
Althoughthesensorcontinuouslyauto-compensatestotheambientbackgroundlight,thebestresultsareobtainedwhen
the sensor is installed in such a way that when placing the object, the cut-out in the front-panel is a completely closed room
to which no outside light can reach.
Color perception
Colorandlightvaluesarecomplexphenomenawhichareheavilyinuencedbytheperceptionandcorrectionofthehuman
eye.Asaresult,aprintedcolorcanforexamplebeperceiveddierentlythanthesamecolorvaluesonadigitalscreenorLED.
4.2 Hardware integration guidelines
10mm
3-5mm
XN
DC Power supply
XC
Example connection to XC Controller Example connection to XN Controller

© 2021 Nexmosphere. All rights reserved. v1.0 / 04-21
All content contained herein is subject to change without prior notice
Nexmosphere
Le Havre 136
5627 SW Eindhoven • The Netherlands
T+31 40 240 7070
Esupport@nexmosphere.com
PRODUCT MANUAL | XZ COLOR SENSOR
5.1 - Settings
The XZ Color sensor has multiple settings which determine the behaviour and output of the sensor. The settings can be
adjustedbysendingX-talksettingcommandsviatheAPI.Afterapowercycle,thesettingsalwaysreturnbacktodefault.
X001S[1:1]
X001S[5:1]
X001S[16:1]
X001S[5:5]
X001S[4:1]
X001S[12:X]
X001S[13:X]
X001S[1:2]
X001S[5:2]
X001S[16:2]
X001S[11:X]
X001S[4:2]
X001S[1:3]
X001S[5:3]
X001S[1:4]
X001S[5:4]
Setting 1: Status LED behaviour
1. LED on
2.LEDo
3.LEDon,blinkattrigger(default)
4.LEDo,blinkattrigger
Setting 5: Output format
1. Output Hue value only
2. Output Saturation value only
3. Output Lightness value only
4. Output all values
5. Output HSL value (def)
Setting 16: Saturation correction
1. No saturation correction
2. Correction for humen eye (def)
Setting 4: Trigger mode
1. Trigger on object detection (def)
2. No triggers, use data requests
Setting 11: Reection trigger - threshold level
Setreectiontriggerthreshold
Setting 12: Reection trigger - number of valid reads
Set required number of valid reads
Setting 13: Reection trigger - delta for valid reads
Set delta for valid reads
X is a value between 1-100 and its default value is 15. It
indicateshowhightheReectionlevelneedstobe(x10)
foracolormeasurementtostart.Sothedefaultreection
trigger level is 150. The lower this value, the further
away the object needs to be from the sensor for a color
measurement to start. The higher this value, the closer
away the object needs to be from the sensor for a color
measurement to start. When an object is placed on the
sensor, the reection level can be requested. For more
information on how to do so please see page 3. Please
note that the reection trigger level does not inuence
when the measurement LED starts to blink. Object
detection in itself is handled automatically by the sensor
itself.Insteadthereectionleveldetermineswhenacolor
measures starts after an object is detected. In practice,
this determines how close an object needs to be before
an actual color measurement starts.
Color and saturation values are complex phenomenons
which are heavily inuenced by the perception of the
human eye and interpretation by the human brain. As
a result, the saturation of a physical objects is typically
perceived much higher then the actual objective saturation
value. Per default (setting 16:2) the sensor compensated
for the perception of the human eye.
X is a value between 1-8 and its default value is 3.
It indicates how many consecutive read cycles the
reectionlevelneedstobeabovethethresholdforacolor
measurement to start. The lower this value, the faster
a color measurement will start, but also the higher the
chance of a "ghost trigger" will be. Vice versa, the higher
this value, the slower a new measurement will start, but the
more stable the sensor will be.
X is a value between 1-100 and its default value is 20. It
determines the maximum allowed delta between valid
reads(abovetheReectiontrigger threshold) fora color
measurement to start. The lower this value, the more
steady and longer an objects needs to be placed on
the sensor for a color measurement to start. Vice versa,
the higher this value, the shorter and less steady an
objects needs to be placed on the sensor before a color
measurement starts.
When set to 1. Trigger on object detection, the sensor will
start a measurement as soon as an object is placed on
thesensorandtheReectiontriggerlevelisreached.See
Setting 11 for more info.
6

6. Quick test
In order to test if the XZ Color sensor is installed correctly, please follow the test procedure below:
© 2021 Nexmosphere. All rights reserved. v1.0 / 04-21
All content contained herein is subject to change without prior notice
Nexmosphere
Le Havre 136
5627 SW Eindhoven • The Netherlands
T+31 40 240 7070
Esupport@nexmosphere.com
PRODUCT MANUAL | XZ COLOR SENSOR
7
Step 1 - Setup
First, connect the Color sensor to an Xperience
controller and place the sensor behind a front
panel with cut-out. Secondly, power the Xperience
controller.
The green status LED of the XZ Color sensor should
goon.ThestatusLEDofthecontrollerwillstarttoblink
and once power-up is completed will be lit continuously.
Step 2 - Color measurement
Place a colored object on the sensor.
The measurement LED of the sensor should start to
blink. Within +/- 1 to 2 seconds, the sensor should
have completed the color measurement and both the
green status LED of the sensor and the status LED of
thecontrollershouldblink.
Remove the colored object from the sensor.
Both the green status LED of the sensor and the status
LEDofthecontrollershouldblinkagain.
For a full test we recommend to connect the setup to
a mediaplayer or PC and test all API commands listed
in this document (see section 3, page 2-4). For more
information on how to setup a test for your controller,
please see the Quick Start Guide of the Xperience
controller you are using. These are available on
nexmosphere.com/support-documentation
Please contact support@nexmosphere.com for any
support questions you may have.
In case any of the steps above does not provide
the expected result, please check the installation
guidelines in this document.
XN
Connect to powered
USB port
XN
Connect to powered
USB port
LED BLINK
LED BLINK
XN
Connect to powered
USB port
LED BLINK
LED BLINK
This manual suits for next models
1
Table of contents
Other Nexmosphere Accessories manuals
Nexmosphere
Nexmosphere X-EYE XY-510 User manual
Nexmosphere
Nexmosphere XE Series User manual
Nexmosphere
Nexmosphere XZ Series User manual

Nexmosphere
Nexmosphere XV User manual
Nexmosphere
Nexmosphere X-EYE 200 Series User manual
Nexmosphere
Nexmosphere X-EYE XY-116 User manual
Nexmosphere
Nexmosphere XF-P3W User manual
Nexmosphere
Nexmosphere X-Dot Motion Series User manual

Nexmosphere
Nexmosphere XD Series User manual
Nexmosphere
Nexmosphere XS Series User manual
