© 2023 Nexmosphere. All rights reserved. v1.0 / 04-23
All content contained herein is subject to change without prior notice
Nexmosphere
Le Havre 136
5627 SW Eindhoven • The Netherlands
T+31 40 240 7070
Esupport@nexmosphere.com
5
PRODUCT MANUAL | XZ ANGLE SENSOR
5. Settings
The XZ Angle sensor has multiple settings which determine the behaviour and output of the interface. The settings can be
adjusted by sending X-talk setting commands via the API. After a power cycle, the settings always return back to default.
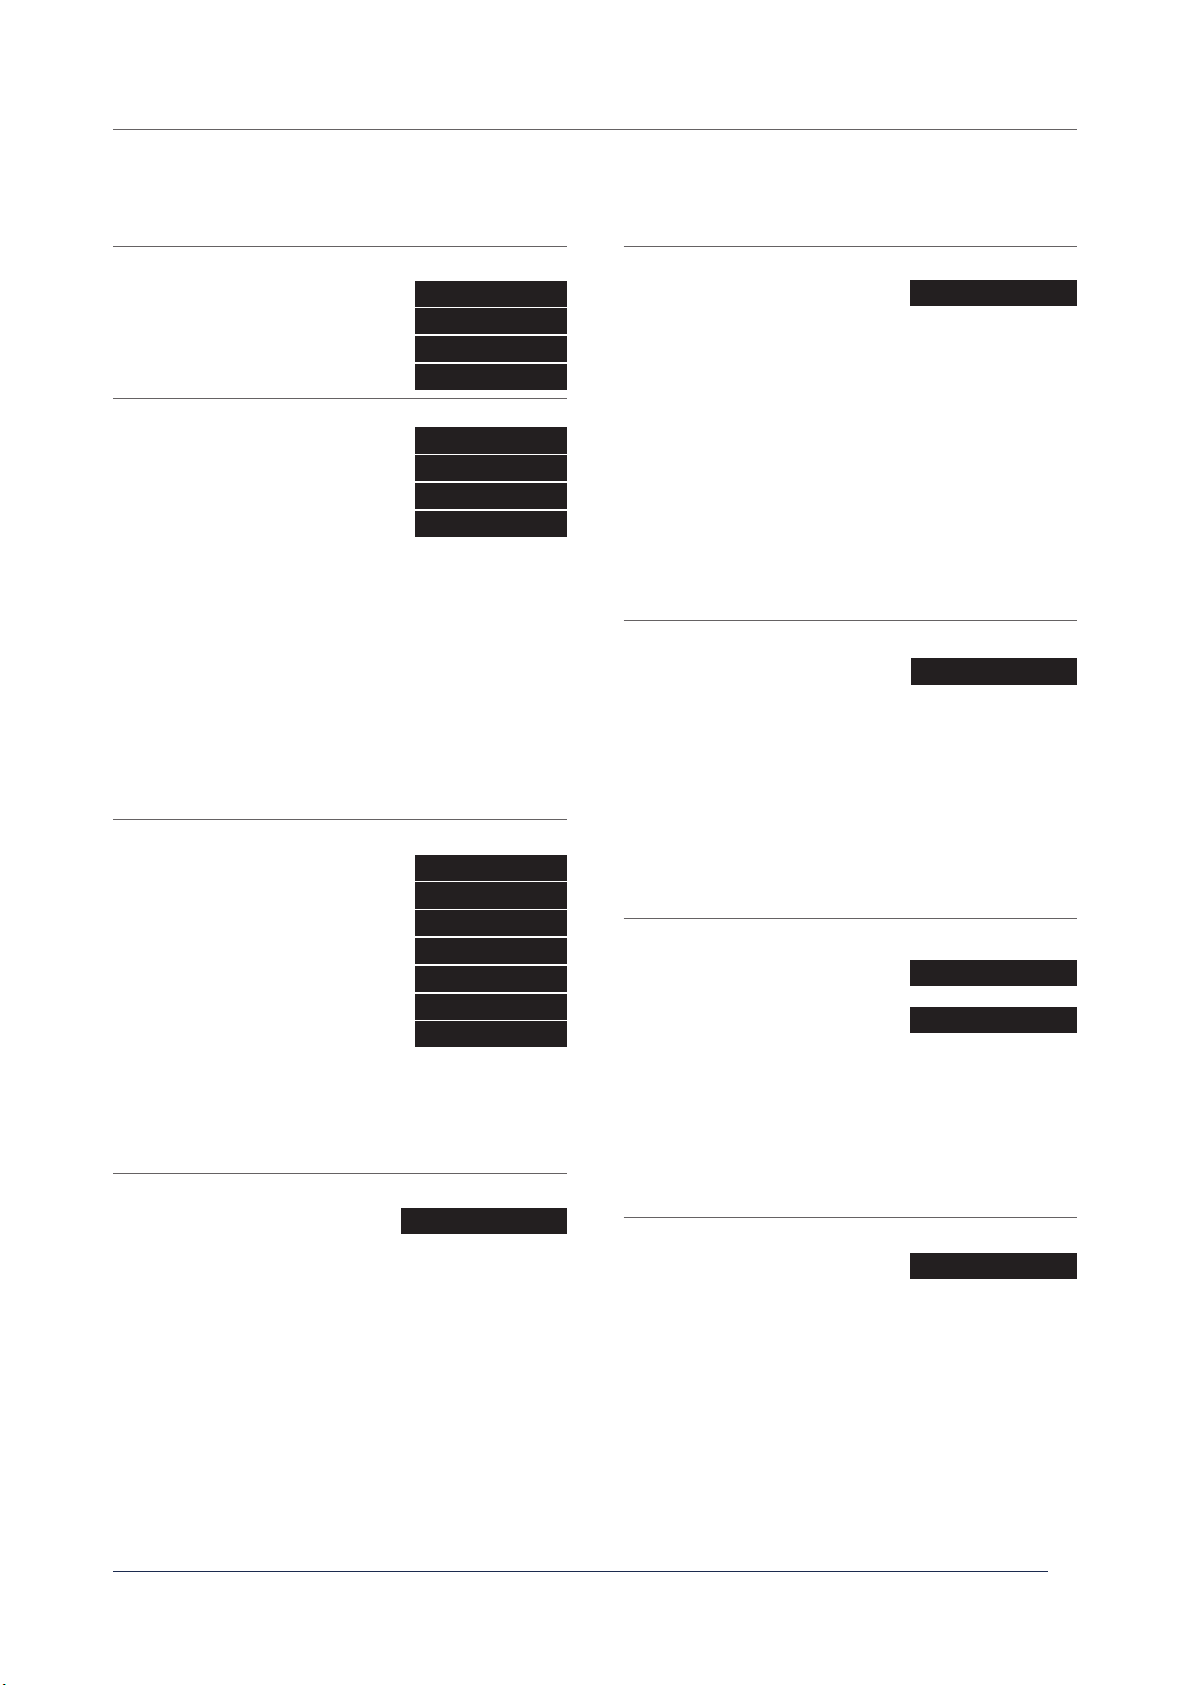
X001S[1:1]
X001S[1:2]
Setting 1: Status LED behaviour
1. LED on
2.LEDo
3. LED on, blink at trigger (default)
4.LEDo,blinkattrigger
X001S[4:1]
X001S[4:3]
X001S[4:2]
Setting 4: Trigger mode
1. Trigger on position change (1-8)
2. Trigger on orientation change (def)
3. Trigger on both value/pos change
4. No triggers, use data requests
When set to 4:1, the sensor will trigger upon reaching one
oftheconguredorientationpositions.Atdefault(setting
4:2), the sensor will switch to triggering each time either
of the three angles (X, Y, or Z) changes with 5°. This value
can be adjusted, see setting 6. With setting 4:3, the
sensor will trigger on both angle changes and orientation
positions it has reached. When set to 4:4, the sensor will
not trigger automatically but will only respond to any of the
API commands for data requests (see page 2). For more
general info, please see section 3, page 2/3.
This setting can be used to adjusts the amount of
information each trigger holds. At default, the sensor
triggers on changes of all three axis and sends the values
of these axis together in one command.
X001S[6:X]
Setting 6: Sensitivity / Trigger bandwidth
Any number between 1-45
X is a value between 1-45 and its default value is 5. This
setting determines the sensitivity of the sensor. In other
words, the value of X determines how much either the X, Y
or Z angle of the sensor (in degrees) must change before
the sensor sends a new trigger. Furthermore, when the
sensor is set to trigger orientation positions, this setting
adjusts the lower and upper boundaries of a position.
These boundaries determine how close the orientation
of the sensor must match an orientation position before
sending a trigger.
X is a value between 1-100 and its default value is 20.
This setting applies to situations in which the sensor
is set to trigger on orientation positions. Usually, the
sensor will not trigger on an orientation position when
it is in motion and 'passes' this orientation position
without stopping on it. The value X determines the
threshold for when the speed of this motion is slow
enough for the sensor to send a trigger. The lower X is,
the lower the speed of motion needs to be for a trigger.
Vice versa, the higher X is, the higher the speed of
motion can be for the sensor to still send a trigger.
X001S[1:3]
X001S[1:4]
X001S[4:3]
X001S[5:1]
X001S[5:2]
X001S[5:5]
X001S[5:7]
X001S[5:6]
X001S[5:3]
X001S[5:4]
Setting 5: Trigger axis for value change
1. Trigger on X-axis change
2. Trigger on Y-axis change
3. Trigger on Z-axis change
4. Trigger on X-axis and Y-axis change
5. Trigger on X-axis and Z-axis change
6. Trigger on Y-axis and Z-axis change
7. Trigger on all 3 axis (default)
X001S[8:X]
Setting 8: Sample averaging
Any number between 1-20
X is a value between 1-20 and its default value is 8.
This setting determines the number of samples which are
averaged to calculate the sensor's output. The higher the
number of samples, the less responsive the sensor will be
to change, but also the more stable in case of challenging
environments. The lower the number of samples, the more
responsive the sensor will be to change. Please note that
typically this setting does not need to be adjusted.
X001S[7:X]
Setting 7: Motion lter
Any number between 1-100
Per default (9:1), this sensor will output **** when one angle
value is irrelevant for determining the orientation of the
sensor. This can be adjusted by sending the 9:2 setting,
which will set the sensor to always send the irrelevant
value. For more information on the irrelevancy of a value,
see section 3.1 on page 2.
X001S[9:1]
Setting 9: Show irrelevant axis
1. Do not show irrelevant axis,
show **** instead (default)
2. Show irrelevant axis
X is a value between 1-25 and its default value is 15. With
X, you can determine the lter level of an irrelevant axis.
In other words, at what point an axis is seen as irrelevant.
Here, the rule applies; the higher the value, the sooner the
sensor will categorize a value as 'irrelevant'. Please note
that typically this setting does not need to be adjusted.
X001S[10:X]
Setting 10: Filter level for setting 9
Any number between 1-25
X001S[9:2]


