Nexmosphere XF-P3W User manual
1. General
The XF wireless pick-up sensors can be placed in - or attached to - an object to sense whether it is moving or laying still.
Typically, this feature is used to detect if an object, such as merchandize in a store, is picked up or placed back. This document
provides explanation of the available functionalities and instructions on how to install and integrate the sensor into your
digital signage installation.
The information in this document is created for users who are familiar with the Nexmosphere API and are able to control a
basic setup with a Nexmosphere API controller. If this is not the case yet, please read the general documentation on the
Nexmosphere serial API rst.
Nexmosphere
Le Havre 136
5627 SW Eindhoven • The Netherlands
T+31 40 240 7070
Esupport@nexmosphere.com
PRODUCT MANUAL
© 2023 Nexmosphere. All rights reserved. v1.0 / 07-23
All content contained herein is subject to change without prior notice
1
Table of content
1. General 1
2. Product overview 1
3. Functionality and API commands 2
3.1 Pair to EM-F base station 2
3.2 Pick-up and place-back detection 3
3.3 Auto-shutdown during transport 4
3.4 Unpair from EM-F base station 4
4. Installation requirements and guidelines 5
4.1 Connection Diagrams 5
4.2 Hardware integration guidelines 6
5. Settings 7
6. Quick test 8
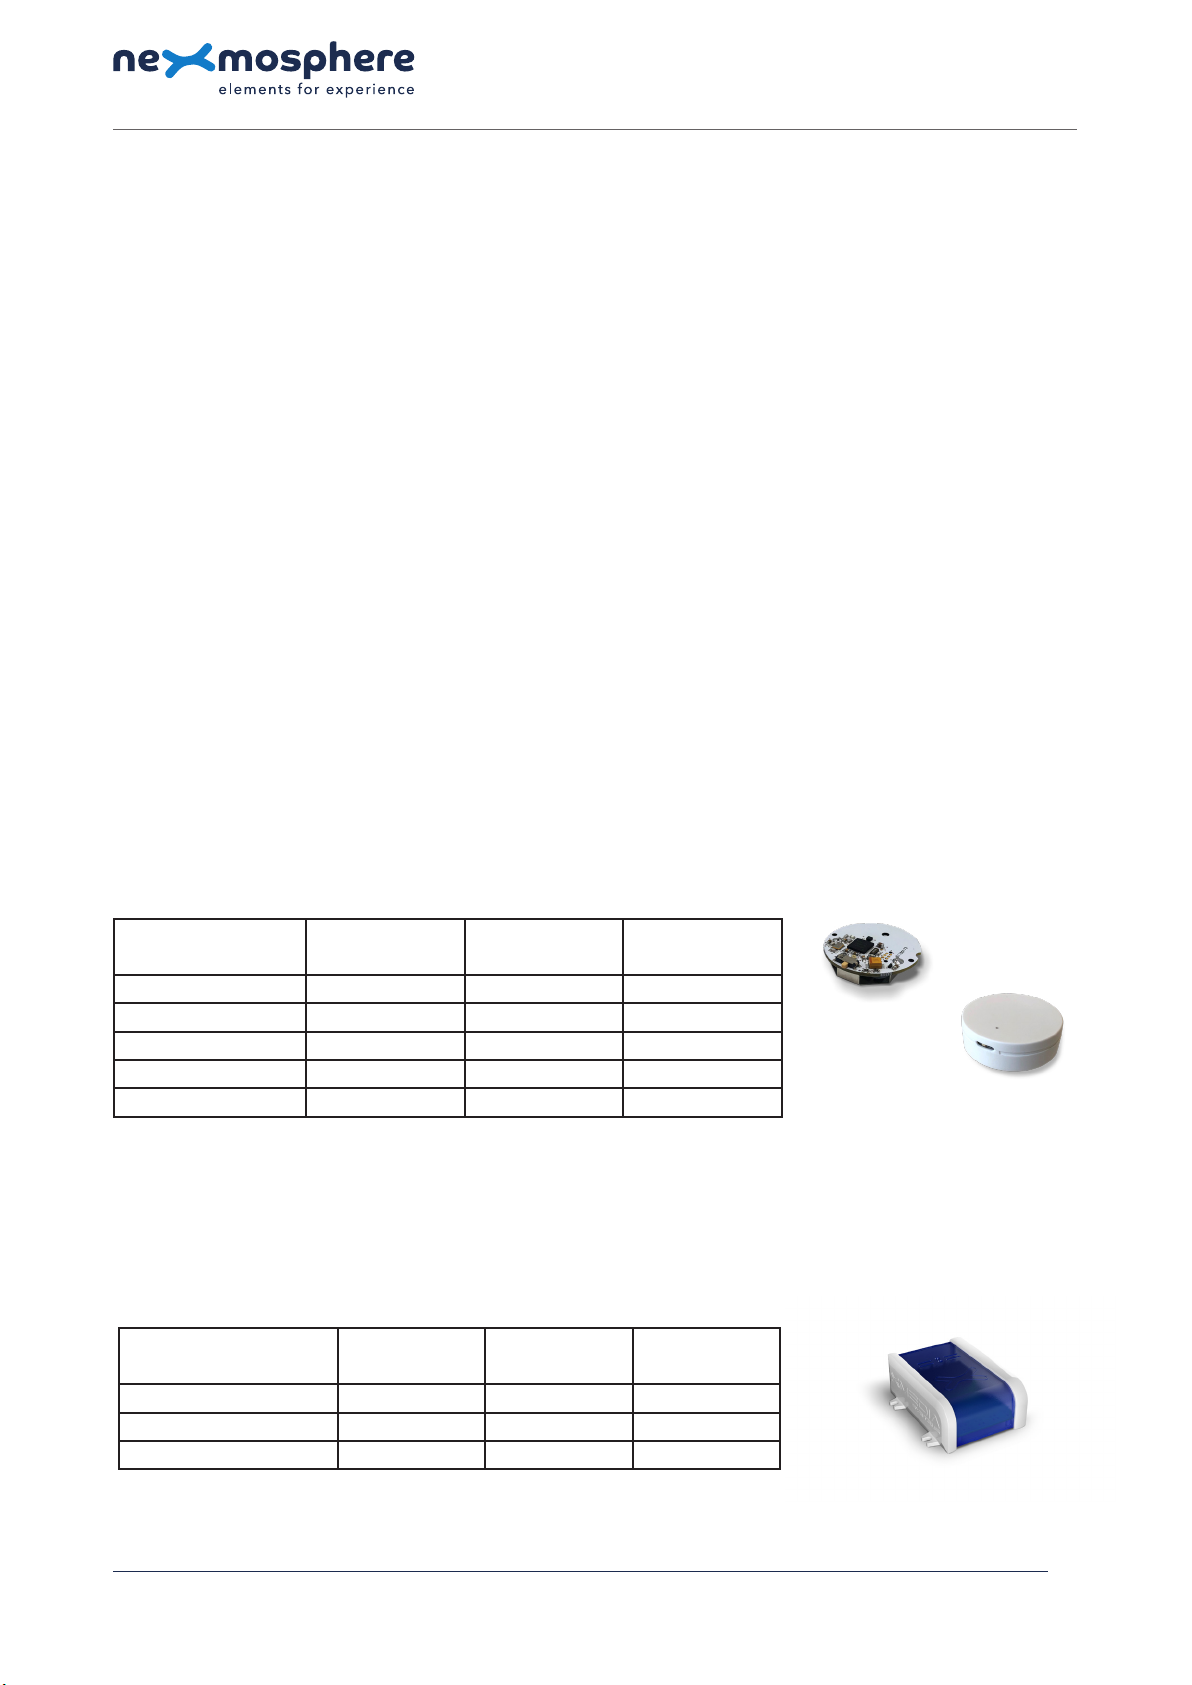
XF-P3W XF-P3B XF-P3N
Pick-up detection
✔✔✔
Place-back detection
✔✔✔
Color housing white black no housing
Battery included
✔✔✖
Battery replacement by Nexmosphere by Nexmosphere by customer
The XF-P3 sensor utilizes a 3-axis accelerometer to measure rotation and detect whether it is moving or laying still. It is
powered with a CR2032 battery and can be switched on or o via a physical switch.
The sensor is paired to a Wireless X-talk channel on an EM-F base station. At each pick-up or place-back detection, the
sensor will send a wireless message indicating the status of the sensor. The communication protocol between the XF-P3
sensor and EM-F base station is ANT+. The EM-F base station is available in 3 models:
This document will focus mainly on the functionalities of the XF-P3 Wireless pick-up sensor. For more information on the
EM-F base stations, please see the respective Quick Start Guides.
XF-P3N
XF-P3W
EM-F
2. Product overview
The XF-P3 wireless pick-up sensor is available in 3 variations:
EM-F1 EM-F4 EM-F8
Assembled onto XM-350
✔✔✔
Channel LEDs
✔✔✔
Wireless X-talk channels 1 4 8

© 2023 Nexmosphere. All rights reserved. v1.0 / 07-23
All content contained herein is subject to change without prior notice
Nexmosphere
Le Havre 136
5627 SW Eindhoven • The Netherlands
T+31 40 240 7070
Esupport@nexmosphere.com
2
3. Functionalities and API commands
The XF-P3 wireless pick-up sensor provides the following functionalities:
1. Pair to EM-F base station - to send wireless X-talk messages when triggered
2. Pick-up and place-back detection - detect if an object is picked up or placed back
3. Auto-shutdown during transport - detects if the sensor is in transport to save battery life
4. Unpair from EM-F base station
3.1 - Pair to EM-F base station
As the XF-P3 sensor communicates wirelessly, it needs to be paired to an EM-F base station in order to generate API
messages when the sensor detects a pick-up or place-back. There are 2 methods to pair an XF-P3 sensor to a Wireless
X-talk channel of an EM-F base station: Pair button or API command. Before starting the pair procedure, please check the
following:
The following sections will cover each of these functionalities in detail. Please note that for each API example in this
document, X-talk interface address 111 is used (X111). When the sensor is connected to another X-talk channel,
replace the "111" with the applicable X-talk address.
• Make sure the XF-P3 sensors are switched ON and
that they lay still. The green LED on the sensor will
briey go on right after the device is switched on.
• When using an XF-P3Nsensor, please make sure to
place a CR2032 battery before starting the pairing
procedure. The XF-P3Wand XF-P3Bsensor already
have a battery placed within the enclosure.
CR2032 battery
ON OFF ON OFF ON OFF
Pair button method
1. Press and hold control button A for a few seconds.*
The blue Pair LED will start to blink.
2. Press Control button A to toggle to the channel you want to pair.*
The green LED of the selected Wireless X-talk channel will blink.
3. To pair: lift the sensor which you want to pair to the selected channel.
The green LED of the paired channel will be lit continuously for 1 second
to conrm pairing was successful.
4. After, the next channel in line is automatically selected to be paired.
If the next channel also needs to be paired, simply lift another sensor.
5. To quit pairing mode, hold button A for a few seconds.*
The status LED of the EM-F8 base station will blink 3 times to conrm exit of pairing mode.
*Tip: use a pen or small screwdriver to press the buttons
11X12X13X14X15X 00X
1
API
SB5V
SD
LED
ERR
XM-350EM-F8EM-F8EM-F8EM-F8 EM-F8
1
AB
PE 2345678 1
AB
PE 23456781
AB
PE 23456781
AB
PE 23456781
AB
PE 2345678
1
AB
P
2345678E
S S S S S
S
EM-F

© 2023 Nexmosphere. All rights reserved. v1.0 / 07-23
All content contained herein is subject to change without prior notice
Nexmosphere
Le Havre 136
5627 SW Eindhoven • The Netherlands
T+31 40 240 7070
Esupport@nexmosphere.com
3
API command method
1. Send the command [PAIR] to the channel you want to pair.
For example: if you want to pair a XF-P3 sensor to channel 111, the API command is
The green LED of the selected channel will start to blink to conrm it is in pairing mode.
2. To pair: pick-up the sensor you want to pair to the selected channel.
The green LED of the paired channel will be lit continuously for 1 second to conrm pairing was successful.
3. Right after, the main LED of the EM-F base station will blink 3 times to conrm exit of pairing mode.
Regardless what pairing method is used, an XF-P3 sensor only needs to be paired one time. After a power cycle it will remain
paired. Please note that a sensor can be paired to multiple base stations. So when pairing, please make sure that no other
sensors are accidentally lifted and paired.
X111B[PAIR]
When implementing pick-up or place-back detection,
consider the following:
• The sensitivity of the pick-up detection and place-
back detection can be adjusted. For more information
please see Settings, page 7.
• The measuring method for pick-up and place-back
detection can be adjusted to suit dierent applications.
For more information please see Settings, page 7
• When an XF-P3 sensor detects a pick-up, the status
LED of the Wireless X-talk channel on the EM-F base
station will go on.
• When an XF-P3 sensor detects a place-back, the
status LED of the Wireless X-talk channel on the EM-F
base station will go o.
• In order for a pick-up to be detected, the sensor must
rst have detected a place-back.
3.2 - Pick-up and place-back detection
When an object is picked up, the sensor will detect the
movement and an API command is triggered. Vice versa,
when the object is placed back, it will detect that it is laying
still and an API command is triggered as well. These API
messages have the following format:
Object is picked up
Object is placed back
X111A[3]
X111A[0]
place-back
pick-up
Example API messages
XF-P3 sensor paired to channel 113 is picked-up
XF-P3 sensor paired to channel 126 is placed back
X113A[3]
X126A[0]

There are 2 methods to unpair an XF-P3 sensor from a Wireless X-talk channel of an EM-F base station: Pair button or API
command. Before starting the unpair procedure, please check the following:
© 2023 Nexmosphere. All rights reserved. v1.0 / 07-23
All content contained herein is subject to change without prior notice
Nexmosphere
Le Havre 136
5627 SW Eindhoven • The Netherlands
T+31 40 240 7070
Esupport@nexmosphere.com
4
3.3 - Auto-shutdown in transport
The sensor needs to be switched o before shipment, in order to make sure the battery won't drain. In case the sensor
is still switched on during transport, it has the ability to detect this and shutdown automatically. It does so by combining
movement data with (the lack of) communication data with an EM-F base station. This feature can be enabled or disabled via
the following API commands:
X111B[AUTOSHUTDOWN=ON]
X111B[AUTOSHUTDOWN=OFF]
Disable auto-shutdown
Enable auto-shutdown (default)
When the sensor has shut down automatically, it can be switched on again by rst switching the sensor o, and then
switching the sensor on (see page 2). Even with auto-shutdown enabled, the sensor will still drain unnecessarily when left
on during transport. It is therefore still highly recommended to switch the sensor o before shipment.
API command method
1. Send the command [UNPAIR] to the channel you want to unpair.
For example: if you want to unpair channel 111, the API command is
The green LED of the unpaired channel will be lit continuously for 1 second to indicate which channel was unpaired.
Simultaneously, the red Unpair LED of the EM-F8 will be lit continuously for 1 second to conrm unpairing.
Unpair button method
1. Hold control button B for a few seconds.*
The red Unpair LED (E) will start to blink.
2. To unpair: lift the sensor which you want to unpair from the selected channel.
If the picked-up sensor was paired to a channel on the EM-F8, the green LED
of the unpaired channel will be lit continuously for 1 second to indicate which
channel was unpaired. Simultaneously, the red Unpair LED of the EM-F8 will be lit
continuously for 1 second to conrm unpairing was successful.
*Tip: use a pen or small screwdriver to press the buttons
• Make sure the XF-P3 sensors are switched ON and
that they lay still. The green LED on the sensor will
briey go on right after the device is switched on.
ON OFF ON OFF ON OFF
11X12X13X14X15X 00X
1
API
SB5V
SD
LED
ERR
XM-350EM-F8EM-F8EM-F8EM-F8 EM-F8
1
AB
PE 2345678 1
AB
PE 23456781
AB
PE 23456781
AB
PE 23456781
AB
PE 2345678
1
AB
P
2345678E
S S S S S
S
XF-P3N
EM-F
XF-P3W XF-P3B
X111B[UNPAIR]

The XF-P3 Wireless pick-up sensor must be paired to a Wireless X-talk interface and is therefore only compatible with an
EM-F module, assembled onto an XM-350 controller. The XF-P3 sensor can't be paired to an XN or XC controller.
© 2023 Nexmosphere. All rights reserved. v1.0 / 07-23
All content contained herein is subject to change without prior notice
Nexmosphere
Le Havre 136
5627 SW Eindhoven • The Netherlands
T+31 40 240 7070
Esupport@nexmosphere.com
5
Typically the sensor is applied in Lift&Learn applications for larger-sized merchandize such as footwear, or handbags. In
these scenarios, the sensor can simply be placed inside the object (e.g. shoe). In case the sensor must be adhered to an
object, we recommend using industrial grade double-sided tape. For projects in which a dierent formfactor is required and
you want to design your own custom casing, the XF-P3N sensor (without casing) can be applied.
The typical detection range between the XF-P3 sensor and EM-F
base station is 10 meters. Large metal objects close to the sensor or
base station can decrease the detection range.
Example setup with an XM Controller and 2 EM-F base stations
XM-350
(Xperience
controller)
EM-F8
(8x Wireless
X-talk)
EM-F8
(8x Wireless
X-talk)
CA-9U9B
(connect to
3rd party device)
Power supply
(5V)
36
10m radius
Battery life
The battery life of the XF-P3 sensor is determined by the number of pick-ups and average pick-up time. When laying still,
the sensor's power consumption is neglectable. In the table below, an indication is given of the battery life in various usage
scenarios.
To prevent battery drainage, it is important to switch the sensor o during transport. Although the sensor's auto-shutdown
feature is enabled per default, it will still drain the battery unnecessarily if it is switched on during transport. For more
information on the sensor's auto-shutdown feature, please see page 4.
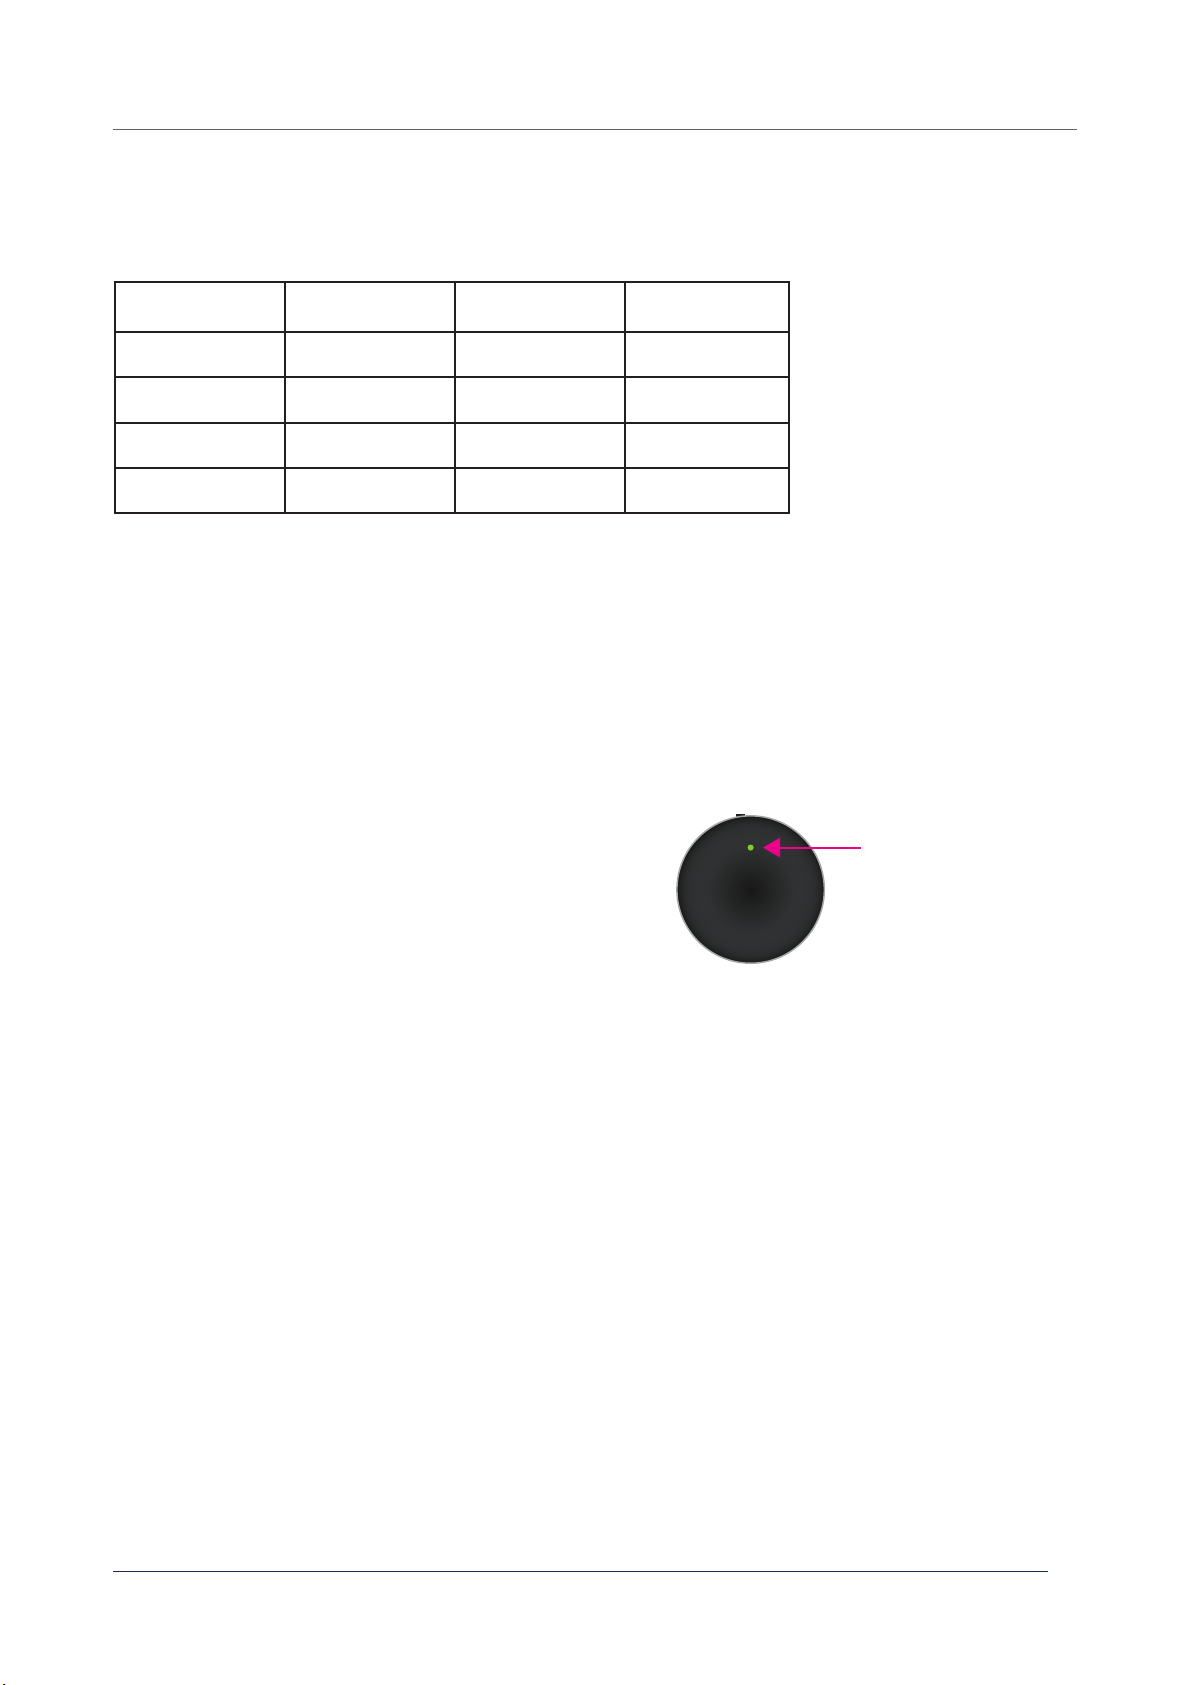
Battery level indication
The battery level is indicated via the status LED on the sensor, right after it is switched on. The number of blinks indicates the
battery life.
• 3x blink high battery level
• 2x blink medium battery level
• 1x blink low battery level
© 2023 Nexmosphere. All rights reserved. v1.0 / 07-23
All content contained herein is subject to change without prior notice
Nexmosphere
Le Havre 136
5627 SW Eindhoven • The Netherlands
T+31 40 240 7070
Esupport@nexmosphere.com
6
average
pick-up time 1000
pick-ups / month
2000
pick-ups / month
5000
pick-ups / month
10s / pick-up 3.0 years 2.2 years 1.4 years
20s / pick-up 2.8 years 2.0 years 1.0 year
30s / pick-up 2.4 years 1.6 years 0.8 year
60s / pick-up 1.8 years 1.2 years 0.6 year
battery indication LED

© 2023 Nexmosphere. All rights reserved. v1.0 / 07-23
All content contained herein is subject to change without prior notice
Nexmosphere
Le Havre 136
5627 SW Eindhoven • The Netherlands
T+31 40 240 7070
Esupport@nexmosphere.com
The XF-P3 sensor has multiple settings which determine the behaviour and output of the sensor. The settings can be adjusted
by sending X-talk setting commands. The settings will be applied when picking up the sensor after the setting command has
been send to the EM-F base station. After a power cycle of the EM-F base station, the settings return back to default.
Setting 5: Pick-up sensitivity
1. Sensitivity level 1
2. Sensitivity level 2
3. Sensitivity level 3
4. Sensitivity level 4
5. Sensitivity level 5 (default)
6. Sensitivity level 6
7. Sensitivity level 7
8. Sensitivity level 8
9. Sensitivity level 9
10. Sensitivity level 10
Setting 10: Number of Transmit Repeats
1. Repeat 1x
2. Repeat 2x
3. Repeat 3x
4. Repeat 5x
5. Repeat 8x (default)
6. Repeat 16x
Setting 11: Transmit power
1. -20dB
2. -12dB
3. -4dB
4. 0dB (default)
5. 4dB
Setting 6: Place-back sensitivity
1. Sensitivity level 1
2. Sensitivity level 2
3. Sensitivity level 3
4. Sensitivity level 4
5. Sensitivity level 5 (default)
6. Sensitivity level 6
7. Sensitivity level 7
8. Sensitivity level 8
9. Sensitivity level 9
10. Sensitivity level 10
Setting 8: Pick-up detection mode
1. Relative mode (default)
2. Absolute mode
The sensor continuously measures it's X, Y, Z position to
detect if it is being moved (picked up) or laying still (placed
back).
The detection method for a pick-up is per default set to
Relative mode. This means that the delta of consecutive
measurements of it's position determines if there was
enough movement to be classied as a pick-up. In practice,
this means that in case the sensor is moving very slowly,
or only rotating over 1 axis, no pick-up will be detected ,
as the delta between two consecutive measurements is
too small. It also makes sure that small movements won't
cause any ghost pick-ups. Relative mode (setting 8:1) is the
recommended mode for lift & learn scenarios.
When set to Absolute mode (setting 8:2), the delta is
measured over the current positions vs the home position
(place back position) of the sensor. In practice, this means
that even when the sensor is moving slowly or only rotating
over 1 axis, a pick-up will still be detected. This mode is
recommended for applications in which the sensor is
attached to objects which have a xed rotation point, for
example to detect if a door is being opened.
The setting determines how much movement there needs
to be for the sensor to detect a pick-up. Level 1 is the most
sensitive option, meaning that little movement is required
for the sensor to detect a pick-up. Level 10 is the least
sensitive option, meaning that more movement is needed
for the sensor to detect a pick-up.
The setting determines how steady the sensor needs
to be for it to detect a place-back. For sensitivity level 1,
the sensor must be least steady for a place-back to be
detected. For level 10, the sensor must be most steady for
a place-back to be detected.
When the XF-P3 doesn't receive an acknowledgement
from the EM-F that a wireless message has been received,
it will resend the message. Setting 10 determines how many
repeats of a resends the XF-P3 message will transmit.
7
X111S[5:1]
X111S[6:1]
X111S[5:5]
X111S[10:5]
X111S[11:5]
X111S[6:5]
X111S[5:9]
X111S[6:9]
X111S[5:10]
X111S[6:10]
X111S[5:2]
X111S[10:2]
X111S[11:2]
X111S[10:1]
X111S[11:1]
X111S[6:2]
X111S[5:6]
X111S[10:6]
X111S[6:6]
X111S[5:3]
X111S[10:3]
X111S[11:3]
X111S[6:3]
X111S[5:7]
X111S[6:7]
X111S[5:4]
X111S[10:4]
X111S[11:4]
X111S[6:4]
X111S[5:8]
X111S[6:8]
X111S[8:1]
X111S[8:2]
X111S[7:X]
Setting 7: Number of home positions
Set number of home positions
X is a value between 1-10 and its default value is 2. It
sets the number of home positions which the sensor can
store. When the sensor detects a placed-back, it's current
position is automatically stored as "home position". When
the sensor is placed back in the same position as a stored
home position, it detects a place-back faster.

6. Quick test
In order to test if the XF-P3 wireless pick-up sensor is installed correctly, please follow the test procedure below:
© 2023 Nexmosphere. All rights reserved. v1.0 / 07-23
All content contained herein is subject to change without prior notice
Nexmosphere
Le Havre 136
5627 SW Eindhoven • The Netherlands
T+31 40 240 7070
Esupport@nexmosphere.com
8
Step 1 - Pairing
Pair the XF-P3 sensor to an EM-F base station.
Secondly, power the Xperience controller.
See page 2 and 3 for instructions on how to pair.
Step 2 - Pick-up detection
Pick-up the sensor, or the object to which the sensor
is attached.
The green channel LED on the EM-F base station
should go on. The status LED on the XM-350 controller
should blink once.
Step 3 - Place-back detection
Place back the sensor, or the object to which the
sensor is attached.
The green channel LED on the EM-F base station
should go o. The status LED on the XM-350 controller
should blink once.
For a full test we recommend to connect the setup to
a mediaplayer or PC and test all API commands listed
in this document (see section 3, page 2). For more
information on how to setup a test for your controller,
please see the Quick Start Guide of the Xperience
controller you are using. These are available on
nexmosphere.com/support-documentation
Please contact support@nexmosphere.com for any
support questions you may have.
In case any of the steps above does not provide
the expected result, please check the installation
guidelines in this document.
LED ON
LED BLINK
LED o
LED BLINK
This manual suits for next models
2
Other Nexmosphere Accessories manuals

Nexmosphere
Nexmosphere XD Series User manual

Nexmosphere
Nexmosphere XE Series User manual

Nexmosphere
Nexmosphere X-EYE XY-116 User manual

Nexmosphere
Nexmosphere XZ-A40 User manual

Nexmosphere
Nexmosphere XT-EF Series User manual

Nexmosphere
Nexmosphere X-EYE 200 Series User manual

Nexmosphere
Nexmosphere XZ Series User manual

Nexmosphere
Nexmosphere X-EYE User manual

Nexmosphere
Nexmosphere XS Series User manual

Nexmosphere
Nexmosphere XZ Series User manual


