______________________________________________________________________________________________________________
2010-9801CE-D March 2022 Page 5 of 8
EN
We recommend against the use of extension cords and
adapters, as they are potential sources of sparks and fire.
Consult your equipment provider for further information
regarding altitudes of 1500 m to 4000m (5000 to 13000ft).
enclosure protects internal electrical components against
vertically falling water drops.
Complies with EN 60601-1:2006 [11.6.3]; enclosure
protects internal electrical components against spilling of a
glass of water (i.e. contents of humidifier).
4.2 Start-Up
1) Ensure that the Mains Switch (Fig 2-7) is in the “O”
(OFF) position.
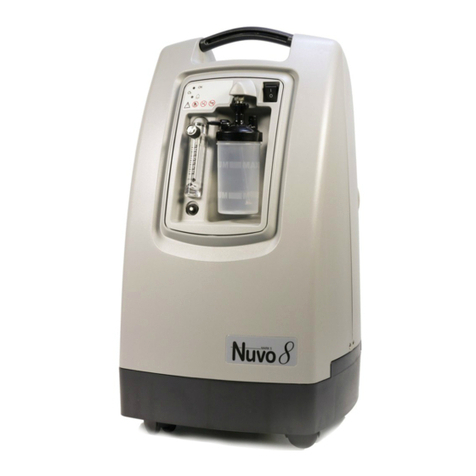
If used with a humidifier (Fig 5): Unscrew the flask
and fill it with distilled water up to the line (see
manufacturer’s instructions). Then screw the lid on
the humidifier flask until there are no leaks. Connect
the oxygen tube to the humidifier outlet nozzle.
Screw the humidifier directly to the Flow Meter (Fig
1-5). Ensure that all of the parts are connected
correctly so as to avoid leaks.
Replace water in humidifier bottle before each
treatment.
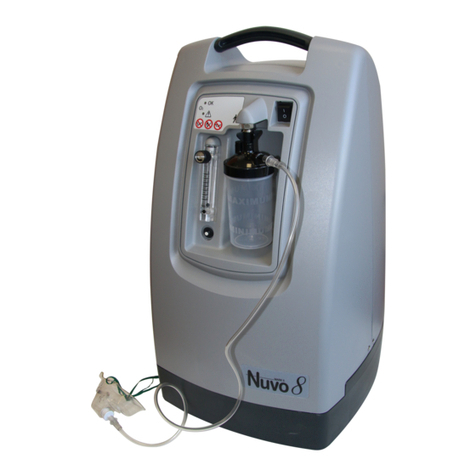
If not using a humidifier: Connect the oxygen tube to
one of the Flow Meters (Fig 1-5).
2) Plug the Mains Power Supply (Fig 2-10) into a power
outlet of the correct voltage and frequency as defined
on the manufacturer’s technical label (Fig 2-11).
3) Press the Mains Switch (Fig 2-7) to the ON “I”
position. Press the START button (Fig. 1-1) on the
front of the display panel. The panel displays will
remain red until the oxygen concentration exceeds the
set point. Once the set point is reached, the displays
will turn green and indicate the concentration on the
display panel.
The required oxygen concentration is normally
obtained within five minutes after the device is
started.
See the Alarms and Safety Features on page 3 for
panel display colors and meanings.
4) Adjust the Flow Meter (Fig 1-5) to the prescribed
value.
View the flowmeter from straight on for accurate
settings.
5) Check that the oxygen flows out of the administration
device (nasal cannulas or other) by placing the
orifice(s) on the surface of a glass of water. The flow
should disturb the surface of the water.
6) Adjust the nasal cannula to suit your face.
4.3 Shut Down
At the end of the treatment, press the Stop Button (Fig.
1-2) to shut the device down. If the device will not be
restarted, then place the Mains Switch (Fig. 2-7) in the
“O” (OFF) position to shut the device down. The
oxygen enriched air flow continues for approximately
one minute after the device is stopped.
the cannula is facing away from soft surfaces and
clothing. Excess oxygen can accumulate and cause
ignition if exposed to a spark or open flame.
After turning the unit off, the user must wait 5-10
minutes before turning it back on. System pressure must
dissipate before the unit will properly restart.
5 CLEANING AND MAINTENANCE
5.1 Cleaning
Cleaning and your device: Visually check the outside of
the device periodically. To clean the enclosure, make
sure the Mains Switch (Fig 2-7) is in the "O" (OFF)
position, then use a soft, dry cloth or a damp sponge, to
wipe the cabinet enclosure until clean and to prevent
dust and dirt from building up on the device. Allow to
dry thoroughly before operation.
Acetone, solvents or any other flammable products must
not be used. Do not use abrasive powders.
Cleaning and replacing filters: The removable cabinet
air filters (Fig 2-9) can be found on the back and each
side of the device. They must be cleaned in warm water
and household detergent. Dry before reinstalling. The
Air Inlet Filters and the final product filter (not pictured)
should only be replaced by a technician if required.
Cleaning and replacing accessories: Clean the
humidifier according to manufacturer’s instructions. If
no instructions are provided, do the following: empty the
water from the humidifier, rinse the flask and lid under
running water. Regularly disinfect the humidifier by
immersing the flask and lid in a disinfectant solution (we
recommend using a solution of 1 part vinegar to 10 parts
water). Rinse under running water and dry. Tubing and
cannula should be used according to the manufacturer’s
instructions and replaced for each new patient to prevent
the spreading of bacteria and viruses.
5.2 Maintenance
No special maintenance needs to be carried out by the
patient. Your equipment supplier performs periodic
maintenance operations to assure continued reliable
service from the device.
DO NOT disassemble due to danger of electrical shock.
Refer servicing to qualified service personnel.
The expected service life of this device is 10 years with
routine preventive maintenance.
