manuals.online logo
Brands
  1. Home
  2. •
  3. Brands
  4. •
  5. Niigata seiki
  6. •
  7. Measuring Instrument
  8. •
  9. Niigata seiki MCD130-25 User manual

Niigata seiki MCD130-25 User manual

This manual suits for next models

5

Other Niigata seiki Measuring Instrument manuals

Niigata seiki WCDI-35D User manual

Niigata seiki

Niigata seiki WCDI-35D User manual

Niigata seiki LEVELNIC DL-S3L User manual

Niigata seiki

Niigata seiki LEVELNIC DL-S3L User manual

Niigata seiki GDCS-100WR User manual

Niigata seiki

Niigata seiki GDCS-100WR User manual

Niigata seiki D HL Series User manual

Niigata seiki

Niigata seiki D HL Series User manual

Niigata seiki WCDI-10D User manual

Niigata seiki

Niigata seiki WCDI-10D User manual

Niigata seiki THL-150 User manual

Niigata seiki

Niigata seiki THL-150 User manual

Niigata seiki GDCS Series User manual

Niigata seiki

Niigata seiki GDCS Series User manual

Niigata seiki SCG Series User manual

Niigata seiki

Niigata seiki SCG Series User manual

Niigata seiki TVC-15S User manual

Niigata seiki

Niigata seiki TVC-15S User manual

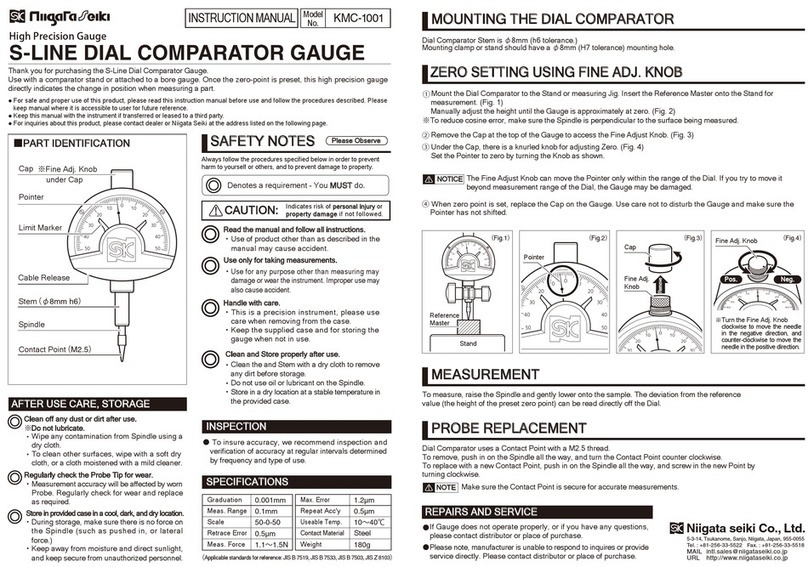
Niigata seiki KMC-1001 User manual

Niigata seiki

Niigata seiki KMC-1001 User manual

Niigata seiki LSL-26 User manual

Niigata seiki

Niigata seiki LSL-26 User manual

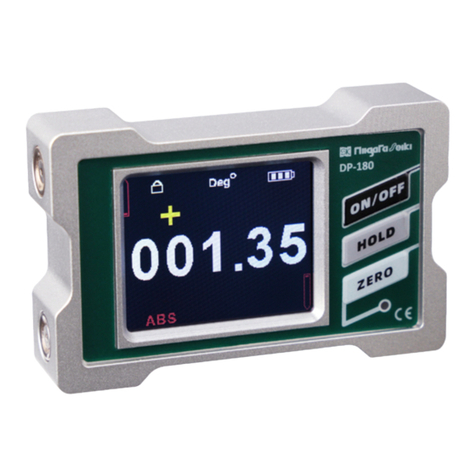
Niigata seiki DP-180 User manual

Niigata seiki

Niigata seiki DP-180 User manual

Niigata seiki GDCS-150IK2 User manual

Niigata seiki

Niigata seiki GDCS-150IK2 User manual

Niigata seiki SIC EMH-25F User manual

Niigata seiki

Niigata seiki SIC EMH-25F User manual

Niigata seiki GDCP-200AA User manual

Niigata seiki

Niigata seiki GDCP-200AA User manual

Niigata seiki TVC-15S User manual

Niigata seiki

Niigata seiki TVC-15S User manual

Niigata seiki GHS Series User manual

Niigata seiki

Niigata seiki GHS Series User manual

Niigata seiki JLVC-30 User manual

Niigata seiki

Niigata seiki JLVC-30 User manual

Niigata seiki WCDI-6D User manual

Niigata seiki

Niigata seiki WCDI-6D User manual

Niigata seiki WCDI-50 User manual

Niigata seiki

Niigata seiki WCDI-50 User manual

Niigata seiki N-5AS User manual

Niigata seiki

Niigata seiki N-5AS User manual

Niigata seiki MCD3385-0608HTN User manual

Niigata seiki

Niigata seiki MCD3385-0608HTN User manual

Niigata seiki DTW-DL01 User manual

Niigata seiki

Niigata seiki DTW-DL01 User manual

Niigata seiki BB-180A User manual

Niigata seiki

Niigata seiki BB-180A User manual

Popular Measuring Instrument manuals by other brands

Suaoki D40 user manual

Suaoki

Suaoki D40 user manual

Elster BK-G1.6 operating instructions

Elster

Elster BK-G1.6 operating instructions

Endress+Hauser Deltabar FMD71 technical information

Endress+Hauser

Endress+Hauser Deltabar FMD71 technical information

Duratool D03128 manual

Duratool

Duratool D03128 manual

Vega VEGAPULS 65 Quick setup guide

Vega

Vega VEGAPULS 65 Quick setup guide

Tonghui TH2618B Operation manual

Tonghui

Tonghui TH2618B Operation manual

Tenmars TM-801 user manual

Tenmars

Tenmars TM-801 user manual

MSR 145 user manual

MSR

MSR 145 user manual

TPS WP-82 manual

TPS

TPS WP-82 manual

PCB Piezotronics 003C30 Installation and operating manual

PCB Piezotronics

PCB Piezotronics 003C30 Installation and operating manual

Tenma 72-10465 manual

Tenma

Tenma 72-10465 manual

Endress+Hauser Proline Promag 50 Brief operating instructions

Endress+Hauser

Endress+Hauser Proline Promag 50 Brief operating instructions

Siemens SITRANS F Coriolis FCT030 Function manual

Siemens

Siemens SITRANS F Coriolis FCT030 Function manual

KLINGER CMF V Series instruction manual

KLINGER

KLINGER CMF V Series instruction manual

Keysight M8290A Getting started guide

Keysight

Keysight M8290A Getting started guide

Acterna MS1400 Operation manual

Acterna

Acterna MS1400 Operation manual

R&S ZPH manual

R&S

R&S ZPH manual

Datacolor ColorReader DC10-2 user guide

Datacolor

Datacolor ColorReader DC10-2 user guide

manuals.online logo
manuals.online logoBrands
  • About & Mission
  • Contact us
  • Privacy Policy
  • Terms and Conditions

Copyright 2025 Manuals.Online. All Rights Reserved.

SR44
25
20
30
25
0
5
45
30 3
0
0
5
45
5 1
25
20
30
DIGITAL OUTSIDE MICROMETER
Model No. : MCD130-*** <combined>
Thank you for purchasing the Digital Outside Micrometer.
Please read this manual thoroughly before use for proper operation.
Easy to read digital display.
Carbide measuring surfaces.
Constant pressure ratchet mechanism.
Auto-on feature.
Auto-display-off function (approx. 6 minutes)
Insulating cover (Excluding: MCD130-125,
MCD130-150)
Spherical Anvil Attachment (SR2.5)included.
SR44 (silver oxide battery)included for testing.
INSTRUCTION MANUAL
See Reverse for Operation→
Error Condition Corrective Action
●
●
●
●
●
●
●
●
Battery
Cover
Spherical Attachment
MCD130-125
MCD130-150
※Does not include
  Insulating Cover
【ACCESSORIES】
Spanner
Calibration Standard
(Not included for MCD130-25)
SR44
(Silver Oxide Battery)
※for test
①Rotate the battery cover on rear
using coin or similar tool.
②Insert battery with “+” side up.
③Replace battery cover.
Only use SR44 type Battery.
CAUTION
Open
LCD displays “inc” and
incorrect reading
Press and hold [ZERO]Button
on rear for 2 seconds.
LCD display reads “E1” Measurement range exceeded.
Return spindle to measurement
range, press [ZERO]Button.
LCD display reads “E 3” Measurement range exceeded.
Cycle power by removing and replacing
battery.
Measured value is wrong Clean measuring surfaces with cloth.
Confirm 0-Point setting and press
[ZERO]Button.
Cycle power by removing and
replacing battery.
Replace battery with new one.
●
●
LCD does not display
Displayed value is unstable
Display is not clear
●
●
●
●
●
※If problem persists, or if you have any questions, please contact distributor or place of purchase.
※Please note, manufacturer is unable to respond to inquires or provide service directly.
 Please contact distributor or place of purchase.
MCD130-25
MCD130-50
MCD130-75
MCD130-100
MCD130-125
MCD130-150
0.001 4
4
6
6
6
6
260
380
470
640
0.001
0.001
0.001
Measurement
Range (mm)
Resolution
(mm)
Weight
(g)
4900.001
5700.001
0
25
50
75
100
125
‑
‑
‑
‑
‑
‑
25
50
75
100
125
150
SPECIFICATIONSFEATURES
INSERTING THE BATTERY
TROUBLESHOOTING
PART IDENTIFICATION
Measuring
Surfaces
(Carbide)
Anvil (Fixed side)Spindle
0-Point
adjustment hole
Sleeve
Spindle Clamp
[ZERO]Button
Battery Cover
Ratchet Stop
LCD Display
【Back】 【Front】Insulating Cover
Insulating Plate
Thimble
Frame
※Maximum Instrument Error does not include quantization error (±1count)
Maximum
Instrument
Error (µm)
※
0
5
45
0
5
45
25
20
30
0.001mm
0
-
25mm
0
0
5
45
5 1
0
0
5
45
①Remove any grease and dust from the measuring surfaces using a
clean cloth, such as a lens cleaning cloth. Make sure no foreign
matter is adhered to the surfaces.
②With spindle clamp loose, turn spindle until measuring surfaces
touch. Turn until ratchet stop clicks 2〜3 times.
※For models other than MCD-130-25, Please insert the supplied
calibration standard between measuring surfaces.
③To set the Scale 0-Point reference lines on the thimble to align.  
1. Tighten spindle clamp to lock spindle.
2.
Insert the spanner into 0-Point Adjustment Hole on rear of Sleeve.
3. Use spanner to rotate Sleeve to align the 0-Point lines.
④When 0-Point lines match, press (short press)the [ZERO]Button
on the back of unit.
⑤“Set” will display for 0.5 seconds, and then the display will read as
shown below:
  ●MCD130-25・・・・・・・0.000 ●MCD130-100・・・・・・75.000
  ●MCD130-50・・・・・・25.000 ●MCD130-125・・・・・100.000
  ●MCD130-75・・・・・・50.000 ●MCD130-150・・・・・125.000
The Gauge is now ready to take measurements.
POWER
ZERO POINT SETTING
OPERATION
SPHERICAL ATTACHMENT
When thimble is turned, power turns on automatically and the LCD will
display the measured value. When idle for approximately six minutes,
power supply will automatically turn off.
①Remove any grease and dust from the measuring surfaces using a
clean cloth, such as lens cleaning cloth. Make sure no foreign
objects are adhered to the surfaces.
②Place object to be measured between the anvil and spindle.
③With the thimble clamp loose, turn the thimble to capture the
measured object between the measuring surfaces. Please stop
after 2〜3 “Clicks” from the spindle ratchet.
④The measured value is displayed on the LCD display.
※Measurement can also be read off thimble and sleeve as for a
standard micrometer.
The Spherical Anvil Attachment can be attached as required.
After mounting, please set 0-Point following the procedure “Zero Point
Setting” above.
※When the spherical attachment is mounted, the measurement
indicated on the sleeve scale will read 5mm larger than actual size.
CAUTION
Always remove dirt from measuring surfaces with lens cloth before use.
Do not turn spindle more than 3mm above upper measurement range.
This is a precision instrument, handle with care. Do not drop or subject to excessive
forces.
Keep away form high voltage and strong magnetic fields; instrument damage may result.
Do not use or store in direct sunlight or locations with high temperatures such as in
a car, or near a stove or heat source.
Keep instrument away from water and oil.
Please do not disassemble or modify.
Remove dust and cutting chips after use and apply rust preventative oil to metallic
surfaces. Please keep out of reach of children.
Please do not use organic solvents to clean the body of the instrument.
When not being used for long period of time, please remove battery.
Only use as directed. Improper use may cause accident or injury.
●
●
●
●
●
●
●
●
●
●
●
Figure 1
Figure 1
Figure 2
Figure 3
Figure 4
Figure 5
Figure 6
Figure 2
Figure 3
Figure 4
Figure 5
Figure 6
Measuring Surfaces Touch
Short Press
Match Origin Lines
Rotate until Origins match
“Click, Click”
Ratchet Stop
Spindle Clamp
Position workpiece between
measuring surfaces
Measurement 5mm less
than Sleeve Reading
Ratchet Stop
Spherical Attachment
Thimble
Spanner
[ZERO]Button
Niigata seiki Co., Ltd.
6-15-22, Tsukanome, Sanjo, Niigata, Japan, 955-0055
Tel. : +81-256-31-5660 Fax. : +81-256-39-7730
MAIL:[email protected]
URL
http://www.niigataseiki.co.jp
I234-K 1504
“Click, Click”