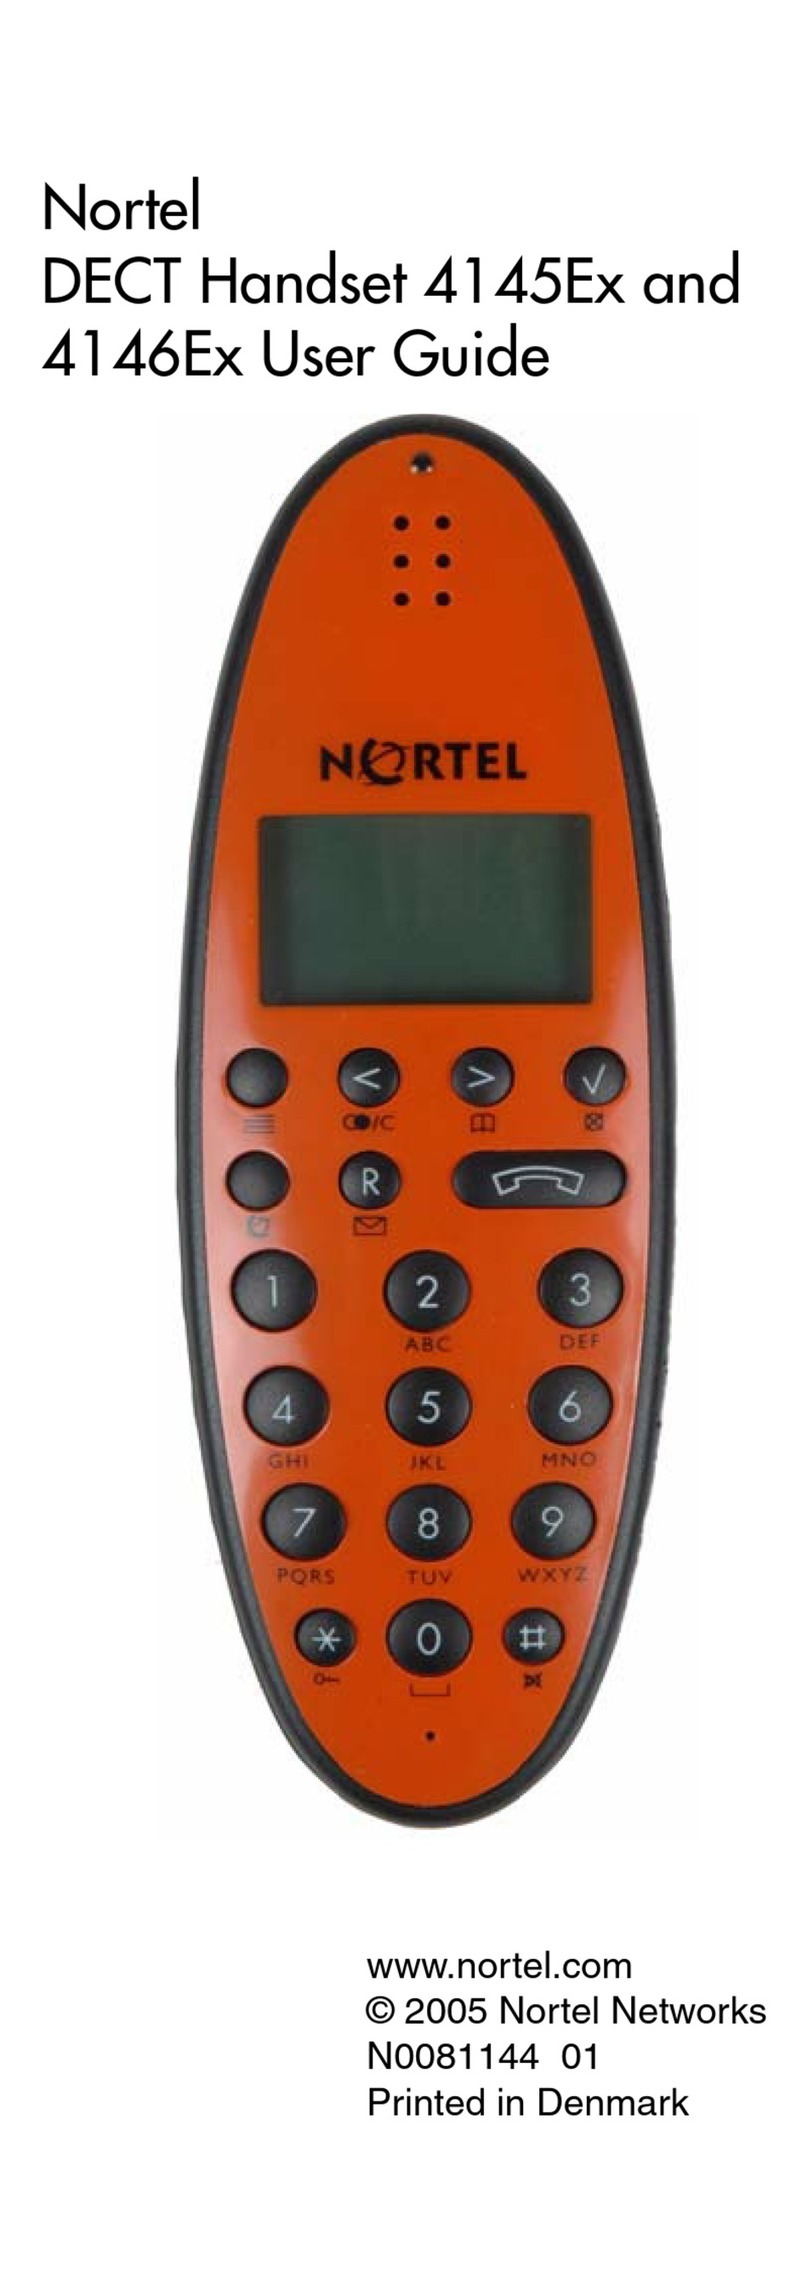
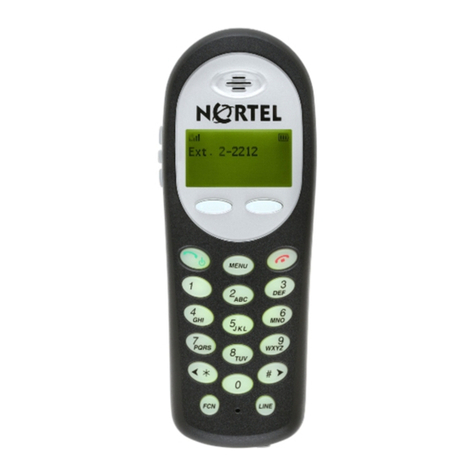
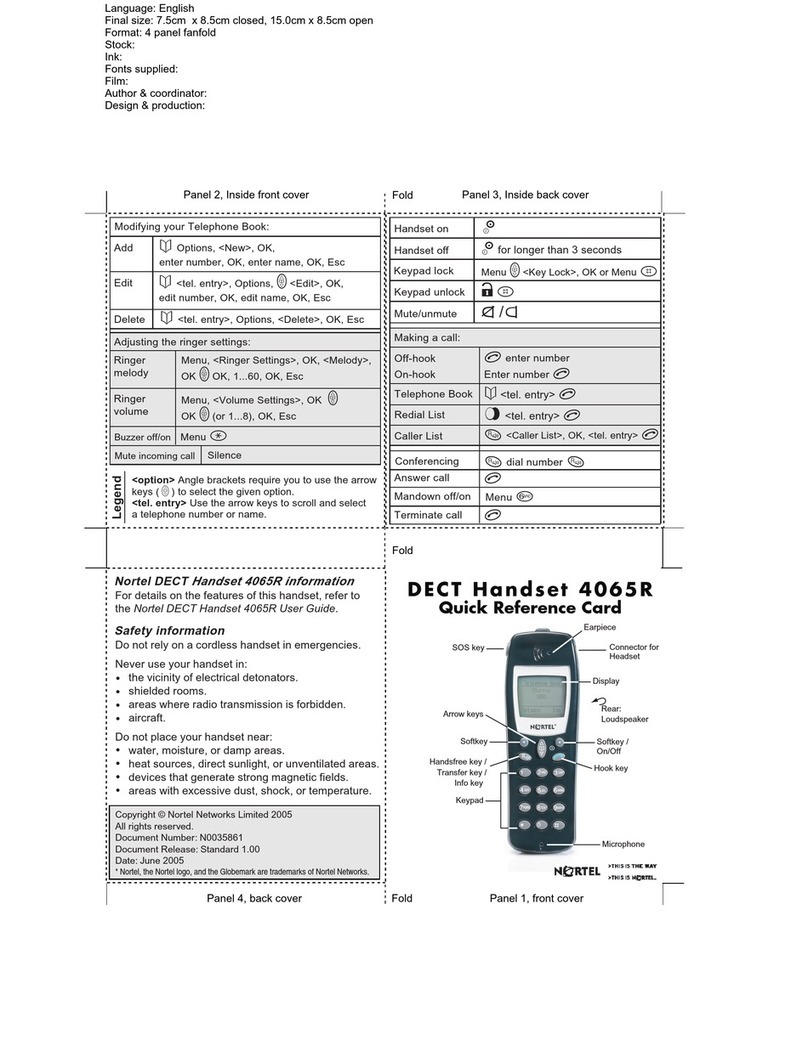
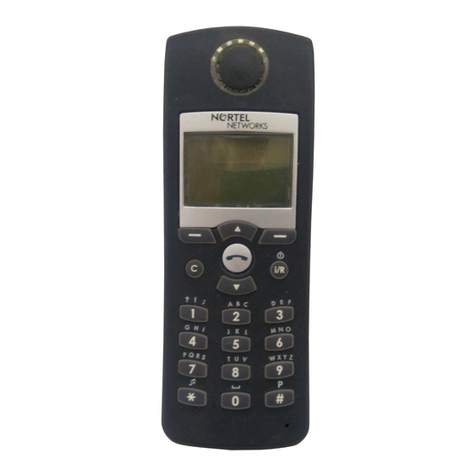
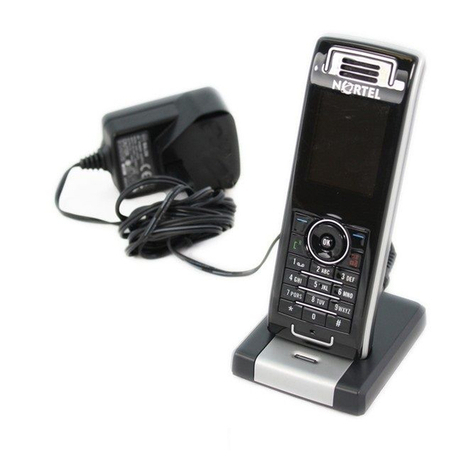
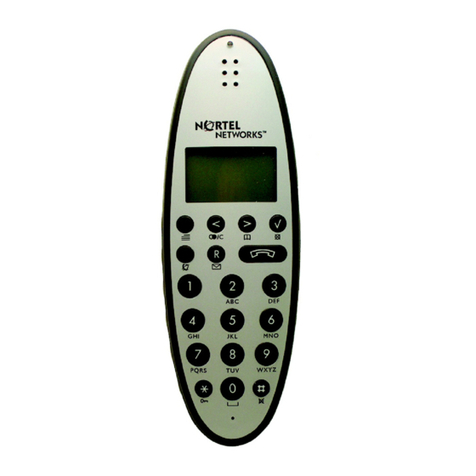
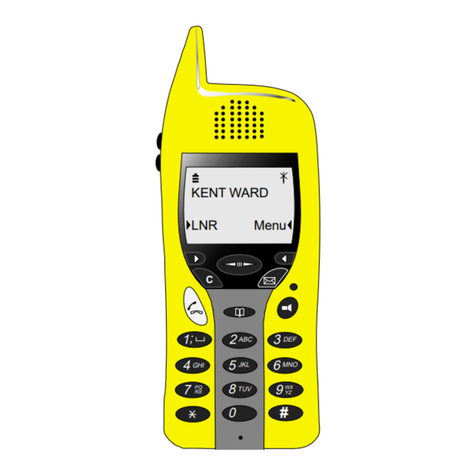
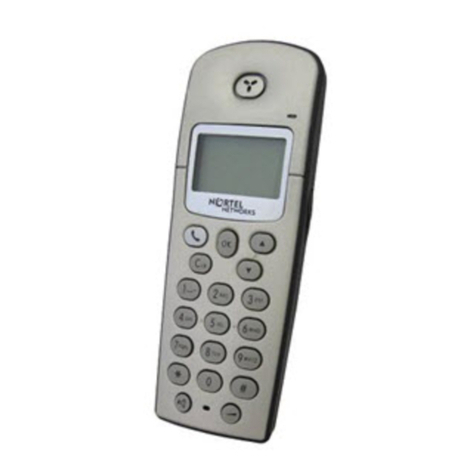
Nortel 4145Ex User manual

DECT Handset 4145Ex
User Guide
www.nortel.com
© 2007 Nortel Networks
N0018957 02
Printed in Denmark

Congratulations
on your new handset
Your new handset will provide you with the
greatest possible degree of flexibility and
mobility due to high battery capacity, practi-
cal weight, size and design.
Charge your
handset 14 - 16
hours prior to
first use for best
performance
STOP!

3
Contents
Getting Started. . . . . . . . . . . . . . . . . . 5
Handset information . . . . . . . . . . . . . 5
Label information . . . . . . . . . . . . . . . 7
Battery information . . . . . . . . . . . . . . 7
Installing battery . . . . . . . . . . . . . . . . 8
Charging battery . . . . . . . . . . . . . . . . 9
Checking battery capacity . . . . . . . 11
Battery disposal . . . . . . . . . . . . . . . 12
About your 4145Ex handset . . . . . . 13
Handset display . . . . . . . . . . . . . . . 15
Display backlight . . . . . . . . . . . . . . 16
Basic handset options. . . . . . . . . . . 17
Turning the handset ON/OFF . . . . . 17
Adjusting speaker volume . . . . . . . 17
Changing Menu Language . . . . . . . 17
Subscribing to system . . . . . . . . . . 18
Customizing handset . . . . . . . . . . . 22
Making and answering calls . . . . . . 26
Dial directly . . . . . . . . . . . . . . . . . . . 26
On hook dialling (pre-dial) . . . . . . . 26
Dial from your phone book . . . . . . . 27
Redial . . . . . . . . . . . . . . . . . . . . . . . 27
Answering calls . . . . . . . . . . . . . . . 28
Hold a call . . . . . . . . . . . . . . . . . . . . 28
Call transfer (blind transfer) . . . . . . 28
Transfer call with announce . . . . . . 29
Making or answering a second call 29
Mute a call . . . . . . . . . . . . . . . . . . . 30
Listening to voice messages . . . . . 30
More handset options . . . . . . . . . . . 31
Moving around in the Menu . . . . . . 31
Using phone book . . . . . . . . . . . . . 34
Using text messages (E2) . . . . . . . 38
Shortcuts . . . . . . . . . . . . . . . . . . . . 42
General information. . . . . . . . . . . . . 43
Troubleshooting . . . . . . . . . . . . . . . 43
Information . . . . . . . . . . . . . . . . . . . 44

4
EC Declaration of Conformity. . . . . 46
Product . . . . . . . . . . . . . . . . . . . . . . 46
Type number . . . . . . . . . . . . . . . . . 46
Telecom requirements . . . . . . . . . . 46
Applied standards . . . . . . . . . . . . . . 47
Application, Intended purpose . . . . 47
Meaning of Conformity . . . . . . . . . 48
Electrical apparatus for potentially
explosive atmospheres . . . . . . . . . . 48
Notified Body . . . . . . . . . . . . . . . . . 49
Examination Certificate . . . . . . . . . 49
Validity . . . . . . . . . . . . . . . . . . . . . . 49
Quality Assurance . . . . . . . . . . . . . 49
Safe use of the ATEX approved
DECT Handset 4145Ex . . . . . . . . . 50
Name and adress of manufacturer . 59

5
Getting Started
Read all the information in this section
before you use your handset.
Handset information
The DECT Handset 4145Ex is devel-
oped for use in potentially explosive
working environments, as defined by
local fire protection authorities. The
handset complies with the ATEX
directive 94/9/EC as well as IEC stan-
dards. Please refer to “EC Declara-
tion of Conformity” on page 46 for
more details.
The handset uses radio signals and
does not guarantee a connection in all
circumstances. Do not rely on a cord-
less handset to make emergency
calls.
Warnings
For safe use of DECT Handset
4145Ex:
• Please consult your system
administrator for instruction before
using DECT Handset 4145Ex.
• Do not open DECT Handset
4145Ex in a potentially explosive
atmosphere.
• Use only the dedicated charger
N0018956 (orange) for charging
DECT Handset 4145Ex.

6
• Do not charge DECT Handset
4145Ex in a potentially explosive
atmosphere.
• The AC power adaptor used in
connection with the charger must
not be connected to a higher
voltage than 250V AC.
• Use only battery pack N0018955 for
battery replacement.
• Use only headset part no. 0231
9517 (KIRK part no.) with DECT
Handset 4145Ex.
• The leather pouch A0553741 must
be used with DECT Handset
4145Ex in the following situations:
• In dry areas with humidity
conditions of less than 60 %
• When the user is wearing
clothes that could cause
electrostatic charging of the
handset
• If defects occur, remove DECT
Handset 4145Ex immediately from
the potentially explosive
atmosphere.
• Only KIRK telecom A/S may repair
and service DECT Handset
4145Ex.
• Relevant data concerning repairs
must be logged.
• For traceability it is advisable to
keep a record of type and serial
numbers and users of the
handsets.

7
Label information
• HW PCS = Hardware version
• SW PCS = Software version
• 2006 07 = Warranty period
• 05W04 = Production date (year
2005, week 4)
• SN = Serial number
Battery information
Read the following information before
you handle the batteries:
• Do not replace the batteries in
potentially explosive environments,
such as rooms where flammable
liquids or gases are present.
• The battery will explode if disposed
of in a fire.
• Do not charge the batteries unless
you use the Nortel Networks
approved charger and the proper
batteries.

8
Only use battery type N0018955 in
the DECT Handset 4145Ex handset.
Do not use these batteries with other
products. These batteries were
designed specifically for use with the
DECTHandset 4145Ex handset and
the DECT Handset 4145Ex charger
ONLY. Improper use of the batteries
may result in fire hazard.
• Do not do anything that would
cause the battery to short circuit.
• Do not let the battery or the charger
come into contact with conductive
metal objects.
Installing battery
The battery is connected to the hand-
set when it is shipped from the fac-
tory.
Warning: The battery must not be
removed in a potentially explosive
atmosphere.
1 To change the battery unscrew
the plate on the rear of the
handset to access the battery
compartment. Use a normal
screwdriver.
2 Insert normal screwdriver into the
small crack behind the blind cover
and break to open the handset.

9
3 Place the battery plug in the slot
in the battery box.
4 Insert battery with the label
readable.
5 Replace the back cover.
Charging battery
Warning: Do not charge DECT
Handset 4145Ex in a potentially
explosive atmosphere. Use only the
dedicated charger N0018956
(orange) for charging of DECT
Handset 4145Ex.
When charging the battery for the first
time, it is necessary to leave the
handset in the charger for 14-16
hours for the battery to be fully
charged.
During normal operation, it takes
approximately 4 - 5 hours to charge
the handset from fully discharged to
its full capacity.

10
• Place the handset in the charger.
For correct charging, be sure the
room temperature is between 0°C
and 25°C. Do not place the
handset in direct sunlight. The
battery has a built-in heat sensor
which will stop charging if the
battery temperature is too high.
When charging, the display shows
the charging status in line 3. The
display goes back to normal mode
when fully charged. It will not
vibrate. Auto-answer is inactive.
The handset reacts normally for
incoming calls.
It is necessary to recharge the battery
when the display shows BATTERY
LOW, or if the handset cannot be
turned on. When the battery is fully
discharged, up to 10 minutes may
pass before charging begins (display
lights up). When the charger begins
the charging, status is shown in the
display.

11
Checking battery capacity
In the BATTERY MENU it is possible
to see the remaining battery capacity.
For reading the correct capacity, the
handset has to be removed from the
charger for at least one hour.
1 Press MENU ( ) and use the <
or >keys to switch to the
BATTERY MENU.
2 Press 3to enter the BATTERY
MENU, and see the current status
of the battery capacity.
3 Press 3to return to the menu
system, or press MENU ( ) to
quit.
The indication on the display is not
necessarily an exact reflection on the
remaining speech time, but only an
indication of the voltage on the bat-
tery.
Low battery warning
If the battery capacity reaches a cer-
tain minimum value then if:
• On hook: the display shows
BATTERY LOW.
• Off hook: the display shows
BATTERY LOW and the handset
gives four short bleeps every five
seconds.

12
Battery disposal
Defective batteries must be returned
to a collection point for chemical
waste disposal.
Warning: Nickel metal hydride
batteries must be disposed of
properly. Do not dispose of the
batteries in office or household waste.
Nickel metal hydride batteries are
recyclable. You can help preserve the
environment by returning your
unwanted batteries to your nearest
recycling center for recycling or
proper disposal.
Contact your system administrator for
more information about battery dis-
posal and recycling centers in your
local area.

13
About your 4145Ex handset
LED
Flashes fast when phone is ring-
ing.
Flashes at low frequency if mes-
sages waiting.
Lights constantly when showing
CLIP numbers in Redial list.
Volume control
Adjusts the handset and ringer
volume.
H
D
D
E
B
J
C
C
J
A
K
J
I
H
G
F
L
A
B

14
Display
Shows call information, handset
status icons, and guides you
through option menus.
Headset connector
Microphone
SOS key
When activating this key for 3
seconds the handset directly
dials a user defined SOS num-
ber.
Keys G to L activate different func-
tions when your handset is on hook
or off hook.
On hook: Handset is idle (not in
use).
Off hook: Handset is active, call or
feature in progress.
MENU key
On hook
(idle)
Enters the Handset
Options menu
OR
Exits the Handset Options
menu.
< ( ) key
On hook
(idle)
Enters the Redial List
menu.
> ( ) key
On hook
(idle)
Enters the Telephone
Book menu.
3()key
On hook
(idle)
Turns the handset off with
a long (three second) key
press.
Off hook
(active)
Turns the microphone off
or on when you are on a
call.
R ( ) key
C
D
E
F
G
H
I
J
K

15
Handset display
There are four lines on your handset
display.
The types of information shown on
the display are:
•Standby text: When the handset is
on hook (idle), your standby text
appears on the first line of the dis-
play.
•Information text: Call information
appears on the second and third
line of the display.
On hook
(idle)
Read or write messages.
Off hook
(active)
Recall.
On/Off hook key
On hook
(idle)
Turns the handset on.
Off hook
(active)
Ends an active call.
L
(((.)))
JEAN 144
236
Display information example
Line 1
Line 2
Line 4
Line 3
Line 3

16
•Handset icons: The following
icons appear on the fourth line of
the display:
Display backlight
The display backlight automatically
turns on when there is an incoming
call, or if a key is pressed.
The backlight turns off after 10 sec-
onds when the handset is idle.
You can disable the backlight to save
power, refer to the “Customizing
handset” section in this guide for
more information.
Note: The backlight is disabled when
the key lock function is activated.
The radio signal icon indicates
connection to system.
Note: The icon flashes when
the system is busy and you
will not be able to make or
answer calls.
The envelope icon indicates a
new text message (E2-MAIL).
Left and right arrow icons
appear on the display when
you access Handset option
menus.
The telephone icon indicates a
call is active.
(
((.)))

17
Basic handset options
Turning the handset ON/OFF
ON
Press .
When the handset is turned on the
radio signal display icon is shown in
the lower left corner of the display, if
the handset is subscribed to a system
(For more information, see “Subscrib-
ing to system” on page 18).
OFF
Press 3()for 3 seconds.
Note: When the handset has been
outside the coverage area, it can take
up to 30 seconds before the handset
is back on the system after
re-entering the coverage area.
Adjusting speaker volume
1 Press .
2 Use the two keys placed at the
upper right side of the handset for
volume control.
3 Press again.
Changing Menu Language
There are 9 predefined languages in
the handset: English, German,
French, Italien, Spanish Dutch, Portu-
guese, Swedish and Danish.
1 Press MENU ( ), and then press
3.
2 Switch to SET PROFILE
LANGUAGE using the <> keys,
then press 3.

18
3 Use the <> keys to choose
between the predefined
languages, then press 3to select
the required language.
4 Press MENU ()to exit the menu
structure.
See Figure 1 on page 61.
Subscribing to system
Before you can use the registered
handset it is necessary to subscribe
the handset to a base station first.
Note: The first handset subscribed to
the system is called the Master
handset.
Create subscription
To make subscriptions, the system
must allow subscriptions to be made.
Some systems also require an
Authentication Code (AC). If more
than one system currently permits
subscription, you will need to know
the ID of the system to which you
wish to subscribe. Authentication
Codes and system ID’s will be pro-
vided by the system administrator.
Note: Every subscription must have a
name and a local extension number.
The subscription name is used as
standby text. The name must be
between 1 and 12 characters. If no
characters are entered the
subscription will fail.
1 Press MENU ( ), use the <>
keys to switch to LOGIN MENU,
and then click 3.

19
2 Use the <> keys to switch to
SUBSCRIPTION CREATE
MENU, and then click 3to
subscribe to a new system.
3 Use the <> keys to scroll between
the search ID’s of the different
systems available.
During subscription the handset
will search for free positions and
perform subscription on the first
free position.
An alternative position can be
choosen using <and >.
4 Enter the AC (if required) using
the keyboard, and then press 3.
5 Enter subscription name using the
keyboard, and then press 3.
6 Enter local number using the
keyboard, and then press 3.
If the subscription was successful,
the startup text will be replaced by
the standby text entered into the
system by the system
administrator and (((.))) is shown in
the display.
If not, the subscription has failed
and the procedure must be
retried.
Note: If the handset is already
subscribed to 10 systems, you will
have to remove a subscription before
creating a new subscription (For more
information see “Remove
subscription” on page 22).

20
Subscribing to different systems
The handset can be subscribed (con-
nected) to a maximum of 10 different
systems.
Note: To be able to log on to a
system, subscription to the system
must be established (For more
information, see “Create subscription”
on page 18).
Auto Login
If you want to change to another sys-
tem automatically, you use the AUTO
LOGIN MENU.
Note: Auto Login should only be used
when systems are separate, with no
overlaps.
1 Press MENU ( ), use the <>
keys to switch to LOGIN MENU,
and then press 3.
2 Use the <> keys to switch to
SELECT LOGIN AUTO, and then
press 3.
The handset automatically selects
a system. The selected system is
marked with an A.
Login
If you want to change to another sys-
tem manually, you use the LOGIN
MENU to connect to another system
number.
1 Press MENU ( ), use the <>
keys to switch to LOGIN MENU,
and then press 3.
Table of contents
Other Nortel Handset manuals

Nortel
Nortel 413X User manual

Nortel
Nortel 6120 User manual

Nortel
Nortel 1140 User manual

Nortel
Nortel 4060 User manual

Nortel
Nortel Passport 7420 Dimensions

Nortel
Nortel 6120 User manual

Nortel
Nortel 2210 User manual

Nortel
Nortel C4012 User manual

Nortel
Nortel 2212 User manual

Nortel
Nortel 6120 Installation and operating instructions

Nortel
Nortel C4030 User manual

Nortel
Nortel 4065R User manual

Nortel
Nortel C4010 User manual

Nortel
Nortel 6120 User manual

Nortel
Nortel 4065R Reference guide

Nortel
Nortel 744X User manual

Nortel
Nortel C4050 User manual

Nortel
Nortel 2210 User manual

Nortel
Nortel T7406E Operator's manual

Nortel
Nortel 2211 User manual