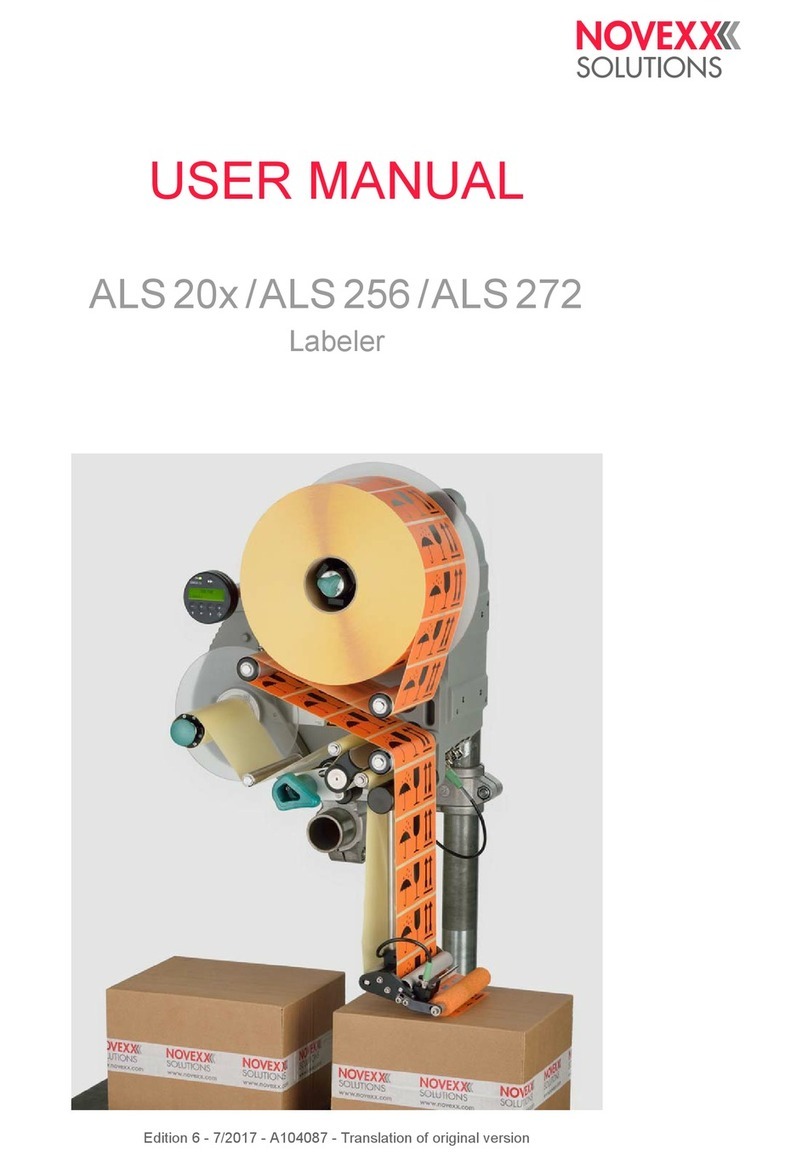
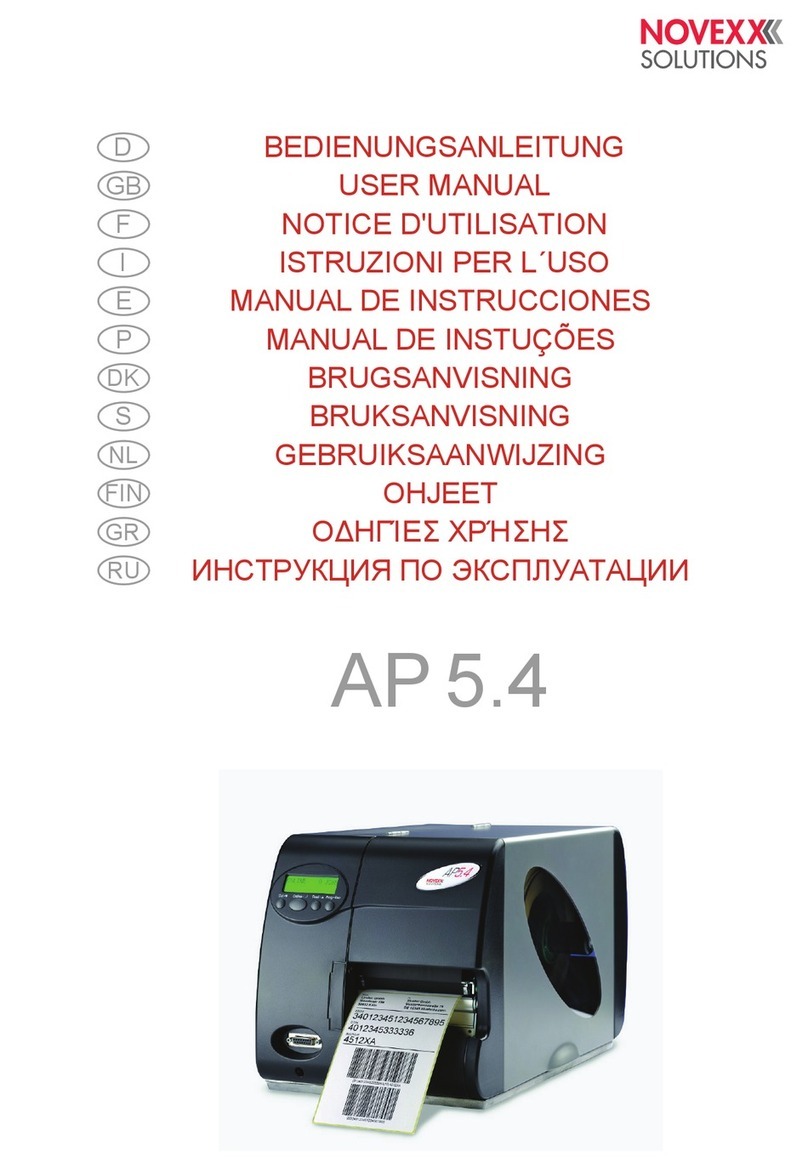
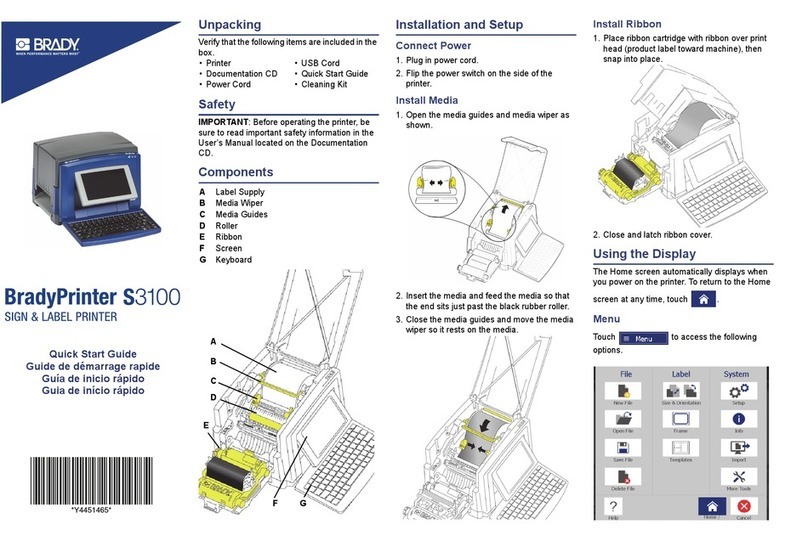
Novexx Solutions LA-BO Series User manual

Bedienungsanleitung / Handbuch / Datenblatt
Sie benötigen einen Reparaturservice für Ihren Etikettendrucker
oder suchen eine leicht zu bedienende Etikettensoftware?
Wir helfen Ihnen gerne weiter.
Ihr artner für industrielle Kennzeichnungslösungen
Drucksysteme Janz & Raschke GmbH
Röntgenstraße 1
D-22335 Hamburg
Telefon 49(0)40 – 840 509 0
Telefax 49(0)40 – 840 509 29
www.jrdrucksysteme.de

Bedienungsanleitung / Handbuch / Datenblatt
Maßgeschneiderte Lösungen für den Etikettendruck und die Warenkennzeichnung
Seit unserer Gründung im Jahr 1997, sind wir erfolgreich als Partner namhafter Hersteller und als
Systemintegrator im Bereich der industriellen Kennzeichnung tätig.
Unser Motto lautet:
So flexibel wie möglich und so maßgeschneidert wie nötig.
Ich stehe mit meinem Namen für eine persönliche und kompetente
Beratung. Wir hören Ihnen zu und stellen mit Ihnen eine Lösung
zusammen, die Ihren individuellen Anforderungen entspricht. Für Sie
entwickeln unsere erfahrenen Techniker und Ingenieure neben
Etikettiermaschinen, maßgeschneiderte Komplettlösungen inklusive
Produkthandling, Automatisierungstechnik und Softwarelösung mit
Anbindung an Ihr Warenwirtschaftssystem.
Ich freue mich von Ihnen zu hören.
Bis dahin grüßt Sie
Jörn Janz
Hier finden Sie Ihren Ansprechpartner:
http://www.jrdrucksysteme.de/kontakt/

Bedienungsanleitung / Handbuch / Datenblatt
Sie benötigen einen Reparaturservice für Ihren Etikettendrucker
oder suchen eine leicht zu bedienende Etikettensoftware?
Wir helfen Ihnen gerne weiter.
Ihr artner für industrielle Kennzeichnungslösungen
Drucksysteme Janz & Raschke GmbH
Röntgenstraße 1
D-22335 Hamburg
Telefon 49(0)40 – 840 509 0
Telefax 49(0)40 – 840 509 29
www.jrdrucksysteme.de

Bedienungsanleitung / Handbuch / Datenblatt
Maßgeschneiderte Lösungen für den Etikettendruck und die Warenkennzeichnung
Seit unserer Gründung im Jahr 1997, sind wir erfolgreich als Partner namhafter Hersteller und als
Systemintegrator im Bereich der industriellen Kennzeichnung tätig.
Unser Motto lautet:
So flexibel wie möglich und so maßgeschneidert wie nötig.
Ich stehe mit meinem Namen für eine persönliche und kompetente
Beratung. Wir hören Ihnen zu und stellen mit Ihnen eine Lösung
zusammen, die Ihren individuellen Anforderungen entspricht. Für Sie
entwickeln unsere erfahrenen Techniker und Ingenieure neben
Etikettiermaschinen, maßgeschneiderte Komplettlösungen inklusive
Produkthandling, Automatisierungstechnik und Softwarelösung mit
Anbindung an Ihr Warenwirtschaftssystem.
Ich freue mich von Ihnen zu hören.
Bis dahin grüßt Sie
Jörn Janz
Hier finden Sie Ihren Ansprechpartner:
http://www.jrdrucksysteme.de/kontakt/

Release 2 - 7/2017
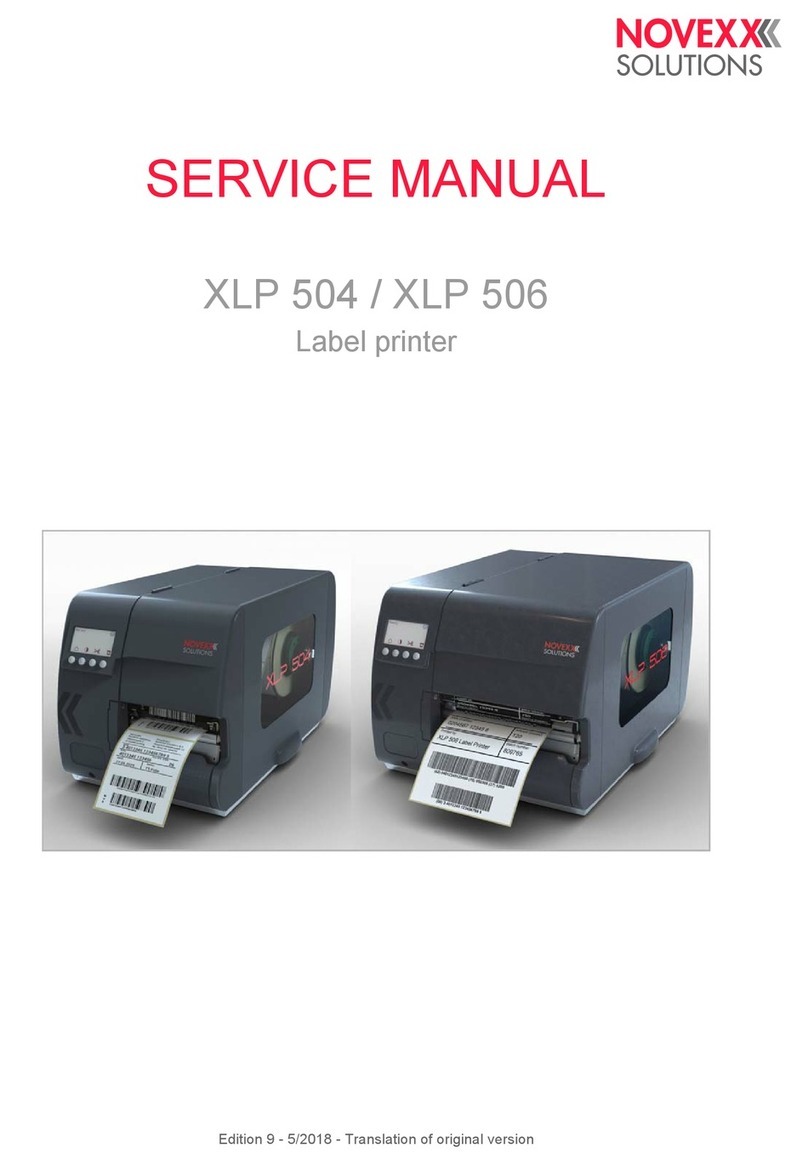
SERVICE MANUAL
LA-BO
Applicator


Service Manual LA-BO
07/2017 3Content
Content
Technical Data -5
Application Notes -5
Intended Purpose -5
System Requirements -5
Properties -6
Mode of Operation -6
Specifications -7
Repair & Maintenance -8
Safety Instructions -8
Pre-installation of the LA-BO on the ALX 92x -9
Replacing the fan -11
Replacing a slide bar -12
Regular Maintenance -13
Remove paper remains -13
The pneumatic equipment -13

Service Manual LA-BO
07/2017 | 00 5Technical Data
Technical Data
APPLICATION NOTES
Intended Purpose
Applicators of type LA-BO are additional units for print-and-apply or labelling heads that are listed
in the section Machine type on page 5. They take self-adhesive labels from the dispenser mech-
anism and stick these onto moving or non-moving products.
The LA-BO is mounted to the print-and-apply (ALX 92x) or labelling head (ALS 20x/256) by means
of an included base plate. The applicator is controlled by the optional Applicator Interface (AI) board
(mandatory for ALX and optional for ALS) or by the Internal Applicator Interface (ALS only). The
electrical connection to the LA-BO is done via a plug connector. The drive is provided by com-
pressed air.
Remark: The optional Applicator Interface (AI) board is not included with the LA-BO and has to be
ordered separately with the print-and-apply or labelling head.
The application process is triggered by means of a product sensor, which is also connected to the
AI-board.
Installation position
Permissible installation positions for the LA-BO are:
•Vertical, if application takes place from top to bottom (also referred to as “top labelling”: the
product is located below the applicator) or from bottom to top (also referred to as “bottom label-
ling”: the product is located above the applicator).
•Horizontal (also referred to as “side labelling”: the product is located next to the applicator)
System Requirements
Machine type
The LA-BO can be operated on the following machines:
By ordering the specified part number, you will receive a LA-BO applicator with installation material
and connection cables, suitable for installation on the device type listed at the beginning of the line.
The Applicator Interface (AI) board is not part of the delivery and has to be ordered separately.
Device Part number LA-BO Controller Notes
ALX 924/925/926 LH A8679 AI a / b / c
a) Use of the AI is mandatory for ALX.
b) The Applicator Interface (AI) is not contained in the scope of delivery and has to be ordered
separately with the ALX or ALS unit. A5032 : AI factory installed, A5207: AI Upgrade kit.
c) ALX 924/925/926 has to be equiped with standard dispensing edge.
ALX 924/925/926 RH A8680
ALS 204/206/256 LH A8677 AI or internal d / b/ e
d) Use of the AI is optional for the ALS. The Internal applicator interface of the ALS can be used
also, but limits the use of PLC signals.
e) ALS 20x/256/256 has to be equiped with L-shape fixed dispensing edge.
ALS 204/206/256 RH A8678
[Tab. 1] Print-and-Apply and labelling machines, to which the LA-BO can be applied (LH = lefthand, RH = righthand,
AI = Applicator Interface).
Service Manual LA-BO
07/2017 | 00 6Technical Data
Firmware
• Required version of the ALX 92X firmware: V3.30 or later.
• Required version of the ALS 20X/256 firmware: V1.17 or later.
AI
The printer-dispenser must be equipped with an Application Interface (AI) board version V1.11 or
later.
Start signal
The start signal must be connected to the Product sensor input of the AI interface. When the Inter-
nal Applicator interface on the ALS is used, the startsignal must be connected to the M12-connector
“ Start” .
See service manual ALX 92x/ALS 20X/256/256, ‘Applicator Interface’ topic section, chapter ‘In-
terface signals’, ‘Product Sensor’. For using the M12 connector on ALS see Service manual ALS
20x/256 ‘ Connecting the sensors’.
Properties
LA-BO = Label Applicator – Blow On.
The applicator is driven by compressed air. The label is held to the aluminium grid on the bottom
side of the applicator by an inwards airflow created by a fan on the side of the applicator.
Mode of Operation
The fan in the LA-BO is continuously powered, creating a strong inwards airflow through the alu-
minium vacuum grid at the bottom side. While a label is dispensed, the small blow pipe is activated,
creating a small focused air stream to force the label against the aluminium grid. When the label is
fully dispensed, it is held onto the aluminium grid by the inwards airflow and is then stand-by to blow
off the label. When the application cycle is triggered by the product sensor, a high volume air pres-
sure is applied through the air nozzles built-in above the aluminium grid. The nozzles which are
not covered by the black sliding bars will now blow off the label towards the product at a high ve-
locity. After that, the next label can be dispensed on the grid.

Service Manual LA-BO
07/2017 | 00 7Technical Data
SPECIFICATIONS
Material type Self-adhesive labels of paper, PE or PP
Label size Min. 30 x 30 mm
Max. 100 x 100 mm
Application distance Min. 20 mm
Max. 100 mm a
a) Depending on label size.
Application capacity Up to 160 labels/min b
b) Depending on label size and time necessary for trailing edge of label to be released from backing paper.
Product speed From 0 up to 120 m/min c
c) Depending on labelsize, blow distance, productsurface and accuracy.
Application angle 90° +/- 10°
Application accuracy Typically +/- 1 mm 2
Control Applicator Interface
Compressed air 5-6 bar
Air consumption Appr. 1 ltr/apply cycle
Dimensions ALX 92x: 300 x 345 x 153 mm
ALS 20x/256: 357 x 188 x 153 mm
Weight 3,5 kg
Environmental conditions
Enclosed rooms
Working temperature:
5 to 40°C
Storage temperature:
0 to 60°C
Relative humidity: 30 to 80%, non-condensing
Protection class IP 21
Power consumption 15 VA
Supply voltage 24 V DC (from ALX or ALS)
Noise level 82 dB(A) during blow cycle
[Tab. 2] Technical specifications of the LA-BO.

Service manual LA-BO
07/2017 | 00 8Repair & Maintenance
Repair &
Maintenance
SAFETY INSTRUCTIONS
• Only authorised service technicians are permitted
to disassemble the housing.
• Before disassembling housing components, turn
the machine off and unplug the power cable.
• Only operate the unit once the housing has been
reassembled properly.

Service manual LA-BO
07/2017 | 00 9Repair & Maintenance
PRE-INSTALLATION OF THE
LA-BO ON THE ALX 92X
When the ALX 92x does not have the 3 required mount-
ing holes for the LA-BO, the holes have to be drilled in
the ALX 92x.
1. Remove the back-covers of the ALX.
2. Because holes have to be drilled in the ALX, cover
the inside of de ALX with cloth so that no chips will
be left behind in the ALX that could cause trouble.
3. Drill the holes from the inside of the ALX. Mark the
centres for the 3 holes (see the drawing [1] on the
next page).
4. Drill the holes (Ø 4,1), make sure that all the chips
are removed.
5. Cut the M5 thread (3x).
6. Clean everything.
7. Replace the back-covers. The ALX is now ready to
mount the LA-BO.

Service manual LA-BO
07/2017 | 00 10 Repair & Maintenance
[1] Positions of the mounting holes at the ALX 92x.

Service manual LA-BO
07/2017 | 00 11 Repair & Maintenance
REPLACING THE FAN
1. Dismantle the LA-BO from the baseplate by un-
screwing the M6 bolt [2A].
2. Unsrew the 4 M3 bolts [3A] on both sides of the
blow unit.
The unit with the fan is now loose.
Due to the leaf spring it is possible that the
housing of the fan is difficult to remove.
3. Disconnect the power connector of the fan.
4. Unscrew the 4 parkers and replace the fan.
Make sure that the wires of the fan are on top.
5. Connect the power cable. Place the unit back in to
the housing and screw back the M3 bolts (4x).
6. Mount the LA-BO back on the base plate.
7. Turn the ALX/ALS on. The fan of LA-BO should
work again.
[2] Mounting bolt holding the LA-BO.
[3] Bolts holding the blow unit.
[4] Disassembled blow unit - rear side.
[5] Disassembled blow unit - front side.
A
A
A

Service manual LA-BO
07/2017 | 00 12 Repair & Maintenance
REPLACING A SLIDE BAR
1. Turn the LA-BO in upright position [6].
2. Unscrew the 2 M3 bolts [7A] of the front plate and
remove the front plate.
3. Push the slide bars in the home position, the grid is
closed.
4. Remove the damaged slide bar with a screwdriver
and a 5 mm key .
5. Replace the damaged slide bar. Make sure the cor-
rect slide bar is replaced as there is a difference in
width between the centre- and side-bars.
6. Replace the front plate with the M3 bolts.
Part number : A8747 SLIDE BARS ASSY
[6] LA-BO in upright position.
[7] Front plate holding screws.
[8] View on the slide bars - cover plate removed.
AA

Service manual LA-BO
07/2017 | 00 13 Repair & Maintenance
REGULAR MAINTENANCE
Before cleaning the machine, turn the machine off
and unplug the power cable.
The LA-BO is designed to be maintenance-free. How-
ever, service the unit regularly in order to ensure relia-
ble long-term operations results.
Depending on operating conditions, following cleaning
is recommended at least once a week:
Remove paper remains
• Wipe the paper residue from the LA-BO.
• Check the applicator and accessories for damage.
The pneumatic equipment
Care and maintenance
If there is a condensate level at the marking, empty the
condensate manually.
Unscrew the outlet at the bottom of the filter regulator
anti-clockwise, as seen from below. The condensate
will then flow out. Tighten the outlet screw again.


Novexx Solutions GmbH
Ohmstraße 3
85386 Eching
Germany
+49-8165-925-0
www.novexx.com
Table of contents
Other Novexx Solutions Label Maker manuals

Novexx Solutions
Novexx Solutions 64-04 User manual

Novexx Solutions
Novexx Solutions AP 5.4 User manual

Novexx Solutions
Novexx Solutions XLS 20x User manual

Novexx Solutions
Novexx Solutions XLP 504 User manual

Novexx Solutions
Novexx Solutions LA-BO XPA 934 LH User manual

Novexx Solutions
Novexx Solutions 64- series User manual

Novexx Solutions
Novexx Solutions XLP 604 User manual

Novexx Solutions
Novexx Solutions XLP 514 User manual

Novexx Solutions
Novexx Solutions ALS 20 series User manual

Novexx Solutions
Novexx Solutions ALS/XLS 204 User manual