NRS Healthcare M11077 User manual
Other NRS Healthcare Mobility Aid manuals
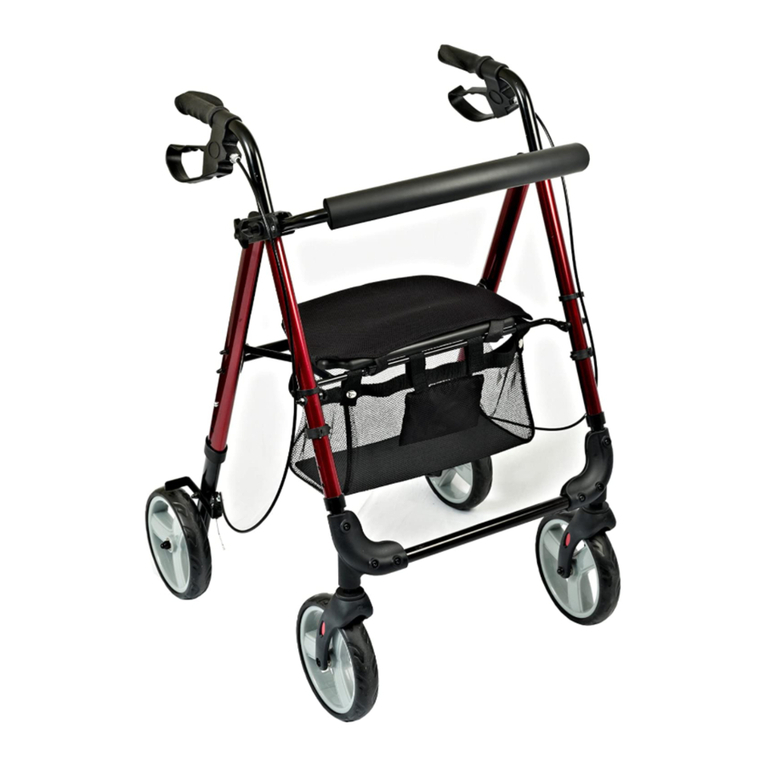
NRS Healthcare
NRS Healthcare M87719 User manual
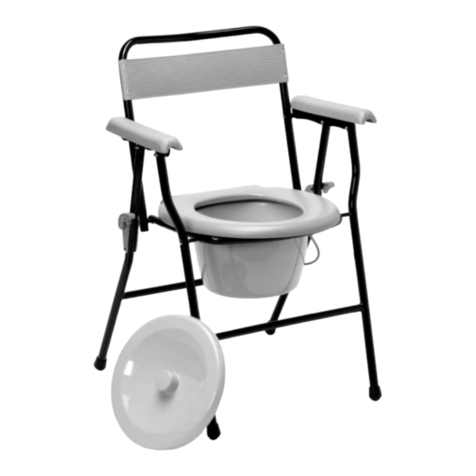
NRS Healthcare
NRS Healthcare M11209 User manual

NRS Healthcare
NRS Healthcare M39634 User manual

NRS Healthcare
NRS Healthcare M48465 User manual

NRS Healthcare
NRS Healthcare M11090 User manual
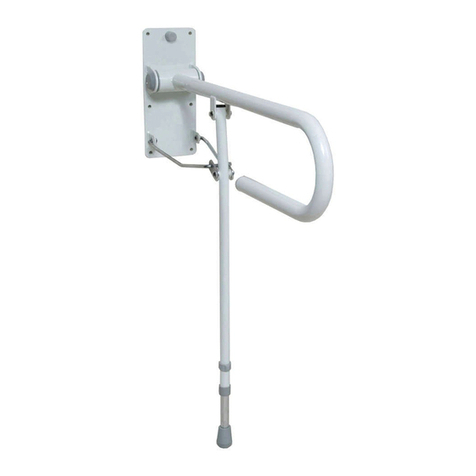
NRS Healthcare
NRS Healthcare M11259 User manual
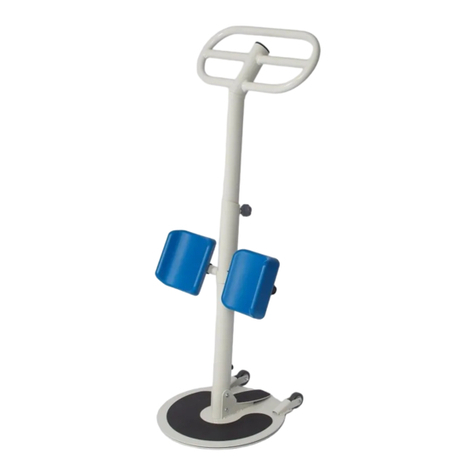
NRS Healthcare
NRS Healthcare ATLAS 3 User manual

NRS Healthcare
NRS Healthcare L99399 User manual

NRS Healthcare
NRS Healthcare L97986 User manual

NRS Healthcare
NRS Healthcare N71986 User manual

NRS Healthcare
NRS Healthcare S50608 User manual

NRS Healthcare
NRS Healthcare M0122 User manual

NRS Healthcare
NRS Healthcare M11247 User manual

NRS Healthcare
NRS Healthcare Freestyle P23049 User manual

NRS Healthcare
NRS Healthcare S23472 User manual

NRS Healthcare
NRS Healthcare F11572 User manual
NRS Healthcare
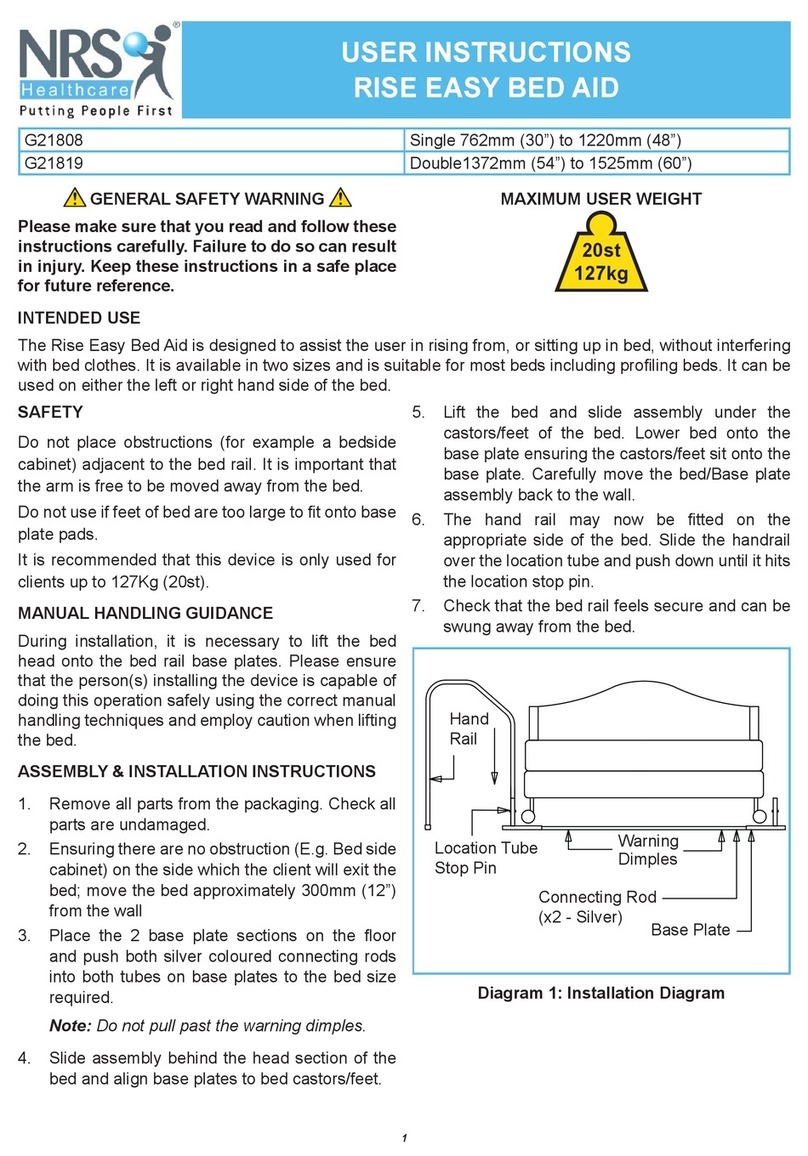
NRS Healthcare G21808 User manual

NRS Healthcare
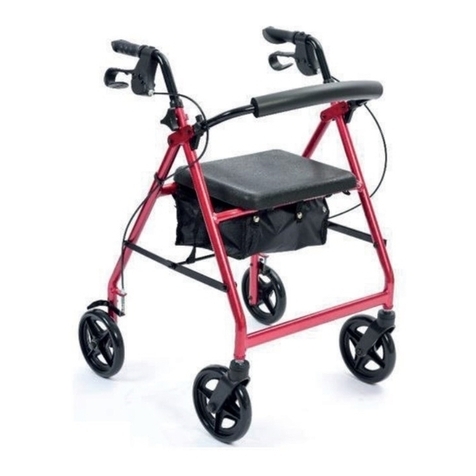
NRS Healthcare N94561 User manual
NRS Healthcare
NRS Healthcare A Series User manual

NRS Healthcare
NRS Healthcare L97755 User manual
Popular Mobility Aid manuals by other brands

AMF-BRUNS
AMF-BRUNS PROTEKTOR installation manual

Drive DeVilbiss Healthcare
Drive DeVilbiss Healthcare OTTER Instructions for use

Rhythm Healthcare
Rhythm Healthcare C500U Assembly and Fitting Instructions

Lumex
Lumex RJ4200A manual

Rebotec
Rebotec Jumbo user manual

Rehaforum MEDICAL
Rehaforum MEDICAL PR50548 manual


