OM0253 Page 4 of 52
Rev 9 September/2022
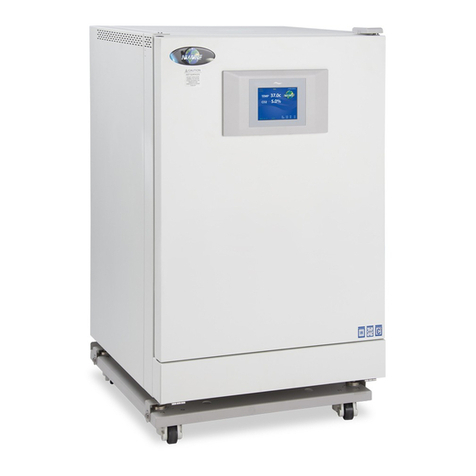
and a display off- set calibration. These calibrations are accessible through the NuTouch LCD located on the front of the
unit.
1.5 All Stainless-Steel Construction
The exterior is constructed of 16-gauge, type 304L stainless steel with the interior being 16-gauge, type 304L polished
stainless steel using coved corner construction, which provides an easily cleanable (for decontamination) inert surface that
does not promote biological growth. All exposed edges are deburred to insure no sharp edges. The exterior is finished in a
textured polyurethane finish, which is resistant to chemicals and easily cleaned using mild household detergents.
In addition, all shelves, shelf supports, and guide rails are easily removable and can be autoclaved to remove
contamination.
Remember: The chamber environment is not selective. The growth environment is applied equally to all microorganisms
(specimens and contaminates) within the chamber.
1.6 Incubator Humidity
All Model(s)
A relative humidity level of up to 90% is achieved in the Incubator by the use of a stainless-steel pan filled with distilled
water no purer than 1 mega ohm, and placed on the bottom of the chamber. It is necessary to set the duty cycle of the
door heater in proper proportions to reduce the possibility of condensation forming on the glass inner door and the
chamber walls. It is also important to thoroughly wipe the walls and the glass door clean before adding the humidity water
pan. Condensation will occur more readily at contamination points. There is no electronic sensing and thus no automatic
control of the humidity level in the Water Jacketed Incubator. An air pump injects fresh air into the chamber at a preset
duty cycle to reduce condensation forming on the chamber walls and front glass door. The air injections are settable by the
user to help control condensation. (See section 8.8 for this option.)
1.7 O2Display and Control (NU-8631)
The Incubator has an available optional Oxygen display and control system. The system controls from 21% (ambient level)
down to 0.5%. The recovery time from ambient to 5% 2% is typically less than 15 minutes. The accuracy is 0.25% from
any given set point.
Oxygen sensor is a type, which generates logarithmic signal based on O2content in the chamber. The sensor is unaffected
by CO, H2and various acidic gases such as CO2, etc.
RH Display (NU-8625 and NU-8645)
These Incubators display RH. The system does not control RH, it is just a monitor.
1.8 Safety Instructions
These safety instructions describe the safety features of the In-VitroCell Incubator.
The incubator has been manufactured using the latest technological developments and has been thoroughly tested before
delivery. It may, however, present potential hazards if it is not used according to the intended purpose or outside of
operating parameters. Therefore, the following procedures must always be observed:
•
The incubator must be operated only by trained and authorized personnel.
•
For any operation of this unit, the operator must prepare clear and concise written instructions for operating and
cleaning, utilizing applicable safety data sheets, plant hygiene guidelines, and technical regulations, in particular.
oWhich decontamination measures are to be applied for the incubator and accessories?
oWhich protective measures apply while specific agents are used?
oWhich measures are to be taken in the case of an accident?
•
Repairs to the device must be carried out only by trained and authorized expert personnel.
•
Keep these operating instructions close to the unit so that safety instructions and important information are
always accessible.
•
Should you encounter problems that are not detailed adequately in the operating instructions, please contact your
NuAire Representative or NuAire technical Services.

