NUVE NC 300 User manual

NÜVE SANAYİ MALZEMELERİ İMALAT VE TİCARET A.Ş.
NC 300 / NC 430 / NC 570
NC 710
STEAM STERILIZERS
USER’S MANUAL
1984
Z14 K25 285 Rev.No: 08 Rev.Date: 01/2018

2
Dear Nüve User,
We would like to take this opportunity to thank you for preferring this Nüve product. Please read
the operating instructions carefully and keep them handy for future reference.
Please detain the packing material until you see that the unit is in good condition and it is
operating properly. If an external or internal damage is observed, contact the transportation
company immediately and report the damage. According to ICC regulations, this responsibility
belongs to the customer.
While you are operating the instrument please;
1. obey all warning labels,
2. do not remove warning labels,
3. do not operate damaged instrument,
4. do not operate instrument with a damaged cable,
5. do not move instrument during operation.
In case of a problem contact your Nüve agent for an authorized service or maintenance.
The validity of the guarantee is subject to compliance with the instructions and precautions
described in this manual.
Nüve reserves the right to improve or change the design of its products without any obligation to
modify previously manufactured products.
Information contained in this document is the property of Nüve. It may not be duplicated or
distributed without our permission.
NÜVE
SANAYİ MALZEMELERİ
İMALAT VE TİCARET A.Ş.
Saracalar Mah. Saracalar Kümeevleri No: 4/2
Akyurt 06750
ANKARA / TURKEY
Tel : (90.312) 399 28 30 (pbx)
Fax : (90.312) 399 21 97

3
WARRANTY CERTIFICATE
1. Nüve warrants that the equipment delivered is free from defects in material and
workmanship. This warranty is given for a period of two years. The warranty period begins
from the delivery date.
2. Warranty does not apply to parts normally consumed during operation or general
maintenance or any adjustments described in the operating instructions provided with the
instrument.
3. Nüve does not accept any liability in case where the goods are not used in accordance with
their proper intent.
4. The warranty may not be claimed for damages incurred during the shipment, for damages
resulting from improper handling or use, abuse, fire, liquid spillage, tampering or
unauthorized repairs by any persons, use of defective or incompatible accessories, exposure
to abnormally corrosive conditions, use of the product in non-standard environmental
conditions, including but not limited to failure to meet requirements of ambient temperature,
lubrication, humidity or magnetic field influences, from the defects in maintenance,
negligence, bad functioning of auxiliary equipment, in the case of force majeure or accident
and incorrect power supply.
5. Any injury, loss or damage caused; due to a failure resulting from negligence of the
instructions given in this manual; is beyond the scope of the warranty conditions.
BEFORE OPERATING THE INSTRUMENT THIS MANUAL SHOULD BE READ CAREFULLY.
THE VALIDITY OF THE GUARANTEE IS SUBJECT TO THE OBSERVATION OF THE
INSTRUCTIONS AND PRECAUTIONS DESCRIBED IN THIS MANUAL.
INFORMATION CONTAINED IN THIS DOCUMENT IS THE PROPERTY OF NÜVE. IT MAY
NOT BE DUPLICATED OR DISTRIBUTED WITHOUT PERMISSION.
PLEASE REGISTER ONLINE TO VALIDATE YOUR WARRANTY:
To register your warranty online, please visit our webpage www.nuve.com.tr and fill in the
“Warranty Registration Form”.

4
CONTENT
Page
1. INTRODUCTION 5
1.1. USE AND FUNCTION 5
2. TECHNICAL SPECIFICATIONS 6
2.1. TECHNICAL SPECIFICATIONS TABLE 6
3. PRECAUTIONS AND LIMITATIONS ON USE 6
4. SYMBOLS AND LABELS 7
5. INSTALLATION 8
5.1. ENVIRONMENTAL CONDITIONS 8
5.2. HANDLING AND TRANSPORTATION 8
5.3. UNPACKING 10
5.4. MAINS SUPPLY 11
5.5. POSITIONING 11
5.6. GENERAL PRESENTATION 12
5.7. CONNECTION TO THE MAINS, WATER AND AIR SUPPLY 15
5.7.1. CONNECTION TO THE MAINS 15
5.7.2. CONNECTION TO WATER SUPPLY 15
5.7.3. CONNECTION TO AIR SUPPLY 15
6. OPERATING PRINCIPLES 15
6.1. PRIOR TO OPERATION 15
6.2. OPERATION PHASES 23
6.3. SAMPLE REPORT 24
6.4. INSTRUCTIONS ON DRYING 25
6.4.1. DRYING IN STERILIZATION CONTAINERS 25
6.4.2. TEXTILES 26
6.4.3. INSTRUMENTS 26
6.4.4. LOADING THE AUTOCLAVE 26
6.4.5. LOADING CONTAINERS WITH SOFT STERILIZATION PACKAGES 27
6.4.6. STACKING STERILIZATION CONTAINERS 28
7. PERIODIC MAINTENANCE AND CLEANING 28
7.1. PERIODIC MAINTENANCE 28
7.2. PERIODIC CONTROL 28
7.3. CLEANING 28
8. DISPOSAL MANAGEMENT CONCEPT 30
9. TROUBLESHOOTING 30
9.1. WARNING MESSAGES AND EXPLANATIONS 30
9.2. ERROR CODES 30
10. ELECTRICAL CIRCUIT DIAGRAM 33

5
1. INTRODUCTION
1.1. USE AND FUNCTION
NC 300, NC 430, NC 570, NC 710 steam sterilizers are used at operating theatres of hospitals,
laboratories, medical and dental departments of universities, at medical waste purification
facilities and for pharmaceutical, biotechnological, veterinary sciences as well as for food sector.
NC 300, NC 430, NC 570, NC 710 steam sterilizers may be utilized for sterilization of packed or
unpacked, porous or hollow loads of textile, metal, glass and rubber material that can be sterilized
using pressurized and saturated steam. The units come with built-in operating programs for the
above mentioned loads and a special program for liquid sterilization.
The jacket system situated outside the useful volume of the unit maintains a homogenous
temperature distribution within the sterilization chamber. This jacket is also used to pre-heat
system prior to sterilization thus decreasing the sterilization duration. All parts which are exposed
to steam and water are made of stainless materials.
The system is fully automated, precluding any need for user involvement.
NC 300, NC 430, NC 570, NC 710 steam sterilizers are designed and manufactured in accordance
with international directives and EN 285, EN 61010-1, EN 61010-2-040, EN 60601-1-6, EN 61326-
1, EN 62304, EN 62366-1, EN ISO 14971, EN 50419, EN ISO 15223-1 and EN 13445 standards
under the supervision of total quality management systems ISO 9001 and ISO 13485.
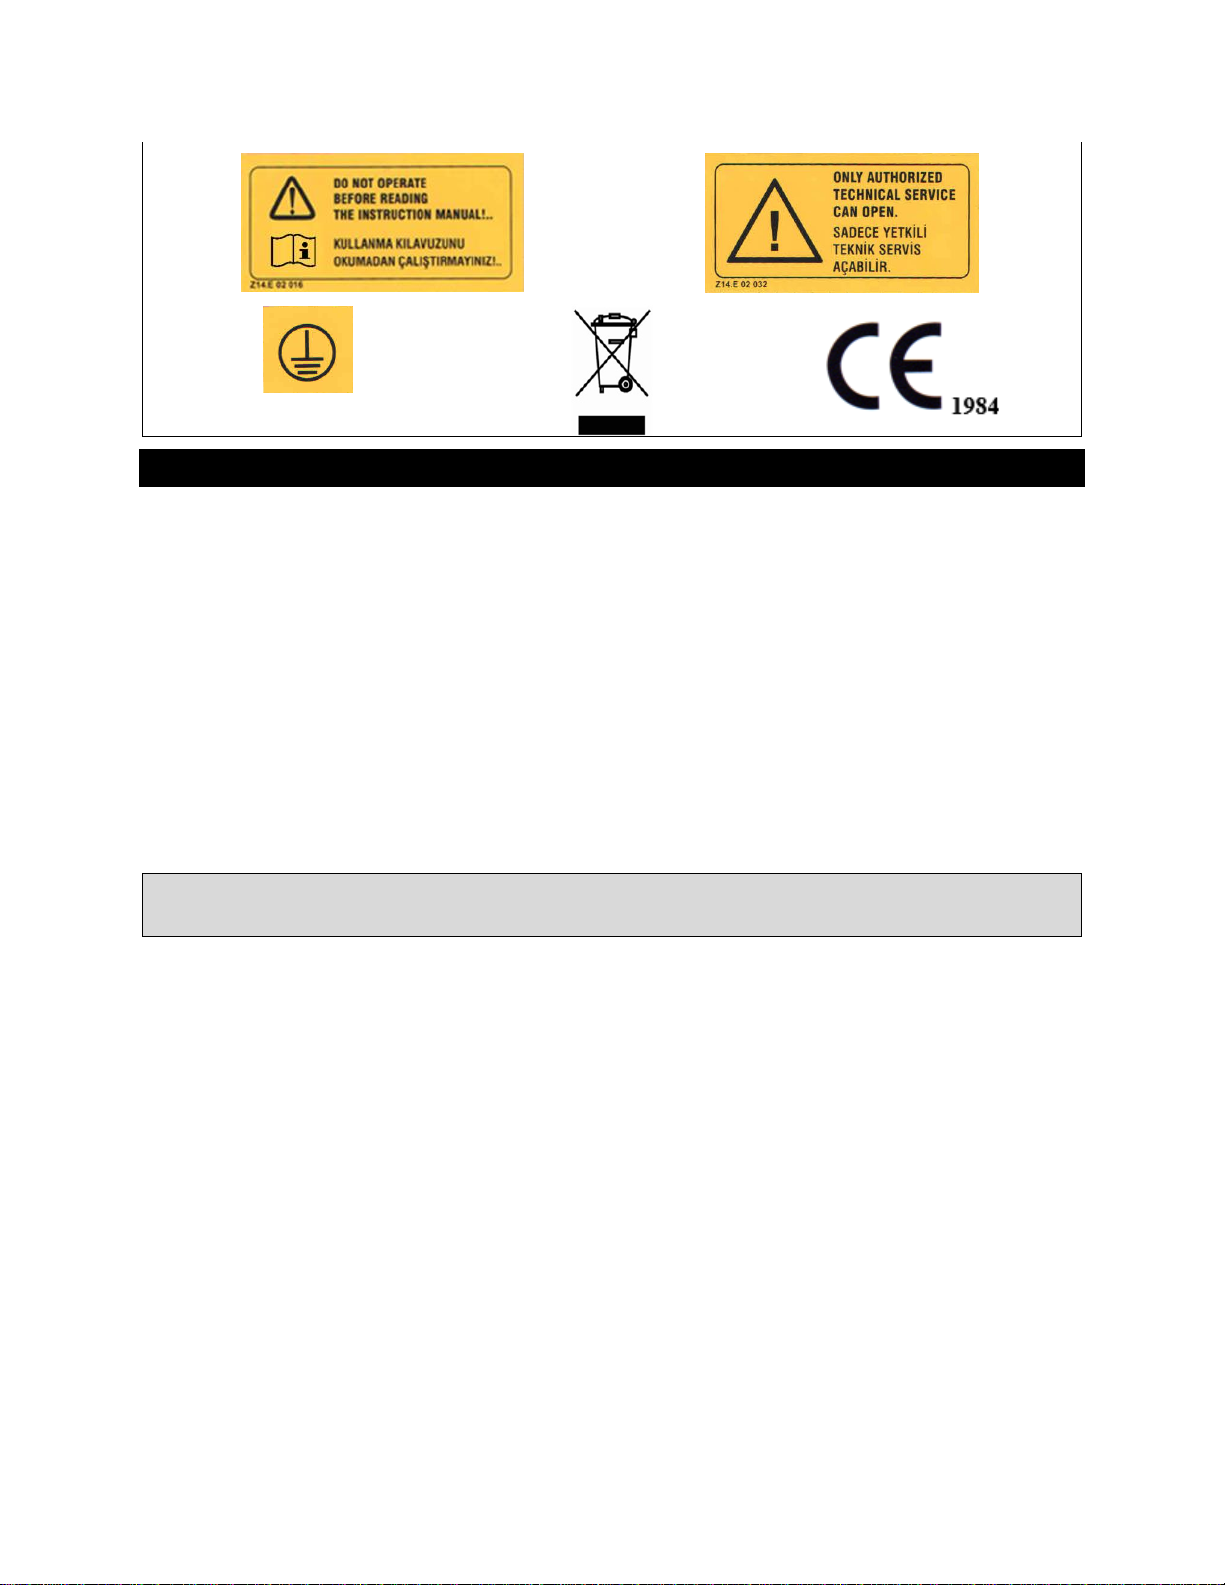
This device is in compliance with WEEE Regulation.
If the warnings mentioned in this manual are not considered, NUVE will not be responsible from
their results.

6
2. TECHNICAL SPECIFICATIONS
2.1. TECHNICAL SPECIFICATIONS TABLE
Technical
Specifications
NC 300
NC 430
NC 570
NC 710
Power Supply
400VAC, 3 phases + neutral + ground
Power Supply
Frequency
50/60 Hz.
Power Consumption
29 kW
38 kW
50 kW
62 kW
Control System
Microprocessor
Air Pressure
4 –6 bar
Chamber Material
Grade 316L stainless steel
Generator Material
Grade 316L stainless steel
Jacket Material
Grade 316L stainless steel
No. of Sterilization
Programs
7 standard, 1 liquid, 1 drying, 50 special
Sterilization
Temperatures (⁰C)
121 –125 –134 –136
Maximum Pressure
3,0 bars
Maximum
Temperature
144 ⁰C
Temperature Sensors
PT-100
Test Programs
Vacuum, Bowie&Dick
Max chamber pressure
3,0 bars
Max Jacket Pressure
3,0 bars
Max Generator
Pressure
3,0 bars
Volume (Liter)
300
430
570
710
STU capacity
(1 STU 300x600x300
mm)
4
6
8
10
Chamber Dimensions
(W x D x H), mm
635 x 722 x 655
635 x 1034 x 655
635 x 1371 x 655
635 x 1708 x 655
External Dimensions
(W x D x H), mm
1140 x 1290 x
1910
1140 x 1330 x
1910
1140 x 1660 x
1910
1140 x 2000 x
1910
Weight (Kg)
860
980
1120
1260
3. PRECAUTIONS AND LIMITATIONS ON USE
The user shall pay attention to the following:
Do not operate the instrument for purposes other than its main purpose.
The set-up, installation, initial functioning, service, maintenance and transportation shall be
handled by authorized personnel appointed by the manufacturer.

7
The user shall read the user’s manual prior to initial functioning of the unit. The manual shall
accompany the user until he gains full competency over the equipment.
The user shall immediately notify the technical service in case of improper functioning of the
unit.
Electricity line is suitable for the power of device and correctly grounded power supply should
be used.
Only original spare parts and original accessories supplied by Nüve should be used.
NC 300, NC 430, NC 570, NC 710 steam sterilizers are suitable for the sterilization of textile,
rubber, heat resistant glass, plastics and liquids. Material other than these and heat
susceptible objects shall not be used.
The liquid to be sterilized in the NC 300/430/570/710 sterilizer should have a boiling point of
100 ° C at sea level at 760 mmHg (1 atm) atmospheric pressure.
Proper sterilization program shall be selected in accordance with the load type and the
sterilization load shall be disinfected prior to being placed into the unit.
The heat produced by the sterilizer should be evacuated by a suction type ventilation system.
4. SYMBOLS AND LABELS
Symbol in the operating instructions:
Attention, general hazard area.
This symbol refers to safety relevant warnings and indicates possibly
dangerous situations.
The non-adherence to these warnings can lead to material damage and
injury to personal.
Notified Body:
KIWA
Belgelendirme Hizmetleri A.Ş.
(İTOSB) İstanbul Tuzla Organize Sanayi Bölgesi Tepeören Mevkii
34597 Tuzla- İstanbul / TURKEY
Symbol in the operating instructions:
This symbol refers to important circumstances.
Type B protection.
Before operating the instrument this manual should be read carefully.
Labels on the product:

8
Earthed Wall Sockets
5. INSTALLATION
5.1. ENVIRONMENTAL CONDITIONS
The instrument is designed to operate safely under the following conditions:
Indoor use only
Ambient temperature: 5°C to 40°C
Maximum relative humidity for temperature up to 31°C: 80%
Maximum altitude: 2000 m
Temperature for maximum performance: 15°C / 25°C
5.2. HANDLING AND TRANSPORTATION
All handling and transportation must be carried out by using proper equipment and experienced
staff. The instrument must be supported underneath and never be turned upside down.
Prior to installation, do not remove styrofoams wrapped around sterilizer to protect
the control panel and outer body of sterilizer.

9
Figure 1
Lift the device from carrying barbs with a crane help.
The capacity of moving hawsers should be chosen according to weigh of the device.
The weight of the device with pallet:
NC 300: 950 kg
NC 430: 1050 kg
NC 570: 1200 kg
NC 710: 1500 kg
Unfix 4 fixing screws which are under the pallet.
Remove the pallet carefully.
After removing the pallet set down the device slowly and flatly.

10
Move the device intended place with wheel help.
After carry away the device to assembler unit, accommodate the fixing screws and together
with sitting stillages place the device on the floor smoothly like below figure. Please connect
to electric, air, water and drain connections.
Figure 2
5.3. UNPACKING
Remove the cardboard box packing and the second nylon wrapping around the instrument.
Ensure that no damage has occurred during transportation. The below mentioned are provided
with the instrument, please check them;
1 ea. user’s manual and warranty
1 ea. water tank
1 ea. tank stillage
1 ea. power cable
1 ea. water inlet hose
1 ea. water drain hose
Teflon hose (5 m)
Hepa filter
Clamping ring

11
5.4. MAINS SUPPLY
The instrument requires 400V.
Please make sure that the supplied mains matches the required power ratings which are written
on the name of plate of the instrument located at the back of the instrument.
Always plug-in the instrument to correctly grounded sockets.
A supply fitted with a circuit breaker should be used for protection against indirect
contact in case of isolation fault.
5.5. POSITIONING
Check that the positioning is suitable for the users.
Check that the instrument is stable on its four pedestals. If necessary, provide stable standing
by adjusting the pedestal heights.
Check that the user will be able to follow up the operation even when he deals with something
else.
Check that the positioning of the device prevents interference with other equipment in the
near surrounding.

12
5.6. GENERAL PRESENTATION
Figure 3
1
2
3
4
5
6
7
8

13
1- Chamber Manometer: Shows the pressure in the chamber.
2- Generator Manometer: Shows the pressure in the generator that produces the steam.
3- Jacket Manometer: Shows the pressure within the jacket surrounding the chamber.
4- Gasket Manometer: Shows the pressure in the gasket channel.
5- Touchscreen: Screens having imaginary buttons on top are called touchscreens. These
buttons are activated by patting the requested commands shown on the screen. It is the
interface utilized by the user to communicate with the control unit that bears the information
for operation.
6- Panel Type Printer: A thermal printer that is used to print the completed program or any
program recorded in the memory. The output involves parameters such as the sterilization
phases, pressure-temperature data during sterilization phases time and installation settings.
9
10
11
12

14
7- Emergency Stop Button: Stops all the control functions of the unit. Pressing this button during
a sterilization cycle will prevent immediate opening of the door. To open the door, the user
has to discharge the pressure if the chamber is under pressure or break the vacuum inside in
case the chamber is under vacuum. Then, the pressure within the gasket channel shall be
released. Please see the “Manual Control Panel” section for further explanation.
8- Sterilization Basket: The basket in which the materials to be sterilized are placed.
9- Manual Control Panel: Activated when the “Emergency Stop Button” is pressed. The Manual
Control Panel is designed to safely open the door when the Emergency Stop Button is pressed
or in case of any failure of the control unit. The Manual Control Panel shall only be used by
the authorized personnel or the Nüve Technical Service.
Steam Discharge Button: When the chamber is under pressure, a positive value is
displayed by the chamber manometer. To dissipate this pressure, the user shall press the
Steam Discharge Button until the chamber pressure drops to zero. When the manometer
reading becomes zero, the process is finalized by pressing the button once more.
Air Intake Button: When the chamber is under vacuum, a negative value is displayed by
the chamber manometer. The chamber vacuum is broken by taking air into the chamber.
To achieve this, the user shall press the Air Intake Button until the chamber pressure rises
to zero. When the manometer reading becomes zero, the process is finalized by pressing
the button once more.
Gasket Vacuum Button: Following the “Steam Discharge” or “Air Intake” operations which
are realized in accordance with the pressure status of the chamber; the “Gasket Vacuum”
step shall be commenced by pressing the “Gasket Vacuum Button” to be able to open the
door. This step shall be stopped after two minutes by pressing the button again.
Door Open Button: Following the above listed steps, the “Door Open Button” shall be
pressed to open the door. When the door is completely open, the function shall be
terminated by pressing the button once more. The “Door Open Button” shall only be used
in case the door is closed.
10-On-Off Switch: Puts the unit on and off power.
11-Communication Unit: Following 4 ports are available in the unit:
USB Port-1
USB Port-2
Ethernet
RS 485
12-Authorization Key: This key shall be in position “1” in order to be able to function the unit
when it is in stand-by or to stop it while it is functioning.

15
5.7. CONNECTION TO THE MAINS, WATER AND AIR SUPPLY
5.7.1. CONNECTION TO THE MAINS
The unit is fed by 3-phased network supply. Please make sure that the supplied mains match
the required power ratings. If not, please provide an extra line to support.
The neutral and grounding cables connecting the socket to the general panelboard shall be
separate lines.
Please make sure that the connection cables between the socket and the panelboard are equal
or greater in cross-section than the power cables of the unit.
The panelboard where the socket is connected shall be fuse protected.
5.7.2. CONNECTION TO WATER SUPPLY
There exist a supply water inlet line and a waste water discharge line on the unit.
The water from the mains shall be connected to the water inlet of the unit after being treated
by a suitable water softening unit. It shall be always kept in mind that the supply water quality
has a direct effect on the lifetime of the equipment.
The waste water discharge line shall be connected to the general drain system. The piping of
the drain system shall be resistant to a continuous water flow at 65C and a temporary (2-3
minutes) water flow at 100C.
A regulator should be used on the lines where the water supply pressure is over 4
bars.
5.7.3. CONNECTION TO AIR SUPPLY
There is air inlet on the top of the sterilizer.
Dry air line should be connected and it should have 5 to 6 bars of pressure.
6. OPERATING PRINCIPLES
6.1. PRIOR TO OPERATION
Turn on the unit by using the On-Off switch on the left side
See that the microprocessor control system is activated.
NUVE logo appears on the screen.
After NUVE logo disappears, Menu page appears.

16
Password screen is accessed when ‘Start’ is pushed.
When the password is entered correctly, program screen appears.
The password for first usage is ‘1111’.

17
When ‘TEST PROGRAMS’ is pushed, the page where two test programs are listed is shown.
When ‘PRESET PROGRAMS’ is pushed, the page where preset programs are listed is shown.

18

19
Program Name
Temperature
(C)
Pressure (Bar)
Sterilization
Duration (min)
Drying
Duration (min)
Wrapped, porous
Material
134
2.10-2.15
7
15
Sensitive material
Glass, plastics
121
1.10-1.15
20
15
Resistant rubber
material
125
1.35-1.40
20
15
Heavy wrapped
material
134
2.10-2.15
7
15
Prion
134
2.10-2.15
20
15
Fast, unwrapped
material
134
2.10-2.15
4
3
Gravity
121
1.10-1.15
25
-
Drying
-
-
-
10
Bowie&Dick test
134
2.10-2.15
3.5
3
Vacuum test
-
-
-
-
The corresponding program screen is displayed when a program is selected.
On this page, the program line displays the selected program and the total time dissipated
after program is started. There also exists the step line that displays the current sterilization
phase (pre-vacuum, sterilization, steam discharge, air intake...) and the time dissipated since
the corresponding sterilization phase has commenced.
The user may follow the pressure and temperature from the graphics at the middle of the
screen. The indicators at the right hand side of the graph shows the current temperature and

20
pressure values. Temperature is denoted by red, whereas the blue indicator shows the
pressure.
Sterilization is commenced by pressing the START button after choosing the requested
program.
STOP button has to be pressed to terminate a running program. If the STOP button is pressed
during sterilization, the unit realizes the necessary steps in accordance with the state of
pressure within the chamber and then, lets the user open the door.
The authorization key shall be in position “1” in order to be able to function the unit when it
is in stand-by or to stop it while it is functioning.
The “Settings” item which is the third choice on the Menu page, takes the user to the
“Settings” screen.
The user can adjust time and date from this screen. The password to access program menu
can be changed from this screen.
The configuration for e-mail and SMS sending in case of failure is accessed on this screen.
‘SETUP’ button is used to access the page where the information of sterilizer is entered.
The page below appears when ‘STANDBY’ is pushed. On stand-by mode, electricity and water
is saved while the power is on. In order to activate the stand-by, enter a time between 20 and
999 minutes. Push HOLD to deactivate stand-by.
This manual suits for next models
3
Table of contents
Other NUVE Laboratory Equipment manuals
Popular Laboratory Equipment manuals by other brands

VWR
VWR 444-7084 instruction manual

Halma
Halma Ocean Optics QE65000 Installation and operation manual

EMCtools
EMCtools Microbox FlexRay manual

Retsch
Retsch ZM 300 manual

Thermo Scientific
Thermo Scientific 678 Series Operating manual and parts list

Thermo Scientific
Thermo Scientific Dionex UltiMate 3000 Series operating instructions