manuals.online logo
Brands
  1. Home
  2. •
  3. Brands
  4. •
  5. oGrow
  6. •
  7. Greenhouse Kit
  8. •
  9. oGrow OGAL-46 User manual

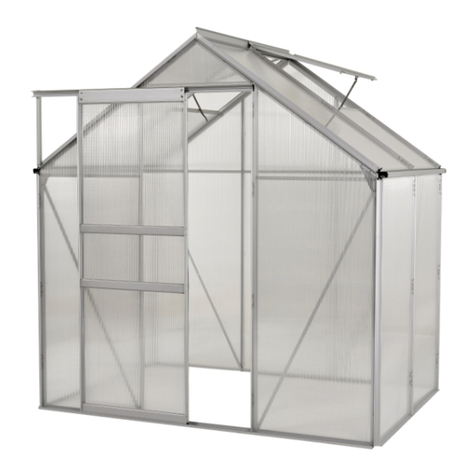
oGrow OGAL-46 User manual

Step 1:
is procedure will assist you with assembling the
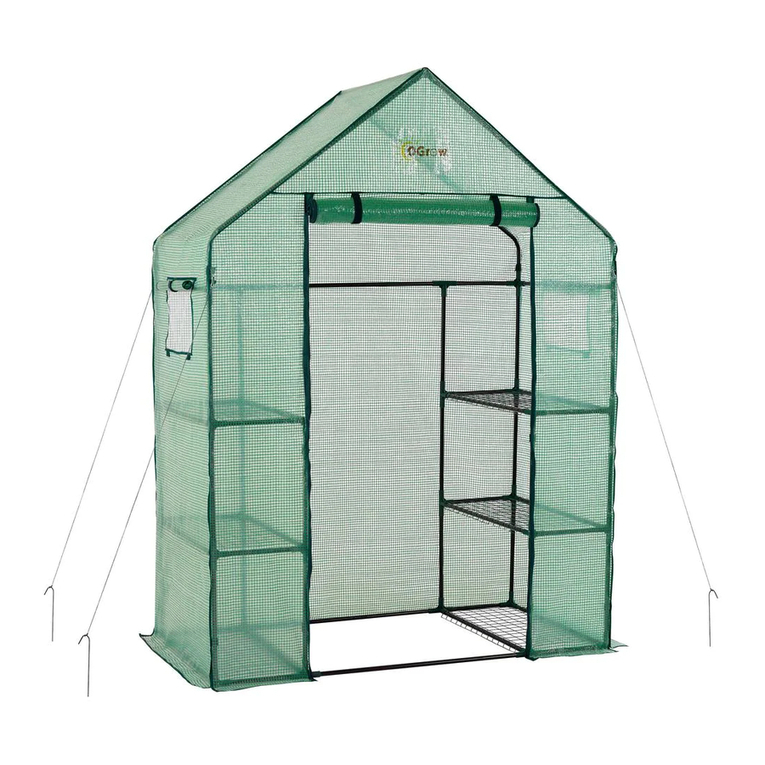
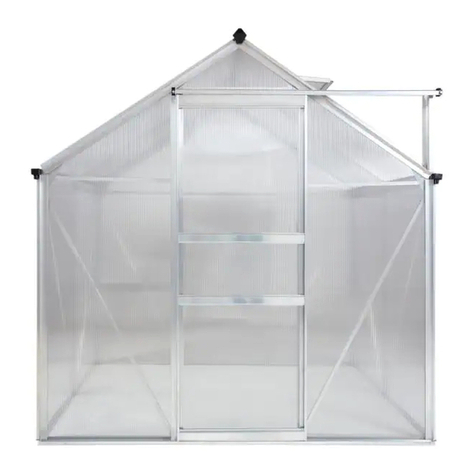
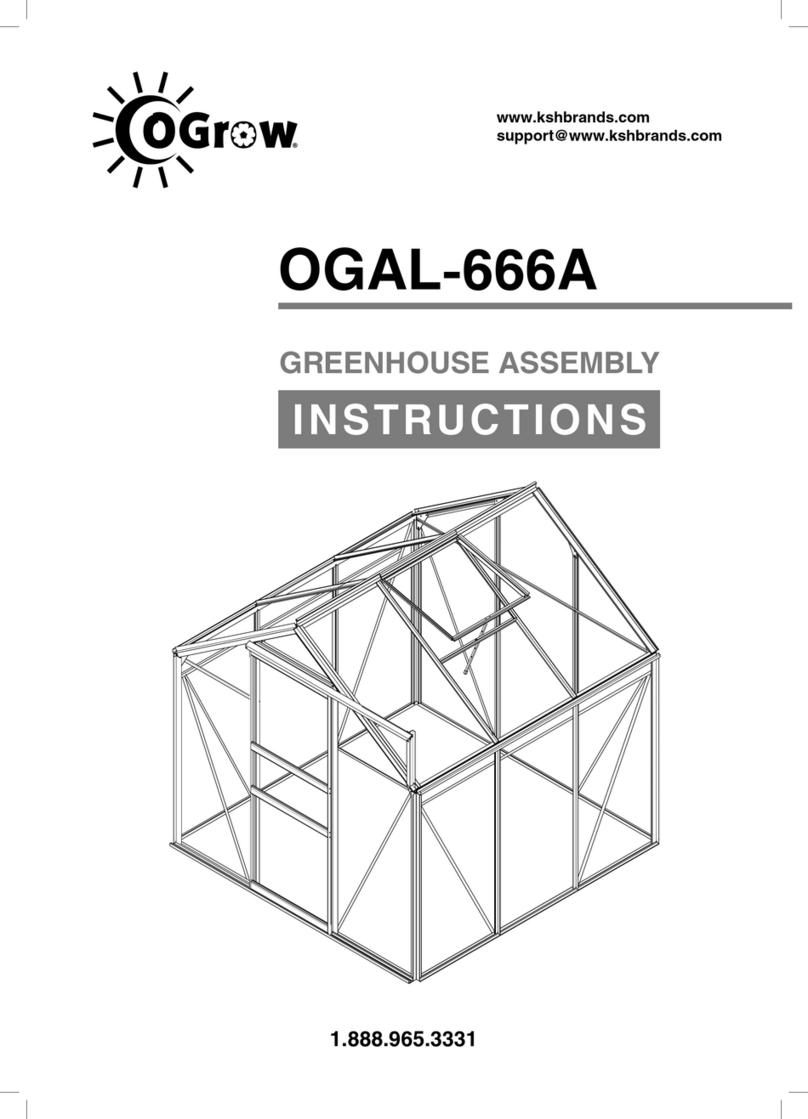
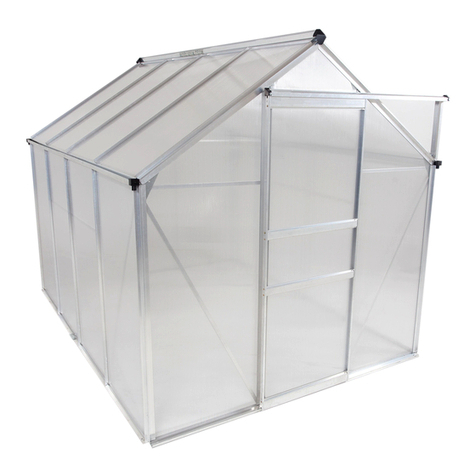
OGrow Walk-In 4 . by 6 . Lawn and Garden
Greenhouse with Heavy Duty Aluminum Frame.
Step 2:
To complete this procedure, you will need a Hammer,
a Phillips Screwdriver, a Drill, een-sixty fourths
inch Drill Bit, and Gloves. Optionally, you may need a
Step Ladder, a Caulking Gun, and Silicone Glass Glue.
Note: Make sure the Greenhouse is located on a at,
level surface.
Step 3:
Position (K - 0 3 B), (K - A 0 2), and (K - 0 4) at right
angles to each other. Make sure the grooves are on the
outside.
Note: Make sure the assembly is at the location you
want the Greenhouse to be installed.
Step 4:
Insert (2) Bolts (K - A 3 1) into the holes at each
corner. Secure with (2) Nuts (K - A 3 1). Do not fully
tighten the Nuts.
Step 5:
Slide (K - 0 5) into position. Repeat for both corners.
Tighten the Nuts.
Step 6:
Insert (2) Bolts and (2) Nuts into (K - A 0 2) in the
indicated areas. Do not fully tighten the Nuts.
Step 7:
Insert (2) (K - A 0 3) onto the Bolts on the Base. Tight-
en all the Nuts.
Step 8:
Insert (1) Bolt into each (K - 0 5) and (K - A 0 3)
Frame. Attach (K - A 1 5) to the Bolts using (4) Nuts.
Make sure all the Nuts are tightened.
Step 9:
e UV-protected side of the sheet is covered with
Opal White Film and must face towards the sun.
Step 10:
Remove the Opal White Film from (3) (K - A 2 4)
Panels.
Step 11:
Slide (3) (K - A 2 4) Panels into the grooves of each
Beam.
Step 12:
Insert (4) Bolts and (4) Nuts into each hole of (K - A 0
6).
Step 13:
Slide the Bolts on (K - A 0 6) into the grooves of the
Beams, then fully tighten all of the Nuts.
Step 14:
Insert (4) Bolts and (4) Nuts into (K - 0 3 B) and (K - 0
4) in the indicated areas. Do not fully tighten the Nuts.
Step 15:
Insert (K - 2 0) and (K - 0 9) onto the Bolts in (K - 0 4).
Fully tighten the Nuts.
Note: Support these Beams until they have additional
supports.
Step 16:
Insert (K - 1 9) and (K - 1 0) onto the Bolts in (K - 0 3
B). Fully tighten the Nuts.
Note: Support these Beams until they have additional
supports.
Step 17:
Insert (3) Bolts each into (K - 1 9), (K - 2 0), (K - 1 0),
and (K - 0 9).
Step 18:
Insert (2) Bolts into each (K - 0 5).
Step 19:
Remove the Opal White Film from (K - A 2 1), (K - A
2 0), and (K - A 2 2) Panels.
Step 20:
Insert (K - A 2 2), (K - A 2 0), and (K - A 2 1) Panels
into the grooves of the Beams.
Step 21:
Slide (1) Bolt each into (K - 0 6) and (K - 0 7).
Step 22:
Insert the Bolts into the holes in (K - A 0 6) and secure
them with (2) Nuts.
Step 23:
Insert (2) Bolts each into (K - 0 6) and (K - 0 7).
Step 24:
Align (2) Bolts on (K - 0 5) and (2) Bolts on (K - 0 6) to
the holes in (K - 2 1). Attach (K - 2 1) using (3) Nuts.
Repeat on the other side.
Note: Another piece will be attached to the remaining
Bolts on both (K - 0 5) Frames in a later step.
Step 25:
Insert (2) Bolts each into (K - 0 6) and (K - 0 7).
Step 26:
Align (2) Bolts on (K - 1 0) and (2) Bolts on (K - 0
6) to the holes in (K - 2 1). Attach (K - 2 1) using (4)
Nuts. Align (2) Bolts on (K - 0 9) and (2) Bolts on (K -
0 7) to the holes in (K - 2 1). Attach (K - 2 1) using (4)
Nuts.
Step 27:
Insert (2) Bolts each into (K - 0 6) and (K - 0 7).
Step 28:
Align (2) Bolts on (K - 1 9) and (2) Bolts on (K - 0
6) to the holes in (K - 2 3). Attach (K - 2 3) using (4)
Nuts. Align (2) Bolts on (K - 2 0) and (2) Bolts on (K -
0 7) to the holes in (K - 2 3). Attach (K - 2 3) using (4)
Nuts.
Step 29:
Insert (1) Bolt each into the underside of (K - 0 6) and
(K - 0 7), this Bolt will be used in a later step.
Step 30:
Insert (2) Bolts into the end holes of (K - A 0 7) and
attach (2) Nuts. Slide the (K - A 0 7) into the under-
side of (K - 0 6) and (K - 0 7). Tighten the Bolts to the
Assembly.
Step 31:
Remove the Opal White Film from (K - A 2 3) Panel.
Step 32:
Slide (K - A 2 3) Panel into the grooves of the angle be-
tween (K - 1 9) and (K - 0 6). Attach the wedged end of
(K - 1 2) to (K - 1 0) using (1) Bolt and (1) Nut. Rotate
(K - 1 2) into position, being sure to align the last Bolt
on (K - 1 9) and securing it with (1) Nut. Tighten all of
the Nuts.
Step 33:
Attach (K - 1 7) to (K - 0 5) and (K - 1 0) using (2)
previously attached Bolts and (2) Nuts.
Step 34:
Attach (K - 1 8) to (K - 0 5), (K - 0 9), and (K - 2 0)
using (3) previously attached Bolts and (3) Nuts.
Step 35:
Position the Greenhouse Assembly in desired location
against a Wall. Mark the locations of the holes in the
side of the Assembly which will be in contact with the
Wall.
Step 36:
Move the Assembly away from the Wall.
Note: Be careful when moving the Assembly base. It
may detach from the base if not tightened suciently.
Step 38:
Insert (10) Wall Anchors (K - A 1 9) into the holes.
Note: You may need to use a Hammer to gently tap the
Wall Anchors into place.
Step 39:
Attach the Greenhouse Assembly to the wall using (10)
Screws (K - A 1 9).
Note: Be careful when moving the Assembly base. It
may detach from the base if not tightened suciently.
Step 37:
Drill 10 holes corresponding with the marks on the
wall using a een-sixty fourths inch Drill Bit.
Note: If you do not have a een-sixty fourths inch
Drill Bit, you may use a three-sixteenths inch Drill Bit
instead.
Step 40:
Insert (3) Bolts each into (K - A 0 4).
Step 41:
Attach (K - A 0 4) onto the Greenhouse. Insert the
Bolts on each end of (K - A 0 4) with the middle holes
in (K - A 0 6) and (K - A 0 7). Secure with (4) Nuts.
Step 42:
Remove the Opal White Film from (2) (K - A 2 5)
Panels and Opal White Film from (K - A 2 7) Panel.
Step 43:
Slide (2) (K - A 2 5) and (1) (K - A 2 7) Panels into the
grooves of the Roof Frame Assembly.
Step 44:
Slide (K - A 0 5) into (K - A 0 6) to hold the Roof Pan-
els in place.
Step 45:
Attach (K - 0 8) to (K - 0 6) using (1) Bolt and (1) Nut.
Step 47:
Insert (3) Bolts into (K - 1 3).
Step 46:
Attach (G - P 3 L) to (K - 1 3) using (1) Nut and (1)
Bolt.
Step 48:
Attach the Bolts on (K - 1 3) to (K - 0 8) and (K - 1 2)
using (3) Nuts.
Step 50:
Slide the Beams into place and secure the Bolts using
(4) Nuts.
Step 49:
Place (K - A 1 1) between both (K - A 0 4) Beams,
sliding the notches over the (2) Bolts. Attach (K - A 1
2) to those Bolts and the (2) Bolts on (K - 0 6) and (K
- 0 7).
Step 51:
Attach (2) (K - A 0 9) to (K - A 0 8) using (2) Nuts and
(2) Bolts.
Note: e smooth parts of the Frames must face out-
wards, the grooves for the Panel face inward.
Step 53:
Remove the Opal White Film from (K - A 2 6) Panel.
Step 52:
Secure the front corners of the Frame with (4) Bolts
and (4) Nuts.
Step 54:
Slide (K - A 2 6) Panel over the lip of (K - A 1 0) and
into the grooves of the Window Frame Assembly.
Note: e smooth parts of the Frames must face out-
wards, the grooves for the Panel face inward.
Step 56:
Slide the Window Assembly into the groove of (K – A
0 7). Make sure the Window Assembly pivots up and
down correctly.
Step 55:
Attach (K – A 1 3) to (K – A 1 0) using (2) Screws (K -
A 3 2).
Step 57:
Remove the Opal White Film from (1) (K - A 2 8) and
(2) (K - A 2 9) Panels.

Other oGrow Greenhouse Kit manuals

oGrow OGAL-466A User manual

oGrow

oGrow OGAL-466A User manual
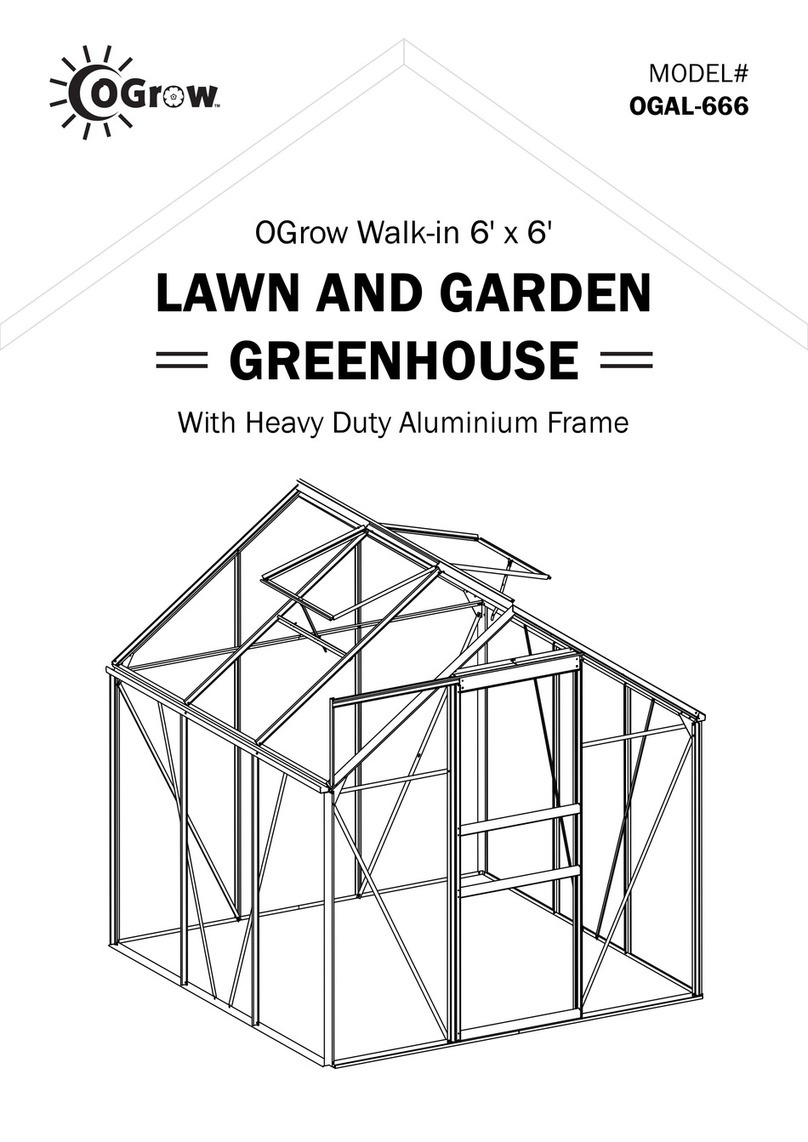
oGrow OG03-PE5565E User manual

oGrow

oGrow OG03-PE5565E User manual

oGrow OGAL-666A User manual

oGrow

oGrow OGAL-666A User manual

oGrow OG03AL86-BKE User manual

oGrow

oGrow OG03AL86-BKE User manual

oGrow Walk-in OGAL-466 User manual

oGrow

oGrow Walk-in OGAL-466 User manual

oGrow OGAL-866A Quick start guide

oGrow

oGrow OGAL-866A Quick start guide

oGrow OG6834-S User manual

oGrow

oGrow OG6834-S User manual

oGrow OGAL-46A User manual

oGrow

oGrow OGAL-46A User manual

oGrow OGAL-866 User manual

oGrow

oGrow OGAL-866 User manual

oGrow Walk-in OGAL-666 User manual

oGrow

oGrow Walk-in OGAL-666 User manual
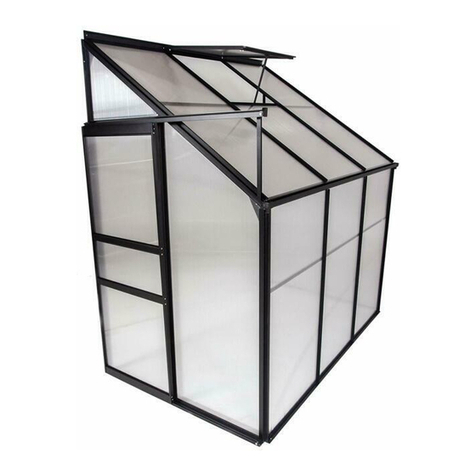
oGrow OGAL-CF23 User manual

oGrow

oGrow OGAL-CF23 User manual
Popular Greenhouse Kit manuals by other brands

Dancover TITAN Arch 90 manual

Dancover

Dancover TITAN Arch 90 manual

ClearSpan Carport 104968F Assembly instructions

ClearSpan

ClearSpan Carport 104968F Assembly instructions

Vitavia Freya 7600 Assembly instructions

Vitavia

Vitavia Freya 7600 Assembly instructions

MACHRUS OGAL-666A Assembly instructions

MACHRUS

MACHRUS OGAL-666A Assembly instructions

AGF Grow More GM10 Assembly instructions

AGF

AGF Grow More GM10 Assembly instructions

FarmTek Growers Supply GrowSpan Gothic Pro 106306D Assembly instructions

FarmTek

FarmTek Growers Supply GrowSpan Gothic Pro 106306D Assembly instructions

Holman GH2002 user guide

Holman

Holman GH2002 user guide

GrowSpan 500 Series manual

GrowSpan

GrowSpan 500 Series manual

Gardman 2979 Assembly instructions

Gardman

Gardman 2979 Assembly instructions

Palram Applications Grand Gardener Prestige 8x8 instructions

Palram Applications

Palram Applications Grand Gardener Prestige 8x8 instructions

AeroGarden AeroGarden 3 instruction manual

AeroGarden

AeroGarden AeroGarden 3 instruction manual

Juliana Premium Wall 13 Assembly instructions

Juliana

Juliana Premium Wall 13 Assembly instructions

Sunnydaze Decor HB-876 Assembly instructions

Sunnydaze Decor

Sunnydaze Decor HB-876 Assembly instructions

Exaco Junior Victorian Assembly instructions

Exaco

Exaco Junior Victorian Assembly instructions

Juliana Oase Assembly instruction

Juliana

Juliana Oase Assembly instruction

Vitavia VM0042-A 7800 Assembly instructions

Vitavia

Vitavia VM0042-A 7800 Assembly instructions

Deuba 108354 instructions

Deuba

Deuba 108354 instructions

VOLYA FERMER-5.0 manual

VOLYA

VOLYA FERMER-5.0 manual

manuals.online logo
manuals.online logoBrands
  • About & Mission
  • Contact us
  • Privacy Policy
  • Terms and Conditions

Copyright 2025 Manuals.Online. All Rights Reserved.